I’ve got a cute mason jar idea for you today! I made some pretty Christmas mason jars that you could easily use in a lot of different ways. I’ve also teamed up with other bloggers today to bring you 99+ handmade gift ideas and a giveaway!
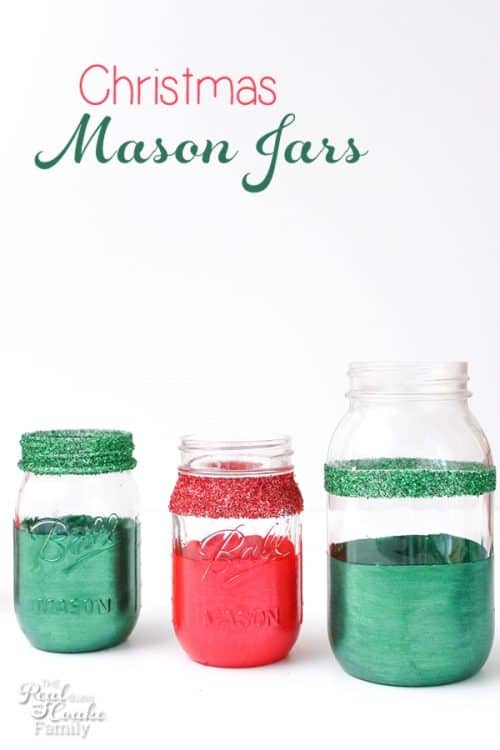
Do you remember my Fall Mason Jar Crafts that were a total craft fail? Back in October, I started trying to make a gift for my daughter’s teachers. I was trying to work ahead and not feel overwhelmed this Christmas season. Since those didn’t work out to be given as a gift (though I did rescue them if you read that post), I decided to try again. I came up with another idea and decided to make Christmas gifts instead.
I love the way the jars turned out and I’ve got a couple of ideas for these jars for you, but you can use them so many ways. A few of these are going to end up in the middle of my Christmas table but most of them are going to be teacher gifts. Let me show you how to make your own pretty Christmas jars.
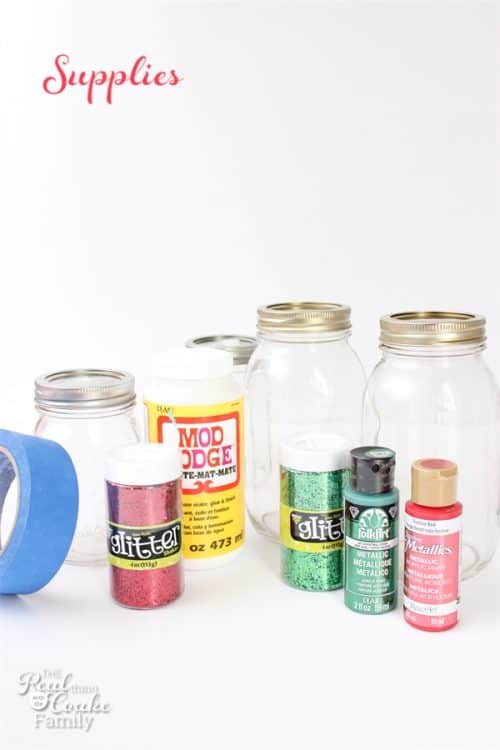
Craft Supplies:
- Mason jars
- Mod Podge
- Metallic Paint
- Glitter
- Blue Painter’s Tape
 (affiliate link) -Narrow if you can find it
 - Paintbrush
Before we get started, I just want to mention that this idea could work for any time of year. Just vary the colors. They would make a fantastic teacher gift done up in the school colors or vases on your table for any season. All you have to do is vary the colors and voila…pretty, glittery mason jars.
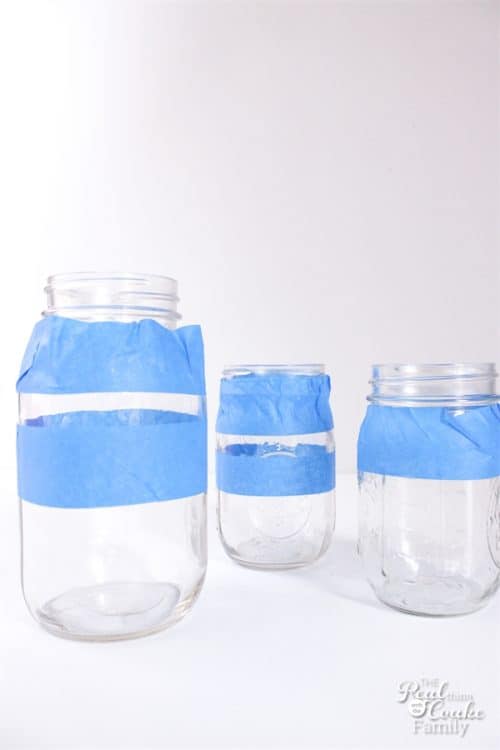
Start by taping off your jars. You will want two sections. One section you will paint and the other section you will add the Mod Podge and glitter. You will want to try to find narrow painter’s tape![]() (affiliate link) for this project. It will take up less space on the jars and allow you more options of the width of your stripes/colors.
(affiliate link) for this project. It will take up less space on the jars and allow you more options of the width of your stripes/colors.
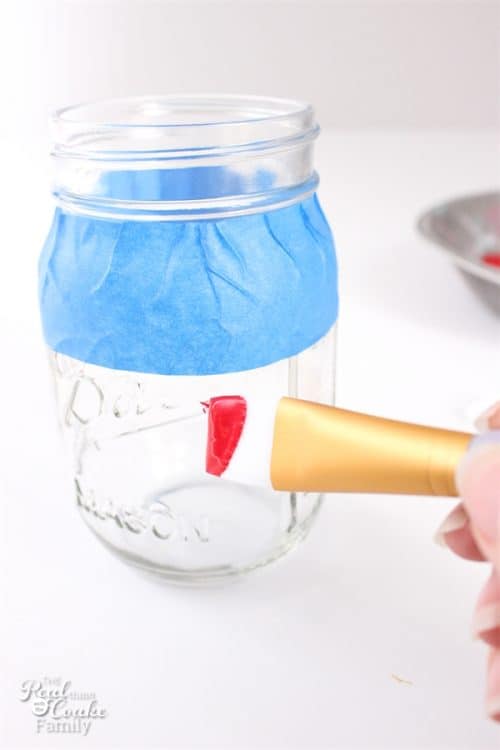
Paint the portion of the mason jar that you want covered with paint. Most Metallic paints are somewhat sheer, so you will have to paint multiple coats. This red metallic took 4 coats. The green metallic took 3 coats. Make sure to allow at least 1 hour of dry time between coats.
On the portion of your jars that is to be glitter, add a coat of Mod Podge. Sprinkle liberally with glitter. Make sure you have covered the full area. You can gently pat the glitter into place if you like, though it isn’t totally necessary. Carefully remove all your painter’s tape while the Mod Podge is still wet.
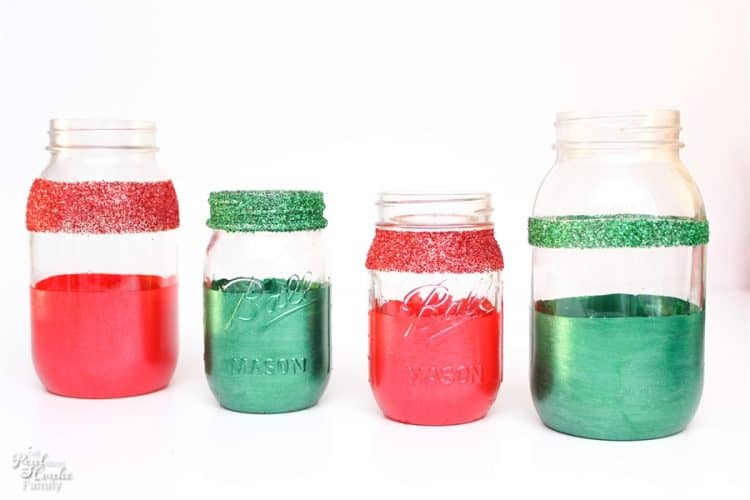
Allow time for everything to dry and set. By using the Mod Podge as the base for the glitter, the glitter portion of the jars retains a clean glossy look behind the glitter.
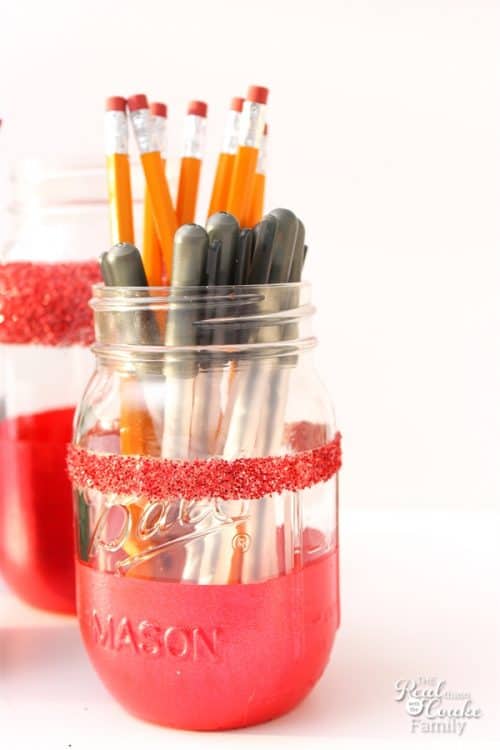
I tried filling my jars with a couple of different things. Since these will be teacher gifts, I thought pencils and pens might work. I think they are always in short supply in the classroom.
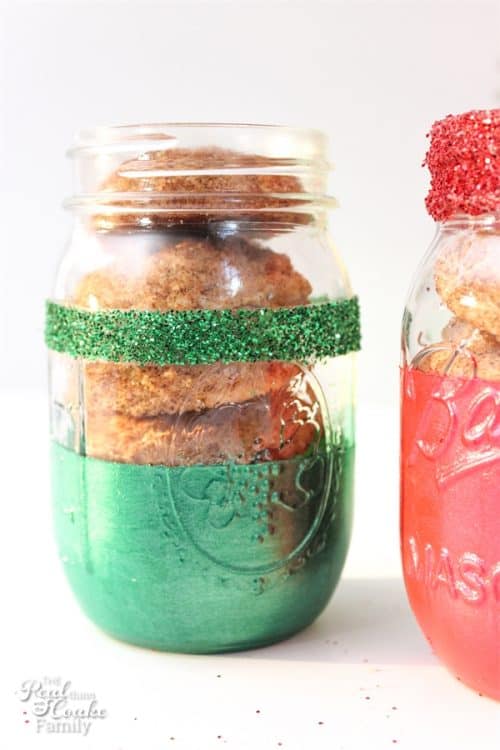
I also tried filling the jars with the Snickerdoodles I recently made. They look great, but I had a hard time getting them to fit in the jar. I would also recommend that if you plan to put food in the jars, you place it in a baggie or some plastic wrap so that it doesn’t get mixed up with glitter. That would not be yummy!
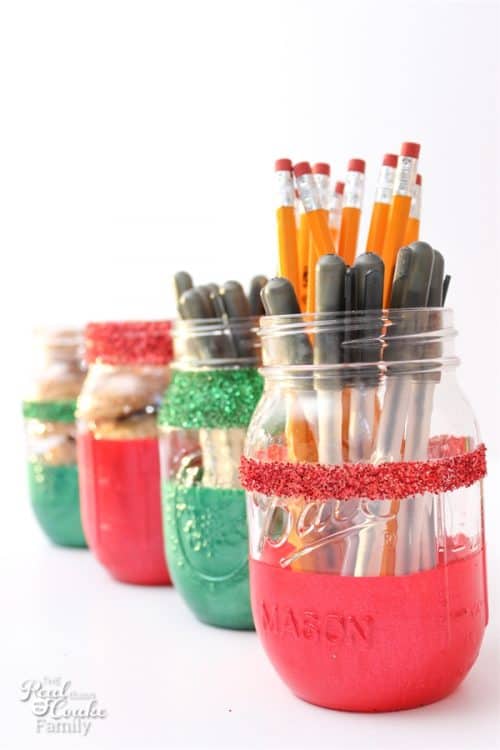
Ultimately for the jars I made for teacher gifts, I am going to fill them with pens and pencils and give them to the teachers that way.
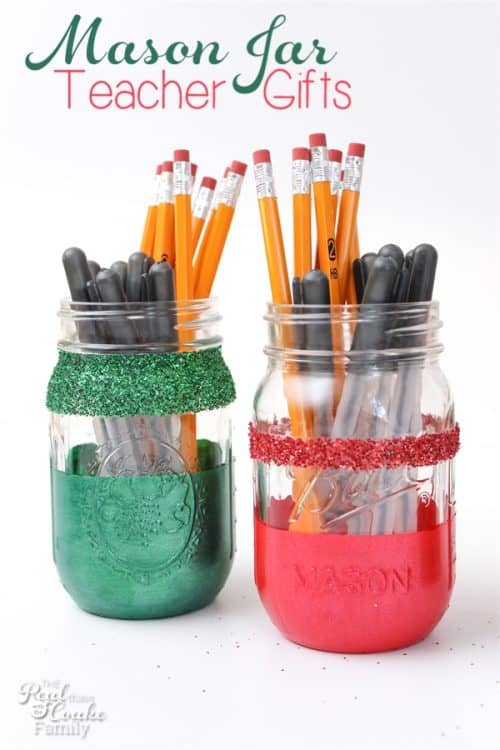
I love the glitter and the fact that these jars have a sheer element as well. I saved the two larger mason jars and I plan on adding them to my Christmas table. I think they will look really pretty there. Of course, I will have to use artificial flowers because our cat eats any other flowers we bring in the house. No cats on the table please!
Now for even more handmade gift inspiration for you!
Please visit any and all of these sites. By the end of the week there will be over 99 handmade gift ideas.
And don’t forget – enter to win a $100 Amazon Gift Card! Fun! a Rafflecopter giveaway
More Christmas Fun:

Leave a Reply