I’m so ready for some glitter, some sparkle, and some fun! How about you? This past weekend I finally changed out my mantel from the winter theme I showed you on Instagram to Valentine’s Day. Now we are all pink, red, hearts….AND I added some glitter, too! I’m going to show you this super simple craft today, so if you still want to add a little glitter, sparkle, and fun to your Valentine’s Day decorations you can.
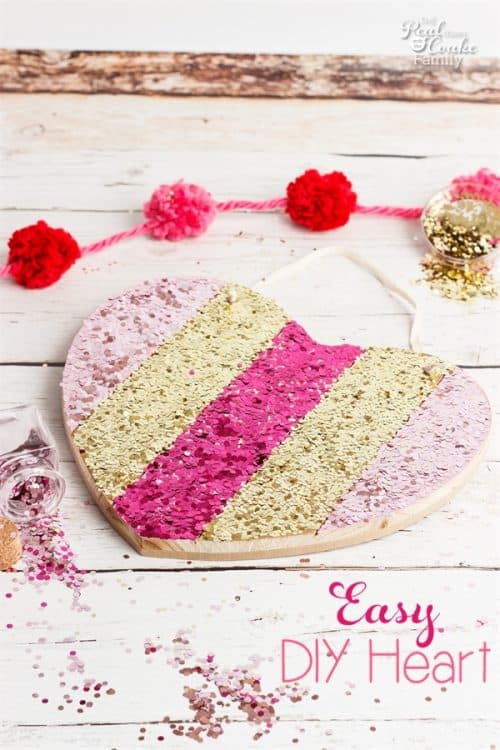
I don’t know about you, but I LOVE ♥ Target. Between Target and Starbucks, I’m a pretty happy woman. 🙂 Last year sometime, Target re-vamped their craft section and I love the new craft section. They seem to change it a little bit for each holiday and season. Fun! I noticed this pretty wood heart there a few weeks ago and really wanted to make something with it. It turns out it was calling for some glitter…I mean, what can’t be just a bit more cute with glitter?
I noticed this pretty wood heart (affiliate link to a similar one on Amazon. I couldn’t find it on the Target website) there a few weeks ago and really wanted to make something with it. It turns out it was calling for some glitter…I mean, what can’t be just a bit more cute with glitter?
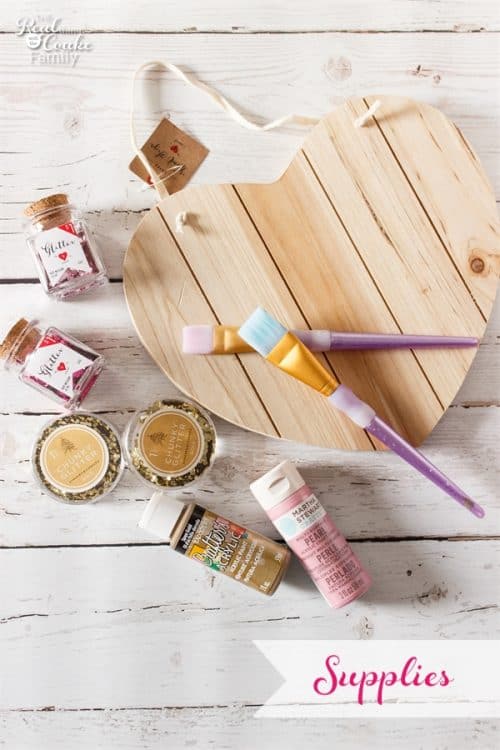
Valentine’s Day Craft Supplies:
- Wooden Heart (affiliate link)
- Paint
- Paintbrush
- Mod Podge
- Glitter – I’m currently crushing on chunky glitter (affiliate link)
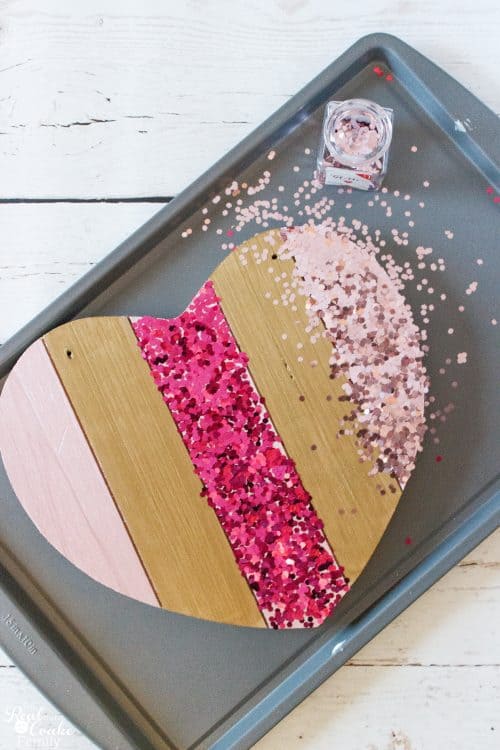
Now, I’m going to tell you I did something crazy when working on this craft. I didn’t take step by step pictures. ::Gasp:: As much as I love blogging and showing you guys how to do things step by step, sometimes it drives me nuts and I just want to make something. I don’t want to stop every step to take a picture. Don’t worry, I will still be taking pictures of the steps most of the time, but sometimes when things are a little obvious…I’m going to just enjoy making.
First untie the ribbon and remove it from the heart.
Next up, paint the stripes with a paint color that will go with the color of glitter planned in that area. I painted three coats of both the shimmery pink and the gold.
Let that dry completely.
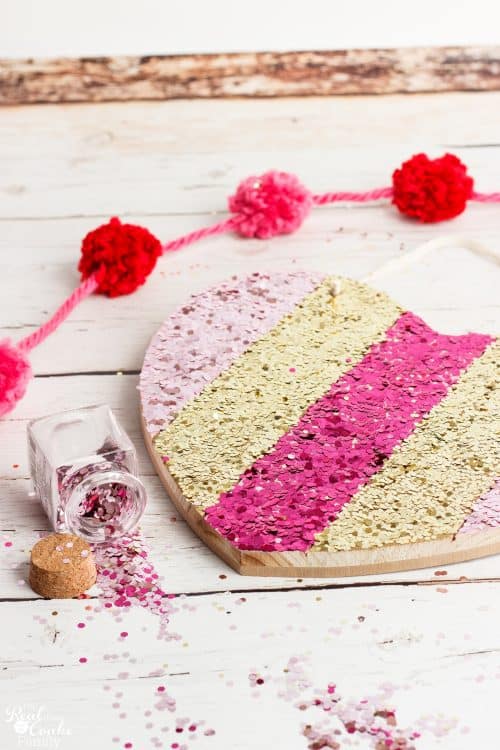
Now we get to play with glitter! Fun! Add a thick layer of Mod Podge to the stripe to which you are going to add glitter. If you notice in the picture before this one, I added the dark pink in the middle first. I gave it about an hour to dry. Then I added the lighter pink glitter and gave those a couple of hours to dry. Finally, I added the gold glitter.
You will want to give the drying time in between the colors of glitter or you may end up with a color of glitter that you don’t want in that stripe. Sometimes being patient is the hardest part of crafting. Lol! 😉
When everything is completely dry, feed the ribbon back through the holes in the heart and tie. I had to put a piece of tape on the end to help thread my ribbon through without it fraying and getting ruined.
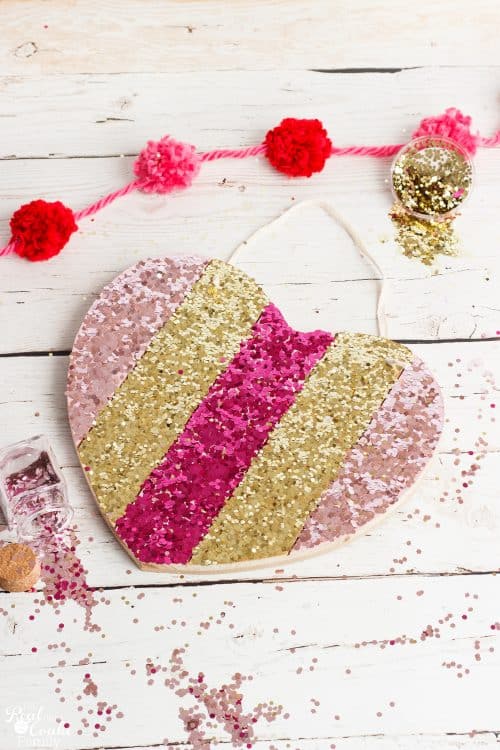
The patience of letting things dry will totally pay off when you get to enjoy your sparkly, glittery and fun Valentine’s Day heart. So cute!
I’m using mine on my mantel. I’ll try to put a picture of my Valentine’s mantel on Instagram, so follow me over there so you don’t miss out. 🙂
Happy Valentine’s Day!
More great posts you are going to love:

So pretty! Thanks for sharing with us at #OvertheMoon Link Up.
Thanks!
So pretty! Featuring you at our party tonight (7pm MST). Hope to see you there again!
Thanks so much!