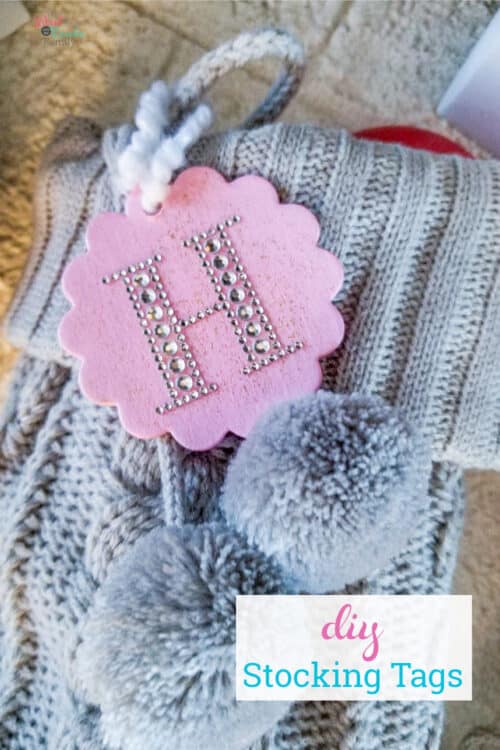
Making these stocking tags is quick and easy if you don’t count the time waiting for paint to dry.
You can add this cute craft to your holiday planner, so you get it made this year. I’ve also got a printable checklist for you at the bottom of this post. That way, when mom life interrupts craft time, you’ll remember where you left off with this craft and what you still need to finish.
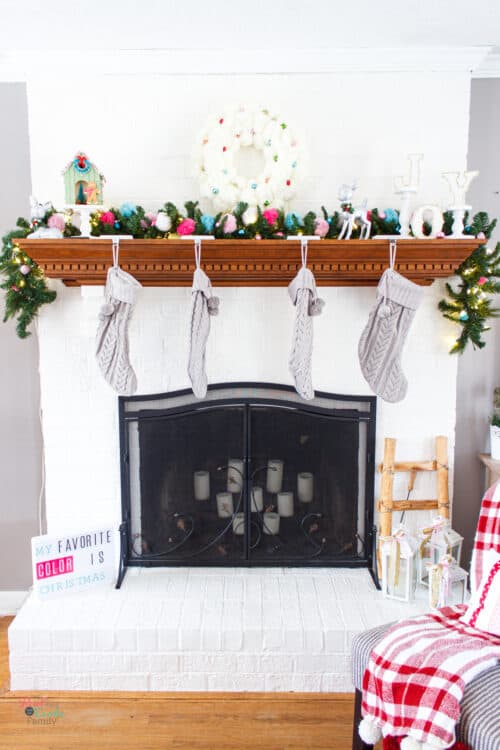
My mantel last year, I LOVE it! It’s going to be even better this year because I have the pink gingham wall art to make the pom pom wreath shine! Can’t wait!
If you are more observant than I am, you’ll notice that the stockings, while adorable, have nothing to distinguish one from another. Pretty sure I only figured that out a day or two before Christmas….or on Christmas Eve when I was prepping for Santa to come.
I needed something quick and cute that would help Santa know which stock was for which person. I used craft supplies I had on hand with a quick trip to the store for the Monogram letters. Thankfully, I was at least thinking about this while stores were still open. Yay! ? Go me! ?
DIY Personalized Stocking Tags
Supplies:
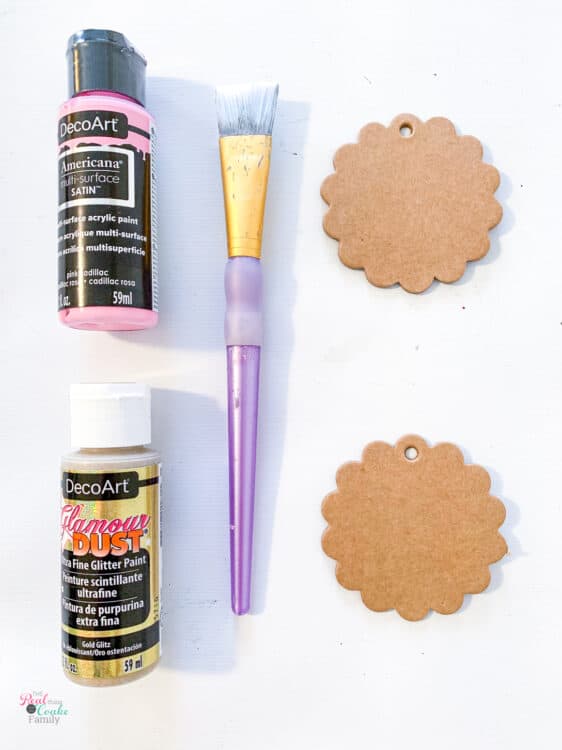
- Chipboard or wooden tag cut out
- Paint – I used DecoArt Americana Multi-Surface Satin in Pink Cadillac(affiliate link) and Coastal Waters(affiliate link), so it would match the ornaments I also made this year.
- Glitter paint – I used DecoArt Glamour Dust in Gold Glitz(affiliate link)
- Paintbrush
- Adhesive monogram letter(affiliate link)
- Yarn or Ribbon
Step 1: Paint tag
TIME: 10 minutes
As easy as it sounds, paint your tag. You’ll need to paint 2 or 3 coats to get full coverage.
Wait for the paint to dry and paint the back of the tag.
I usually only wait 30 minutes between coats of paint and an hour before flipping over to paint the other side.
TIP: Paint the sides of your tag first. Then lay the tag on a flat surface and paint the top.
Step 2: Add glitter paint
TIME: 5 – 10 minutes
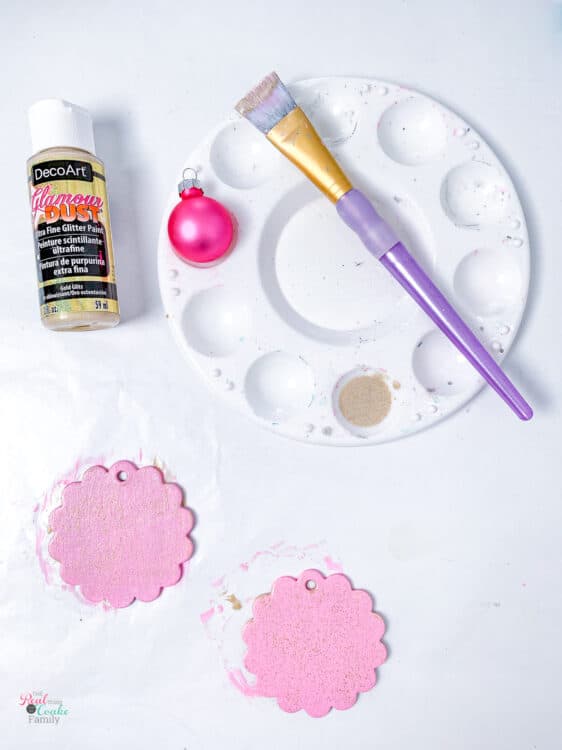
Once the paint has dried, add a coat of the Glamour Dust glitter paint to one side of the stocking tags.
Wait the recommended dry time and paint a coat of glitter paint on the other side of the tags.
Step 3: Adhere monogram
TIME: 5 minutes
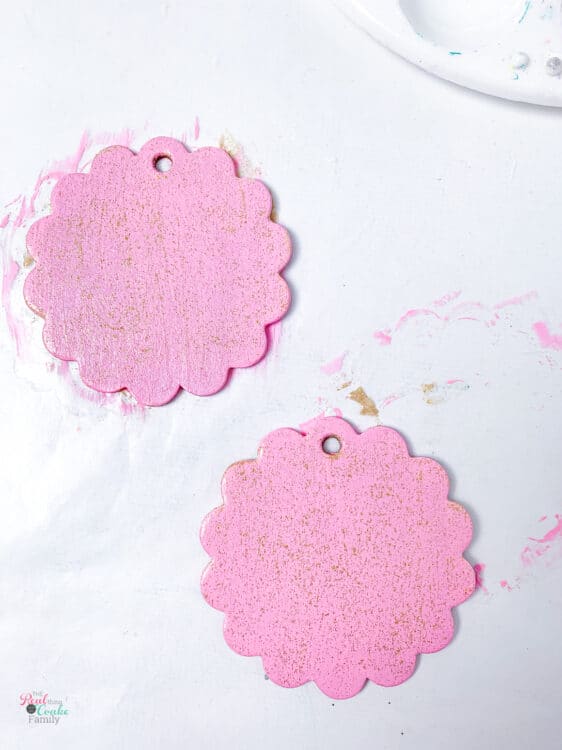
Let your tags dry completely, then add your adhesive monogram to whichever side of your stocking tags you think is prettier.
Step 4: Add yarn or ribbon
TIME: 10 minutes
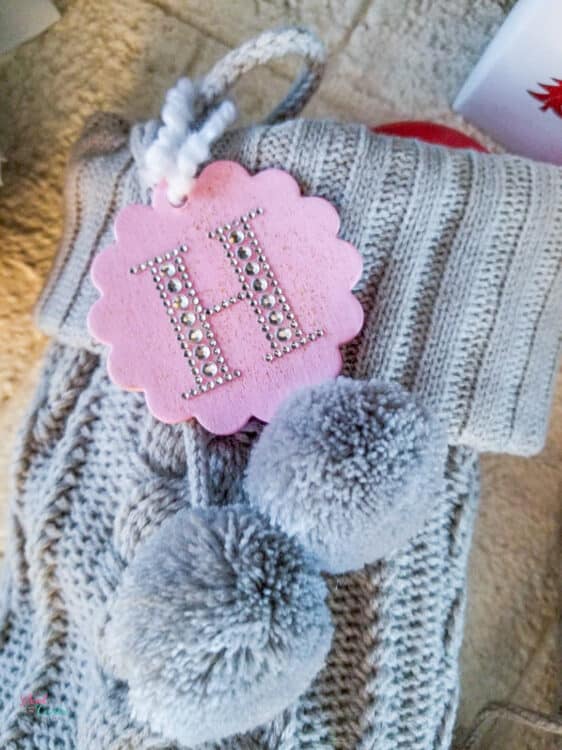
Pick a yarn or ribbon that will go with your stockings and decor.
Add it to the stocking tag and tie that to your stocking. You’ll tie it to the loop attached to the stocking that you normally use to hang up the stocking.

Easy peasy and done!
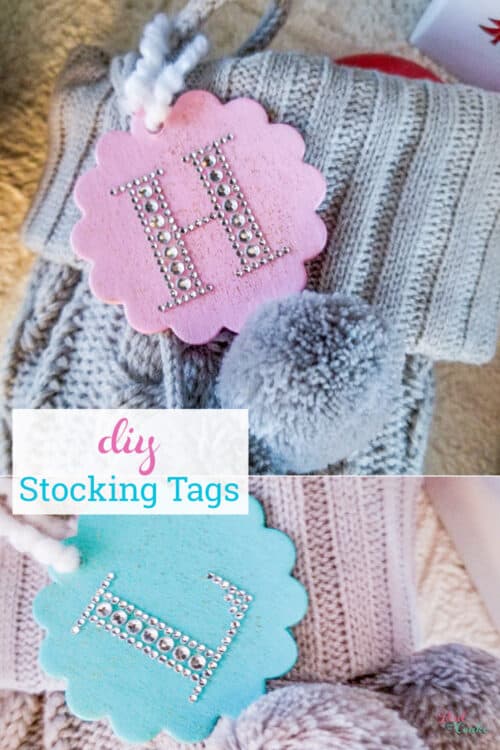
I love that it’s easy to personalize these stocking tags to match any decor, color, and personality. Even better, they are so stinkin’ easy that you can get them done in a rush….not that I’m experienced in that….but I am, so trust me they are quick and easy.
You only need to plan far enough ahead for 2 day Amazon Prime(affiliate link) shipping or a quick last minute trip to the craft store.
Just sign in below for your printable checklist. After you sign in wait a couple of seconds and the graphic will change to a graphic that says “Click here for your free printable.”

Leave a Reply