So my home improvement ADD is alive and well…just in case you thought I was all efficient with my daughter’s room and that was how I was going to be from now on….haha! Today, I’ve got a cute diy vinyl lettering decal in my laundry room as well as a great way to save the earth and some space. Perfection! Yet not in any room I was currently addressing…welcome to my home improvement ADD world…. welcome. 🙂
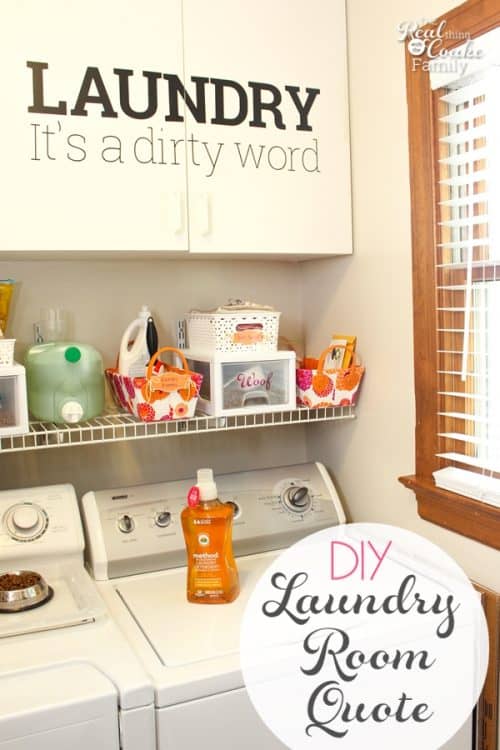
So who likes doing laundry? I know there are a few of you out there….I am not one of them. I hate doing laundry and you can often hear me proclaiming that laundry should be a swear word.
I decided that a cute way to add some decor to my ugly and needing a huge makeover I can’t afford laundry room would be to add a cute quote. The only thing is that all the quotes I saw on Pinterest either didn’t fit the space I had or my sentiments about laundry. So, I made up my own quote.
While I was at it, I also found a way to make my laundry detergent match my laundry room…which adds to the cuteness of the dreaded room….and it saves space while helping the earth. Love it! Let me show you all the details.
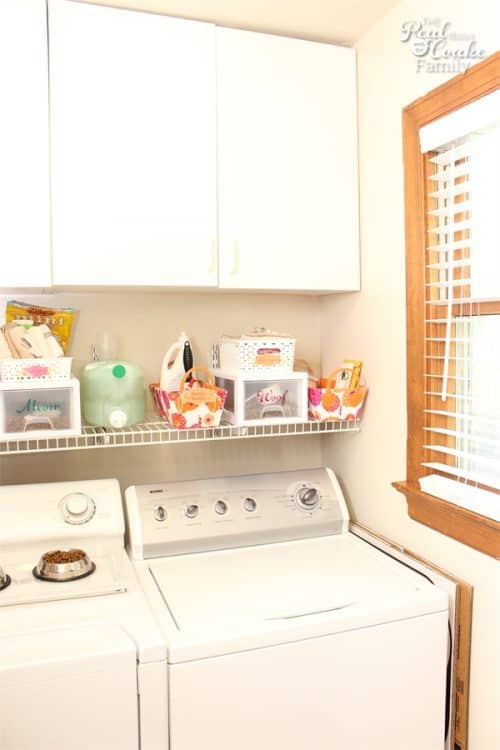
Last time I showed you my laundry room, I was adding the pet food organizers. They saved so much space, but I always love finding more ways to save space. I love the feeling that I have room to spare and I love seeing open spaces.
Today, I decided that I would add a vinyl lettering decal to my laundry room. What I really want to do is overhaul my laundry room. I don’t like the cabinets, especially since they aren’t even hung straight. The wire shelving is ‘meh’ and this is the only room in our house that we haven’t painted in the 8 years we have lived here.
Anyway, the costs of doing what I really want to do are a bit more than I am prepared for at the moment, so in the meantime, I can add some fun and personality to the room and maybe that will make me like being in here more. Doubt it, but it is worth a try.
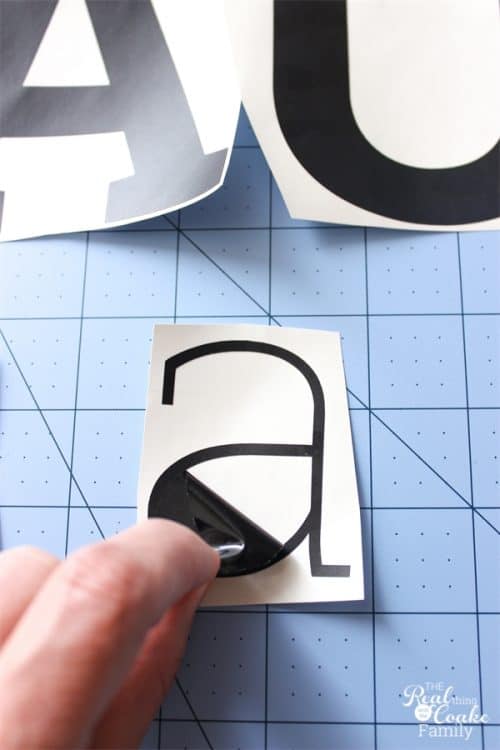
Once I decided on what my lettering would say, I cut the letters out of adhesive vinyl using my cutting machine.
When using adhesive vinyl for a decal like this, you need to do a few things to get it where you want with it still all straight and looking pretty.
First, you need to remove all of the vinyl surrounding the letters, but leave it on the backing paper.
Since I made my letters large, I couldn’t cut them all together how I wanted them on the cabinet. The machine decided where to place all the letters to get them to fit on 2 sheets of 12×12 vinyl. I had to cut the letters apart and line them up.
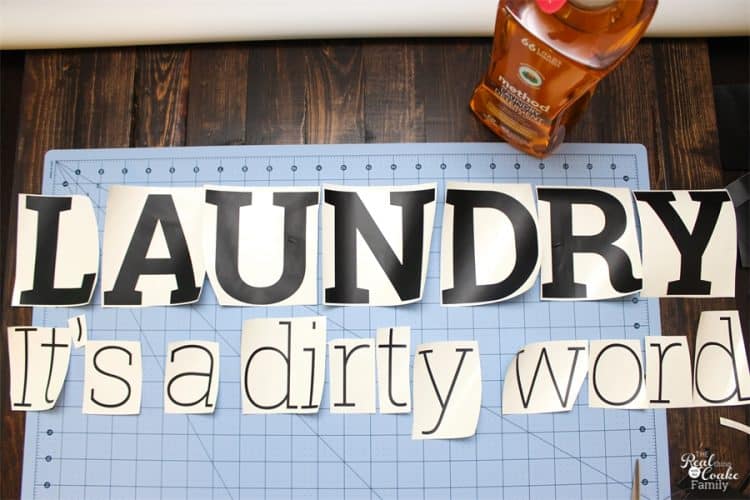
Next up, I needed to line all my letters up and get things spaces how I wanted. I used my sewing cutting mat to attempt to line things up straight.
I was concerned that the curling letters would be a problem when I added the transfer paper on top.
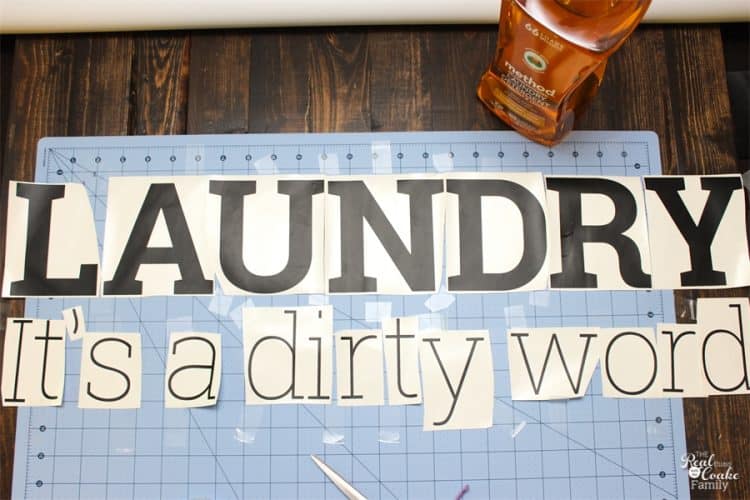
I decided to tape the letters down. It worked really well. A few of the pieces of tape ended up on my cabinet, but most of them stayed right here on my table when I peeled the transfer paper up.
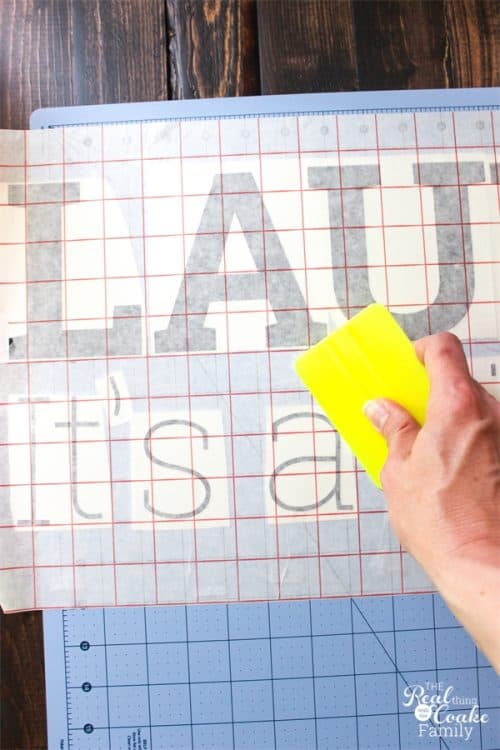
Now it is time to add the transfer paper. Press it down on top of the letters.
I found it easiest to start at one end and slowly press the paper down over the area.
When you are done, use your squeegee thing (such a technical name, right?) to make sure the letters are fully adhered to the transfer paper.
Move your transfer paper to the location you want to place your decal.
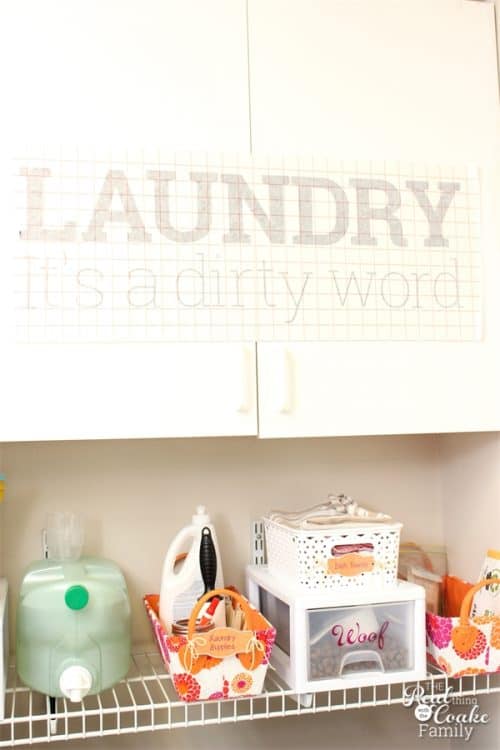
Carefully line the decal up on the cabinet (or wherever you are placing your lettering).
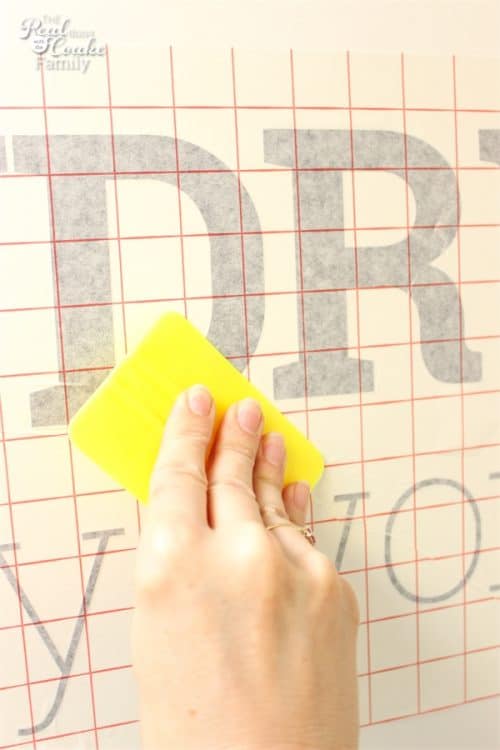
Use your squeegee to smooth out any bubbles and make sure the lettering has adhered to the surface. 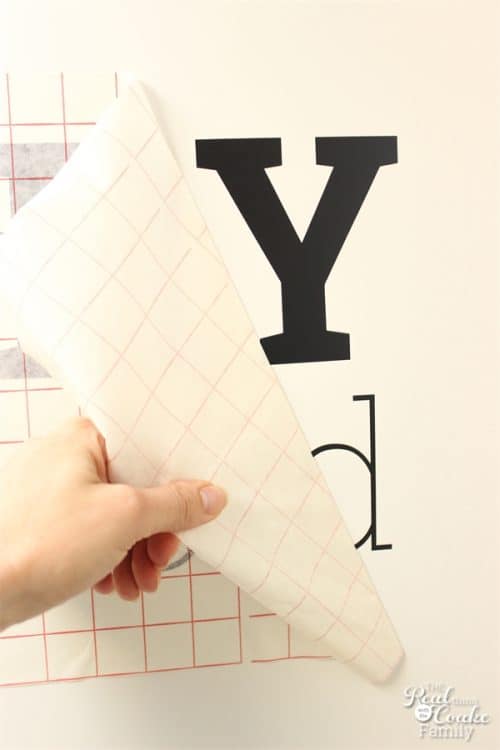
Slowly and carefully peel back your transfer paper. Your new lettering should stay in place on the cabinet.
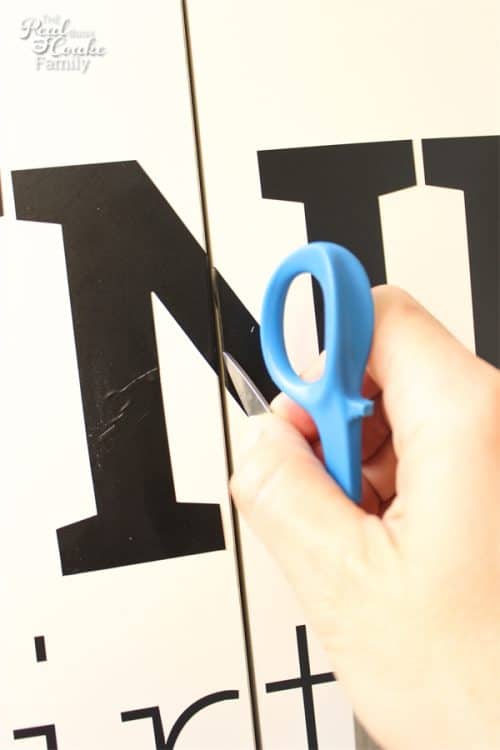
My lettering went between the two cabinets. Just use scissors or a craft knife and cut the letter at the mid-point of the cabinets.
If you have any letters, like this N, that have big bubbles or wrinkles, gently peel up the portion that is wrinkled or bubbly and lay it flat with the squeegee. Most of the bubbles will be little and you will only have to run the squeegee over them to smooth them out, but I had a few that I had to pull up and lay flat with the help of the squeegee(which I hadn’t done yet when I took this picture).
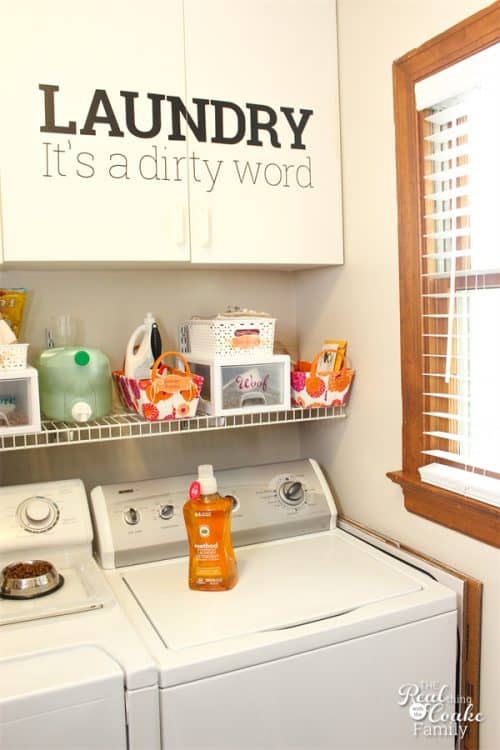
While I was sprucing up the laundry room with my decal, I also found a way to add some more color to the laundry room. I’m a huge fan of method products. They sent me their new laundry detergent and sponsored this post.
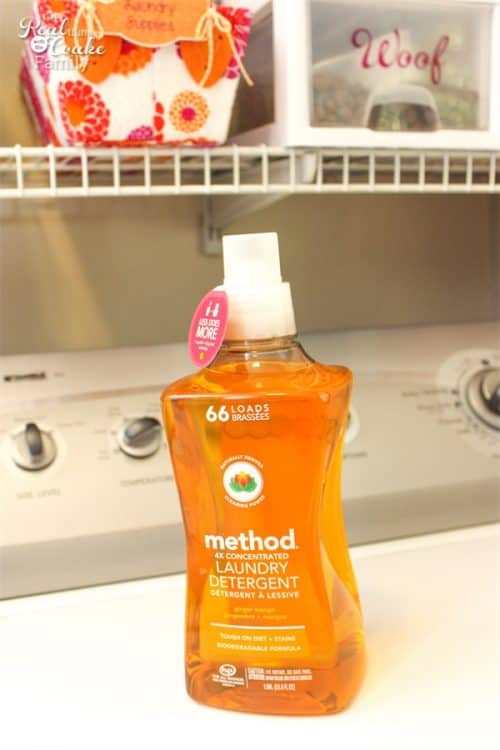
Most of the time laundry detergent is in a bulky dark bottle that takes up a lot of space and isn’t cute in my decor. Not so with the new method laundry detergent. They made their new bottles clear so you can see the fun colors(and there are quite a few fun colors!).
The bottle they sent me goes perfectly with my laundry room. Yay! Another way to add color. It is also 4xs concentrated and still naturally derived. Love that. This little bottle will do 66 loads of laundry!
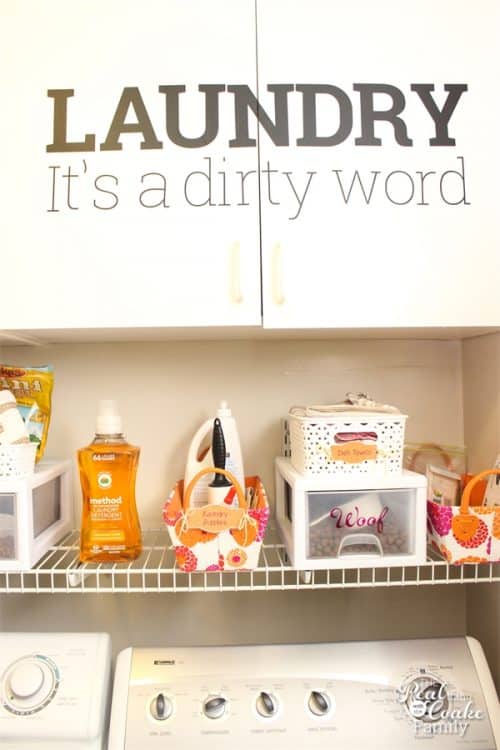
My favorite part….look at all that shelf space! My old laundry detergent took up all of that space.
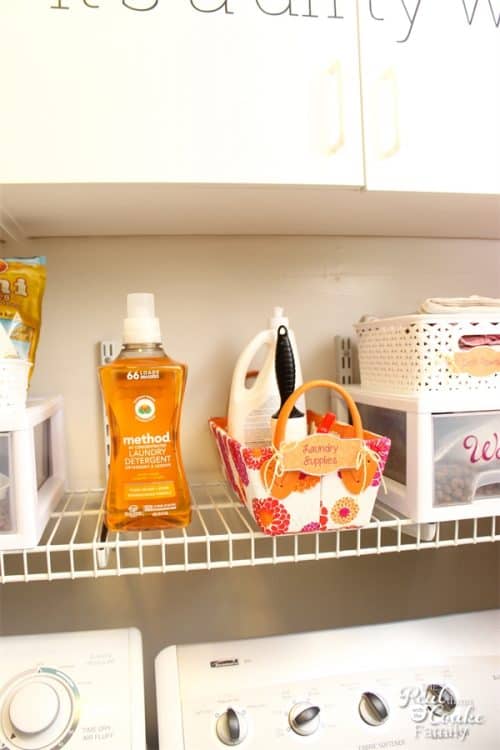
Now I have open space on my shelf. I love open space. It makes me happy. I know it is a dorky obsession, but an obsession none the less. 😉
I also love that method removed the handle from the bottle. It is still easy to grip and hold, but the handle is usually what makes laundry detergent bottles non-recyclable. By removing the handle, the bottle is now fully recyclable. So pretty much we have a win, win, win! I get color, more shelf space and help the earth all with one little laundry detergent bottle. Works for me!
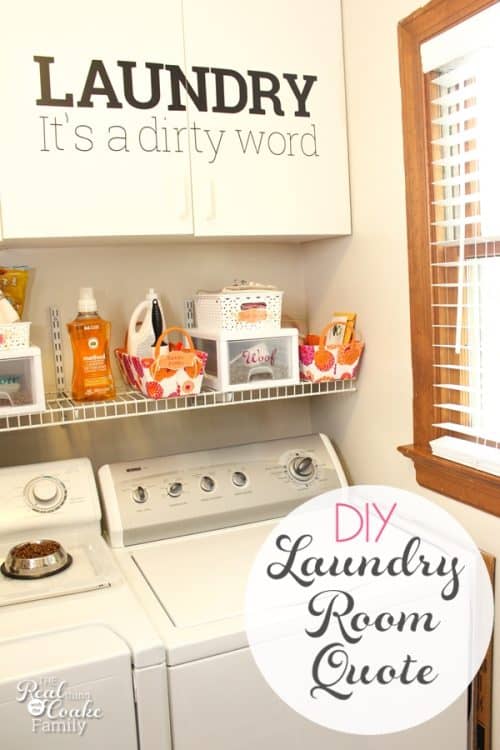
Laundry may be a dirty word in my house, but at least now I have a little extra color, a cute decal to look at and some extra space on my shelf. All things that make me happy. Maybe laundry won’t be so bad….maybe.
So you can have fun with your laundry as well, here is a coupon for the new method laundry detergernt or any method products. Use the code THREEFORME for $3 off your online purchase at https://clvr.li/1zM8KPj . You can also check out method’s collaboration with ASOS here.
I was selected for this opportunity as a member of Clever Girls and the content and opinions expressed here are all my own.
More Great Posts for You:

I like that sentiment…I have a couple of pile of laundry that are waiting to be folded (I painted and landscaped instead this weekend). I have another that I learned from an old roommate: “Iron: it’s a 4-letter word.”
Where do you find the transfer paper? I needed some last year and was unable to find any in any stores. They all had shirt design transfer paper, but that isn’t the same. I ended up using the sticky plastic wrap. It worked, but it wasn’t easy.