Have you thought much about Father’s Day yet? If you are like me, you know it is coming, but haven’t really gotten so far as to think of what to do, buy or make. If you are also like me, it will creep up on you and time will run out to make a personalized Father’s Day gift idea. Well never fear…I’ve got a great diy Father’s Day gift idea for you today. It is something you can easily personalize for the man in your life.
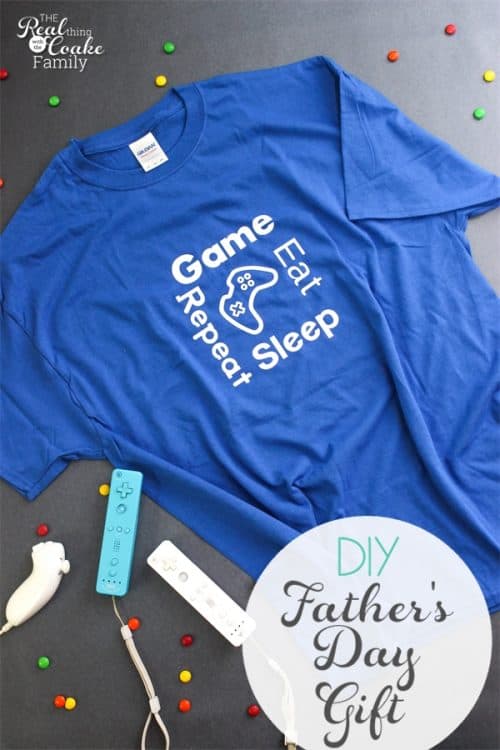
We love personalized gifts. It had been quite a while since we had made something for my husband…it was way back when we made him his personalized candy jar as another Father’s Day Giftt.
This year, my oldest daughter came up with this idea for her dad. Since I wanted to blog about it for you all and the end of her school year has been so busy, I got her approval on my design (which she changed a bit) and I made the shirt.
I LOVE the idea she came up with. My husband likes to play computer games….a bit too much if you ask me (but that is another story for another day). She came up with the idea to make a t-shirt for him that would show the things he loves to do. She also came up with the square design for the words and graphic.
It turned out so cute! Can’t wait for her to give it to him. If the man in your life isn’t into computer games, just change the words and graphic to something that reflects what he likes.
Since this was my first time working with Cricut Iron-on, I’ve got the tutorial for you. Things to make this a bit more easy for you.
You ready to do this? Let me show you how.
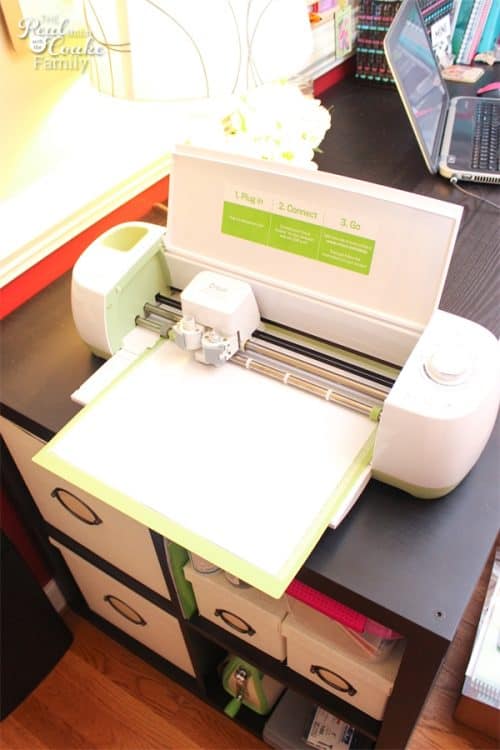
I used my Cricut Explore![]() (affiliate link) to cut out the iron-on graphic. I’m really loving the newest Cricut. It is so easy to work with it makes it a dream to do all of these projects I’ve been doing lately. I like it so much better than the older Cricut I had.
(affiliate link) to cut out the iron-on graphic. I’m really loving the newest Cricut. It is so easy to work with it makes it a dream to do all of these projects I’ve been doing lately. I like it so much better than the older Cricut I had.
Anyway, you will want to use the design studio to create your design. Once you have your design, go through usual motions to cut it out.
Set your dial on the Cricut Explore to the Iron-on setting. If you don’t have the Explore, just use the setting for a kiss cut (like cutting vinyl). The most important thing you need to do is check the box on every layer of your design for the mirror image cut. That will cut the design out in reverse so that when you iron it on it will be correct.
Since the iron-on from Cricut![]() (affiliate link…which is a lot less expensive than the craft store where I bought mine) is kind of pricey, cut it to the size you need for your design rather than the size of the mat. Place it on the mat with the shiny plastic side down.
(affiliate link…which is a lot less expensive than the craft store where I bought mine) is kind of pricey, cut it to the size you need for your design rather than the size of the mat. Place it on the mat with the shiny plastic side down.
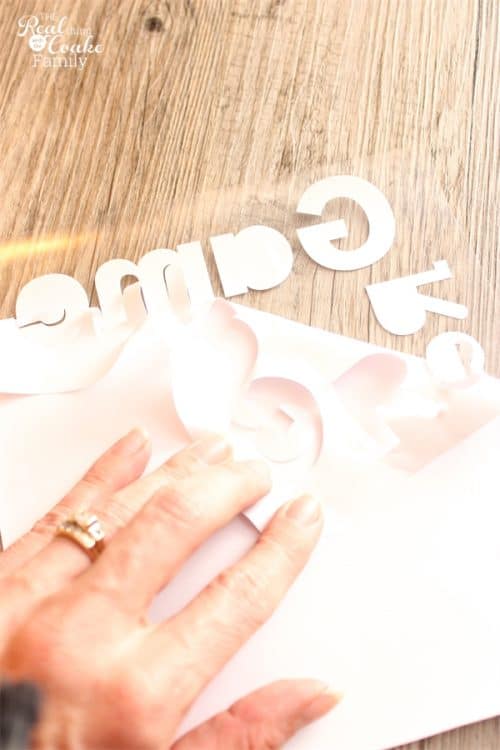
When the design has been cut, remove everything that is not part of the final design. It should just peel up and away. Make sure you remove all of the centers from the letters.
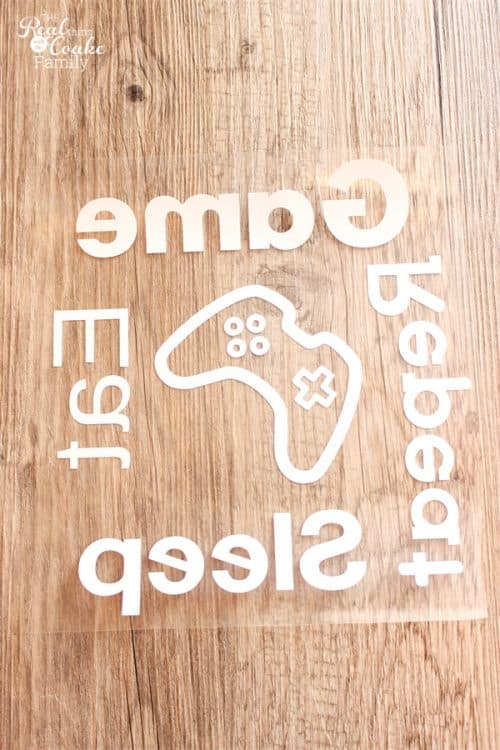
My final design with everything weeded or removed that wasn’t part of the design. My design roughly measures 7.5″ wide and tall.
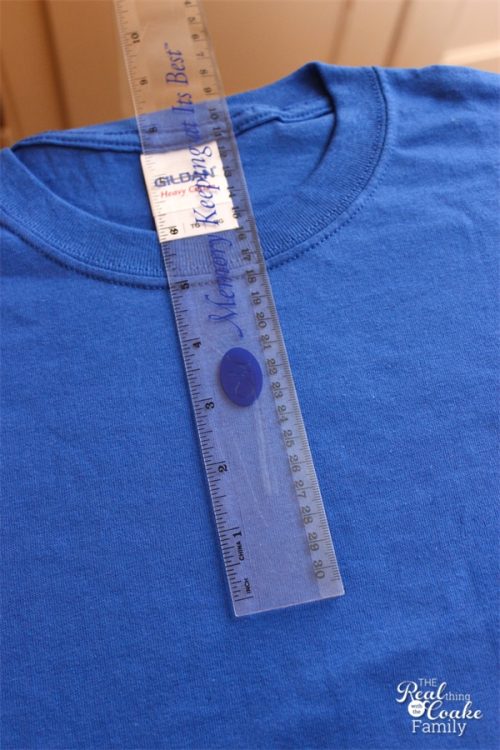
Measure for the placement of your design on your shirt. Try your best to get things straight and centered.
I went with about 5 inches down from the collar.
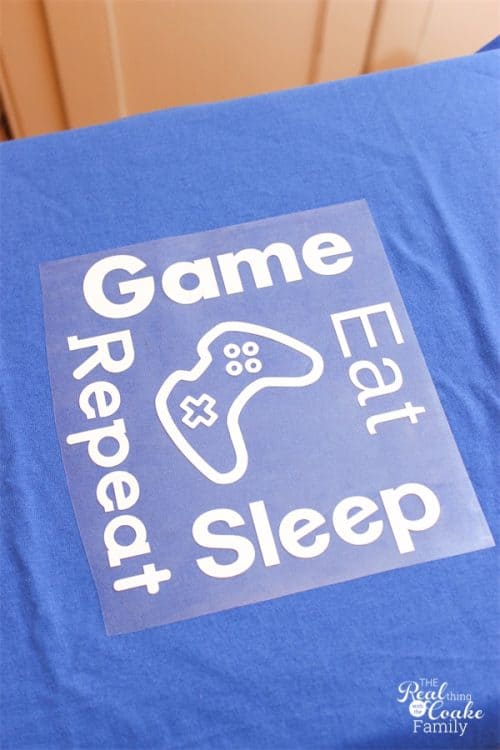
Place the design on the shirt and set your iron to the cotton or linen setting, whichever is the hottest for your iron.
It felt really weird to me to iron on this plastic. It seems like it should melt, but it doesn’t. You want to iron on the plastic coating for about 30 seconds. Flip your project over and iron on the back for 30 seconds. Remove the clear plastic.
That is it! You are done.
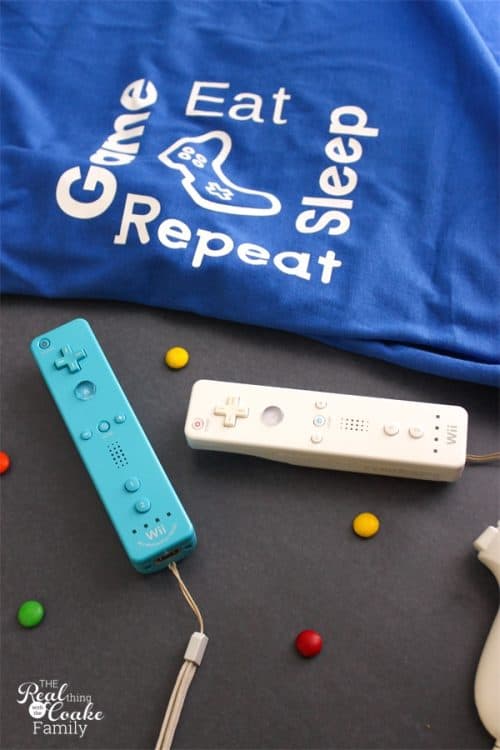
I couldn’t believe how easy this was to make. The cost of the iron-on is a little bit high to me(it was $18 at my local craft store – but that link above on Amazon was a lot less) for the size of the design that I made, but I have feeling you will see future iron-on projects from me. It was so easy and am pretty sure if you have read my blog much, you know how much I love personalized things.
I think this same process would make cute pillows, bags, and so many other fun ideas! 🙂

Would you use this as a Father’s Day gift idea? What theme would you make?
Receive my posts directly in your inbox. It is easy and free!
More Great Gift Ideas for You:

I love this idea! I’ll have to try for my husband :0)
Yay! Glad you like it!
This is a great tee shirt for my hubby. Thank you for sharing at Dishing it and Digging it link party.
Glad you like it! Enjoy!
Great to make is personal and looks easy to do! Thanks for the tips!
Have fun with it! It is totally easy to personalize.
this looks like a great gift I know that our son who is now a father when not working or spending time with others loves to play his game
Glad you like it! Thanks for leaving a comment.