We had an ugly magazine problem at our house. How about you? I solved the problem with a DIY magazine holder. Of course it had to be cute or it wouldn’t have solved half of my problem. 😉
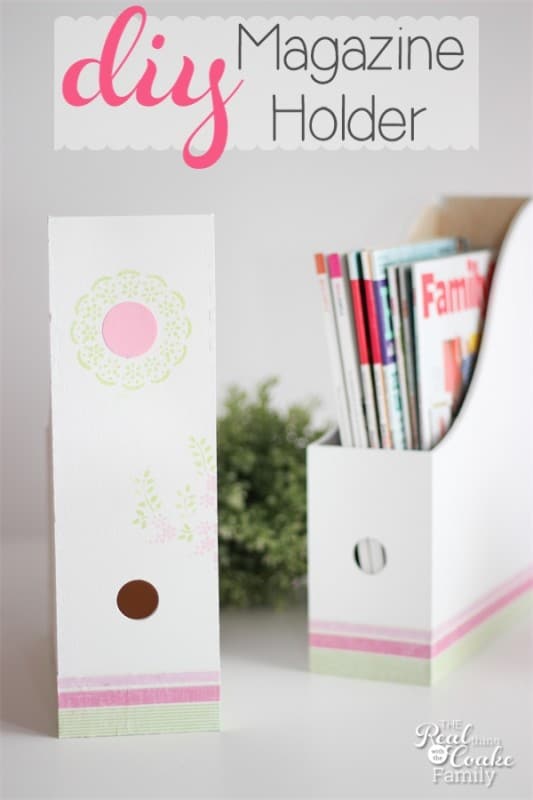
My girls have a couple of magazine subscriptions as well as some American Girl Doll catalogs, Lego manuals, and Lego catalogs that they like to keep. We keep things down to two magazine holders to keep the clutter at bay. The problem was I had bought cheap paper magazine holders from the dollar spot at Target. They worked and were in inexpensive, but when we separated the girls into their own rooms the holders no longer had a place in the playroom…because we don’t have a playroom anymore. The cheap paper magazine holders were now front and center in my hallway. Yuck! I needed to fix that.
Do you have an ugly magazine/catalog problem at your house as well? Well then, let’s do this! I’ve got you covered with ideas and a tutorial for your own DIY magazine holder.
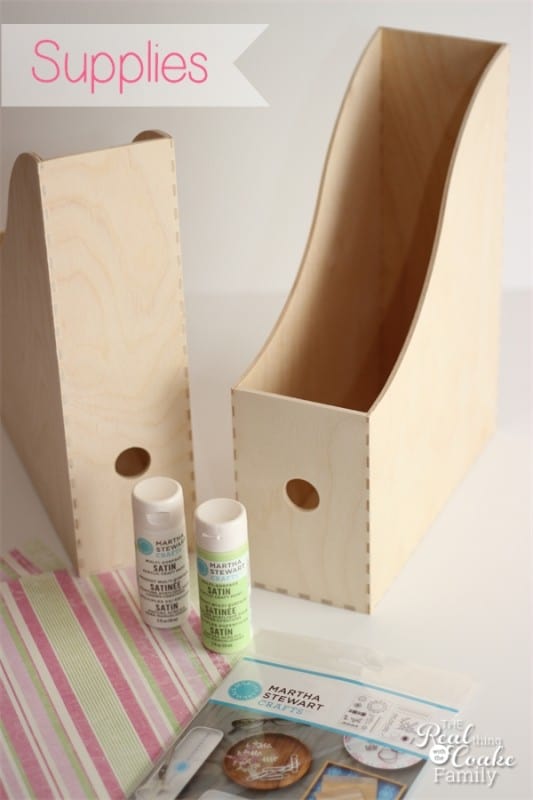
Supplies:
- Wooden magazine holders (I got mine at IKEA)
- Optional: primer
- Acrylic paint
- Paintbrush
- Stencil
- Scrapbook paper
- Adhesive stencils — This is what I used: Martha Stewart adhesive stencils
 (affiliate link)
 - Scissors
- Mod Podge
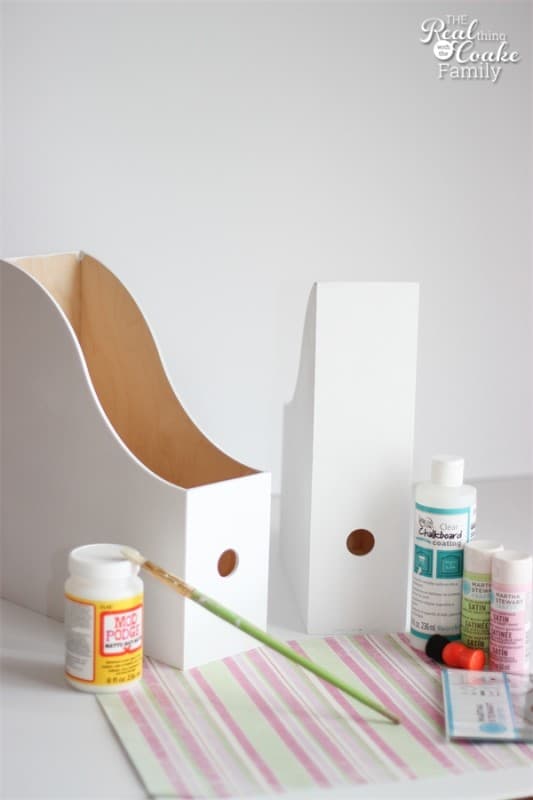
Start by painting your magazine holders. I started with a base coat of primer just to help it cover faster followed by one coat of acrylic paint, but you could just do two or three coats of acrylic paint depending on the coverage you want.
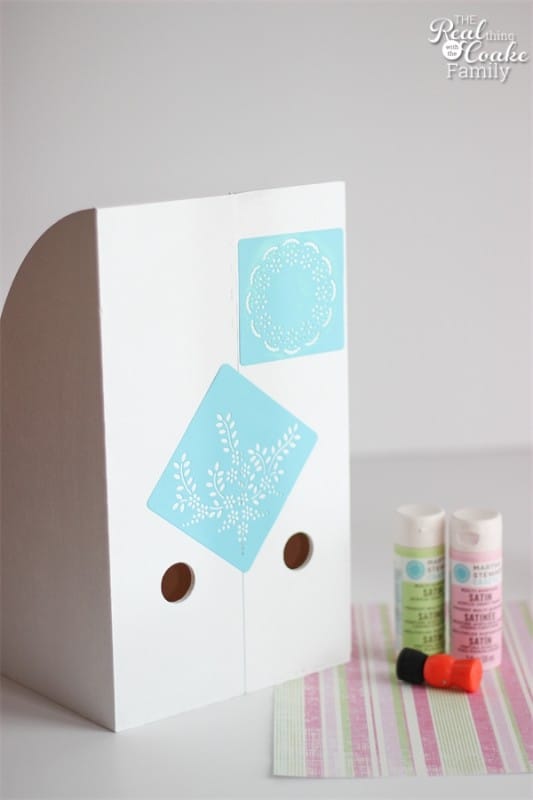
Once you have the base coverage you want, decide on the stencils and placement. Paint your stenciled areas. Make sure you use a very lightly loaded paint brush or pouncer for your stencil. It will help you get a clean edge with little to no paint bleeding under the stencil.
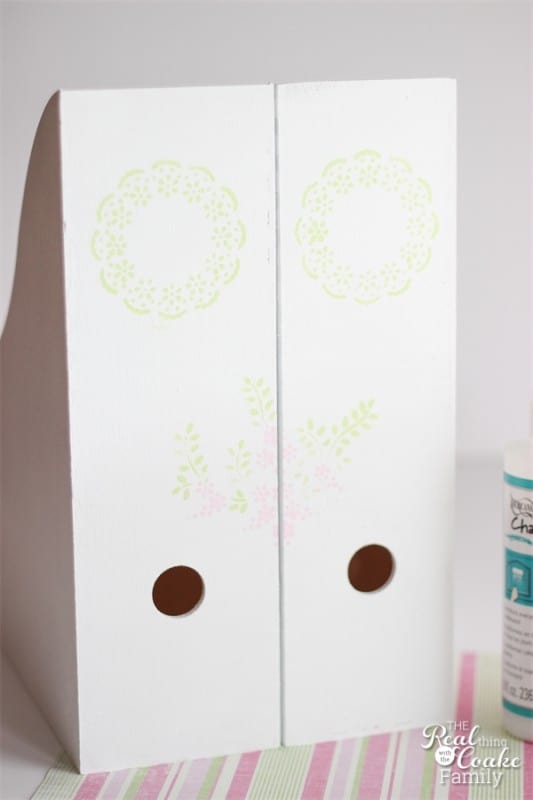
Originally, I was planning to add paint into the center of the circles at the top and then clear coat it with clear chalkboard paint, but in the end I decided not to add the chalkboard element. I think it is a fun idea, but just felt like it was adding too much to the end result.
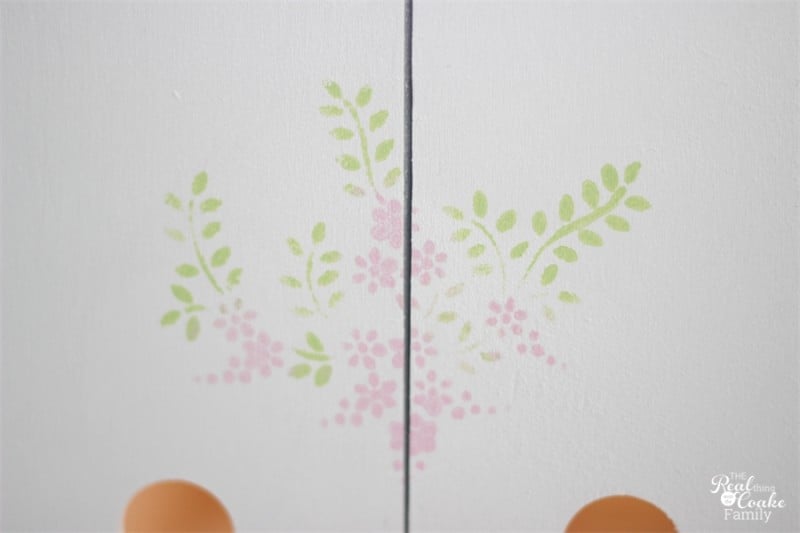
I did do one of my stencils over the center of the two magazine holders. I thought it would look neat and I thought it would trick the kids into always putting them away the same way. It has worked so far! Hehe! I feel so smart. I also think I’m not sure why it matters if they are put away the same way each time. Hmmm.
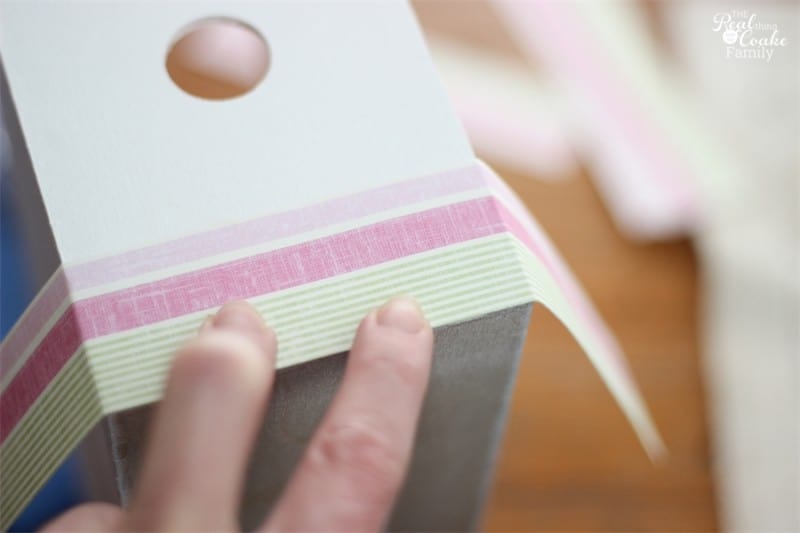
I wanted to add one more element of color to my magazine holders, so I found this striped scrapbook paper and cut out the stripes that I liked. I didn’t measure and cut. I just put the strips on the magazine holder, pressed the paper around the corners, and cut on the folds. It worked perfect and was the easy way, to me.
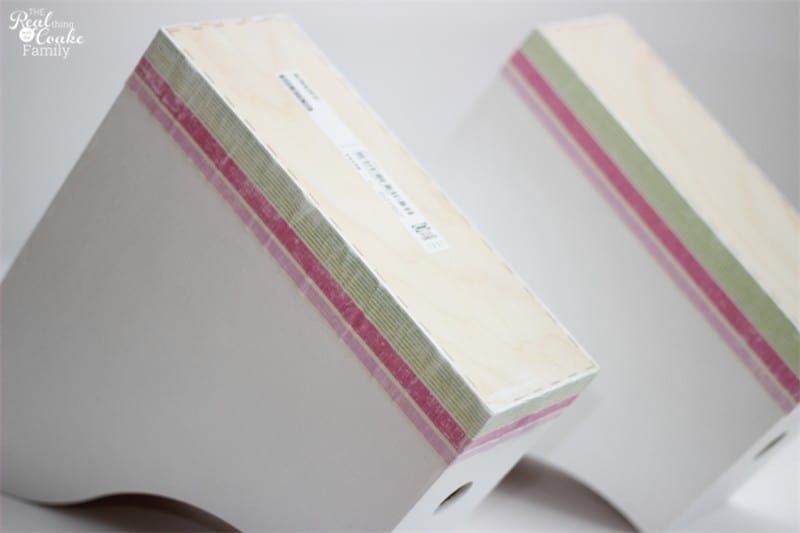
Here is where my project went a little wrong. I forgot the rules of Mod Podge. Uugh! When it came time to add the strips of paper, I applied my layer of Mod Podge to the magazine holder, applied the paper, smoothed it down, and immediately applied my top coat of Mod Podge. Wrong! Don’t immediately apply your top coat of Mod Podge. Wait the 15 minute time between layers. THEN apply your top coat. You will be much happier and much less wrinkly!
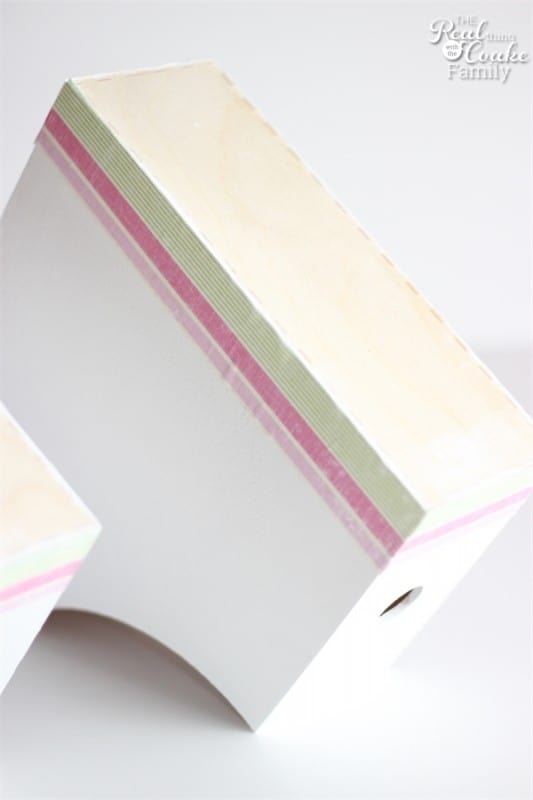
See the difference? I still had a couple of wrinkles here, but not nearly as bad as that first one. Patience people. Patience. Uugh! :-p
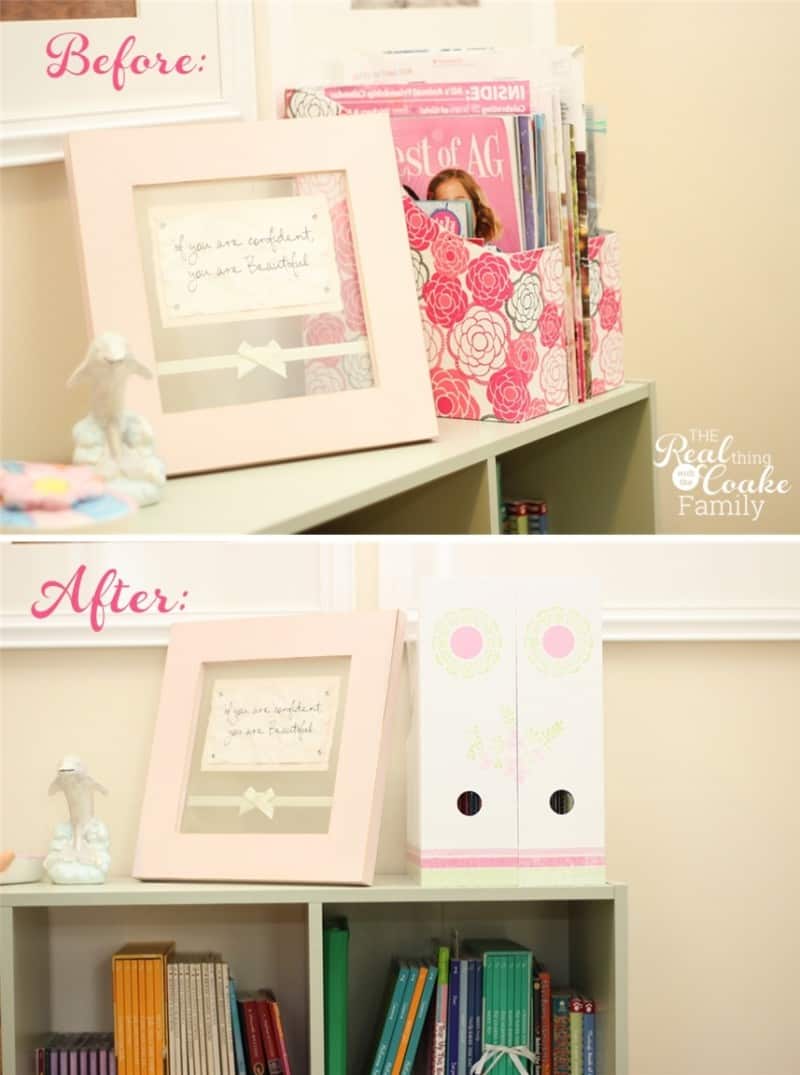
So, now you can see the cardboard magazine holders that were fine in the playroom, but I really didn’t want them in my hallway. I love how the new magazine holders make the hall bookcase look more clean, simplified, and organized. ♥
If you notice above, I did go back and add a circle of scrapbook paper with Mod Podge to the center of the stenciled circles. As I said before, my original plan was to add chalkboard clear coat on top, but in the end I just decided to leave the circles as is. I think the space would be too small to write anything in any way, but I love that this way it keeps things a little more clean and simple.
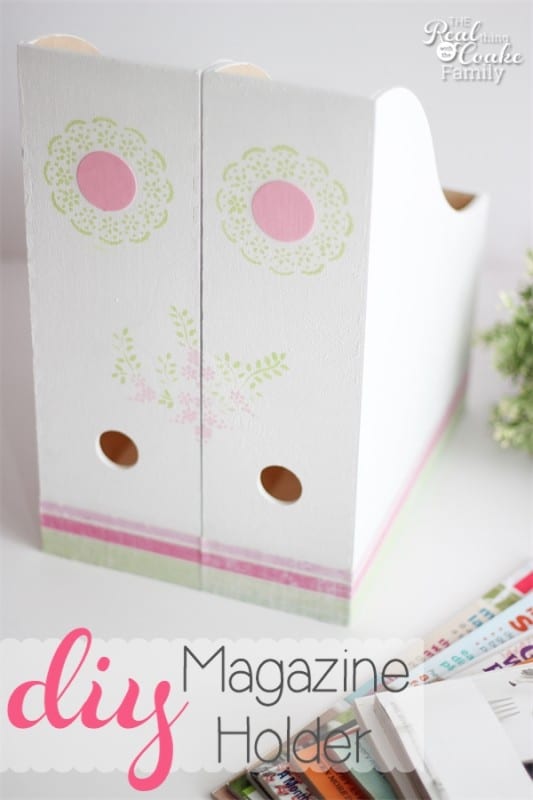
From ugly cardboard magazine holders to cute decorative magazine holders. Now I’m keeping my fingers crossed hoping that my kids don’t destroy these in the first month or two…give me at least 6 months, OK girls? 🙂
What do you do with your magazines, catalogs and Lego manuals (if you have them)? How do you keep them pretty and organized?
For those of you keeping up with my to-do list. Here is my craft to-do list. Some of it overlaps with my Living Room list, but I’m adding them here as they are craft/diy related.
Make pretty magazine holders for upstairs hallway- 4th of July Fun stuff (not gonna spoil the surprise by telling you what things I have in mind!)
- Summer Mantel Fun (see above…not gonna spoil the fun)
- Garland for summer mantel
- AG Doll bunk beds
- AG Doll bedding
- Summer pillows for living room
- Paint living room frames
- Wine glass craft
- Duvet cover fix
- Craft for Snowflake
- Organizing craft for library books
- Movie binder printable
- Re-do Office frames and re-hang
- New AG GS Uniforms
- Signs for Girls new rooms
- Art for wall in LR
More Crafty Fun For You:

Adorable, and how fun, too! Looks much neater on the shelf. 🙂
Very cute! I love how bright and clean they are, but they still have a touch of fun! Great job.
Thank you! Fun is always good!
This is so sweet and I am already thinking about designs. Thank you for the tutorial. PS Found you via The Girl Creative link up today.
So glad you love it. Have fun!
Pinned!
Thanks!
I really love your magazine holders! Thank you for the mod podge tip.
Thank you! Hope the tip helps you with future Mod Podge projects!
Pinning to try later as I definitely need some more of these as mine are all full, looks so cute. Thanks for sharing on the Monday Funday Party, Rachel
So glad I can give you a cute idea! Hope they help with the magazine organization at your house. 🙂
These are just so sweet! Thanks for sharing. I love the colour combo you chose.
Thanks so much!
Very cute! I can see myself doing this just because it looks fun and relaxing, I love painting and decorating things around the house. Thank you for the idea
Thanks! I agree, painting is fun and relaxing. Kind of soothing. Enjoy!