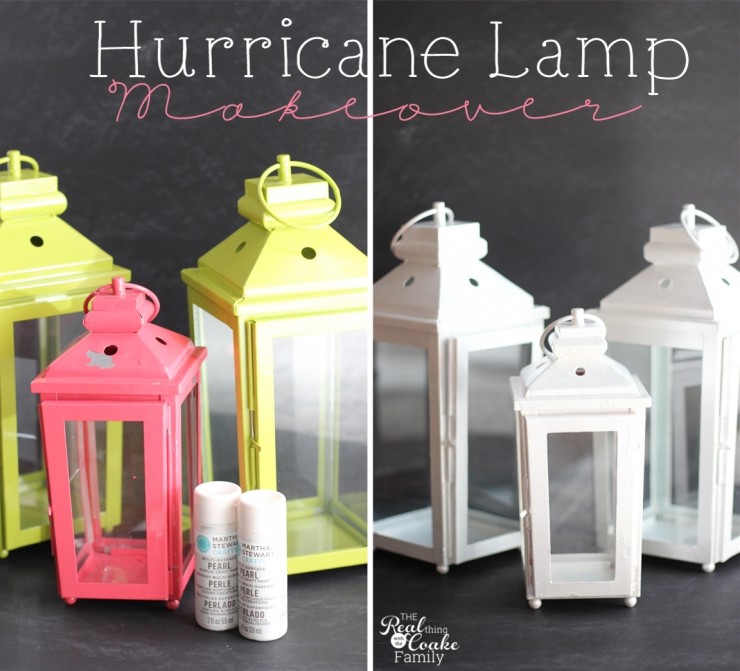
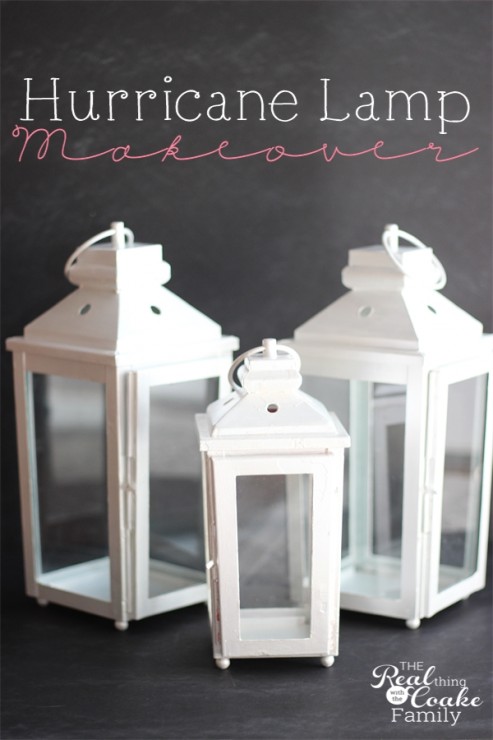
Today’s post is over a year in the making! In 2012, at the end of the summer, I picked up hurricane lamps on clearance at Target. I loved the shape and style of them and thought they would look fantastic on my mantel. I didn’t like the colors for my house, so I knew at some point I was going to give them a makeover.
They sat in my craft supplies box in my shed for over a year. Finally this year I decided I wanted them on my mantel for Christmas. It was finally time for my hurricane lamps to get their makeover. Sadly in the year they sat in the heat and cold in the shed the smallest lamp’s glass got cracked and the paint began to chip off. It made my makeover just a bit more challenging.
As usual, I learned a few things along the way and have some ideas, tips and tricks for you if you want to try your hand at this project.
If you find some lanterns or hurricane lamps that you really like but don’t like the color it is totally possible to change the look to something that works with your decor.
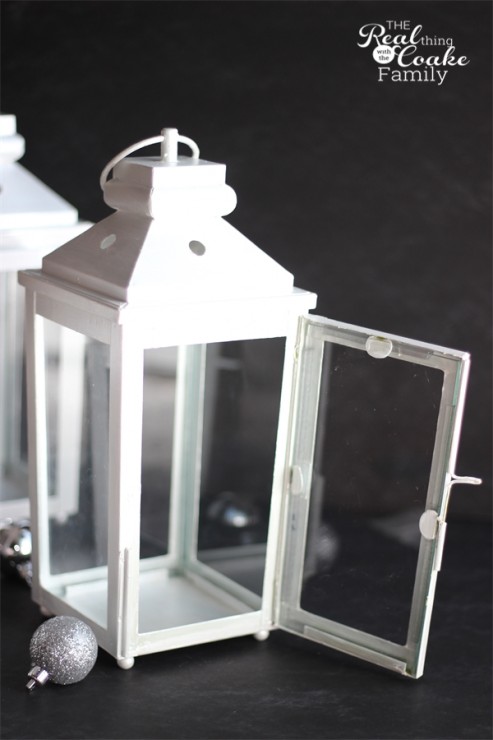
The first step in the project is to remove the glass from your lamps. As you remove them, mark them so you know where the glass goes back. Even though they may be similar sizes, it will be easiest to put the glass back in the same spot from which you took it.
I started by numbering the bottoms of the two hurricane lamps I had that were the same size. Next, I used blue painter’s tape![]() and wrote if the glass was from the door. Then I used the phrases: right of door, left of door or center and the number of the hurricane lamp. So it would say #2 right of door, etc.
and wrote if the glass was from the door. Then I used the phrases: right of door, left of door or center and the number of the hurricane lamp. So it would say #2 right of door, etc.
If your hurricane lamps are bright colors like mine were, start with a coat of primer to save yourself hours of painting lots of coats.
I apparently didn’t learn my lesson of paint choices from the Gingerbread house I made this year. I picked a pearl color for this project. It quickly became apparent that I would need to first prime, then paint with two coats of white paint, then finally add two coats of my pearl paint. I’m totally a gluten for paint projects needing too many coats of paint this year!
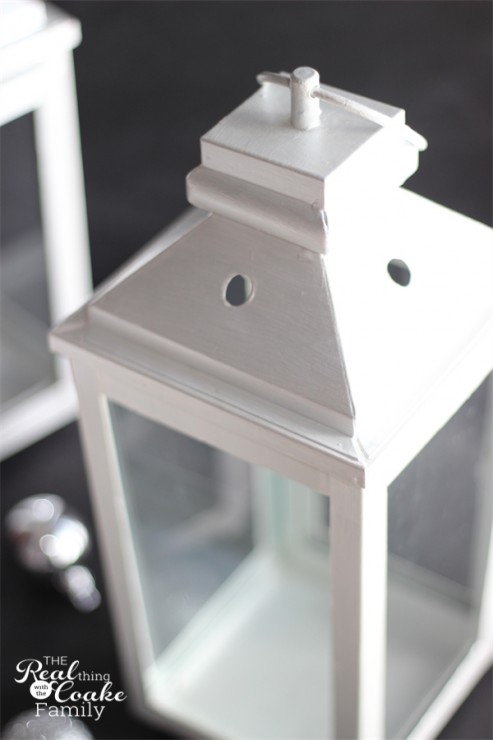
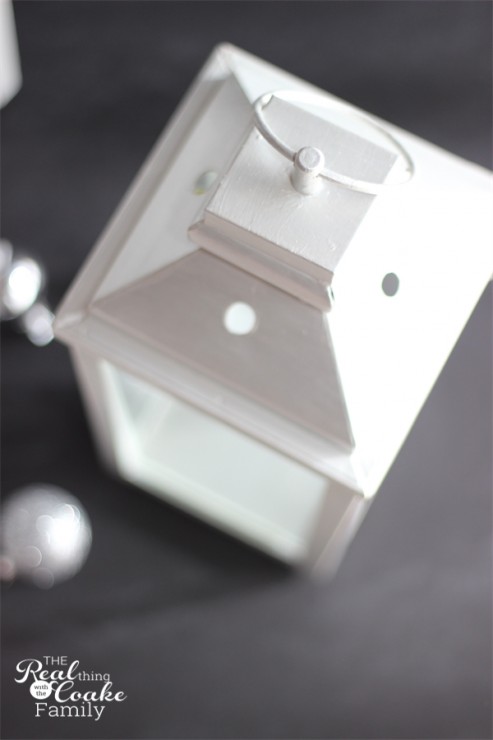
Pay attention to the details as you paint. It will make a difference in the long run even if you, like me, lack patience for painting multiple coats of detailed items.
I found that it took me about an hour to paint all three of my hurricane lamps with each coat. So, yes the painting took me 5 hours on these! Yippee! Oh well….I got the lamps done finally and I really like them. There is a bit of a lesson/problem though.
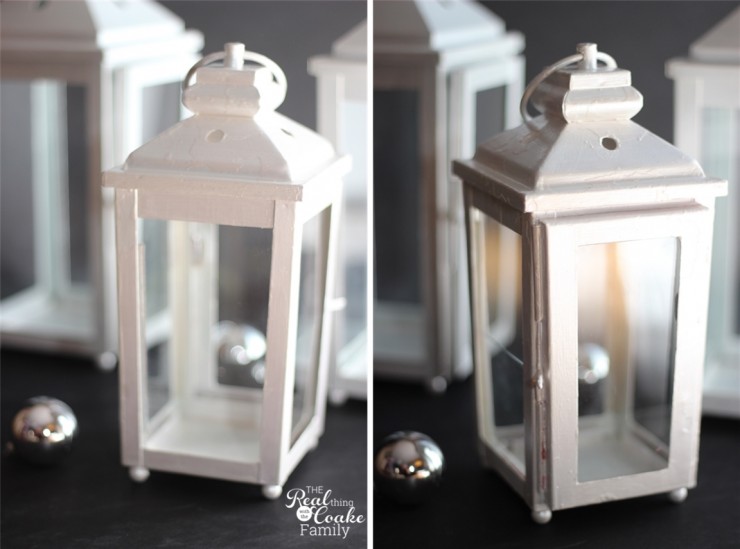
If your lanterns have chipped paint, you will want to completely remove the paint. Don’t just try to sand it down, like I did. You can see how badly my smallest lantern looks in this picture. I sanded it and the chipped paint really felt smooth. Not waiting to waist time or chemicals on removing the paint, I proceeded. Bad choice. It looks a bit like a kindergarten project. Thankfully, I think it looks OK on the mantel. Especially this time of year with greenery around it.
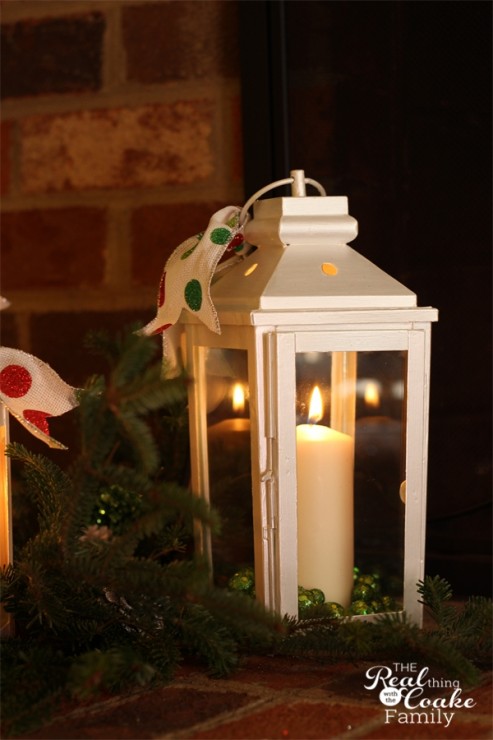
This is a large lantern not the small messed up one, but I’m giving you a teaser of how I used them on my Christmas mantel. I’ll show you the full mantel later this week.
I didn’t really love all the hours in making over these hurricane lamps, but I am super glad they are no longer in my shed and that they will finally get to be out on my mantel. So, it’s all good!
Do you have any projects or crafts you have put off for a long time? Or is it just me that has a list a mile long of things I want to get to. 😉
I link up with these great link parties and at My Repurposed Life, Between Naps on the Porch, The Scoop, and Savvy Southern Style.
© 2011-2013 The Real Thing with the Coake Family. ALL RIGHTS RESERVED.
It always amazes me how paint can completely transform anything. Love that you went all white. Simple, but the lamps look so much more elegant now! Nicely done.
Thank so much! I love the white as well…it is so versatile.
Take care,
KC
These are so cute! I’m a sucker for short cuts, too, and always learn the hard way. Looks like you kept on plugging because these are amazing!