These cute flour sack towels are a fun way to add some color or holiday decor to your home. Below you’ll find an easy to follow step-by-step tutorial to show you how to make them.
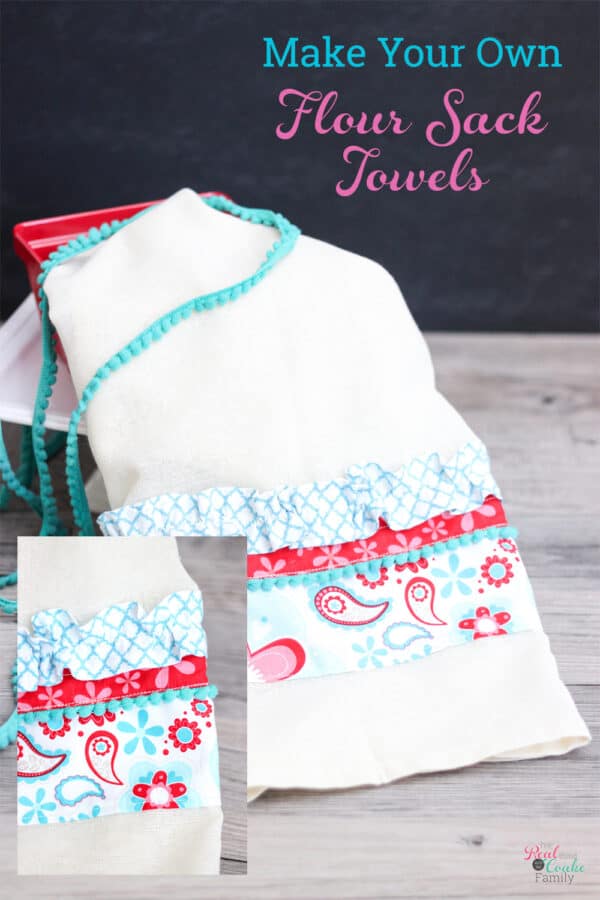
Earlier this summer, before we left on our cross-country adventure, I wanted to add a little summer touch to my home decor. I decided to make these cute flour sack towels. You can make these towels and add a touch of any season or holiday in your home. It all depends on the fabric you pick.
Now I’m going to have you start with a super challenging task. You’ll need to go to the fabric store. 😍 I decided to get some fabric from my local quilting store. I can’t usually justify spending double what I could get fabric for at JoAnn’s or Hobby Lobby. This project needed such a small amount of fabric, and I thought it was a perfect project for a little splurge. You can also raid your fabric stash, but an excuse for new fabric is always a plus, right?
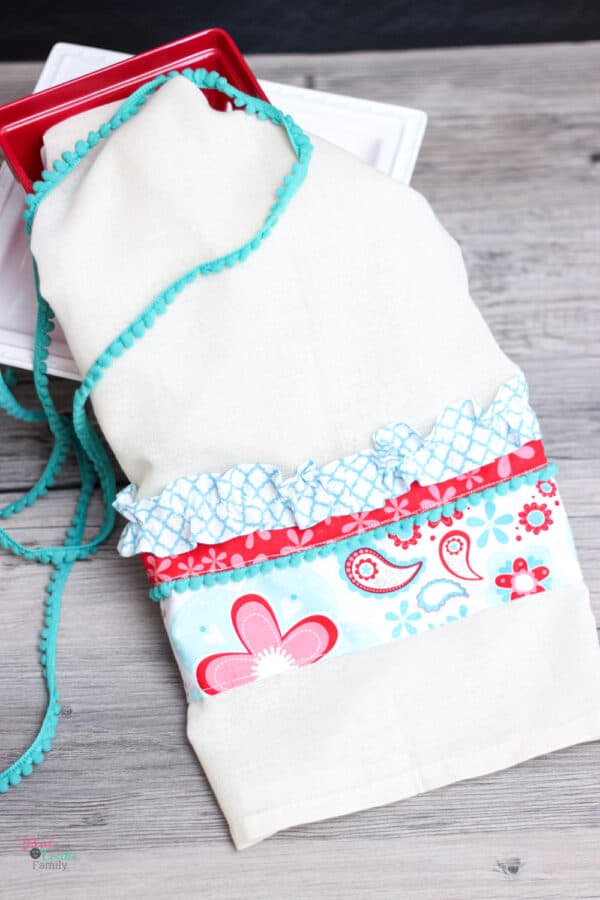
Are you ready to make your flour sack towel? Let’s do this!
How to Make Cute Flour Sack Towels
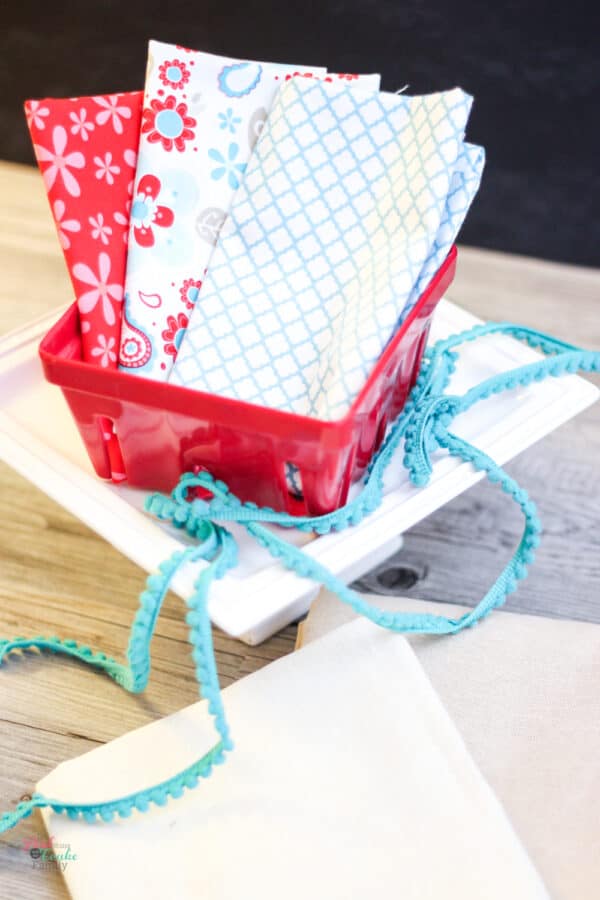
Supplies:
- Flour sack towels (affiliate link) – I got mine at Cost Plus World Market. They’re huge. I don’t recommend them as I prefer a smaller towel.
- 1/4 yard (or less) of each fabric to add to your towel
- Pom pom fringe (affiliate link)
- Sewing Machine (affiliate link)
- Thread
- Sewing Scissors (affiliate link)
- Pins
- Optional – Cutting Mat and Wheel (affiliate link)
Step 1: Cut fabric strips
TIME: 10 minutes
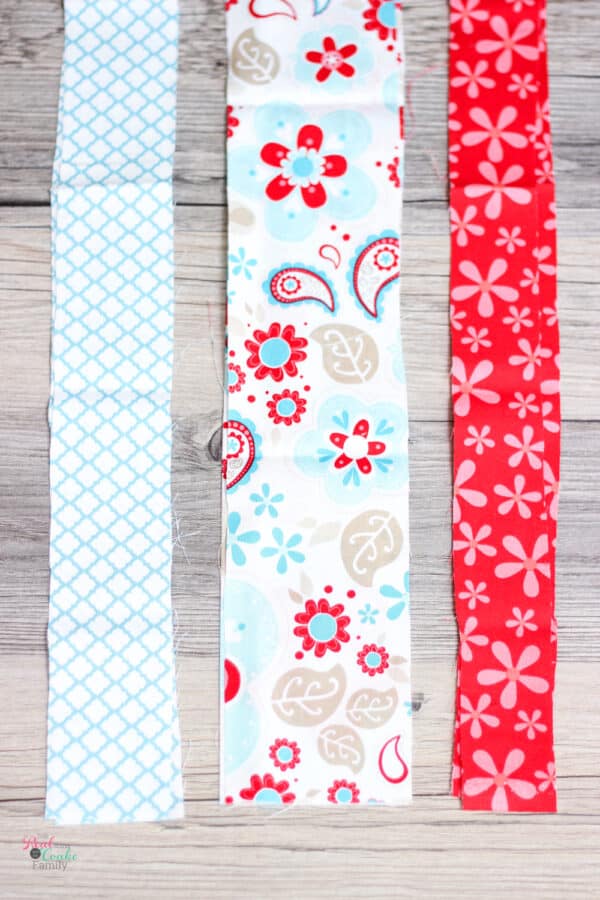
Start by cutting out your three fabrics for your stripes.
Step 2: Iron and hem
TIME: 20 minutes
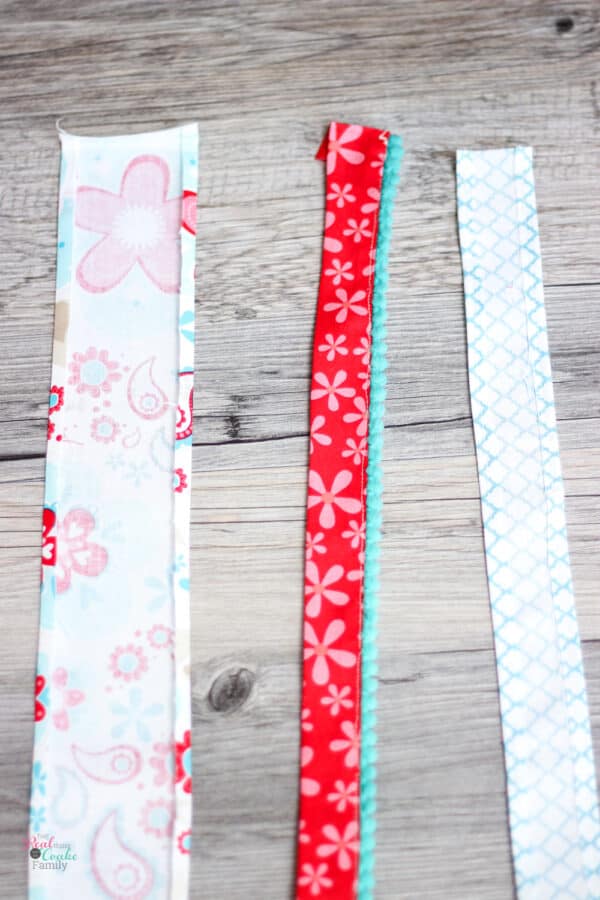
NOTE: For the ends, iron your 1/4″ hem at the end, then fold it over again and iron to create a double fold of 1/4″.
Step 3: Sew ruffle
TIME: 10 minutes
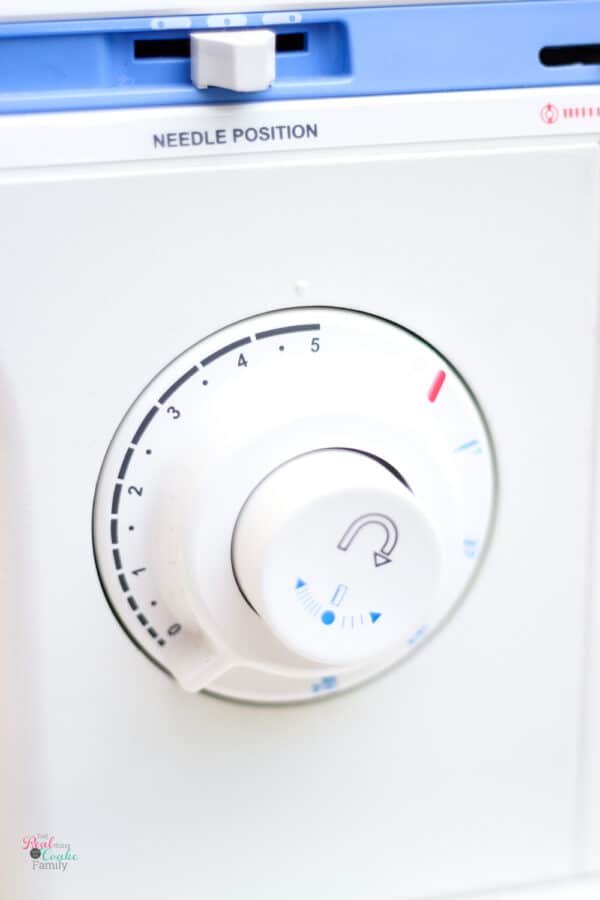
Set your machine to its longest stitch.
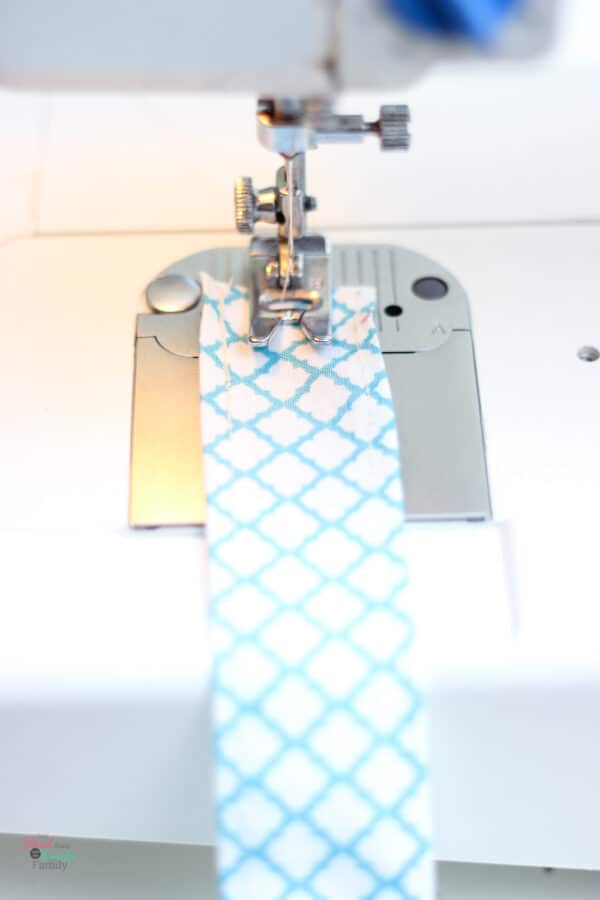
Sew straight down the middle of the stripe that you want to be the ruffle. Do not back-stitch.
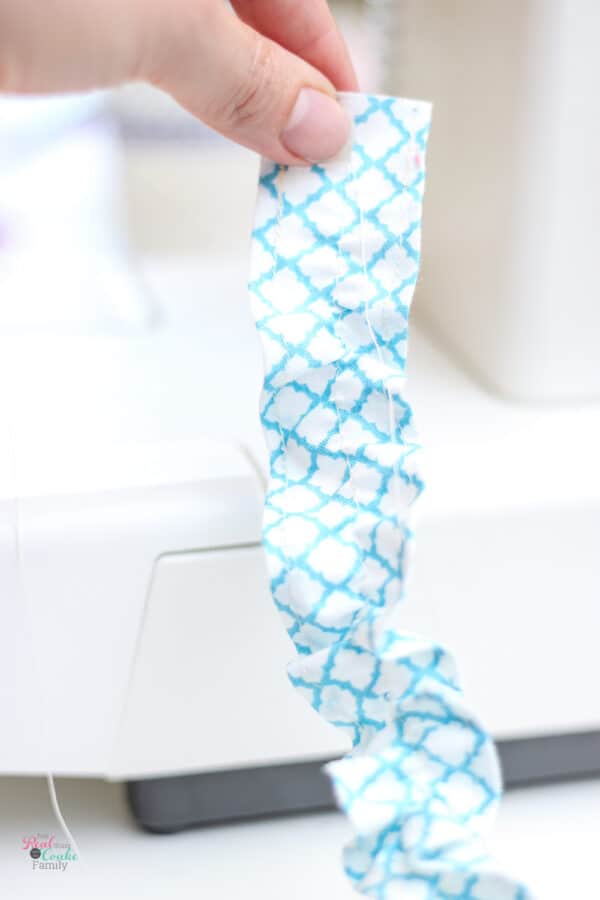
Gently use the threads at each end of this stripe to pull it into a ruffle.
Step 4: Pin and topstitch bottom stripe
TIME: 10 minutes
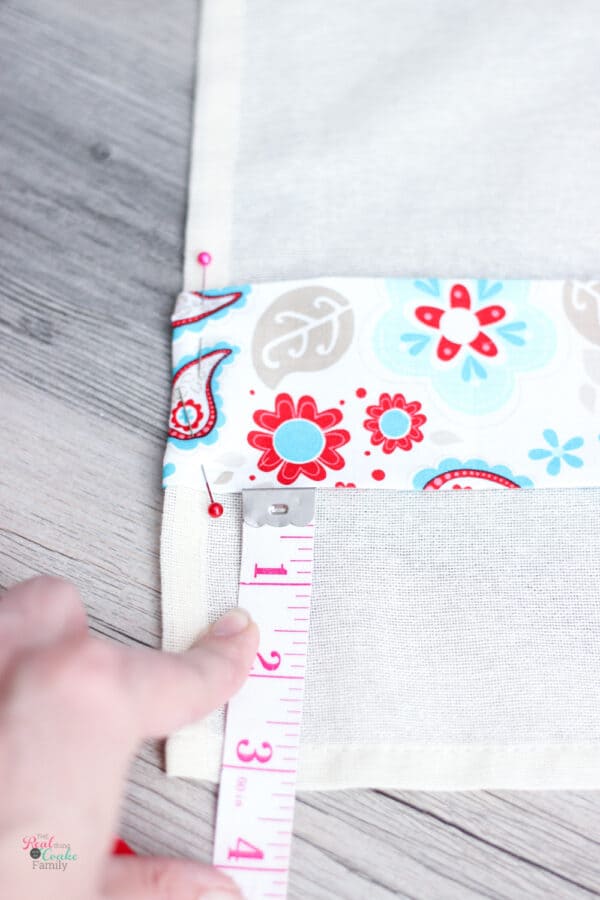
Measure where you want your bottom stripe to begin. I put mine at 3 1/4″.
NOTE: By using the 1/8″ hem, you will be getting the fabric that you ironed at 1/4″ and save yourself the time of hemming. It will also look better to see only the topstitching and not a hem and topstitching.
Step 5: Pin and topstitch middle stripe
TIME: 5 minutes
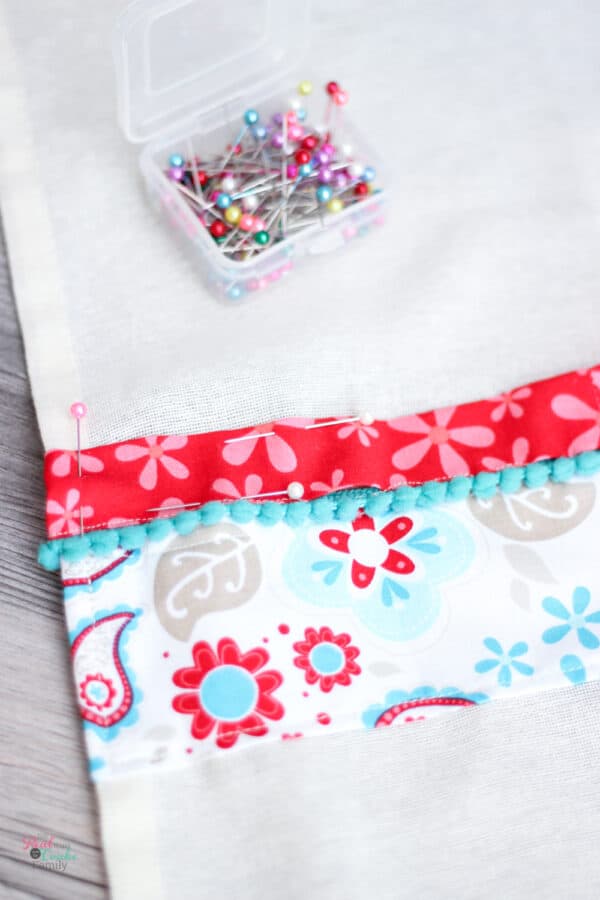
Because you lined up the bottom row so well, you won’t need to measure for this row. Carefully line the pom pom stripe up with the bottom row and pin.
Topstitch at 1/8″
Step 6: Pin and topstitch top stripe
TIME: 5 minutes
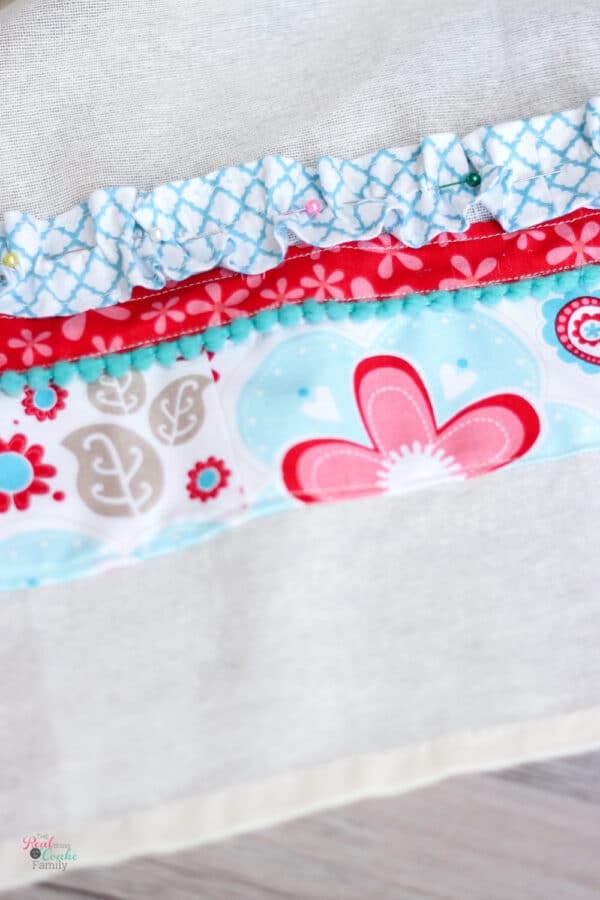
Follow the same procedure as step 4 & 5 for your ruffle row.
Step 7: Finish edges
TIME: 5 minutes
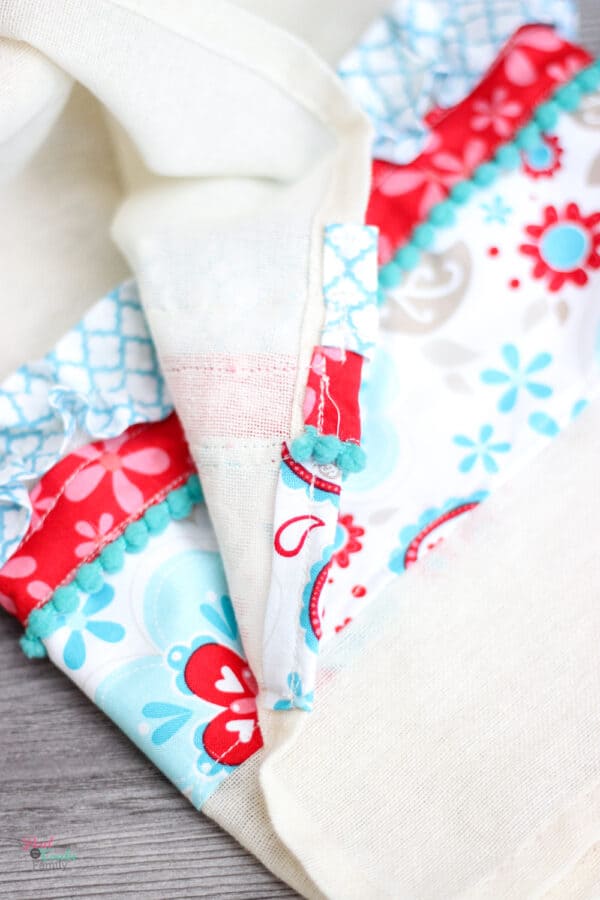
Fold the edges of your fabric around to the backside of the towel.
Topstitch in place to secure.
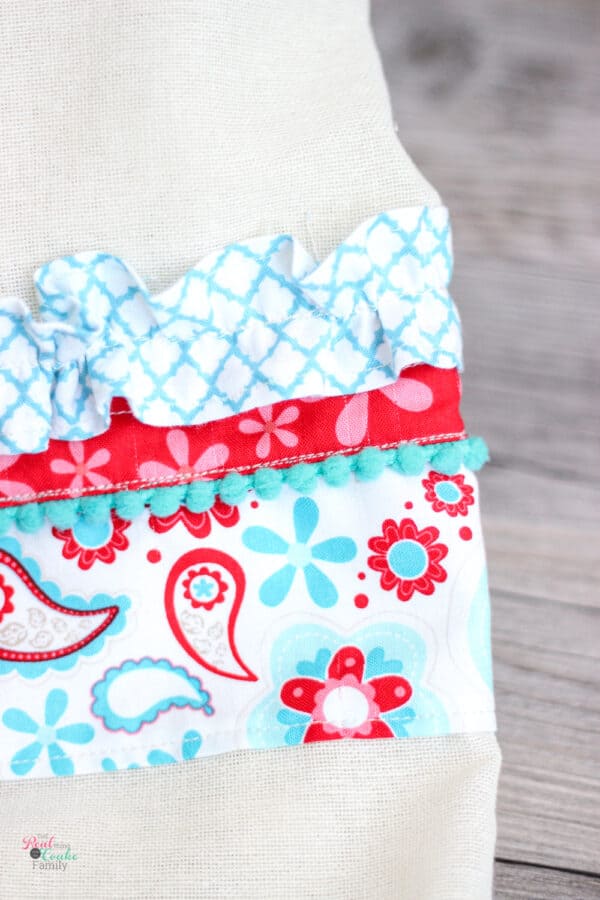
Love the fun and the colors of this towel!
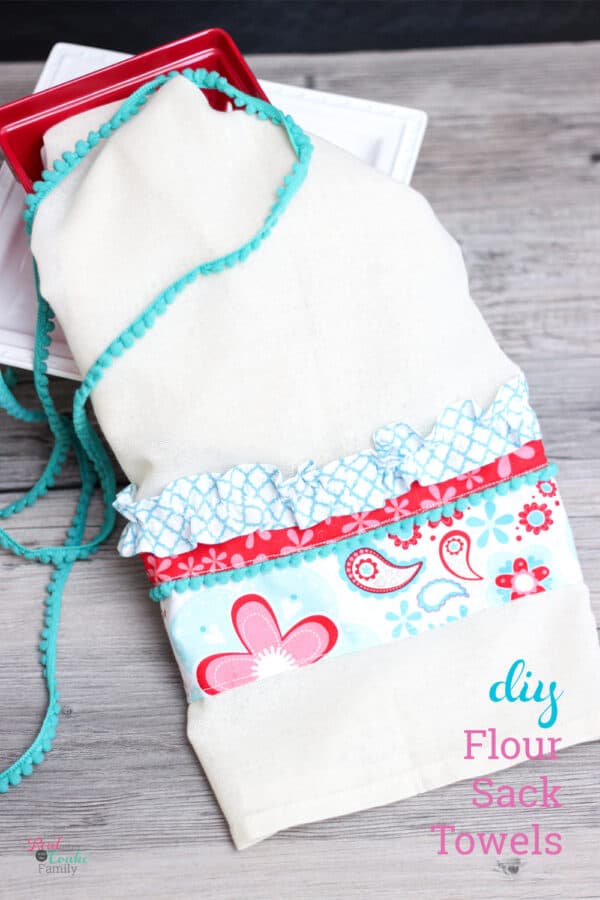
You can easily add towels that match your decor or match the holiday/season using this pattern.
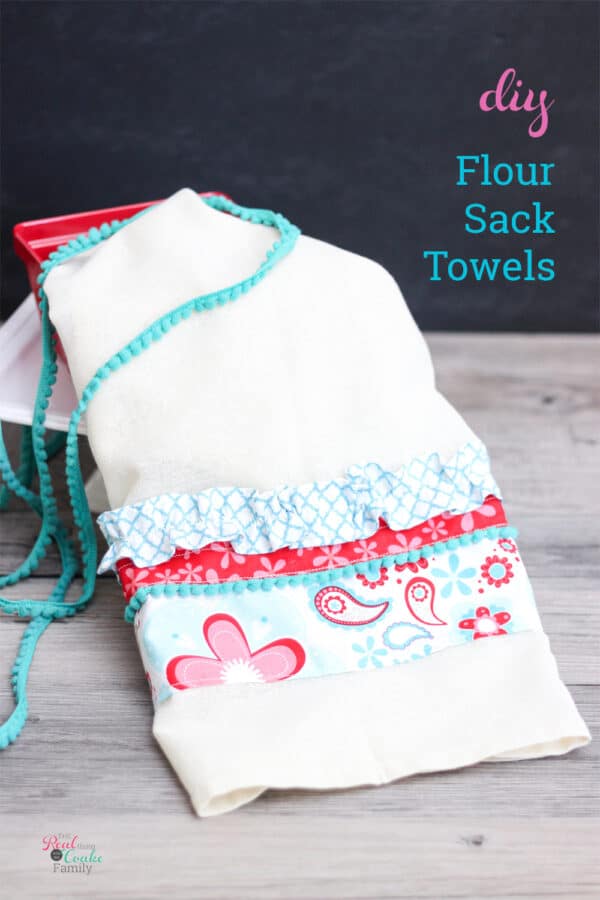
I think these towels are so stinkin’ cute. I have a feeling I will be making some for fall, Christmas, etc., etc. Such an inexpensive way to add a little something for the season.
Share your completed towels on Instagram by tagging me @realcreativerealorganized and use #RealCrafts.
How cute! I love the fabrics/patterns you chose.
Those are adorable! Pinned!
Oh, I love that!!! Going to pin that for sure!!
Thanks!
What about the back of the towel? Does it look unfinished? Do I do the same on the back?
I guess you could say that the back of the towel looks unfinished. With mine, I added the ruffles just over the edge of the back and finished them off there. I just folded the end over and gave it a finished look, IMO. Hope that helps.
How wide did you cut the two strips that are not the ruffle strip? As far as looking unfinished on the back, it would look no different than the back of an embroidered towel which to me is fine. Thank-you for the ideas. Lynn
Lynn,
It looks like I didn’t add this info to the post. I don’t remember, but judging looking at the images, it looks like they might have been 1.5″ and 3″. Hope that helps!
KC