Hey guys! I made some new pillows! I can’t believe that I can write that I “needed” new pillows, but I did. 🙂 I didn’t have any big Halloween decorative pillows. I just had one little one that I bought at the one spot at Target last year. I totally had to remedy that problem. 😉
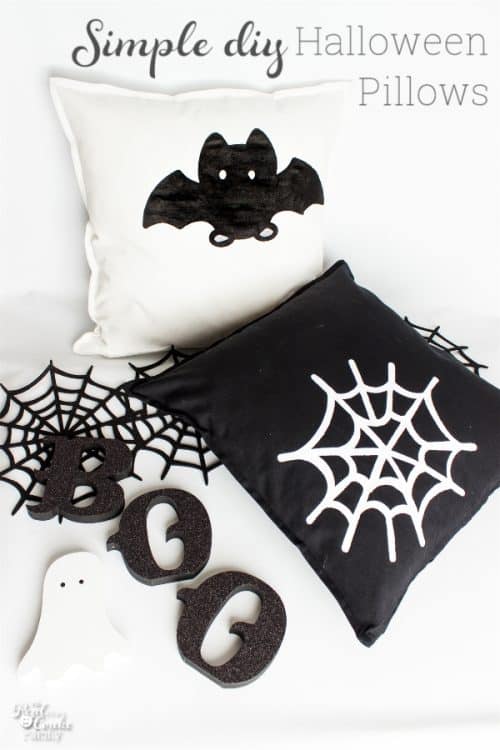
I bought these large(20″) pillow forms last year at IKEA and I have made a few different covers for them in the last year, like these that I made for Christmas. I have found it fun to not only have cute seasonal pillows, but fun to make them as well.
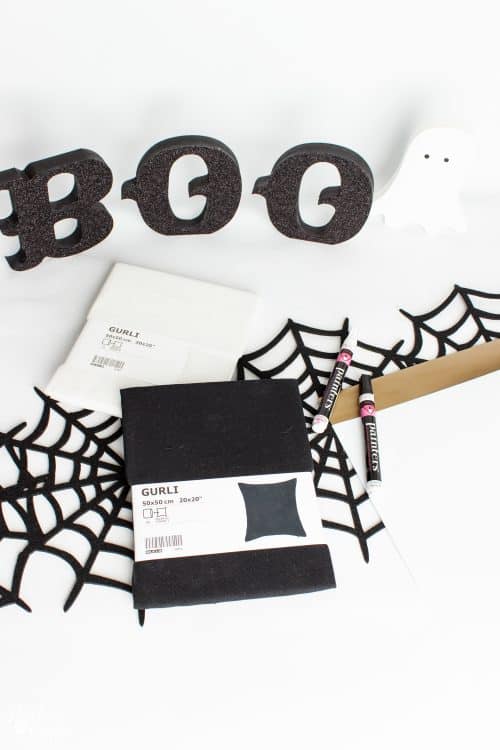
I took a trip to IKEA (it is about 1.5 hours from my house) before school started and grabbed some black and white covers for my pillow forms. I am glad I thought of it as I wandered through IKEA because for $5 each, you can’t beat the quality and ease of not having to sew them myself.
To make your own Halloween decorative pillows, you will need a pillow form, pillow form covers as well as a stencil and paint pens (affiliate link) or paints (affiliate link) that you can use on fabric. If you want to make your own custom pillow size or sew your own pillow covers, I’ve got tutorials for those. As for the stencils, I always make my own using my Cricut (affiliate link) and of course I have another tutorial for you on how to do that as well. 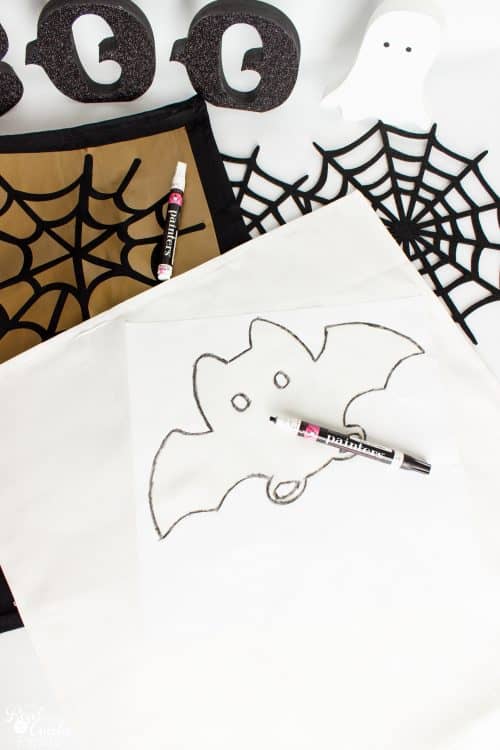
Once you have your stencil cut out, decide upon the placement on your pillow cover. I started by using my paint pens to fill in the bat. I probably should have known that trying to use a black paint pen on white fabric would be a losing battle, but I don’t always think totally ahead with these things.
If you follow me on Instagram (and you totally should 🙂 ), you may have seen the post of the pillow after 3 layers of painting with the paint pen. To me, it looked awful. It also took SO much longer than I thought it would. Uugh!
The same type of thing was happening with the white paint pen and trying to fill in the spider web on the black pillow.
I probably should have just used paint that was meant for fabric to begin with, but after a few hours of coloring and frustration, I got into my craft paint stash and painted the bat and spider web. I used the Martha Stewart paint. It says it is safe for fabric….though they also sell a fabric medium which I have used before with the paint when I painted on fabric. So, I really have no idea if it is going to be a problem or not. I don’t plan to wash the pillow covers, so I should be fine. If they get really dirty and gross, I will just throw them out and start again because then I will “need” new pillows again! 🙂
You would think that I would learn that projects rarely go as I think they will and even more rarely do they take the amount of time I think they will…but if I learned that I wouldn’t try half the stuff I do, so what’s the fun in learning that lesson. lol!
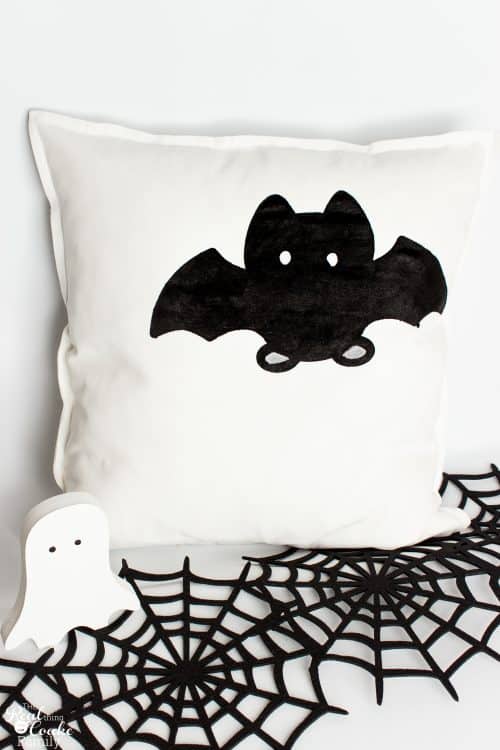
Despite my frustrations, I’m super happy that I have this adorable bat pillow.
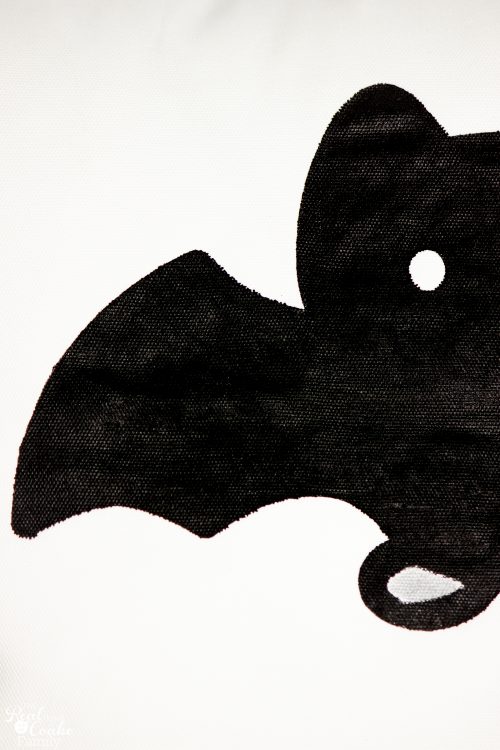
The paint did the trick that in person the bat no longer has that stripey look. It doesn’t photograph quite as well, but it looks good in person.
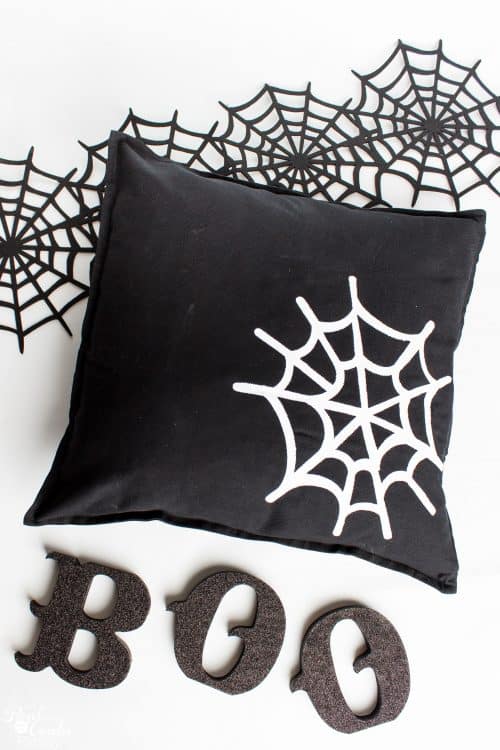
I’m also happy with the spider web pillow.
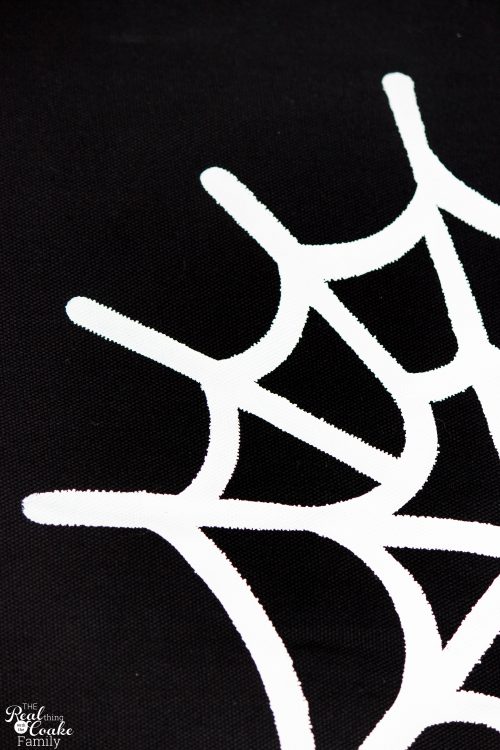
Details…there was some bleeding of the paint under the stencil, but it isn’t too bad.
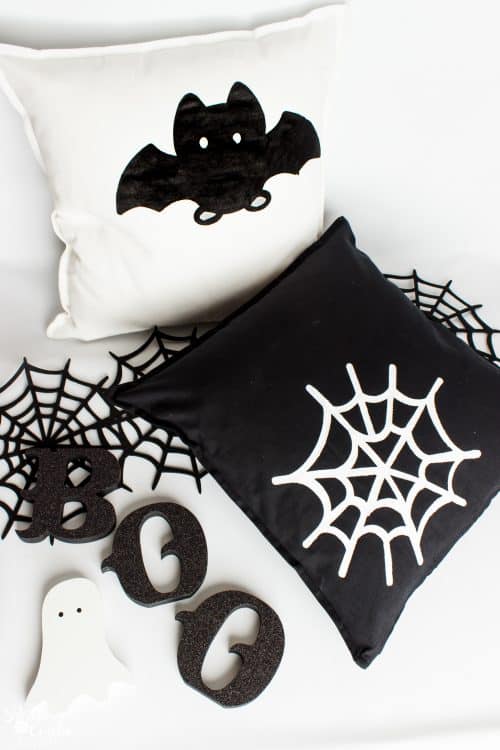
In the end, I’ve got two cute Halloween pillows that look really great on my couch. The paint has dried quite crunchy, but whatever….a little crunchiness is fine to have a cute pillow, right? 🙂
I need to make some Halloween pillows for my house. So cute! My kids would love them. Thanks for joining the Family Joy Link Party!
Thanks! They do add some Halloween fun and cuteness to the house. Yay!
Your Halloween Pillow Covers are great! It’s such a good idea to have pillow covers instead of tons of seasonal pillows.Thanks for sharing at Snickerdoodle. I’ll be featuring this at today’s party. Hope to see you there!
Thank you! Yes, the covers save a ton of space (and money), plus they are fun to make. 🙂 Thanks so much for the feature and for hosting!
These are so cute! My kids would love some for their rooms. Pinned!
Thanks! That is a fun idea! Now I need to make more so my girls can have some in their rooms as well. 🙂