Guess what? My living room is almost done…well at least I’ve got the walls painted and some art beginning to go on the walls. There are still a ton of things on my list for the living room. Today, I wanted to show you some cute DIY wall art I made for the new living room.
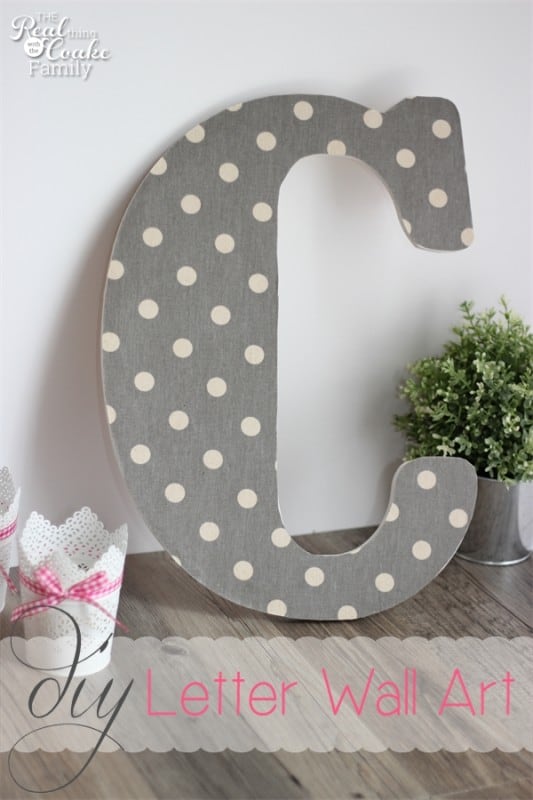
I just love it! I made a large monogram letter to match the new decor of the living room. This project was really easy and would work great to modify for your decor and your taste. You ready to make some cute and inexpensive DIY wall art? Let’s do this. 😀
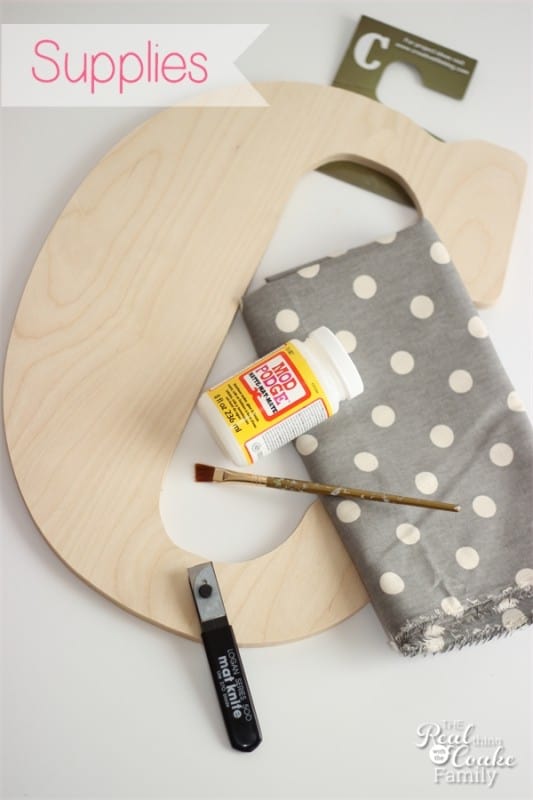
Supplies:
- Large wooden monogram letter
 – (this is an affiliate link and it looks just like the one I picked)
 - Scissors
- Fabric
- Paintbrush
- Mod Podge
- Pencil
- Optional – Command picture hanging strips
 (affiliate link)
 - (You will not need to mat knife shown above)
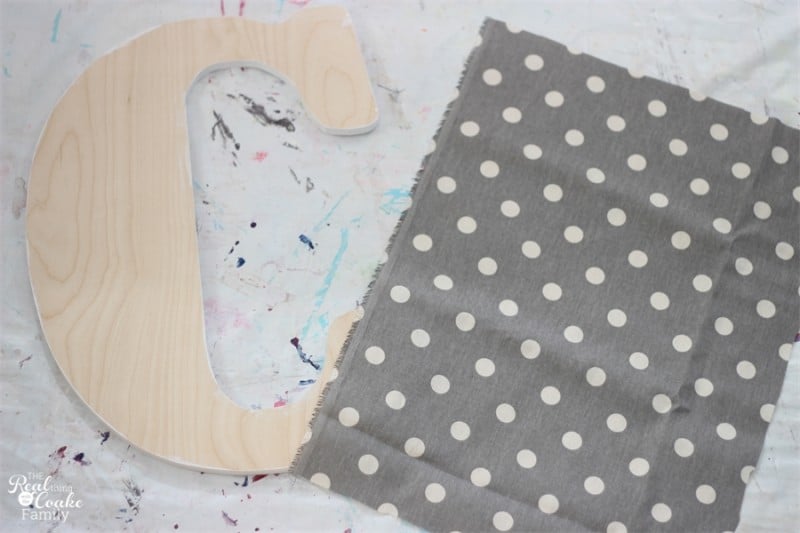
Start by painting the sides of your monogram letter. It will be a thousand times easier than trying to Mod Podge fabric there.
I painted mine the same color as my fireplace so it would mesh will with the room.
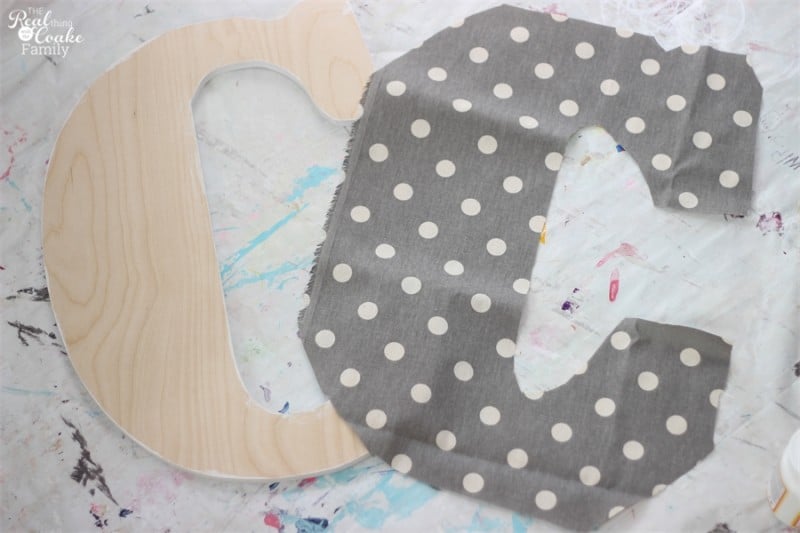
Do a rough cut of your fabric to the approximate size you will need for covering the wooden letter. Your fabric piece should be larger than your monogram at this point.
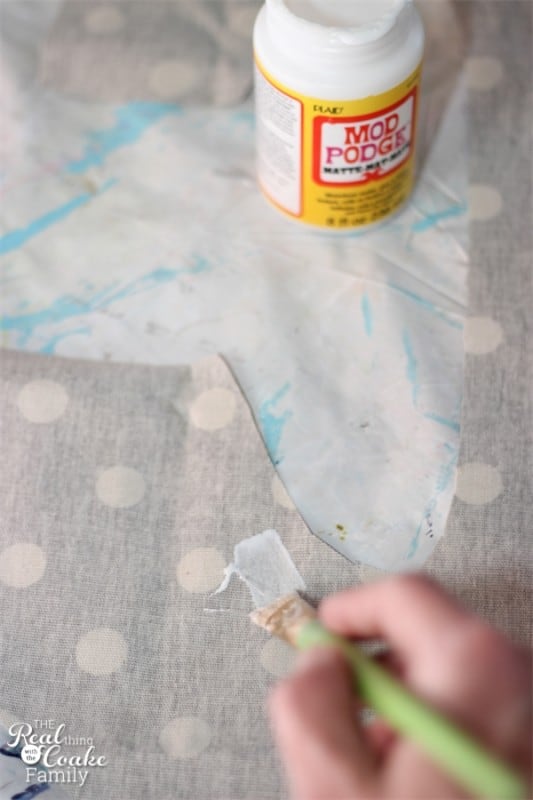
I did a little reading before I began this project…shocking for those of you who follow my blog. I usually just dive right in and figure it out as I go, but this time I didn’t want to ruin my fabric. I’m SOOO glad I did. I found out in a Learn how to Mod Podge/FAQ post on Amy’s site Mod Podge Rocks that it is best to prepare the fabric before applying it. I did not use fabric Mod Podge. It is supposed to be great because it is washable, but I don’t need to wash this and it saved me money to use what I had.
To prepare the fabric, apply a medium coat of Mod Podge to the back of the fabric. You will be doing this to the full rough cut of fabric. A great bonus of doing it this way is that the fabric won’t fray when you cut it! Love that!
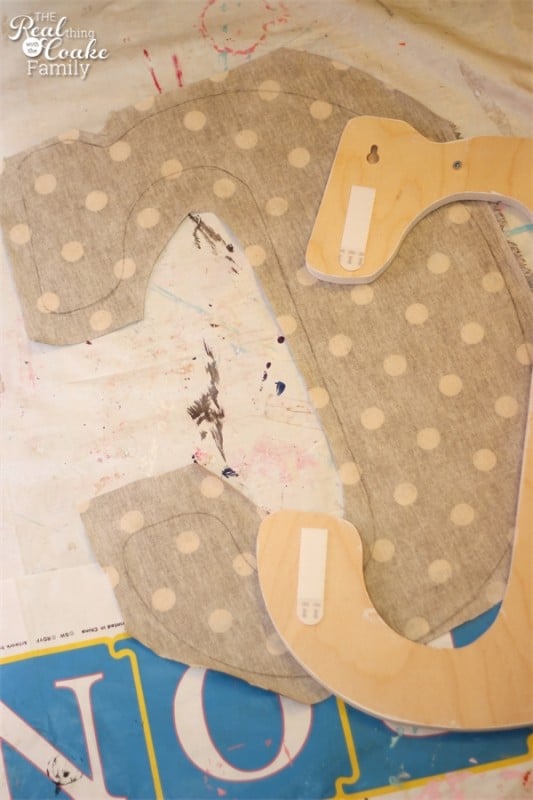
Once coat on the back of the fabric has dried, you will notice that the fabric has stiffened. Turn your letter over (you can see I already have my Command picture hanging strips![]() {affiliate link} ready to go to hang my letter up) and trace it on the fabric. Cut your letter out of the fabric. Try to cut as closely on the line as you can. It will give you the best finished look without fabric hanging over or missing in certain areas.
{affiliate link} ready to go to hang my letter up) and trace it on the fabric. Cut your letter out of the fabric. Try to cut as closely on the line as you can. It will give you the best finished look without fabric hanging over or missing in certain areas.
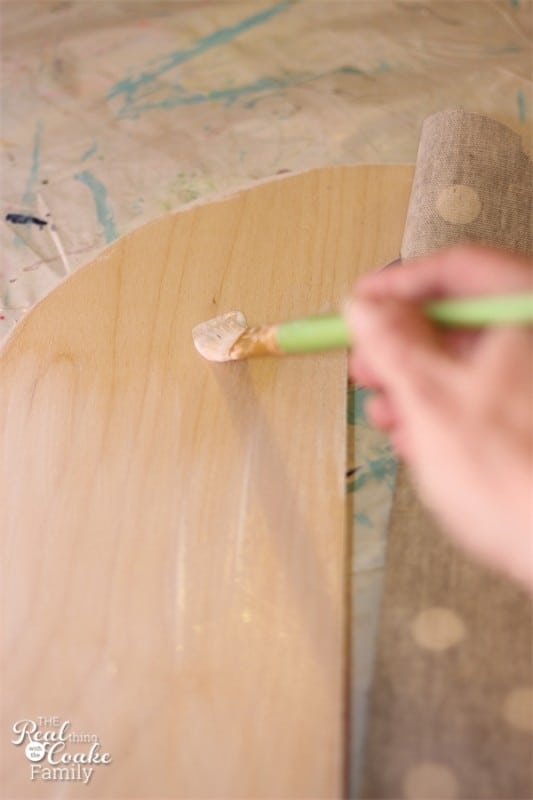
To apply the fabric, I started by lining my fabric up on my letter. Then I lifted up on of the curved parts of the fabric and applied my coat of Mod Podge. I carefully smoothed the fabric onto the Mod Podge in that area and used my hand to make sure it was smooth and flat. I then moved on to the large part of the C with the same process and finished with the other curved portion of the letter.
You could always apply the Mod Podge and apply the fabric, but I was concerned about getting the fabric to line up precisely on my letter. I felt like I would get better results this way. Take your time so you are happy with the results. Use a brayer or a pizza roller to smooth the fabric out and get rid of any bubbles or wrinkles.
Wait for the Mod Podge to dry. You can be done now. You don’t have to add a top coat of Mod Podge. I opted to add a top coat because I felt like it would help make my project a touch more durable and that the edges would be less likely to come up.
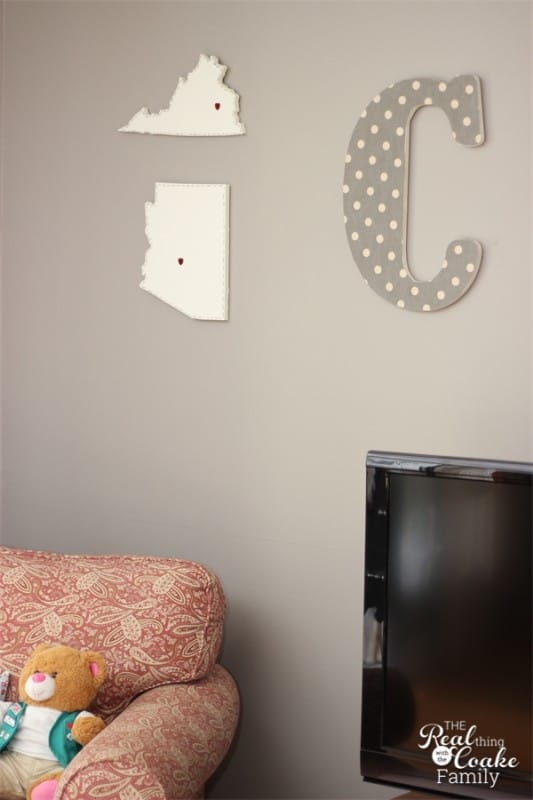
I hung my monogram wall art on the same wall as the state diy wall art I made. I picked the grey and tan/cream polka dot fabric to help tie my room together. I went with a grey wall that has a taupe/tan undertone. My couch is tan as are my drapes. I won’t be replacing them anytime soon, so since I wanted grey, I needed to go with shades of grey that would go with my existing decor. So needless to say, when I found this fabric at Hobby Lobby, I knew it was perfect. I found another coordinating fabric and bought some of it as well. I plan to make accent pillows out of both fabrics later….more projects on my list. 🙂
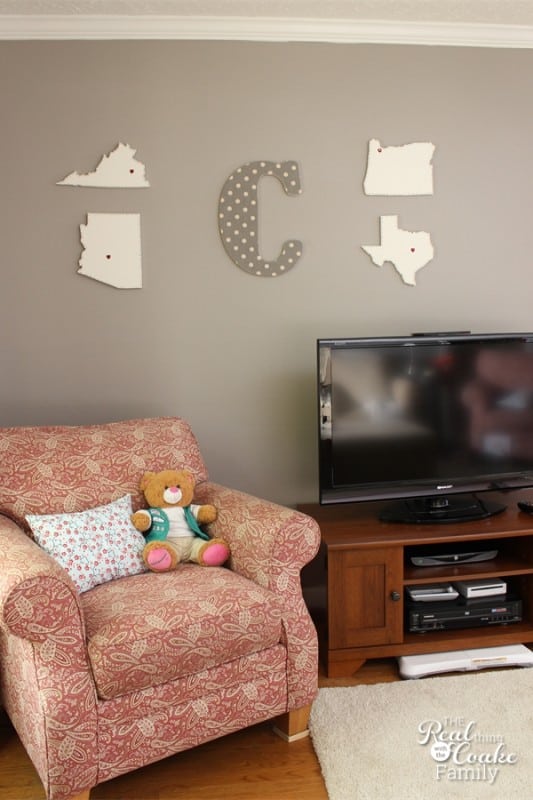
As you may have noticed, the wall color is done in the living room and the chair rail is gone. Yay! We are making progress. Getting the walls finished well turned out to be a bigger project than I thought. I’ll tell you about that next week, hopefully. I finished up the quarter round around the fireplace this week and got some pics of the room, so hopefully I can get those processed and up for you next week.
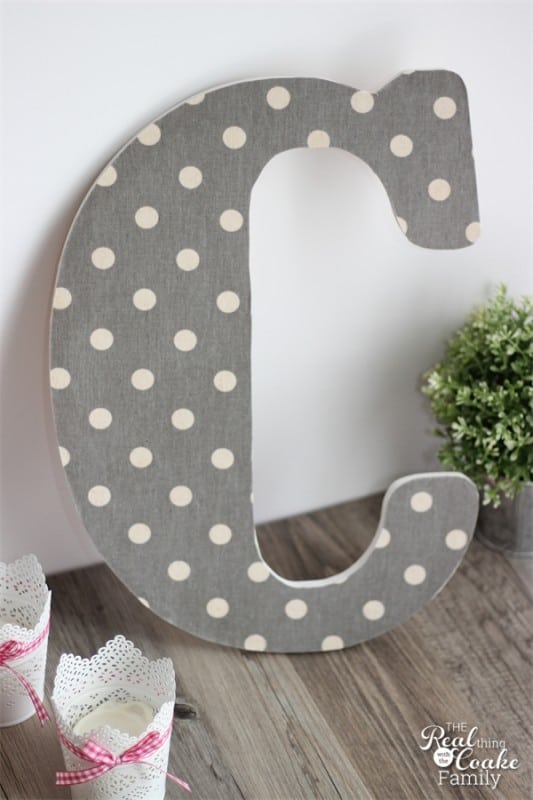
Back to the project at hand, here is the finished adorable monogram DIY wall art. I’m super happy with how it turned out!
Now for those of you who wanted to see my to-do list (I talked about this in my Keeping it Real ~Help I’m Drowning post), I thought I would add the things that I still want to tackle in the living room here. Of course I have a ton of other projects in other rooms as well, but I haven’t quite figured out the best way to make that list (cuz I really don’t want to type it over and over at the bottom of every post and I also don’t want to have to edit a photo/file for every post either. I’m trying to come up with a simple way for me to share my to-do list with you…maybe in my sidebar(of course that would make my sidebar really long)? What do you think? Any ideas?
Living Room To-Do
- New Lamp Shades
- Finish quarter round by fireplace
- Touch up paint
- Paint frames for wall above couch
- Figure out what to put in frames above couch
- Wall art for by chair and lamp by fireplace
- Make decorative pillows for couch in coordinating fabrics
- Paint/Refinish end tables
- New Drapes?
- New TV/Entertainment stand
- ?Paint/refinish/recover my Grandma’s chair
- ?Move mantel lower or re-do it?
- ?What to do about bookcases now
- ?New fish tank stand or refinish?
- ?Recover or get new ottoman/coffee table
Keep up with my latest projects and my family on Facebook or my favorite, Instagram.
More Crafts and Decorating Fun for You:

Nice and simple project! Well done 🙂
Looks fun! Certainly added a nice touch to your state wall-art wall too.
I am in love with this project! So easy and makes such a cute focal point! I’d love to do a similar project for my son’s room so I’ll be pinning this!
Thank you, Carrie! I agree, easy and cute focal point. I hope if you try something like this for your son’t room that you are super happy with the results. I think you will be. 🙂
I’m loving your polkadot monogram wall art so much! Happy to feature you tomorrow! XO, Aimee
Thank you so much, Aimee! Thanks for the feature as well. I pinned it and shared it on my facebook page as well…hope it helped get the word out a little bit. Have a great night.
Love your fabric and cute C craft! Pinned:)
This is super cute! Love how easy it is to make something awesome for your wall! In love with your whole wall display with the states 🙂
Thank you! Don’t you just love that how it is to make your own art? I love it too! I have plans for lots more DIY wall art…it fits my budget and my taste.
Thank you for the inspiration!
My friend brought me some fabric back from a trip to Africa and I really wanted to do
Something special with it. As soon as I saw this I knew I was going to use that fabric.
You are welcome! How special! I’m so glad I could give you an idea of what to do with your special fabric. Hope it turns out fantastic and that you LOVE it!
Real hard work to be appreciated.