In case you haven’t noticed a theme this Halloween, I’m all about the easy, quick and inexpensive Halloween crafts this year. It just fits the time, budget and things going on in my life this year. Plus, who doesn’t love a quick and easy craft that turns out cute? I’m guessing only the grumpy people who don’t like crafts. (Did I just write that…must be that I am crazy tired!!)
It is my birthday as I write this and I was up late dealing with tech support since my site was down. Of course, now that I have a child in public school, we had to actually get up this morning. No sleeping in. Boo! Add to that another 7 hours of tech support this morning and I’m tired and tired KC = punch dumb joke KC. So this may be an interesting post and an interesting birthday! 😉
Anyway, to the craft at hand. I’ve got a tutorial for you on how to make these cute little ghosts. You will find them quick and easy….unless your eyes are getting old like mine. Then dealing with the transparent thread will not be your friend. Trust me! In which case, just use white thread. I think it would look just as good and be much less headache.

Craft Supplies:
- Tissue paper
- Transparent thread (or white if you prefer)
- Needle
- White yarn
- Black feather boa (if you want to use your craft as a garland)
- White glitter mini clothespins (if you want to use your craft as a garland)
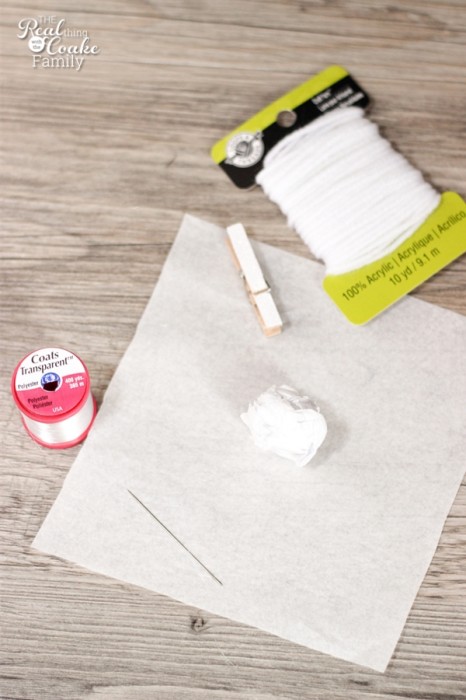
Start by cutting your tissue paper into squares. I used 4 sheets of tissue paper and cut each piece into 12 squares. My squares were about 6″ x 6″. I had extra tissue paper left. You will need three squares per ghost. You can vary the size of your tissue paper squares to vary the size of your ghosts.
Use two squares of tissue paper to crumble into a ball to make the head of the ghost.
Thread your needle with your transparent thread….good luck! Hope it doesn’t prove to you that you need reader glasses like it did for me. If it does, I’m sorry for showing you a craft that makes you feel old, but don’t say I didn’t warn you and tell you that white thread would work instead. 😉
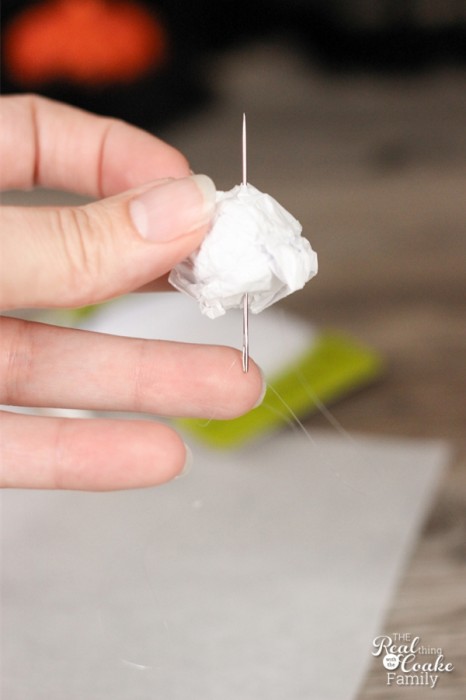
After threading your needle and attempting to put knots in the end, run your threaded needle through the middle of your ball of tissue paper. The knots never would work for me, so I still added them, but I left a bit of a tail of thread.
By the way, doing all of this way, will allow your ghost to hang right when you hang it up. I tried using the yarn that went around the base of the head to hang them up, but then the ghosts kind of lay flat. Not the look I was going for. That is when I came up with this idea.
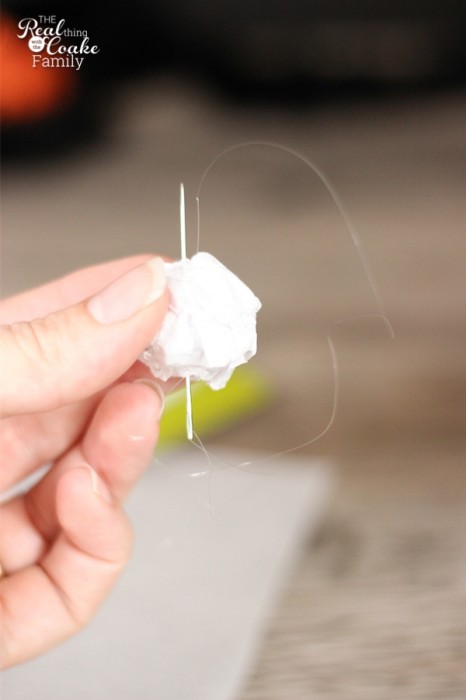
After going through the ball of tissue one time, I threaded the needle back through the ball of tissue in the same manner I did the first time. Before pulling that tight, I ran the needle through the hole you see to the right of the ball(above). This makes a knot in the thread that goes around the ball of tissue and will hopefully make it more secure.
I recommend that you not pull too hard on the thread when you are done. For mine, the thread could still pull out if I pulled hard enough.
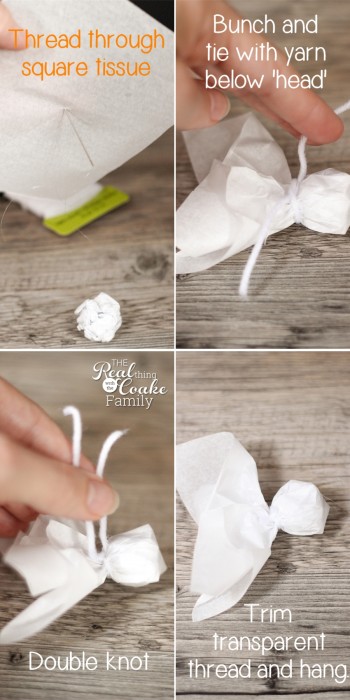
Take another square of tissue and thread it through the center so that it lies on top of your ball of tissue. Bunch the new square of tissue around the ball of tissue, or ghost head.
Take a small piece of white yarn and tie it around the bottom of the ghost head. Double knot it and trim the ends as short as you can. Make sure as you are doing this that you don’t accidentally tie the transparent thread into the tie around the bottom of the ghost head.
Finally trim the transparent thread to the length you want it and hang your ghost.
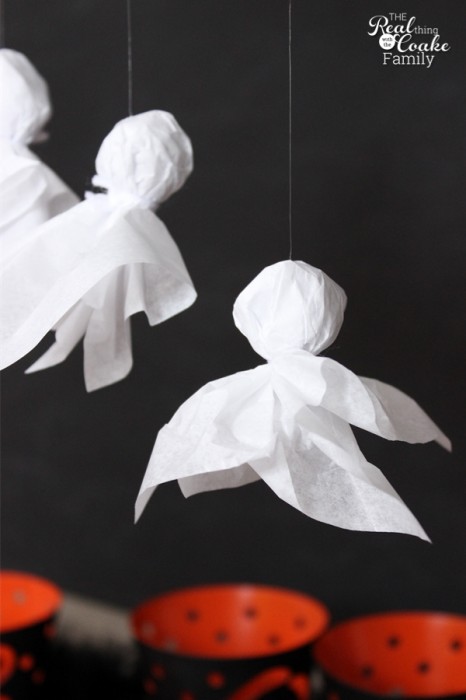
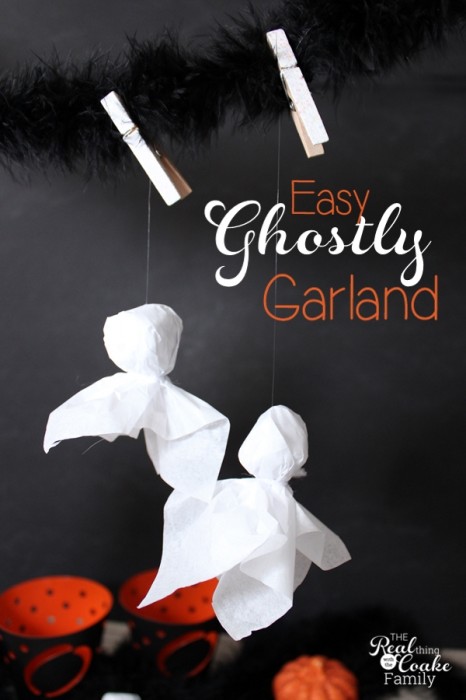
Don’t they looks so cute? and so perfect for a cute Halloween decoration! I love Halloween decorations that are not too blood and guts. Just the fun stuff.
You can use these around your house for different decorations or if you lived in a place that didn’t rain much, you could add them to your trees. I think it would be so cute to have a bunch of ghosts blowing in the breeze. It rains way too much here for me to do that.
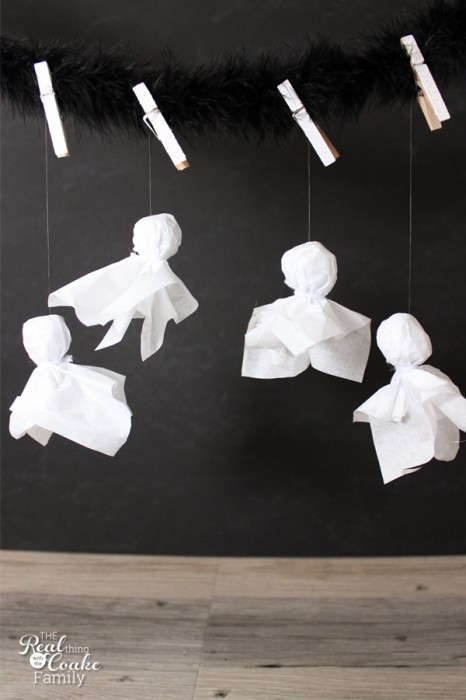
I’m using mine on my Halloween mantel. I used my black feather boa that I bought in the kids craft area at Michael’s. I attached the ghosts to the feather boa with those cute little mini glitter clothespins that I made in a quick 10 minute craft idea.
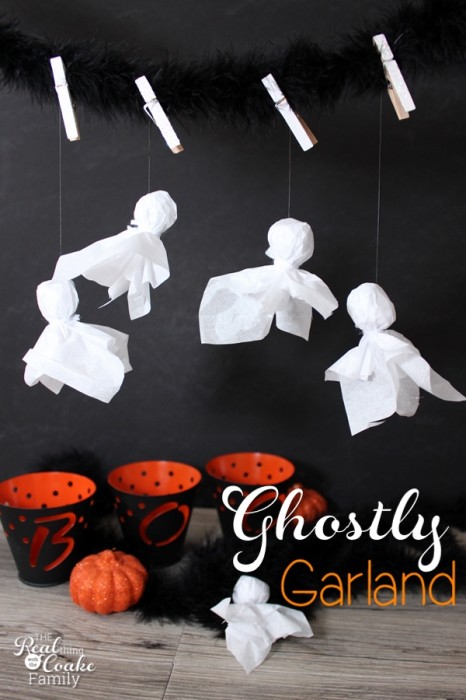
Truth be told, I made these cute ghosts and hid them in a box so the cat wouldn’t eat them. After I photographed them from the swinging bar in my living room (sounds nice right? Just a dowel rod tacked to the ceiling with twine and thumb tacks…the things we bloggers do for a good pic!!), I put them back in the box and fully planned to get them hung up on the mantel the next night. They are still in the box keeping the cat from eating them. Things have been so hectic lately. I’m going camping with a whole bunch of Girl Scout leaders and their daughters this weekend. So, keep your fingers crossed that I can get these up and get the other craft that I need to get done to finish the mantel. If I do, I’ll show you all of that next week. Whew….I’m exhausted already.
What cute and easy Halloween crafts can you share with us?
More Halloween Fun For You:

Quick and inexpensive indeed. This is so clever, KC and just in time for this Halloween. Thanks so much for sharing this with us on #shinebloghop! Happy you were able to join us!
Thanks so much!
Darling! Thanks for sharing with us this week at Throwback Thursday!
Mollie
Thanks!