Need Christmas decorating ideas? I’ve got one for you today. I have always wanted to put a Christmas garland on my stairs. Each year I eye them in the catalogs that come, but they charge so stinking much for them. It just makes it out of my reach.
This year, I decided I was going to have a garland. It was time to make my own. It was actually really easy. It just took me a little bit of time. I LOVE the results! I only wish I had a plug near this railing because lights would just make it that much better. Oh well. For now, I’ve got a tutorial for you, so you can make your own simple and inexpensive Christmas garland.
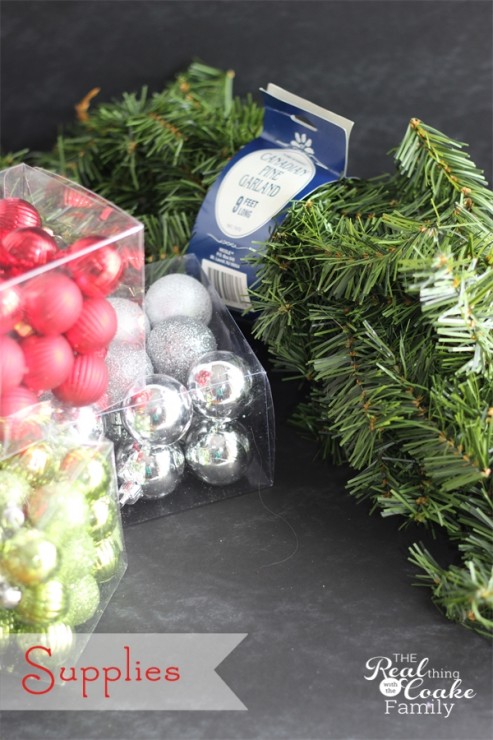
Supplies:
- Garland
 – My garland is the super cheap kind. I got it at AC Moore on sale for less than $5!
 - Small ornaments

- Twine
- Ribbon

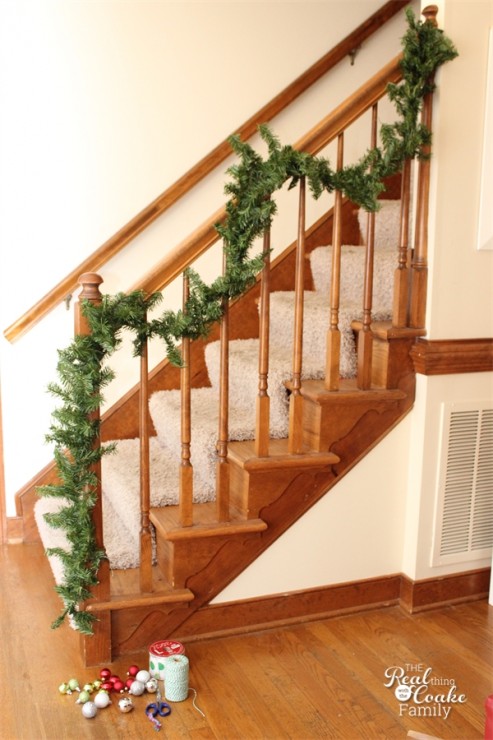
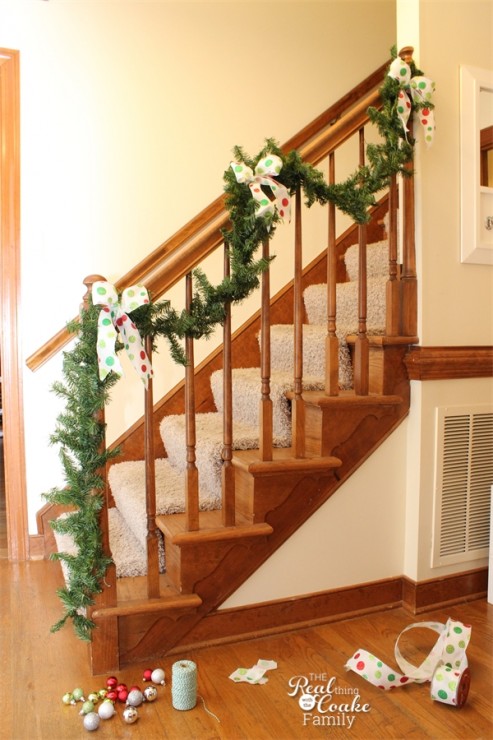
Start by opening your garland up and pushing each set of branches out. You will want to take a few minutes with this fluffing of your garland because it will pay off in the finished product looking better. Once you have fluffed, use twine or whatever you plan to use to hold the garland in place. I used my baker’s twine and tied the garland to the banister. I was able to hid most of the twine under and behind the garland.
Next up, is adding the ribbon to your garland. Tie it around the garland not the banister. That way when you go to take the garland down at the end of the season, the bows will remain in place and in theory you can pull your garland out and use it again next year. Everything will be in the correct place, ready to go. It will just need fluffing.
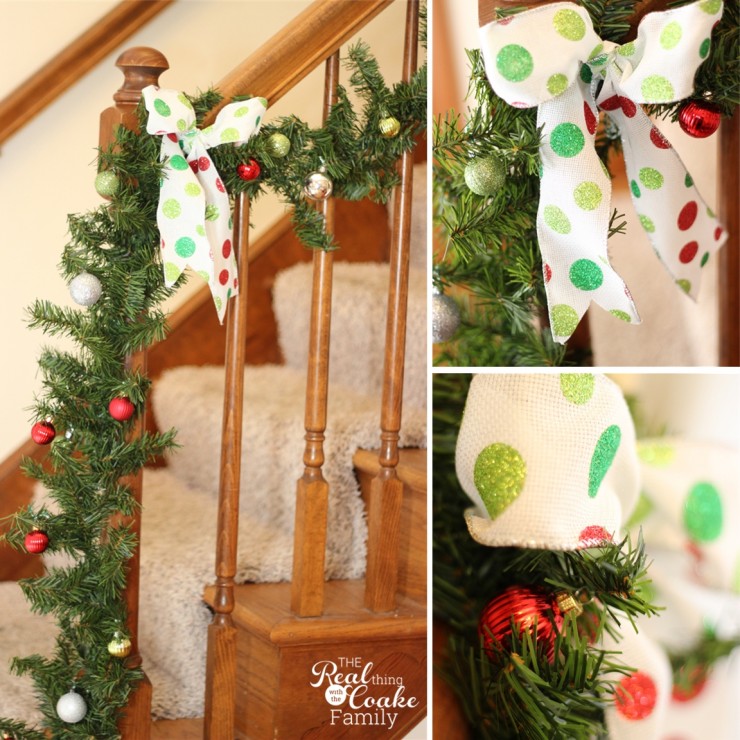
My ribbon is a glittery ribbon. It made such a huge mess tying it onto the garland. I don’t mind because I really like the ribbon, but if things like that bother you, don’t buy a glittery ribbon.
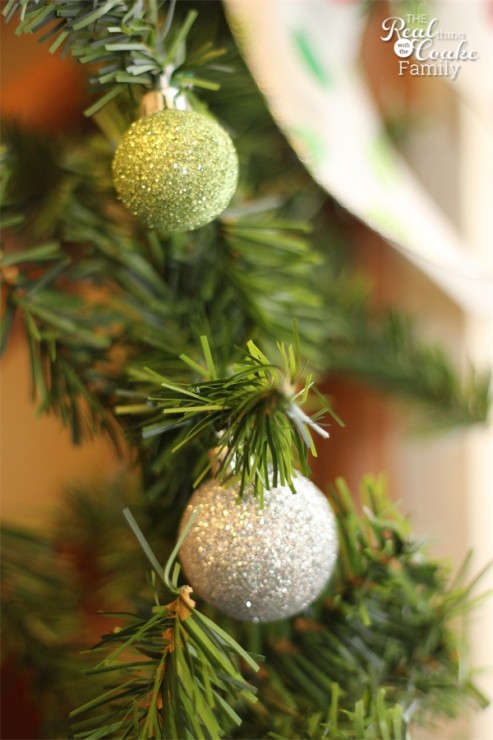
The next step is to tie the ornaments onto the garland. Once again, I used my baker’s twine to attache the ornaments. If you look closely at the picture above, you can see the green and white striped twine. Overall, it really didn’t show much and it was what I had on hand. I’m sure if you have some kind of string or twine that is a solid green, it would look even better.
Just keep placing ornaments on your garland until you are happy with how many and the placement of all of them. As you can see, I used a variety of colors and sizes. They were all small ornaments though. I got them between AC Moore and Hobby Lobby.
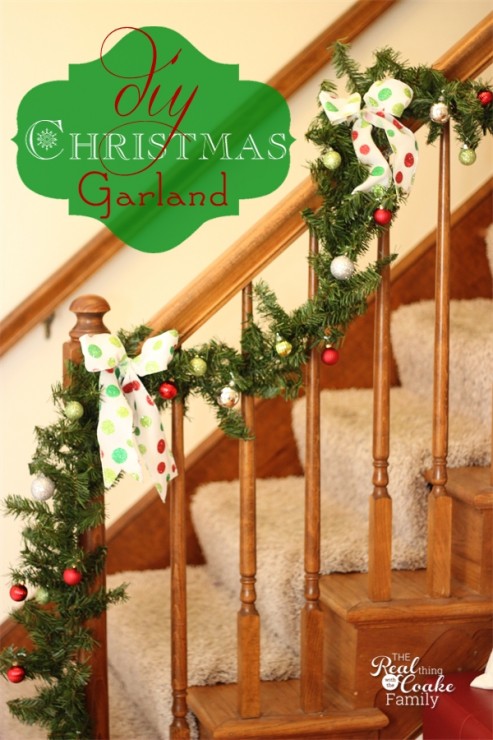
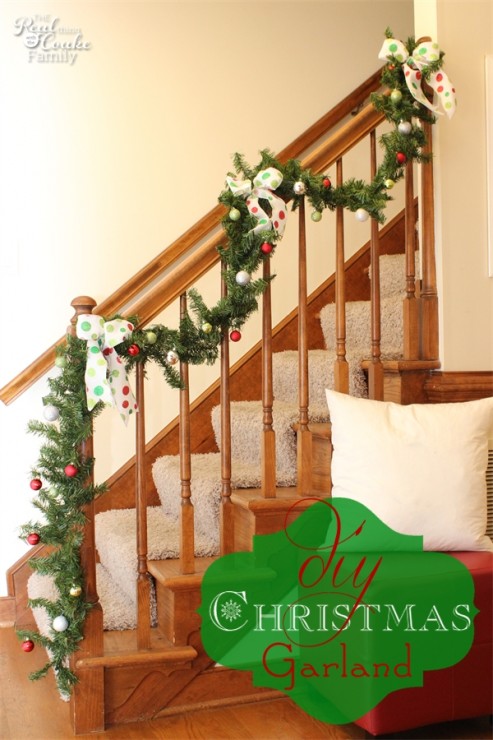
I’m so glad I decided to make my own garland this year! Not only did it save me tons of money over buying one. I love the look. I love the fun, glittery polka dot ribbon!
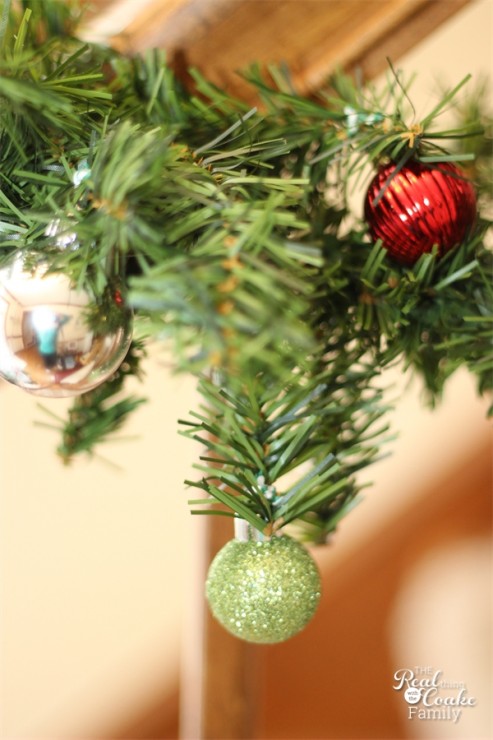
The ornaments add some fun and more sparkle and glitter. I tied mine to the garland to keep our cat from batting them off. If you don’t have a cat, you could just use ornament hangers or the opening at the top of the ornament to attach them to your garland.
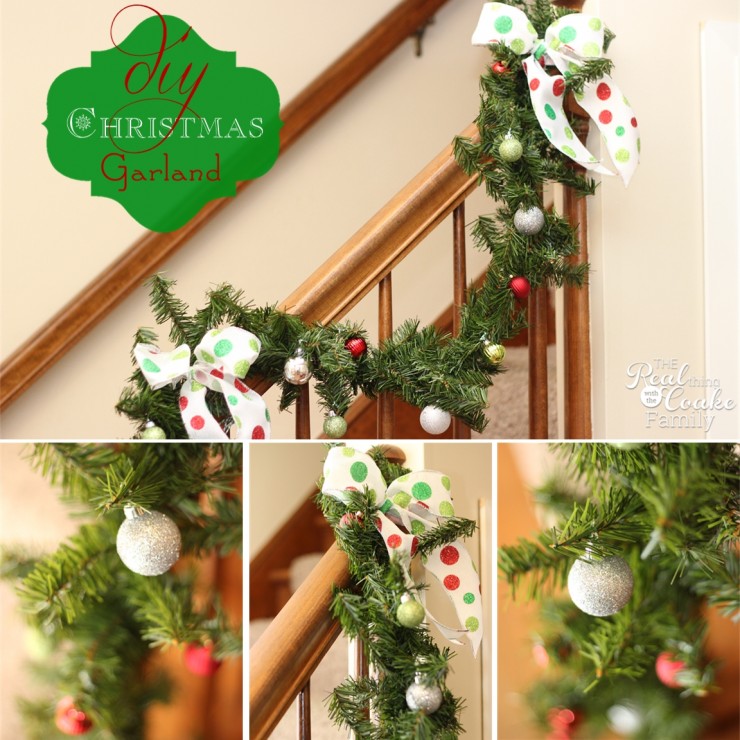
Now my front entry way and hall are well appointed for Christmas this year! It makes me smile each time I pass by the garland. I don’t have a specific cost for you, but between getting the garland on sale and the ornaments with my 50% off coupons, I am pretty sure this Christmas garland cost me under $20. A ton less than I would have paid to order a garland.
What kinds of Christmas decorating ideas have you made on your own rather than purchase them?
I link up with these great link parties and at My Repurposed Life, Between Naps on the Porch, The Scoop, All Things Christmas, and Savvy Southern Style.
© 2011-2013 The Real Thing with the Coake Family. ALL RIGHTS RESERVED.
The results are amazing. Thanks for the instructions. I too have a coupon that I’ve been meaning to use at the craft store. Maybe I’ll use it to purchase some garland supplies. I love that its unique, can’t buy that at the store and the kids could help too!
Thanks! I’m so glad I could give you and idea! I hope you enjoy making it. Making the garland with the kids sounds like a fun idea.
KC
This is so pretty! I love the colors you use. I’d love if you’d link up to The DIY’ers! https://homecomingmn.blogspot.com/2013/12/the-diyers-41.html
So glad you like it! I had fun making it!
KC