I’m not sure if there was something wrong with them or if the new mats just aren’t as good, but my two new mats (which cost me $15) only worked about 4 times. Then their sticky didn’t stick enough and everything I tried to cut just slipped off the mat during cutting. It was so frustrating. I contacted the company about replacing them, but they wouldn’t do anything unless I had my receipt, which I did not. Boo!
Since I don’t have the money, nor do I think it is good environmentally, to use a mat 4 times and buy a new one I decided to try to renew my mat. I heard about being able to re-sticky a Cricut mat at a scrapbook class I took. I used my Michael’s 40% off coupon to buy Zig 2-Way Glue(affiliate link), which is what they said would work in my class. I figured trying it was better than buying 2 new mats.
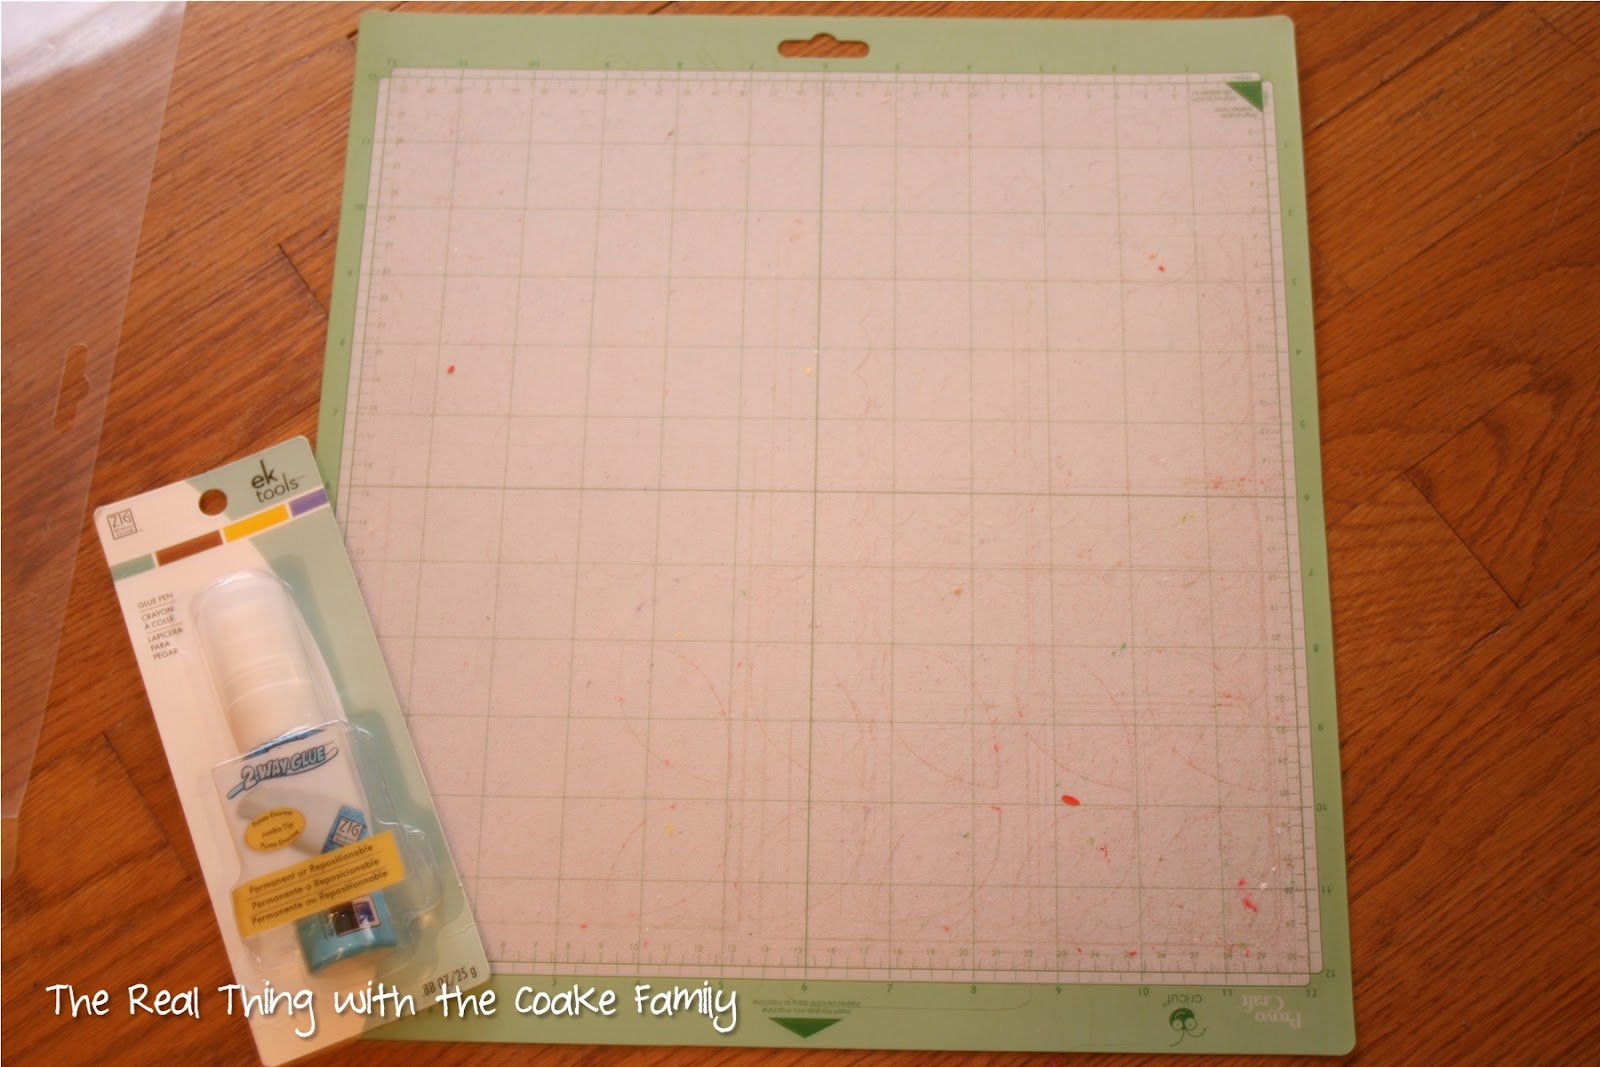
This was easy to do and it actually worked. All you need is your mat and the Zig 2-Way Glue(affiliate link).

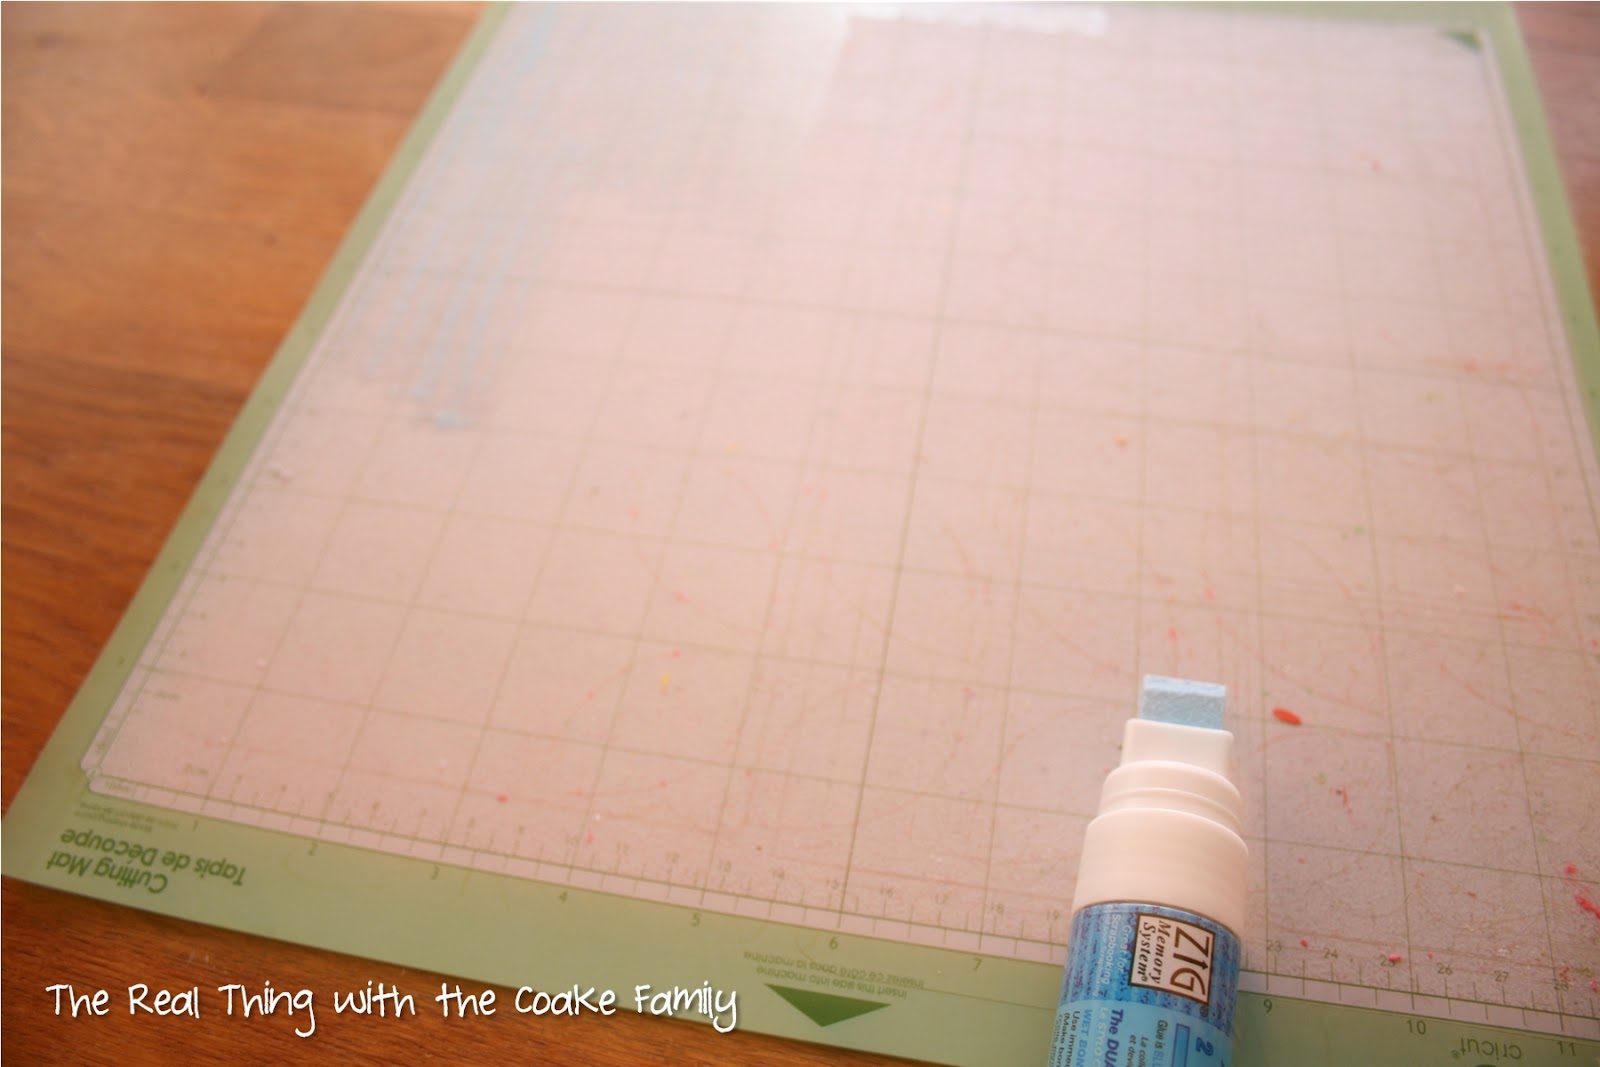

You can still see the glue here as it wasn’t fully dry.
I have used this mat a couple of times following applying this glue. It worked! It worked really well. So well that my thin paper was hard to get off. The cardstock worked really well and as with most things like this, I am sure the thin paper would work better after a few uses with a thicker paper so that the adhesive had lessened a bit.
I also figured out how to cut fabric with my Cricut (the old style Cricut). Can’t wait to share that with you, too!
@melissa @ daisymaebelle.com Yeah, it seems like the mats don’t last super long. Though the one pictured in this post worked quite well for a good while. It was the new ones that didn’t work very well. You are welcome for the tip!
@Kacey Bess I hope you are enjoying your Cricut! I only got mine last year as well. I have had fun with it!
@Jenn It was very frustrating. I think I have found a solution though that works both with my budget and my desire to be eco-conscious. Yay! Hope if you try, it works well for you as well!
So good to know! My daughter has one and we have already bought our second mat. They lose the sticky so quickly! Thanks for this tip!
Oh, thanks for the tip! I got my Cricut last year so it’s nice to know I don’t have to keep buying new mats.
That is so frustrating that the new mat only worked four times. I hate it when my paper slips as my Cricut is cutting it and that section of my paper is ruined. I will have to try out your trick with this glue.
Hope it works as well for you as it did for me!
I had thought about using the spray also, but I will definitely give this a try instead!
@Claire I agree a sticky mat makes all the difference. I had wondered if the mats for the Silhouette were the same. I hope it works for you. Let me know if you will, I am curious.
I had to break out a new Silhouette mat today because I was having the same problem. A sticky mat makes ALL the difference with the quality of your cuts. I have tried repositionable spray adhesive, but I think next time I’ll give this a try since I’ve seen a few recommendations for this method.
Uncommon Designs Thanks so much!
Thanks for the tip!
Perfecto!!! What an incredible tip!
Awesome! Good to know…mine’s starting to get a little un-sticky, so I’ll try this out. Thanks. new follower from the fontenot four – financial Friday linky
Brie @ Breezy Pink Daisies
@Becky That is fantastic that you even already have the glue stick! Hope it works as well for you as it did for me.
I am so glad you stopped by to say ‘Hi!’ Glad you find this helpful It ended my frustration, thankfully!
Stephanie Richardson So glad I could help you out! Thanks for following. Have a great week!
Brilliant! And I have that same glue stick. Will definitely try on some of my older mats. TFS!
Awesome! I gotta try this. Thanks for sharing. I’m your newest follower. 🙂
~Steph @ Silver Boxes
I hope it works fantastically for you! Glad I could help! kkrisdan28
Definitely going to try this! My mat is really bad! I bought some spray adhesive but I’m scared to try it, lol.
Kristin @ Little Corbin Hill
great info to know! I will be pinning it! I am visiting from the Tater tots and Jello link up and thought I would stop by and say hi. I am a new follower!
Thanks for the tip – I have a question for you…. the edges of my mat are curling…therefore I cant get the paper to even cut on mat becuase it moves. HELP!!
I’m not sure what to tell you. I’m assuming your mat is curling before you tried my renewing your mat tip as I haven’t heard of the mat curling from using the adhesive. If your mat is curling, I would think you would need to get a new mat. I doubt putting it under heavy books would work to flatten it, but you could try that. Sorry, I’m not much more help.