After making Christmas cards, I decided to make a few thank you notes for Christmas. They were both fun crafts and a great use for my Cricut(affiliate link).
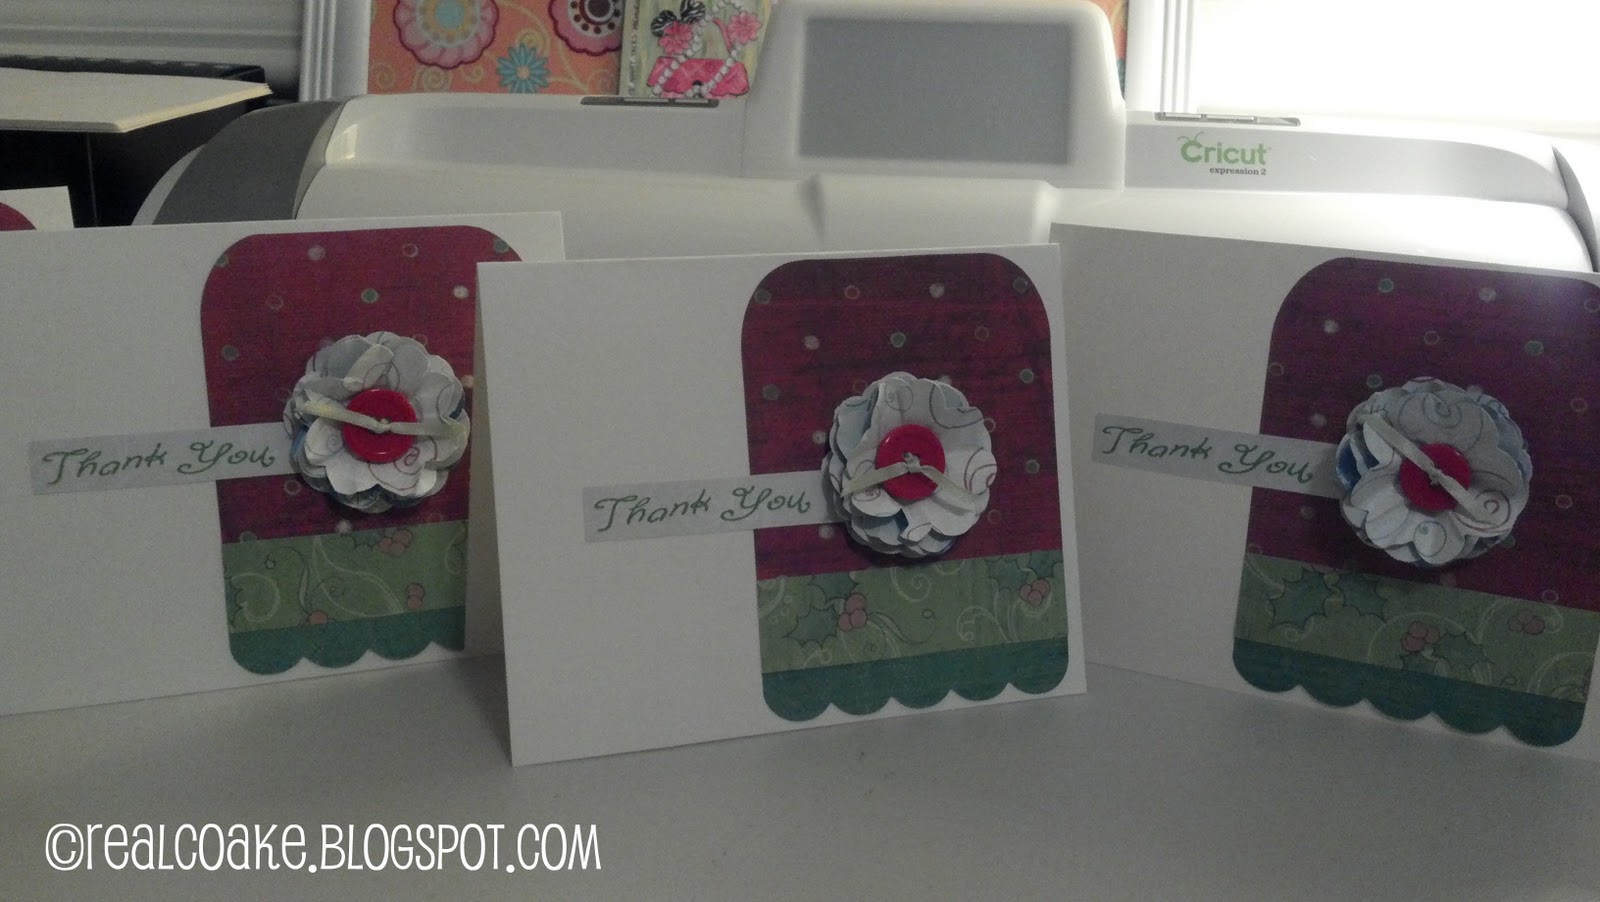 |
| The finished product – see below for the how to |
I used stock card base that I purchased at Michael’s. It came with the card and envelope. I also used the free Cricut craft room to size and cut all my pieces. The cartridges I used for this project were the Cricut Essentials cartridge and Cricut Craft room basics. The essentials was pre-loaded on my Cricut Expression 2 and the Craft room basics is free to anyone who uses the Cricut Craft room (which is now Cricut Design Space).

I cut out a rectangle at 3.625 x1 in the holly paper and a scalloped edge at the same size in a green paper. They are from the Craft Room Basics and Cricut Essentials respectively. Then I adhered them together using one of my new Christmas presents.

Now I realize if you are like I was a mere 2 months ago, that ‘tape glider’ is obnoxiously large and you wonder who on earth would use such a thing. Well, apparently me and lots of other people. If you go to buy it in a craft store, they will try to sell it to you for $40, which is highway robbery. You can buy it on amazon for around $18(the price seems to fluctuate, but is usually between $15 and $20). The refills are a good price (2 rolls that are 36 yards each are only about $7) and the nice thing about this obnoxiously large tape gun is that you get lots of tape, which I have learned is great for when you are working on projects like this and need lots of tape to adhere all of these pieces together in a fashion that they will not fall apart.

Next I cut out a rounded corner square from the Cricut Essentials. It is 3.625 x 4.611. Of course all three of these pieces needed to be adhered together.


I cut out a smaller rectangle (it is 3 x .597) and stamped it with “Thank You” using a Close to My Heart stamp set and ink that I had.
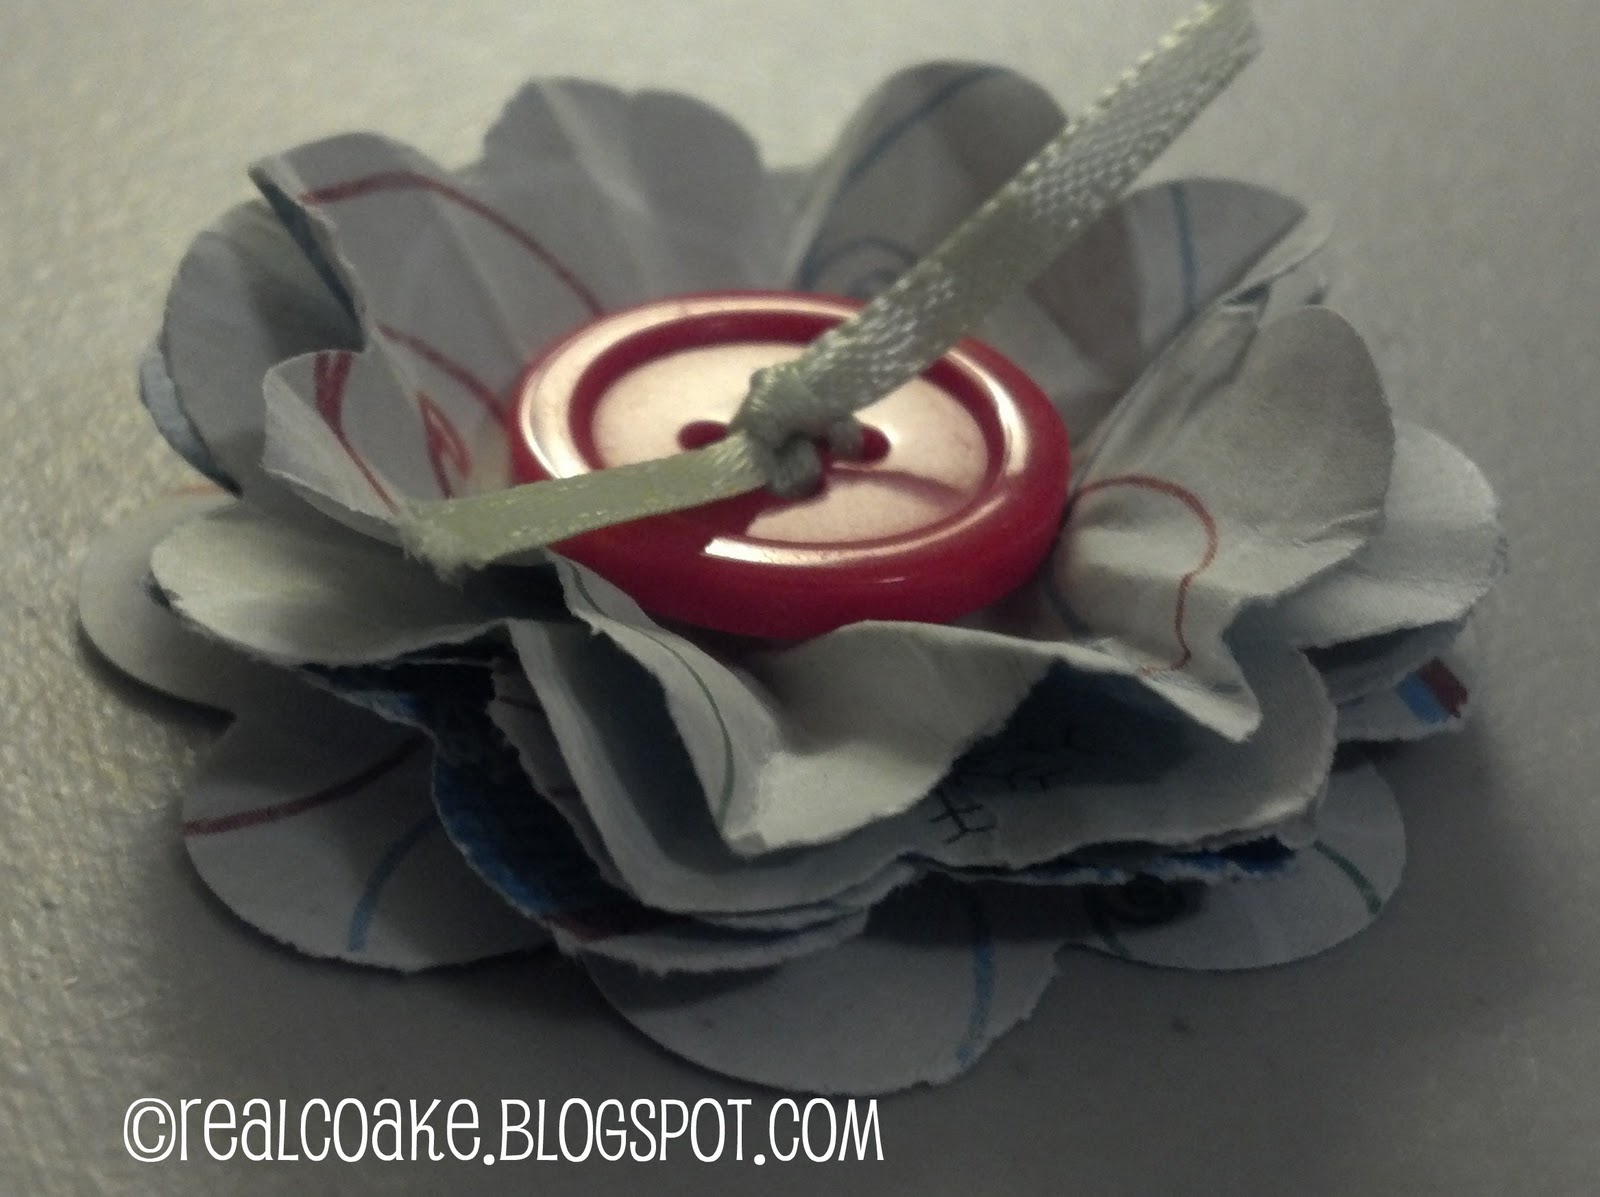
I made these cute flowers using a Creative Memories scallop circle maker). My inspiration for making this card and where I learned to make these flowers came from the Raspberry Suite blog. Check it out and learn to make your own!
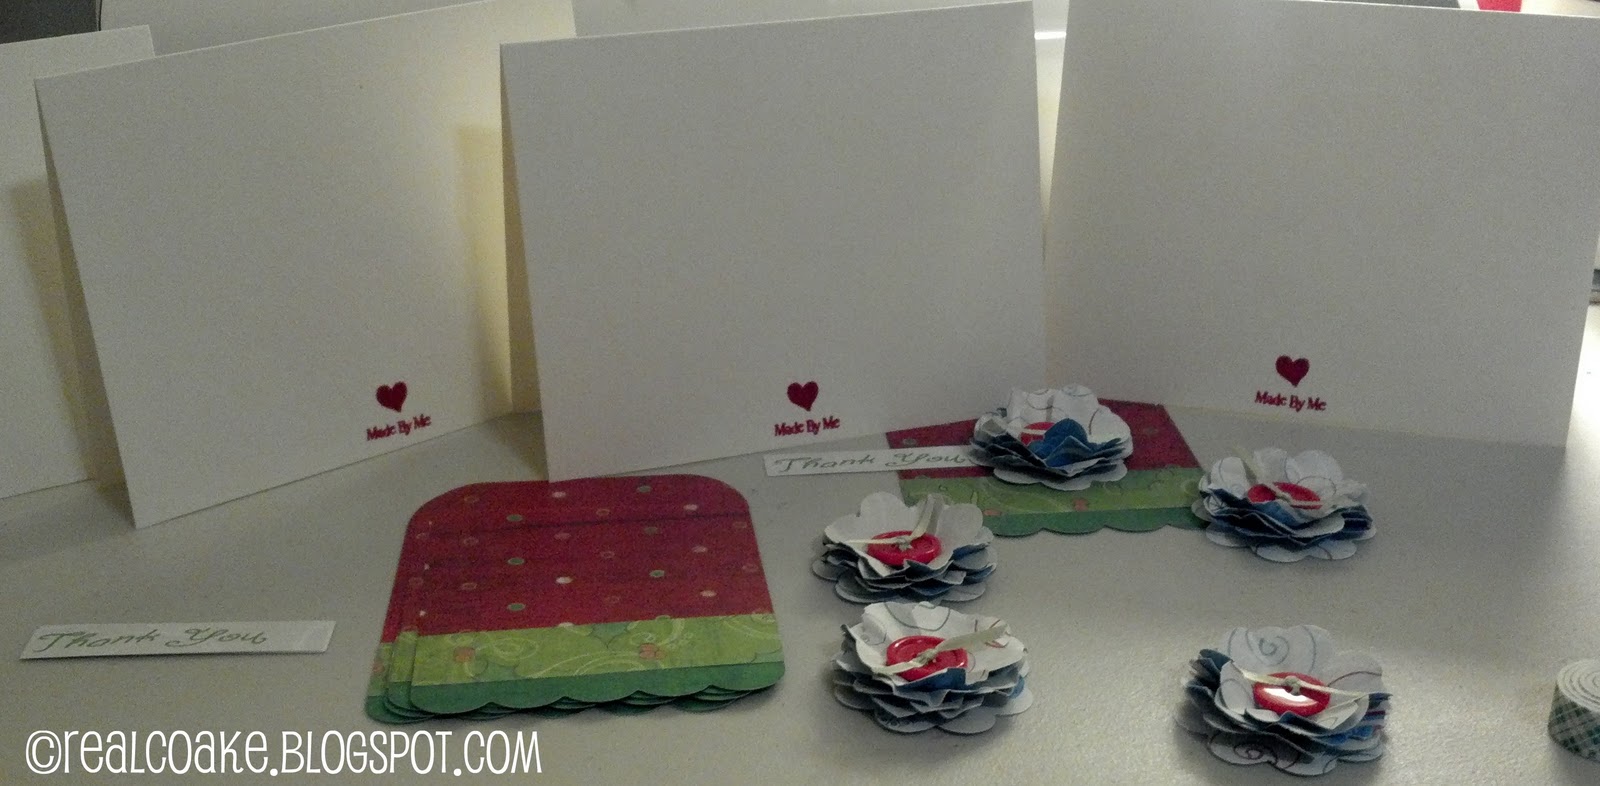 |
| All the pieces put together and ready for assembly |
On the back of the card don’t forget to let people know you made your card. I used a Close to My Heart Stamp that I have with a heart that says “Made by Me.”
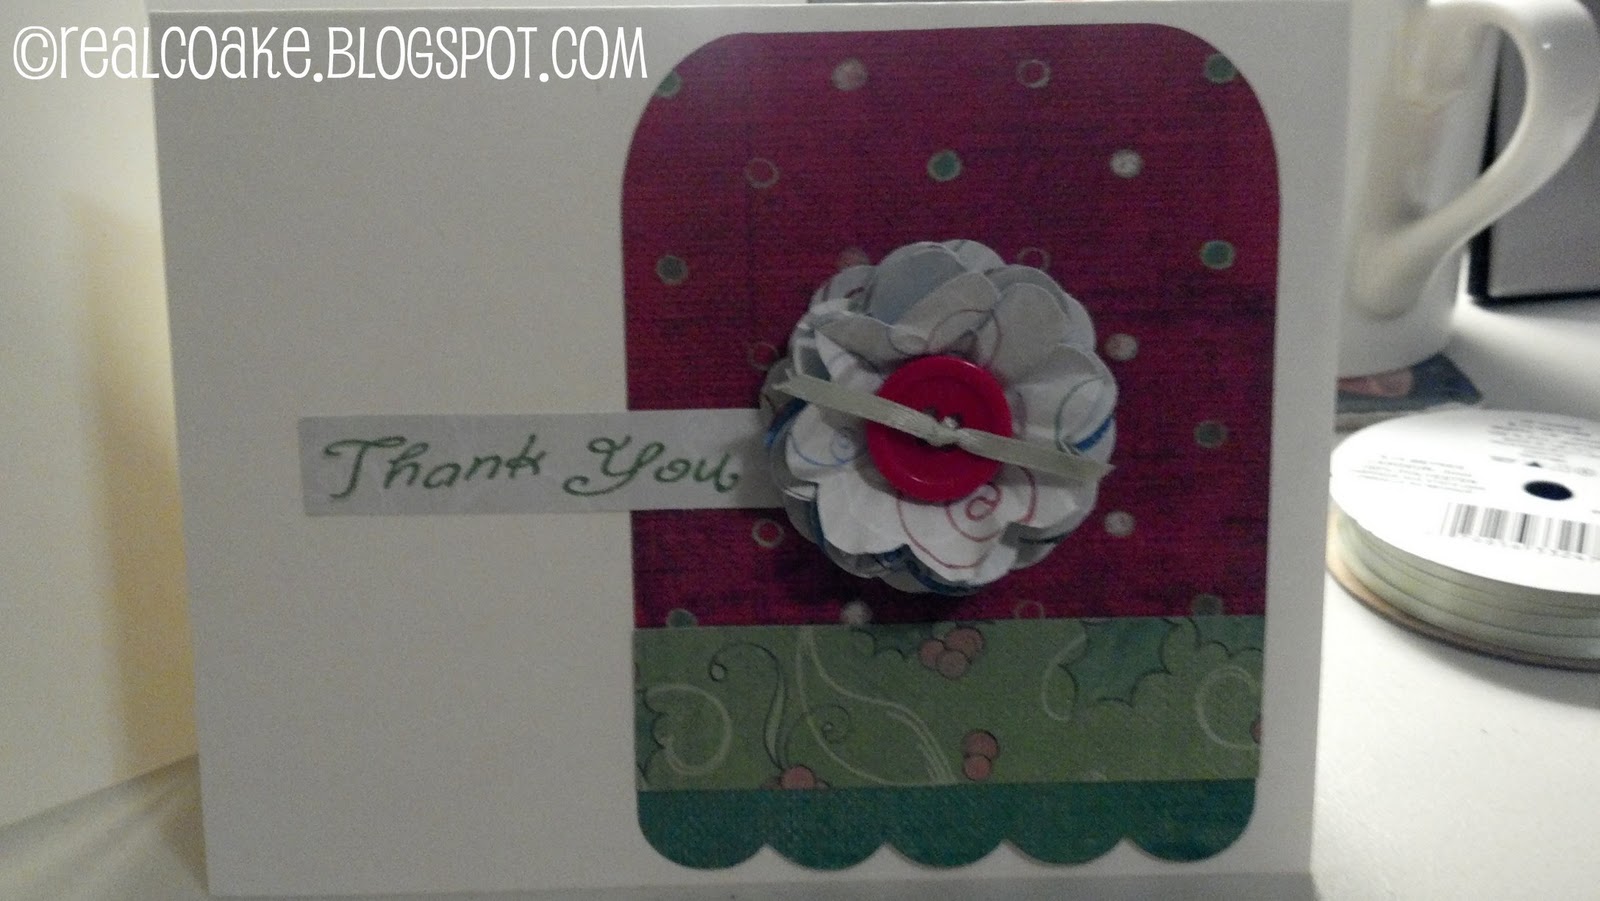
The finished card
As far as I know(no one let me know theirs was chewed up or anything), these mail just fine even though the flower adds a little height to them.
Leave a Reply