 |
| 2011 Christmas Card |
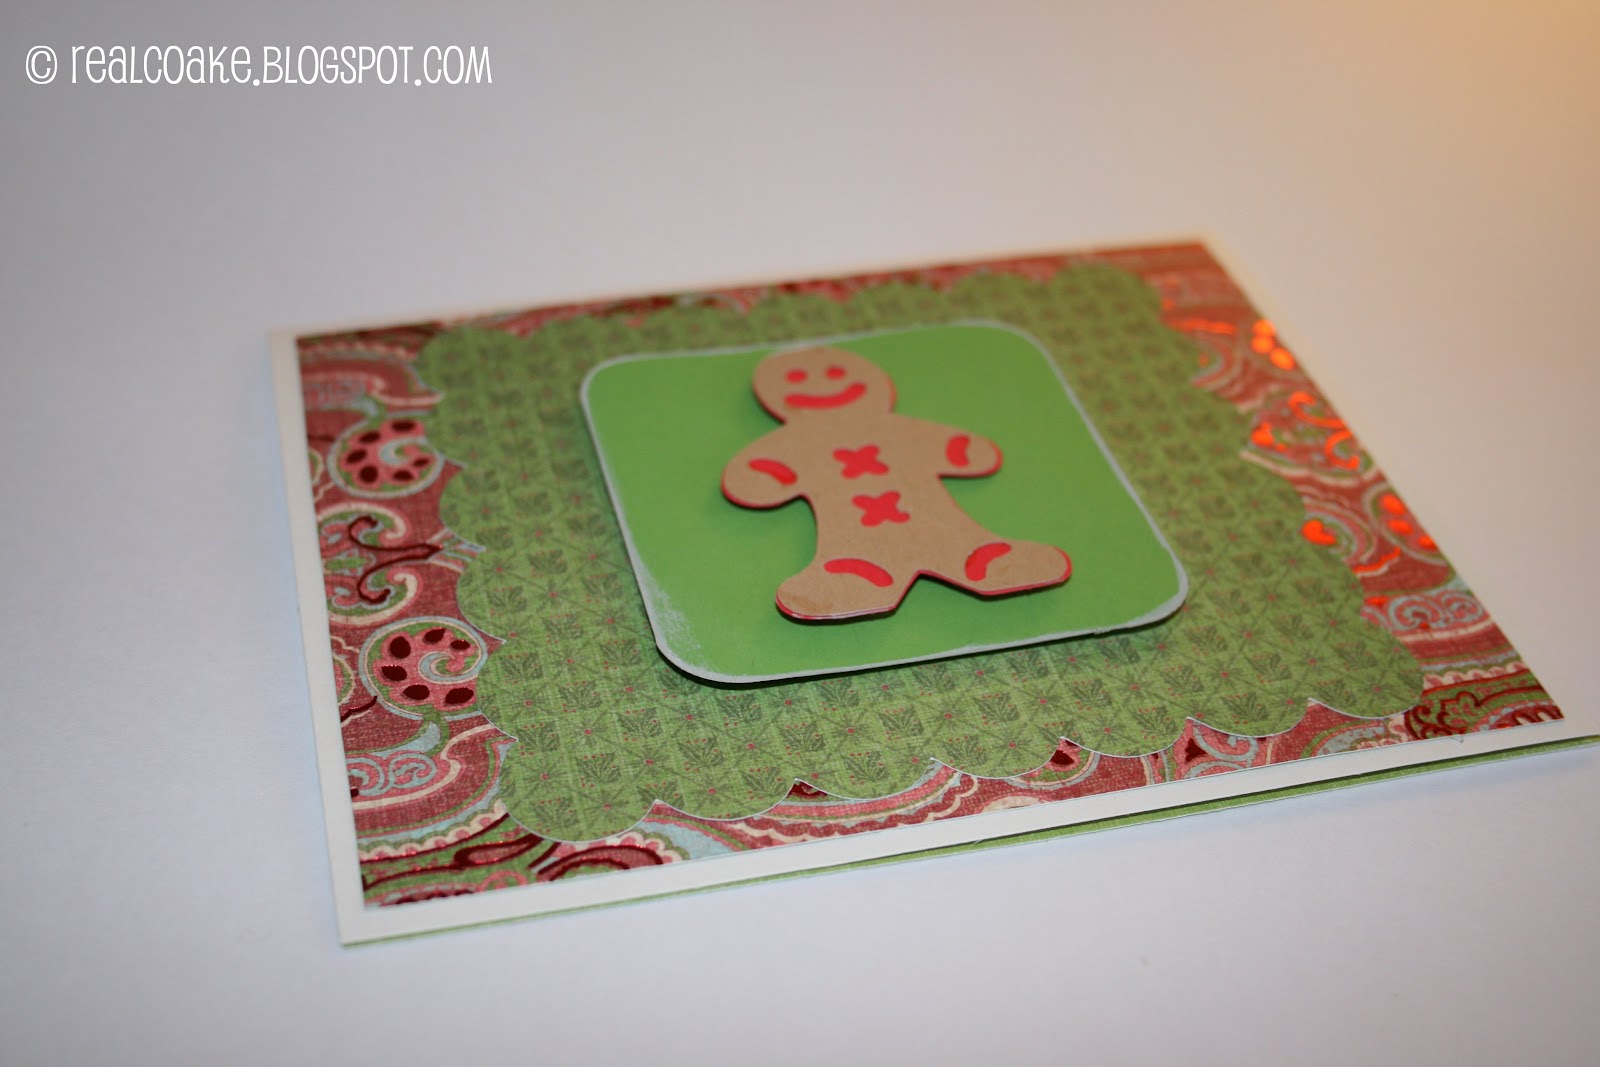
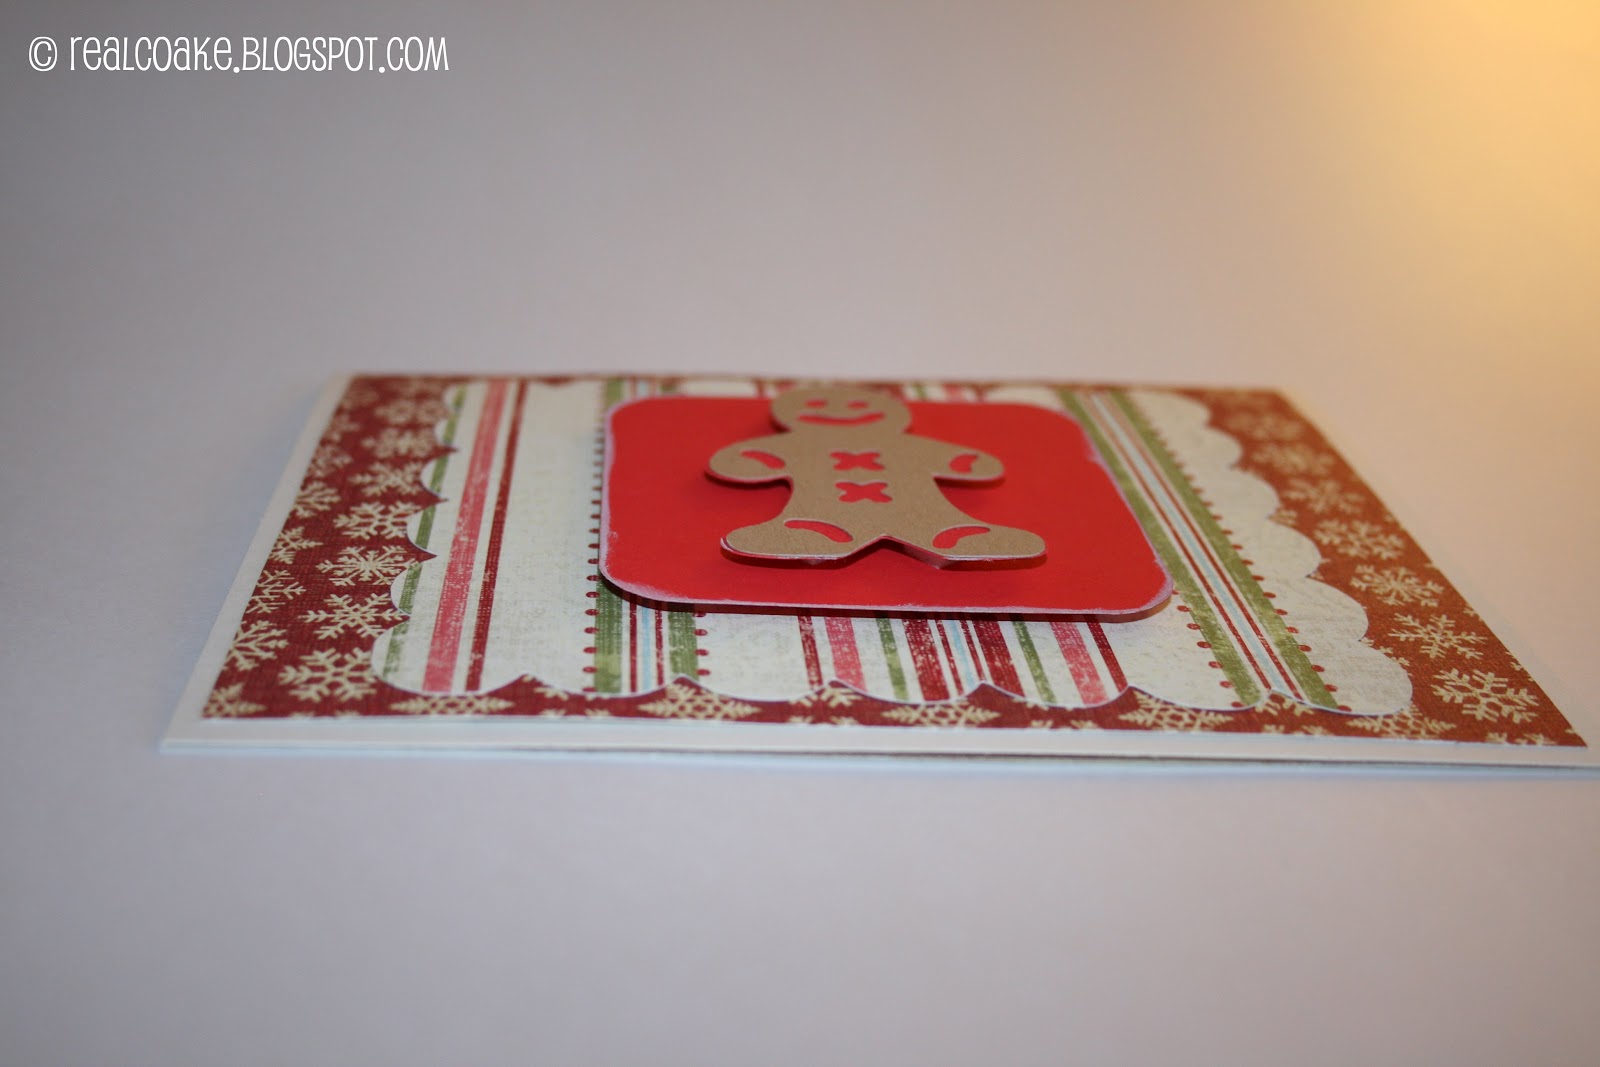
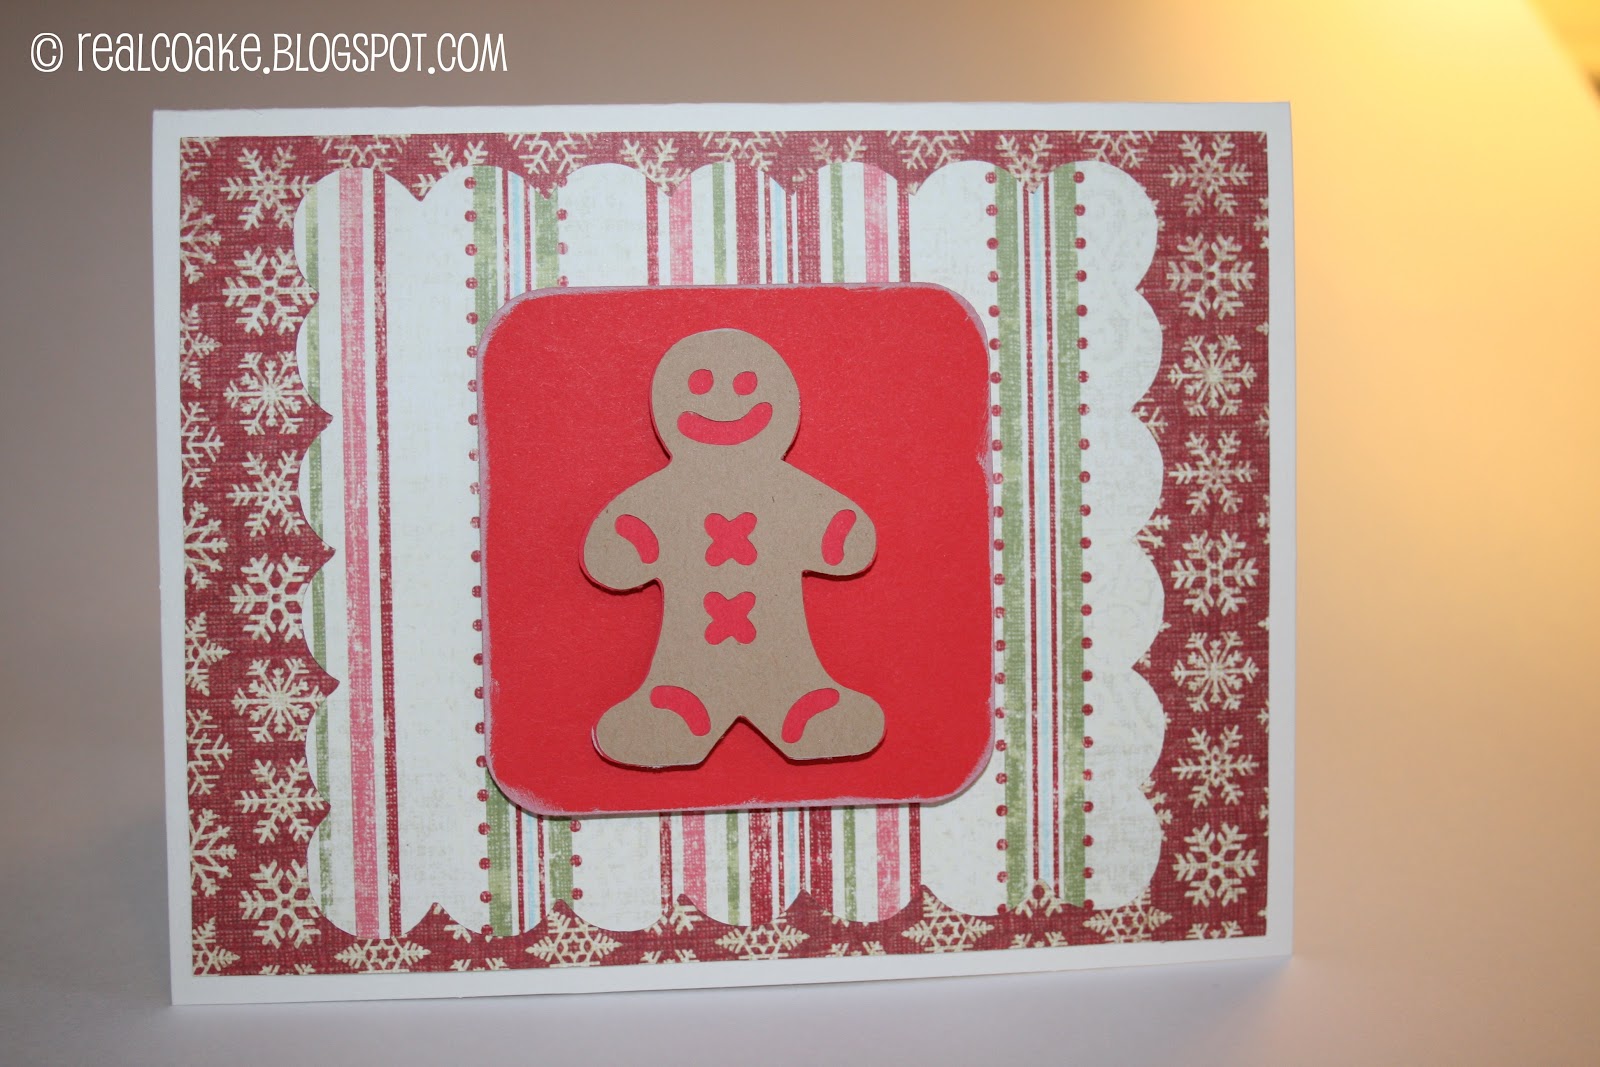
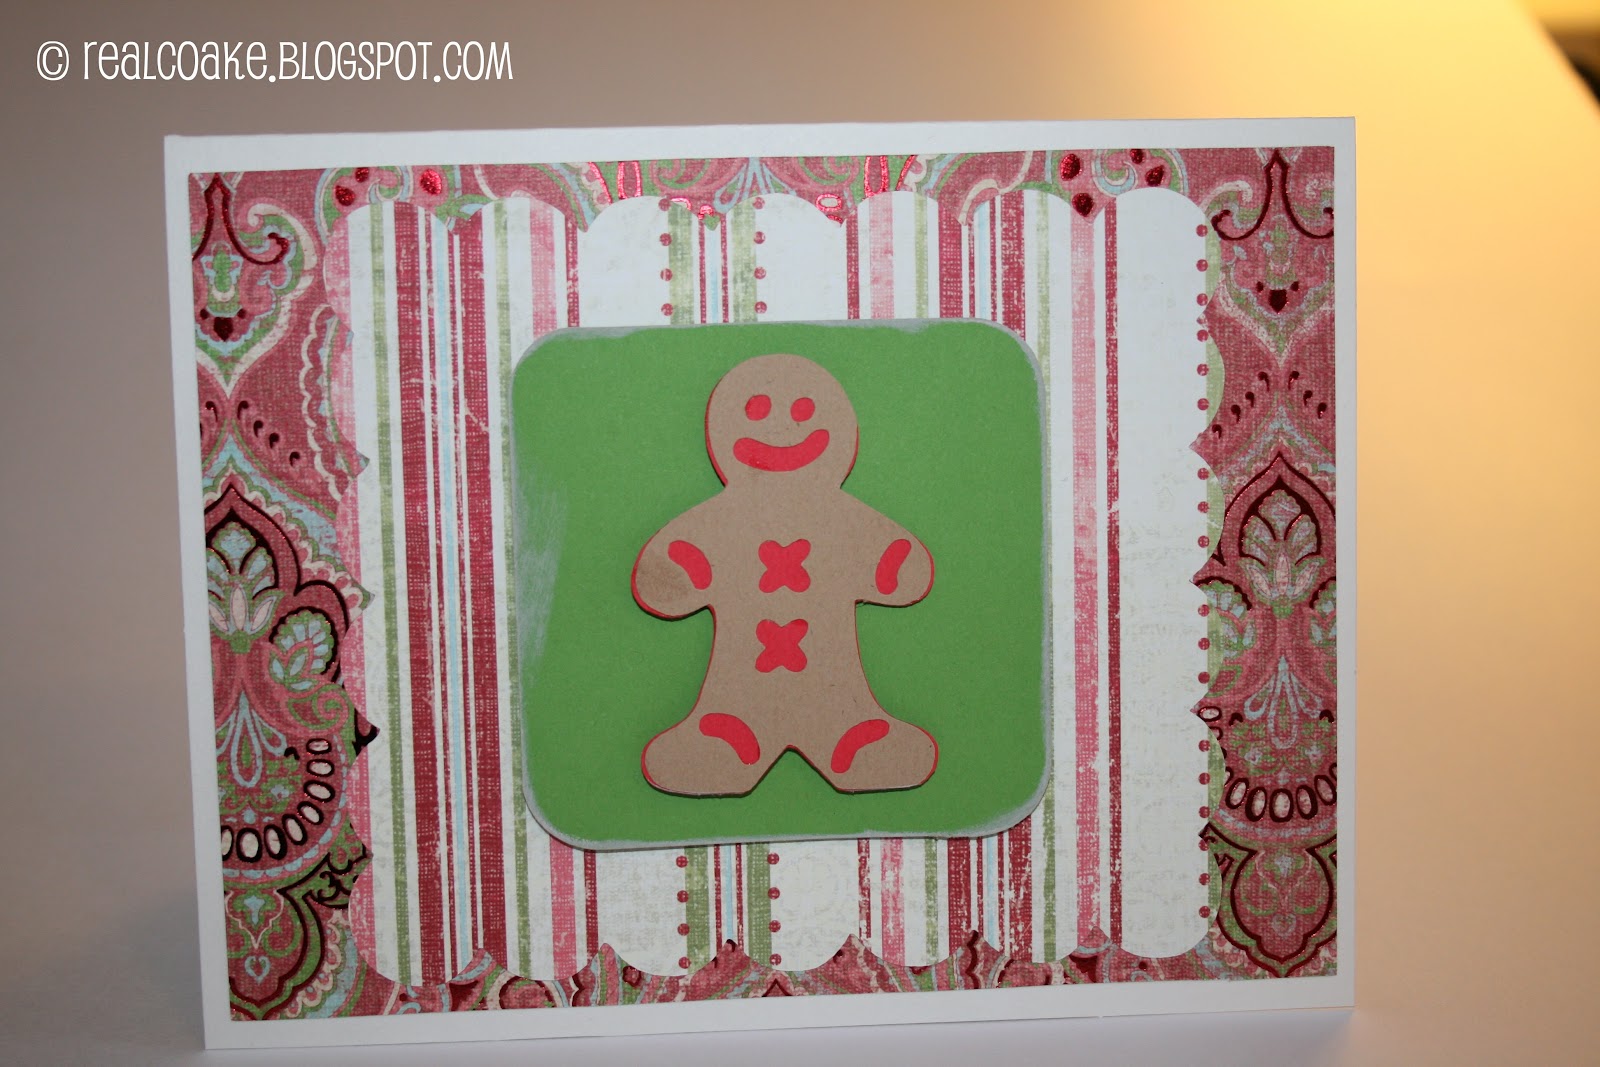
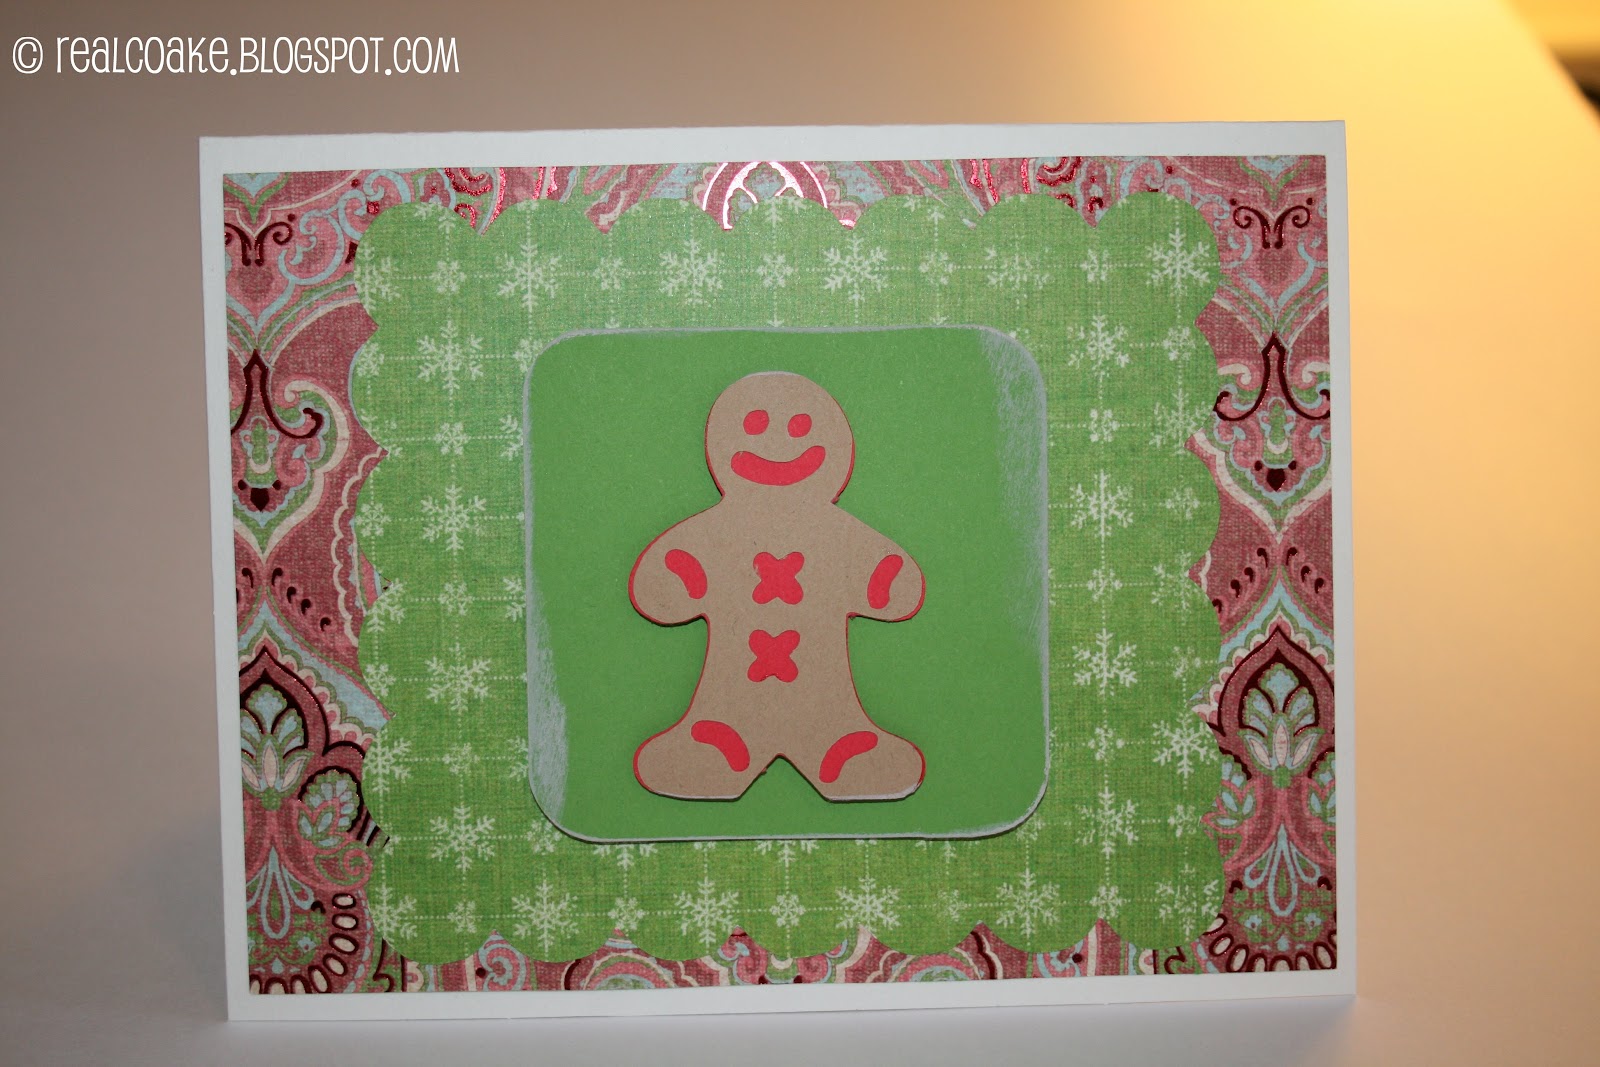
I like layers as I think they add visual interest. I cut out the rectangle on the Cricut, as I realized it would be so much easier and precise if I did it that way. You can make these cards with any paper you like. You will see below that I used one tablet of Christmas scrapbook paper for these cards, so I made several different variations to use up the paper. I used a pack of plain cards that I bought at Michael’s on sale.
For the base rectangle (pictured above as a tan and burgunday patterend paper) as well as the scallop (shown here as the green snowflake paper), I used the Cricut CraftRoom Basics (free artwork available to anyone using the Cricut CraftRoom). The rectangle is 6.194 x 4.681. One reason I like using the Cricut CraftRoom is that you can size the objects to any size you want. As far as I currently understand, when you try to cut these directly on the machine, you can only go by the sizes it offers (such as 6.0 or 4.5 inches), when you use the Cricut CraftRoom, which is free, you can size them anyway you want and even change the shape a bit to suit your needs. The Scallop is 4.875 x 4.333. I adhered those directly to the card and directly to each other. Next I cut out the rounded square, also from the Cricut Craft Room Basics. It is 2.917 x 2.889. I adhered that using foam adhesive squares![]() (affiliate link) to give it some height. I also used some chalking ink
(affiliate link) to give it some height. I also used some chalking ink![]() (affiliate link) around the edges of the rounded corner to give it some additional interest.
(affiliate link) around the edges of the rounded corner to give it some additional interest.
 |
| Foam squares add a little bit of height. Chalking ink adds a little interest to the edge of the rounded square. |
Lastly, I borrowed the Creative Memories Cricut ‘Tis the Season Cartridge from my consultant (that link takes you to her site, use your own consultant if you have one. If not let her know I sent you). I love gingerbread – our gingerbread houses are my favorite tradition. So, adding a gingerbread figure to the card adds one of my favorite holiday things. I cut out the shadow as well as the gingerbread and adhered them together. They are 1.681 x 2.417. I also adhered those to the card using the foam adhesive squares![]() (affliate link). I wanted just a touch more height and interest.
(affliate link). I wanted just a touch more height and interest.
 |
| Creating a little more height with foam squares on the top 2 layers |
 |
| The inside |
For the inside of the card, I used 2 sheets of paper from the pack of Christmas scrapbook paper I bought. I cut the paper up into strips about 1 inch each (I was making 24 of these cards – so 2 sheets of 12×12 paper cut into 1 inch strips worked to give me the total number I needed). I used the Creative Memories Border Maker with the Evergreen cartridge to make the trees. If you haven’t tried this tool, I highly recommend it. It will cut out a strip of paper end to end with the pattern of the cartridge you use. It automatically lines up perfectly so that you get a great cut for the whole sheet of paper with no awkward spots where you couldn’t figure out exactly where to line it up like most border punches.
I adhered both of those to the bottom of the inside of the card and added a stamp that I found at Hobby Lobby (and bought with a 40% coupon! love that! it was only $2.40 with tax)
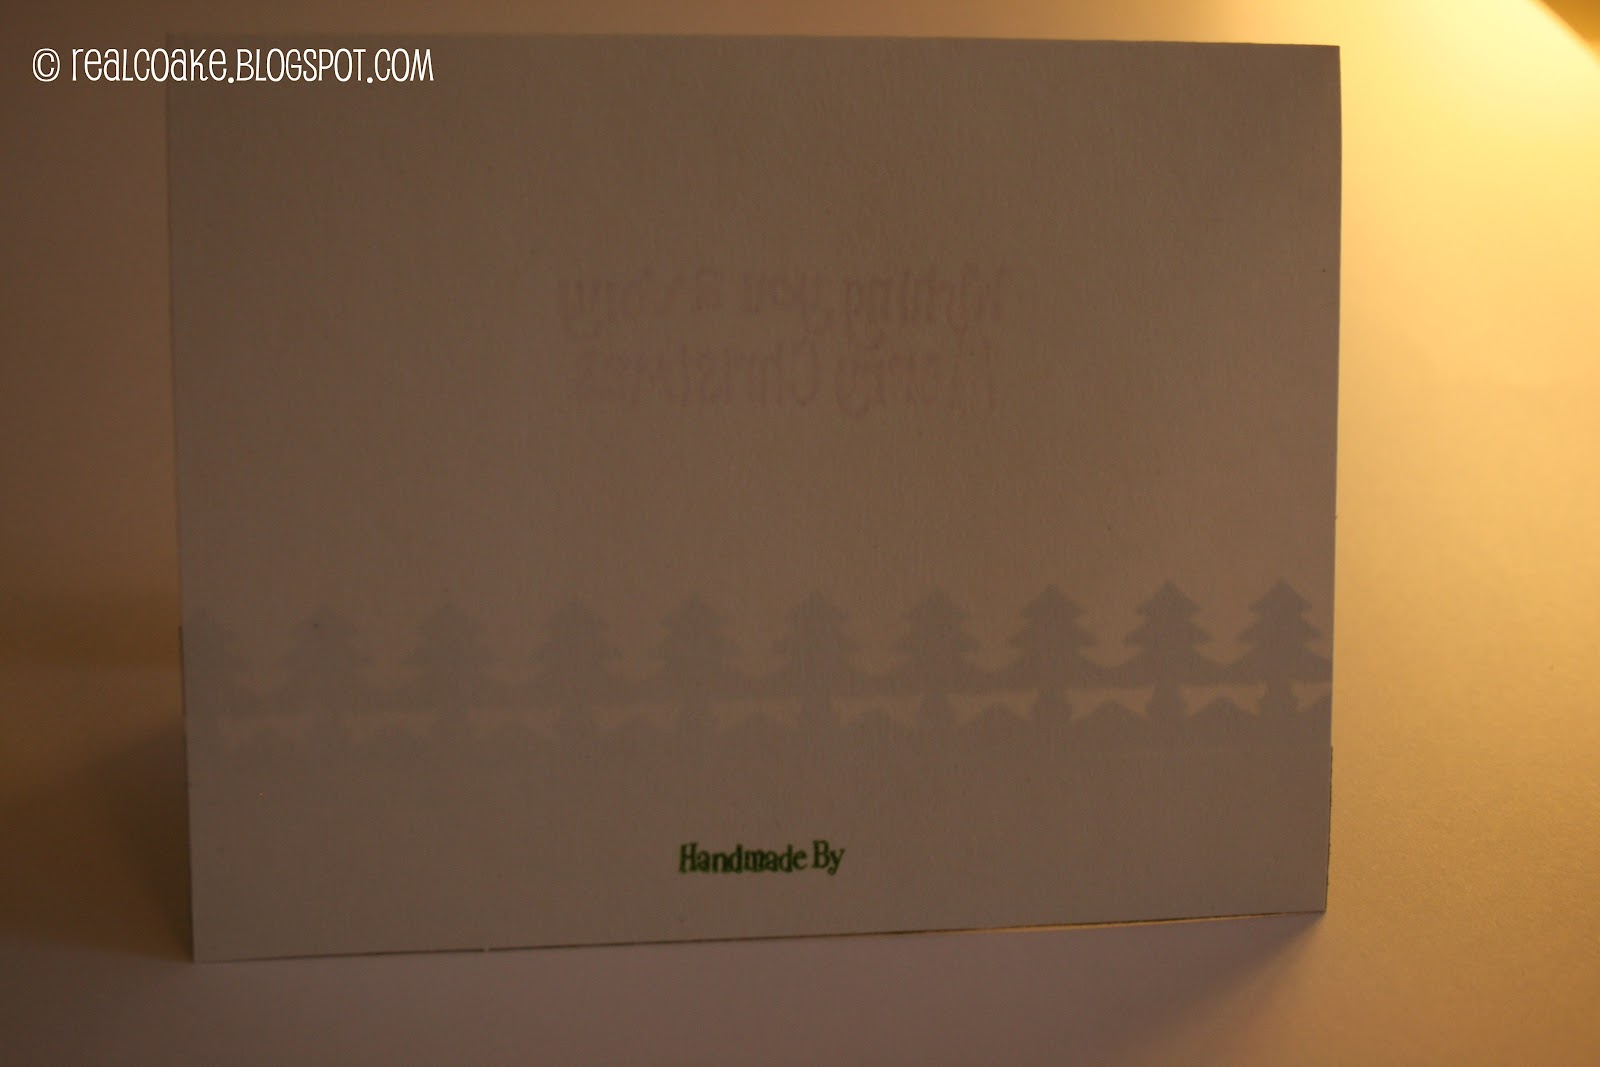 |
| Back of Card – with my name written after taking the picture |
I love how the cards came out. Of course, they took quite a bit of time to cut and put together, but it was fun and relaxing to me. Now the only issue is that 24 cards are not enough. I will have to figure out who is getting these and who is getting the store bought cards. Yes, that means that even though it is close to Christmas, I still haven’t sent them out…will be getting on that tonight!
Below are some of the other cards. As I said, I used 1 tablet of Christmas scrapbook paper(and actually have quite a bit left). So, I made multiple variations of the same card with the different papers. I also madea cute Christmas thank you card using my Cricut.


Leave a Reply