This school year, I’ve been missing having some more carefree time with my girls that we can do crafts and just hang out together. It has felt so hectic. Last week, we found some time to hang out and start our Real Summer of Fun. I picked activities for kids that would work for both of my girls and would add some fun to our porch for the Fourth of July.
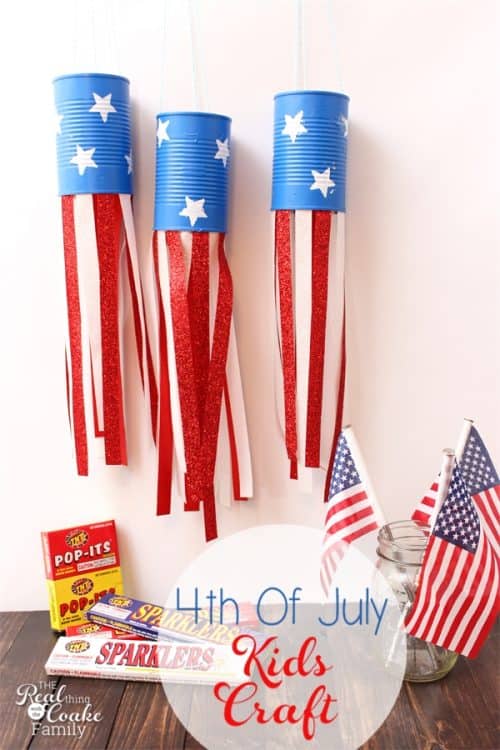
If you have perused Pinterest much, I’m sure you have seen this craft or something similar, however we had to change it up and make it just a bit more glittery. I’ve been working with Offray Ribbon, they offered to send me the ribbon as well as sponsor this post. I knew that the Offray glitter ribbon would be perfect. It certainly did not disappoint! I love how the glitter ribbon reminds me of fireworks and sparklers. We love sparklers for 4th of July.
So let me show you how to make this adorable recycled tin can windsocks. They are a great craft to do with your kids this summer.
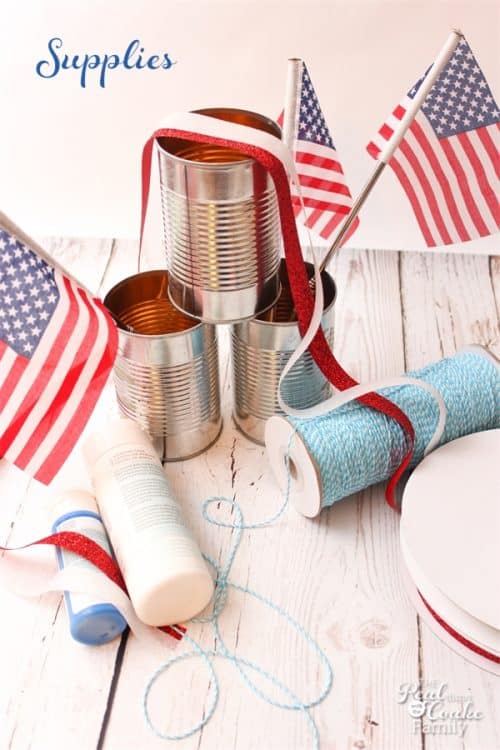
Supplies:
- Empty and clean tin cans (with tops and bottoms removed)
- Sparklet Red Ribbon
- Sparklet White Ribbon
- Aqua Baker’s Twine
- Blue indoor/outdoor paint
- White indoor/outdoor paint
- Star stencil
- Stencil adhesive
- Paint brush
- Hot glue
- Hot glue gun
- Hot glue gun finger caps
 (affiliate link)
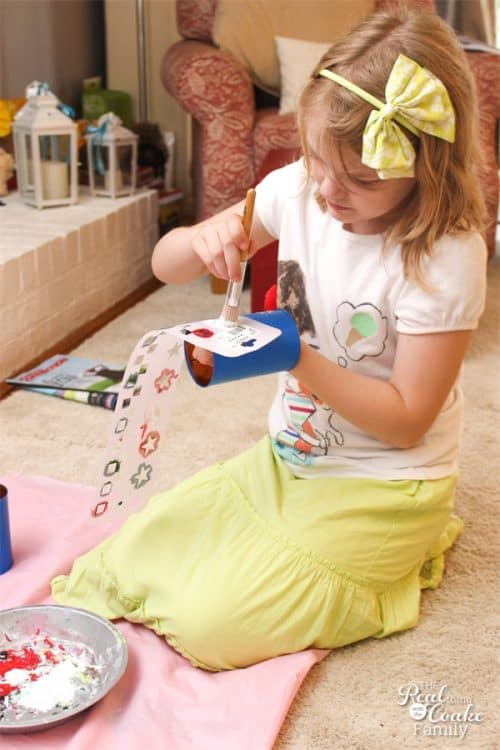
Start by painting your tin cans blue. You may need more than one coat in order to get good coverage.
Use your star stencil and white paint to add stars onto your tin cans once the blue paint is fully dry. There is no need to plan things out, just randomly place your stars.
When stenciling, make sure you are using a very dry brush. Just put a small amount of paint on the brush. You can put the paint on the brush and pounce the brush a bit on another surface to make sure it is not too wet. Pounce the brush up and down on your stencil to get the coverage you like. Using a dry brush helps so that the paint doesn’t seep under the stencil.
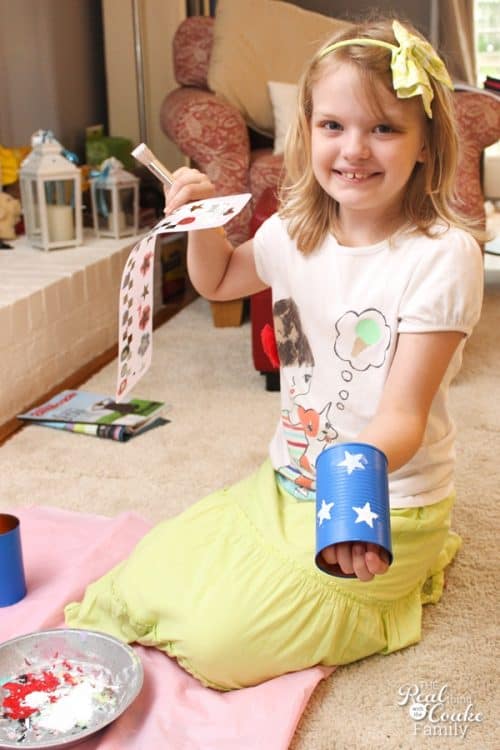
She likes her work! We had a little bit of an issue with the stencil adhesive that I used pulling some of the blue paint up when we removed the stencil. We could have gone back and touched it up with blue paint, but for us this was more about spending time together than having a perfect craft. We left it as is.
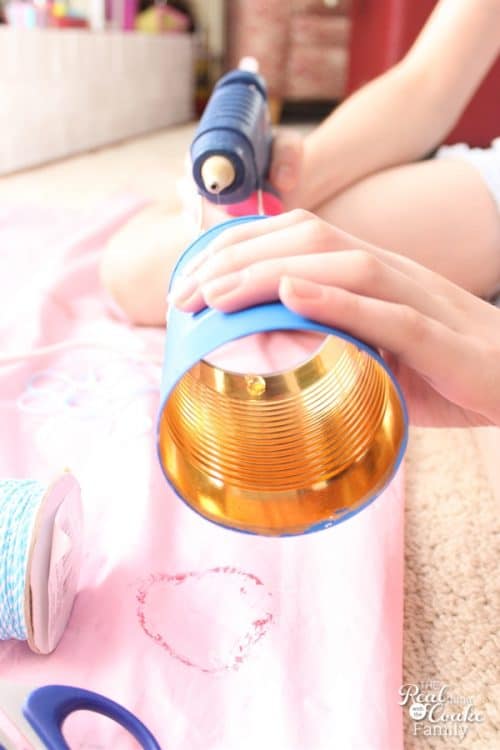
Now we need to add a way to hand your windsock. I selected to use baker’s twine. I had never worked with Offray’s baker’s twine before. I love it! It is the softest baker’s twine I have ever used. So pretty and lovely to work with. My girls may have taken to petting the roll of twine. Lol!
For this craft, I decided to teach my girls how to use the hot glue gun. At 13 and 8, I think they can handle it…well with my secret weapon(the hot glue gun finger caps![]() – affiliate link). If your kids are younger or not ready or able to use the hot glue gun, just use regular glue or some type of glue that is good for indoor/outdoor use.
– affiliate link). If your kids are younger or not ready or able to use the hot glue gun, just use regular glue or some type of glue that is good for indoor/outdoor use.
Place a small dab of hot glue inside the can near the top.
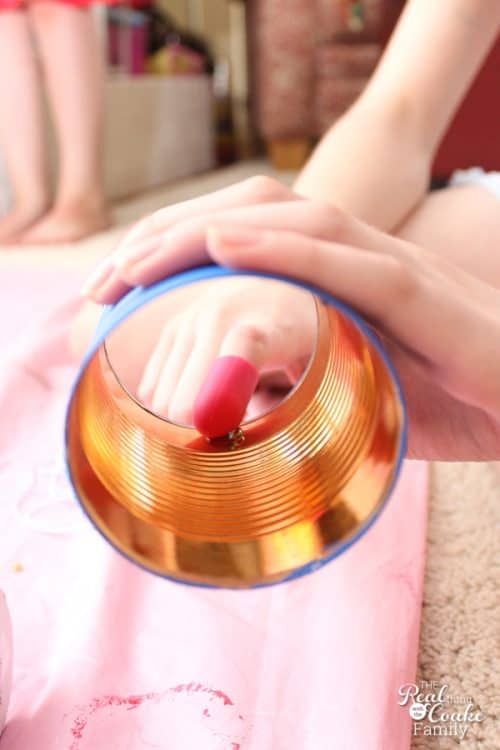
Place the twine into the hot glue and press down with the finger cap on your finger.
Repeat this process two more times to form a triangle of bakers twine at the top.
I started with my baker’s twine about 15 inches long and think I probably should have made it just a bit longer to make it easier to tie the top ribbon loop.
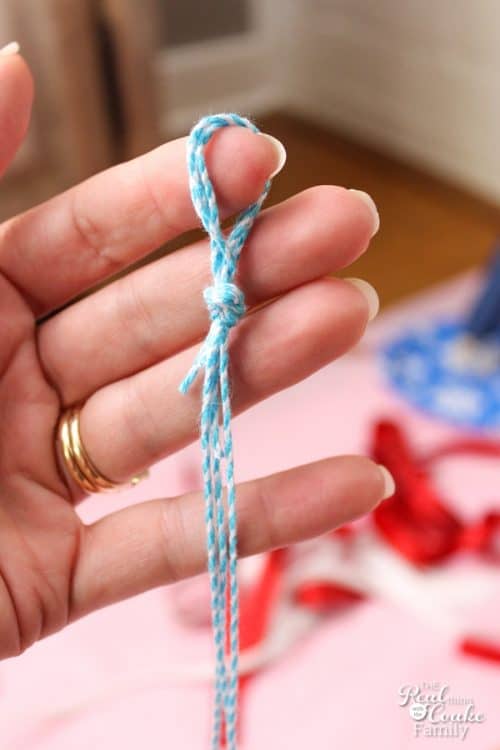
Tie the three strands of twine together at the top making a loop at the top from which to hang the windsock.
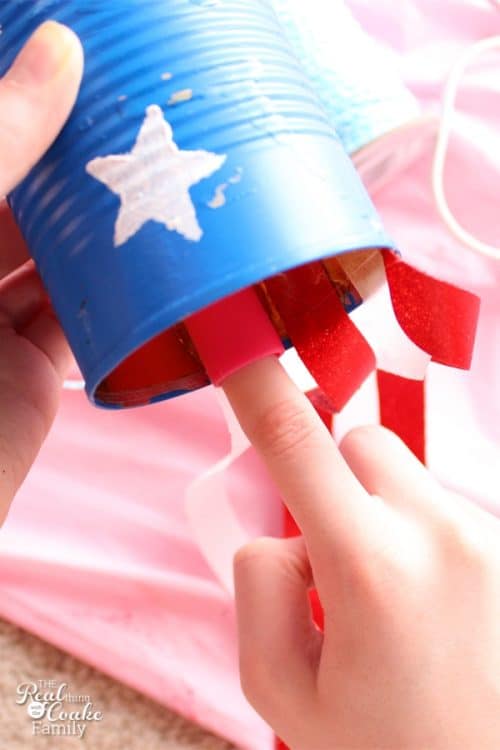
Next up, we need add the pretty Sparklet Ribbon. Cut them in random lengths.
I started with one ribbon cut at 12″ and randomly cut the following ribbons longer and shorter. I didn’t want them all the same length.
Place a dab of glue inside the bottom of the can and add the ribbon on top. You will want to alternate red and white Sparklet ribbon to simulate the stripes of the flag.
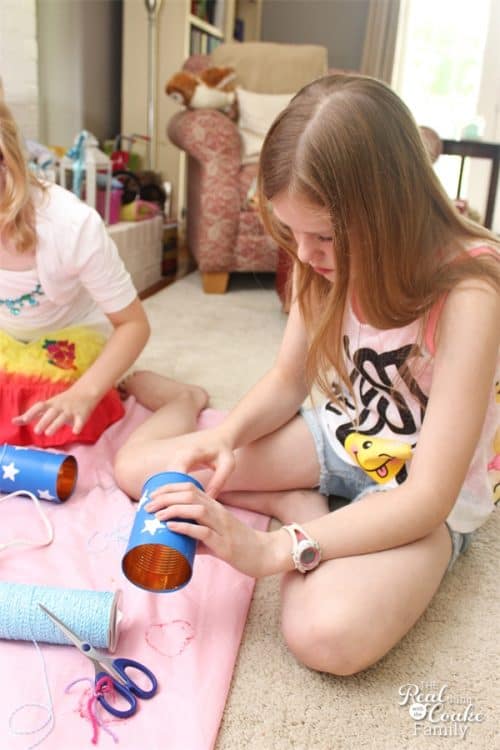
We each had the same size can but we each had a different number of ribbons. We had one can with 10 ribbons, one with 12 and one with 14 ribbons. It just depends on how closely together you want your ribbon.
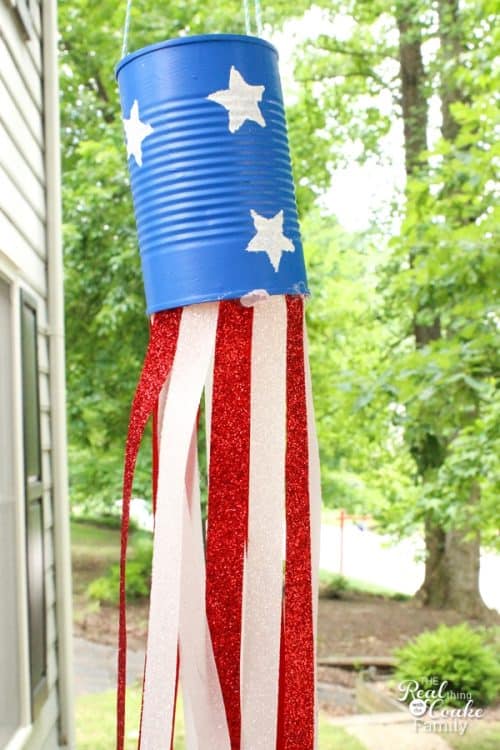
I can’t tell you how much I love the Sparklet ribbon for this craft! It is so pretty and really reminds me of the 4th of July. I love seeing the ribbon glitter in the breeze on our front porch.
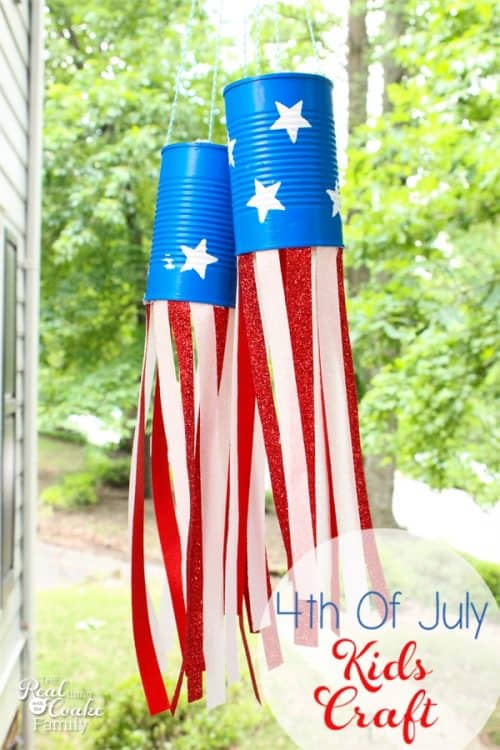
Even better than how our summer fun craft turned out, it was so nice to spend some time crafting and chatting with my girls. I’ve missed that kind of time with them.
That is the whole goal of this Real Summer of Fun series. I hope you will try this or some of the other activities for kids and enjoy some time with your kids this summer.


This is clever. I’d love it if you shared this at What’d You Do This Weekend.
Have a great week.
Linda
Thank you!
You had me at “glitter ribbon.” What a cute craft idea!!
Thanks Amy! They say great minds think alike…Glitter anything is the best, right? It is so fun seeing the glitter ribbon blowing in the breeze. It may have possibly distracted me a bit yesterday. 😉
These are so fun for the kids to make and they’re such a cute decoration.
They sure do! Have you made them before?
This looks like such a fun craft! Painting and glue gun? My kids will definitely love it. Thanks for the inspiration. Pinning.
Sounds like our kids like the same things! Maybe it is really all kids. My girls were super happy I finally let them use the glue gun. I guess I’m a wimp, but I hadn’t before now. How old are your kids? What age did you let them use the hot glue gun?
Such a cute idea! I love these. Pinned.
Thank you!
These look like so much fun to make. I love your blog, so glad I discovered it today. I followed you on social media accounts.
Thanks so much! They were fun to make, but any time I get creative with my kids is usually fun! 🙂
What a fun craft! They look perfect for patriotic holidays. Visiting from OMHG Wonderful Wednesday. I’d like to invite you to share this and any other patriotic crafts/recipes with us at our Celebrate the USA Party + Giveaway. We would love to see you there.
Thanks so much!
So darling and so much fun to make! Thanks for sharing with us at Throwback Thursday!!
Mollie
Thanks so much!
Oh, that does look like fun! And I must say I’m pretty impressed seeing those pictures of your girls painting in their cute clothes and on carpet. Our family would have paint splattered everywhere!
Thanks! Your comment cracks me up. I never really thought of it, but we did have a mat down underneath them and it was much larger when we were painting the blue parts and when I’m not photographing them there are paint shirts…..not all is as it seems. 😉
It never is in the blogging world, is it? 😀
So true! 🙂
This looks like a fun craft! Thanks for sharing it! #HomeMattersParty
Thanks so much!