Oh my gosh you guys! I’m so ready for summer. I need some time with my girls that isn’t this totally structured school day business. Only 5 days left for us! To help get ready and make sure I have ideas and we aren’t bored the first week, I made this adorable diy activities for kids board.
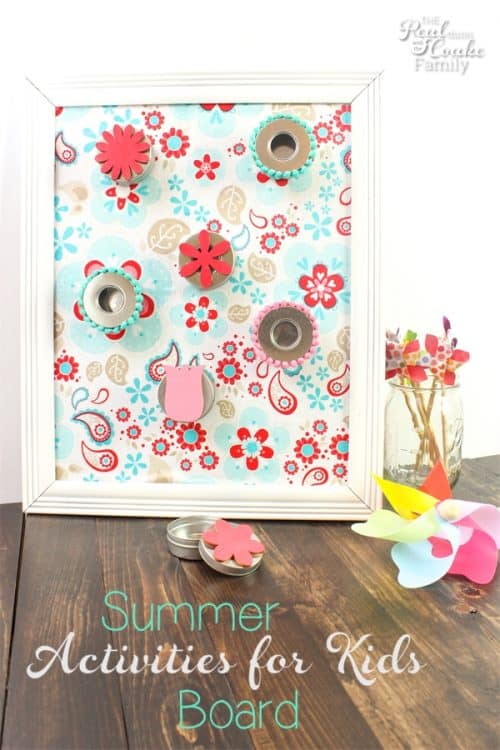
I made something similar last summer with the Summer activities for kids jar that I made. It worked so great, I wanted to repeat it again this year because we had lots of fun with it last summer. I also like to change things up and thought it would be really cute to make a board (kind of like the Christmas Advent calendar I made) that would hold our ideas for activities. I can hang it in the kitchen and we will see it each day. It will make it easy to spend a little time together every day or as often as we want and not have to think of what to do.
Since my girls are older(13 and 8), they can write down ideas and add them to the tins as well. We have set our house rules for how much the activity can cost and we know that we spend anywhere from 15 to 30 minutes (or more if we want to and have time) completing the activity.
In our house, I have a $5 or under rule. I know some families spend a lot of money to entertain the kids over Spring break and summer. I am not one of those people. I just really don’t believe that it has to cost a lot of money to have fun together as a family. In fact, we tend to have more fun and learn more about each other when we don’t spend much money. Of course, my budget is also small…I can’t afford to take the kids to a movie each week, so it works for that as well.
To help yourself be set up for success this summer, how about if you make a board like this one and sit down with your kids. You can brainstorm ideas of things you would like to do together. You then will write those on slips of paper and place them in the tins. Each day (or whatever frequency you decide upon), you will open a tin and do the activity inside. Simple. Fun.
So let me show you how to make your board.
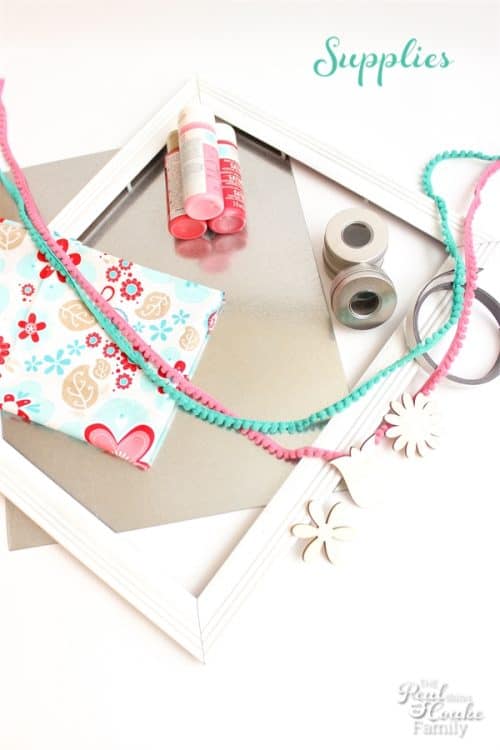
Supplies:
- Metal sheet (magnetic)
 — affiliate link
 - Picture frame the size of the magnetic sheet
- Round tins – I also like these Square tins
 (affiliate link)
 - Mod Podge
- Hot Glue
- Hot Glue gun
- Paintbrush
- Paint
- Wood Flowers (or whatever theme you want for your family)
- Adhesive magnets (I bought a roll for $1 and cut it to size)
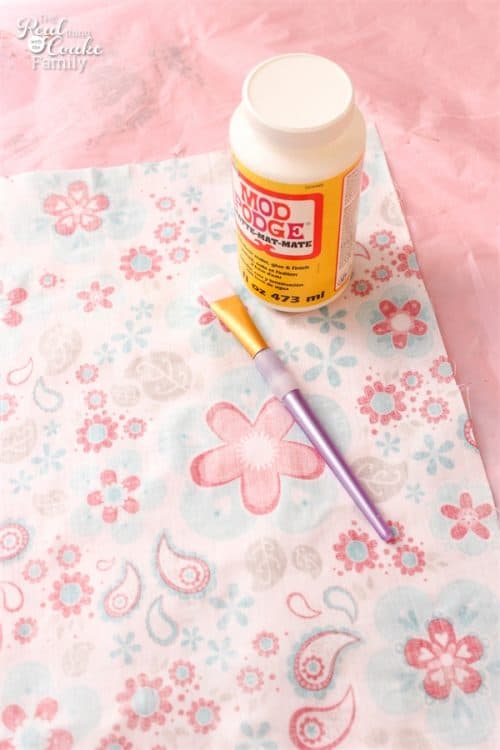
Start by cutting your fabric just a little bit larger than your magnetic sheet.
You will stiffen your fabric to make it easier to work with and adhere to the magnetic sheet. Do this by applying a coat of Mod Podge on the wrong or back side of the fabric. Allow that to dry.
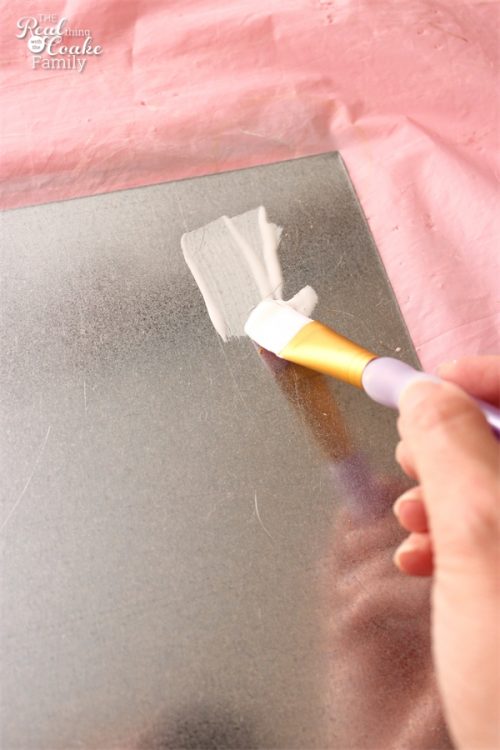
Apply a layer of Mod Podge to the metal sheet. Go nice and thick with this layer and cover the whole surface.
You will want to work somewhat quickly, depending on the size of your magnetic sheet, so that the Mod Podge doesn’t begin to dry out before you apply the fabric.
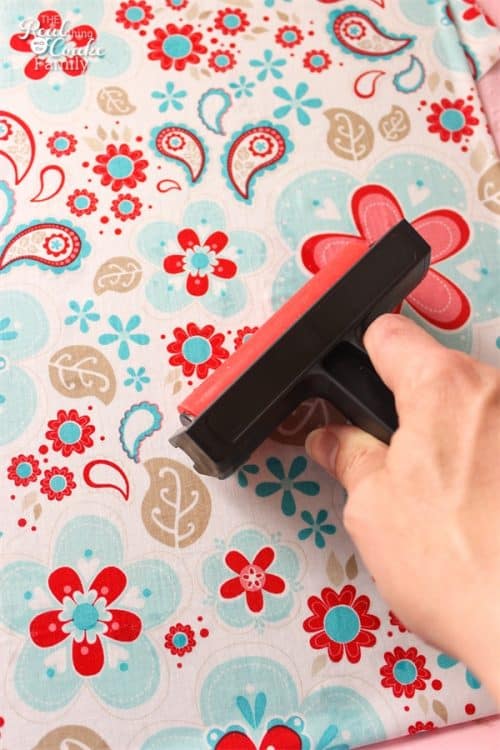
Place the fabric (do you recognize this fabric from the flour sack towels I made last summer?) onto the magnetic sheet and smooth it into place. After smoothing it, use a brayer![]() (affiliate link) to release all of the bubbles and really adhere the fabric to the metal. Fold the extra fabric to the back of the metal. Allow the Mod Podge to dry completely.
(affiliate link) to release all of the bubbles and really adhere the fabric to the metal. Fold the extra fabric to the back of the metal. Allow the Mod Podge to dry completely.
When the Mod Podge has dried completely, you can neaten up the back by trimming any large excess of fabric. If your frame has a back, I say don’t worry about it. You can add a coat of Mod Podge to help the fabric stay in place, but again if your frame has a back, it isn’t totally necessary.
I didn’t trim the excess fabric at all. I did add a coat of Mod Podge.
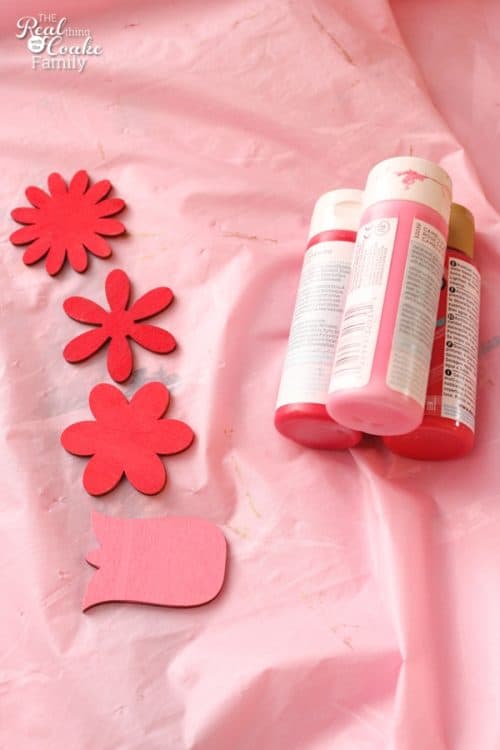
While you wait for the Mod Podge to dry, you can paint your wood flowers. Of course if you have a house full of boys, the flowers probably won’t go over very well, so change it up.
To paint my flowers, I use 3 colors of paint and mixed up multiple colors from those three that go with the fabric I selected.
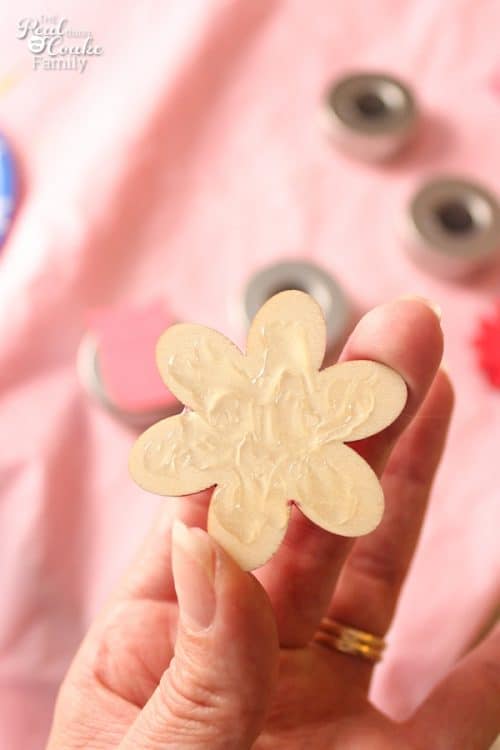
When the paint is dry, add hot glue to the back of your wood item.
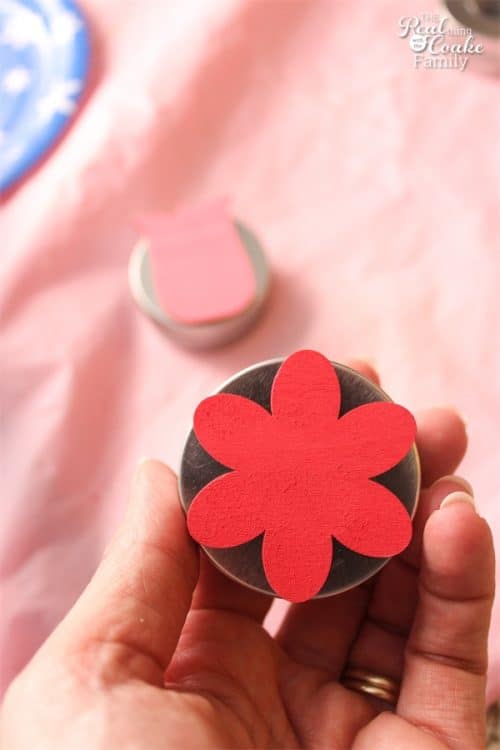
Adhere to the front of your tin.
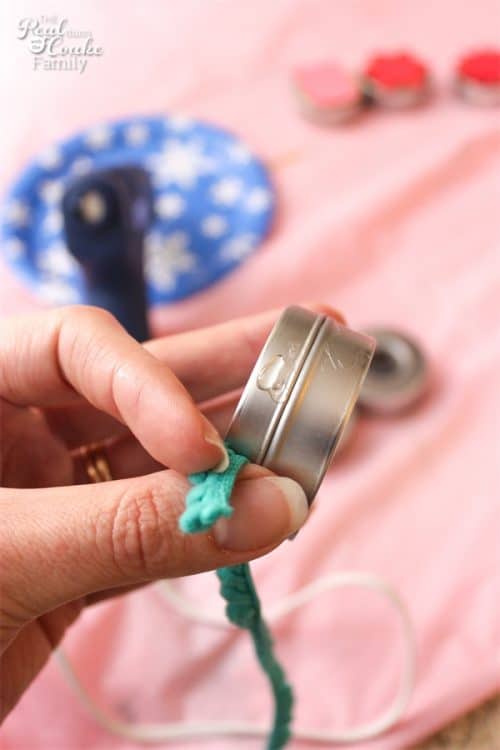
For a few of my tins, I wanted to use some of my cute little pom pom trim. If you want a look like this, just hot glue the trim to the top of the tin. Make sure you don’t use too much glue or you can glue the tin shut or make it look messy.
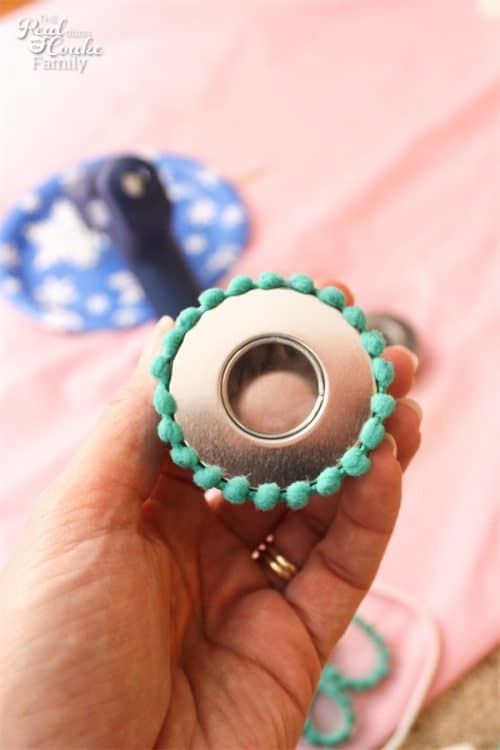
I love pom poms. They are so stinking cute!
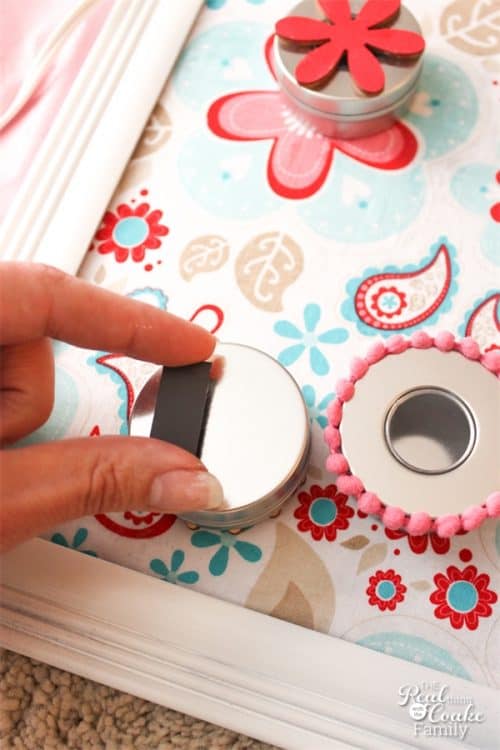
Once the Mod Podge has dried, put your fabric covered metal sheet into the frame. Lastly, add magnetic strips to the back of your tins.
I added two, like you see pictured above, to each tin. I wanted to make sure they really would stay up there when I hung the frame up.
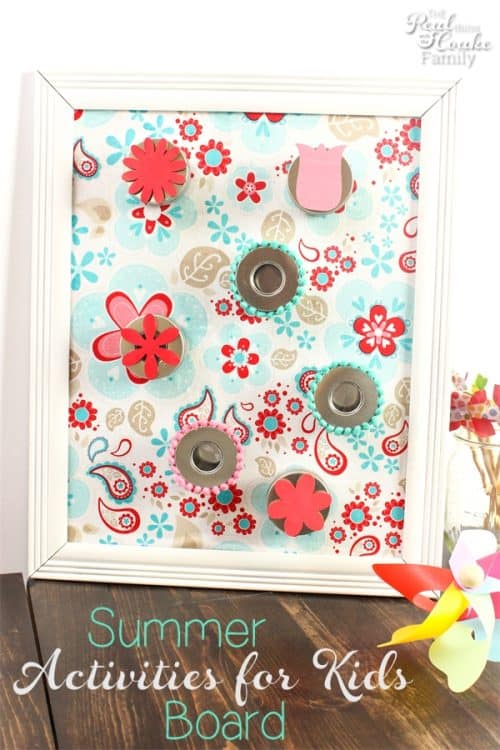
Cuteness! It feels great to be ready for summer and some time with my girls.
Now, what do you put in the tins? Ideas! Anything you and your family likes to do. I highly suggest that you sit down with your kids. They have great ideas of things they like to do and things they like to or want to do with you.
If you are still struggling, you can look at a few of our ideas from our summer activities last summer. AND stay tuned because next week, I’m going to have a free printable for you that will have plenty of ideas and will go perfectly in your summer activities board. Yay! Can’t wait to show you! Oh and if you need even more ideas, just click to see all of the great ideas that are part of my Real Summer Fun Series this summer. Great stuff!

Leave a Reply