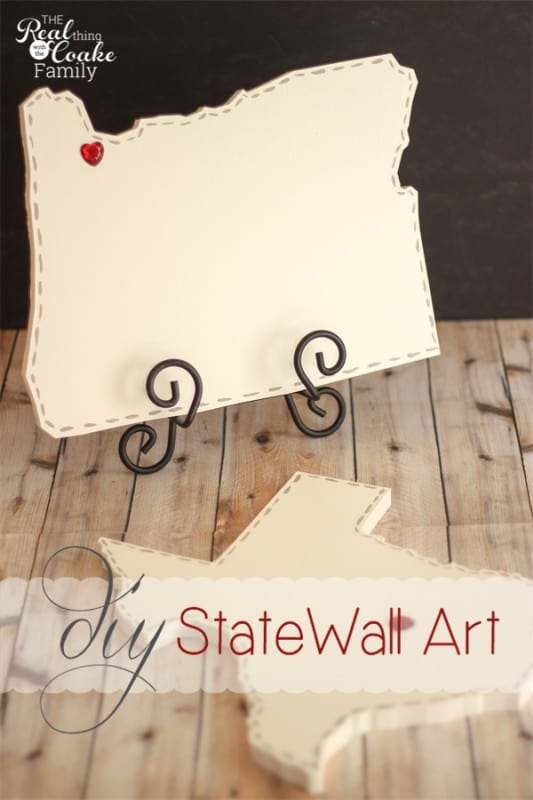
As you may know, I’m in the middle of making over my living room. I want to have new art work to go with my new living room. In order to have new art work, I need to be thrifty. I made some DIY wall art. It is so adorable! You can make something like this for your home as well. It was a fairly easy project and I’ve got a tutorial to guide you through.
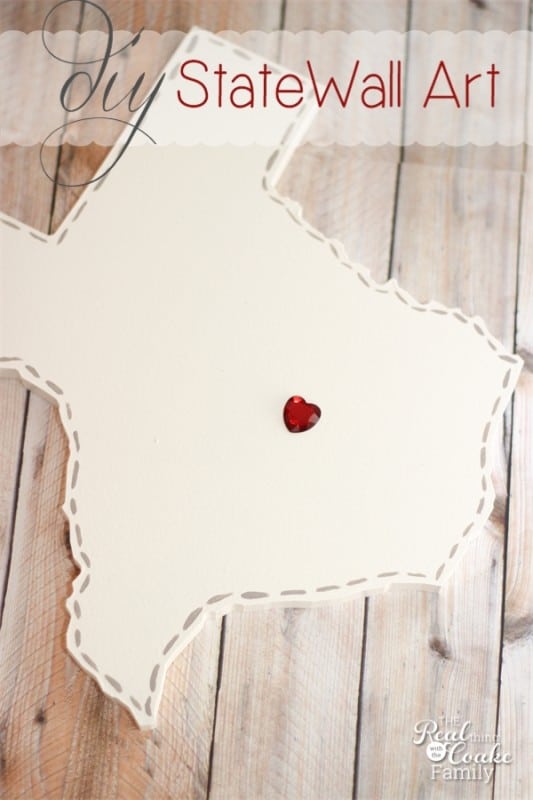
A few months ago, I saw Pick Your Plum(affiliate link) had these state cut outs for sale. I quickly snapped them up for all the states in which we have lived. I knew I wanted to add them to my living room when I got to changing out the art work.
You can follow Pick Your Plum, they may have something like this again. You could also watch the craft stores, sometimes they have paper mache items like this or even wood cut outs like this. You could also make your own if you are good with a jig saw.
Anyway, my states sat in a box in the office for quite a while….waiting. Finally I got to the fireplace makeover and taking down the chair rail. I knew it was time. Making these was a fun and easy project. I ♥Love♥ how they turned out. I can’t wait to show you them up on the walls….when I get the walls done. 🙂 In the meantime, you ready to make some DIY wall art? Let’s get rocking and rolling then.
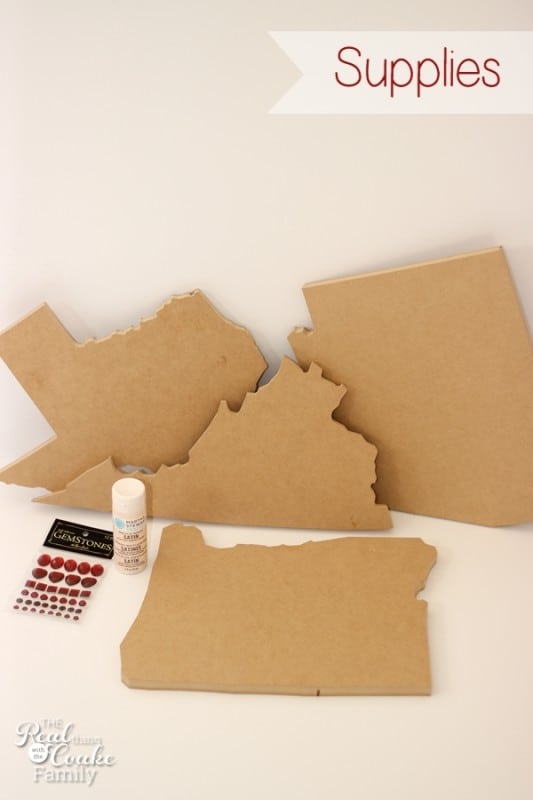
Supplies:
- State Cut out
- Paint
- Paint Brush
- Primer
- Heart shaped adhesive gem
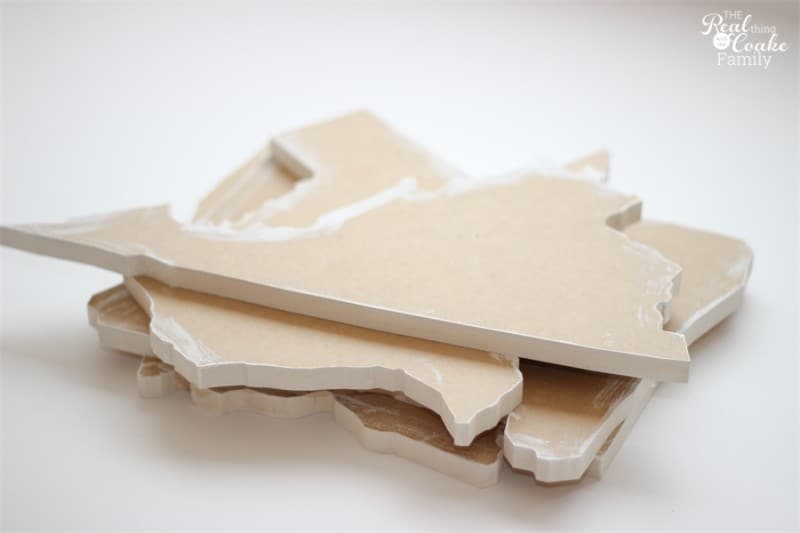
Alright, so as with most DIY projects, this project had some twists and turns. I was originally going to paint the edges and Mod Podge a map of the city or state in which we lived onto the state cut out. It turns out printing a map the size that I needed with the color tone that I wanted was more difficult than I thought it would be. Either that or I lacked the patience for figuring it out. Maybe both.
You will want to prime your piece before you paint. If you plan to paint the entire cut out like I did, prime the entire surface. As you can see above, I initially primed only the edges. I had to go back and prime the rest later when I figured out the map idea wasn’t going to work for me.
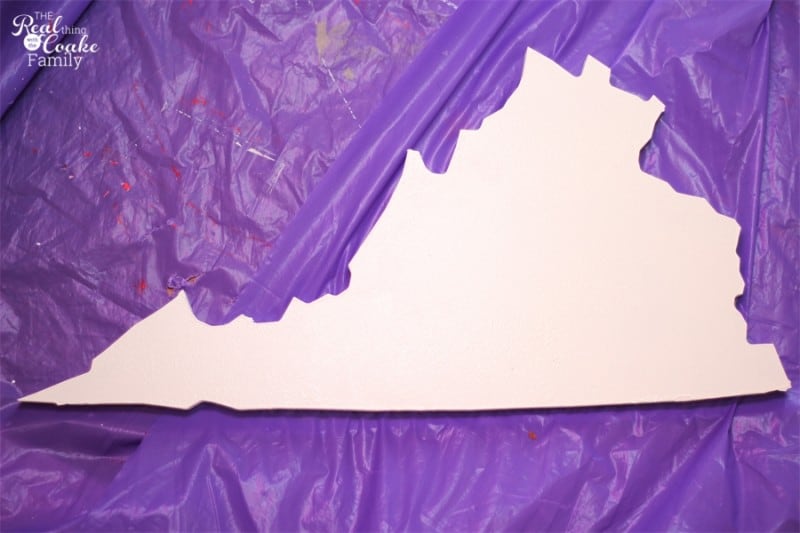
After priming, paint the entire cut out with at least two coats of paint.
I used the same color that I painted my fireplace. That way it would bring a little touch more of that color into my living room.
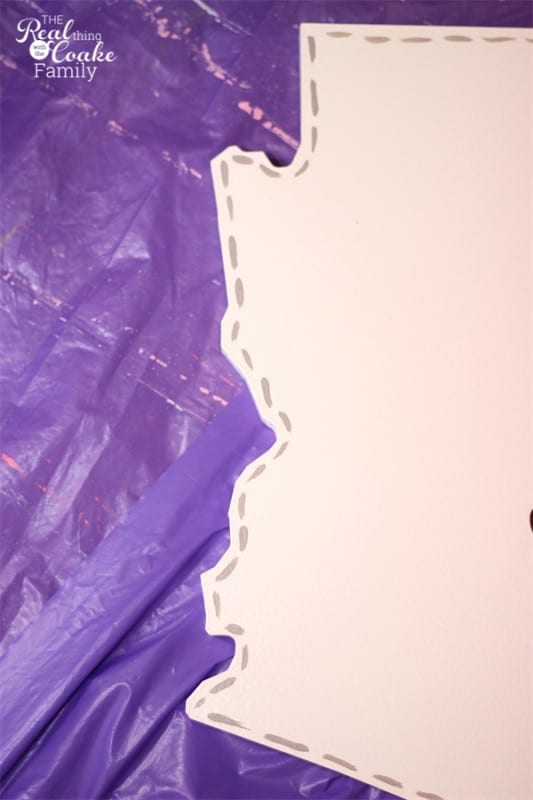
Use a fine point and stiff bristle brush to add the ‘stitching’ around the edge of the cut out. Pick a contrasting color for the most visual bang for your buck. Don’t worry about it being perfect. It will look good in the end. You can see that mine is not perfect or all the exact same sized ‘stitches’. I think the end result is perfect!
I used the same paint color as the color of our living room walls….well at least the first time we painted them. Oh boy you guys…the walls have been a bit of a pain. Which would be why I haven’t shown them to you yet. Hopefully soon, it will be done and my living room will be put back together with cute art work on the walls.
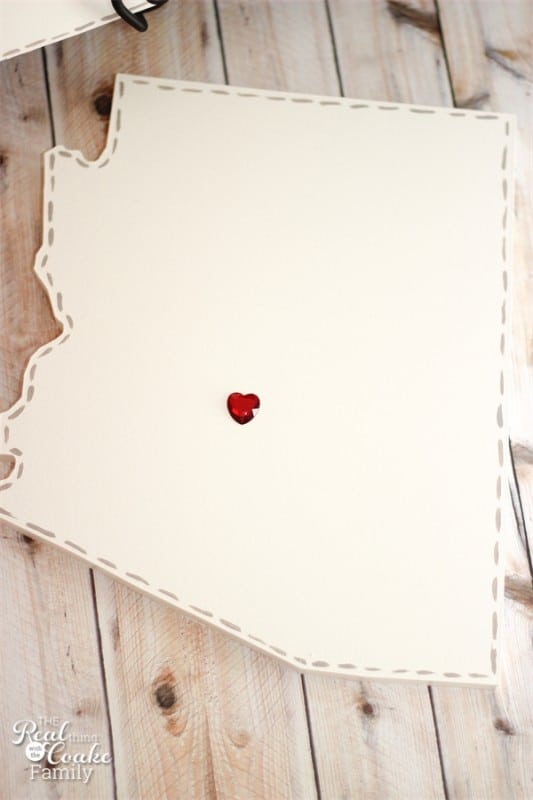
Lastly, add the adhesive red heart gem to your state. You can add the gem to the state capital or to the city in which you live(d).
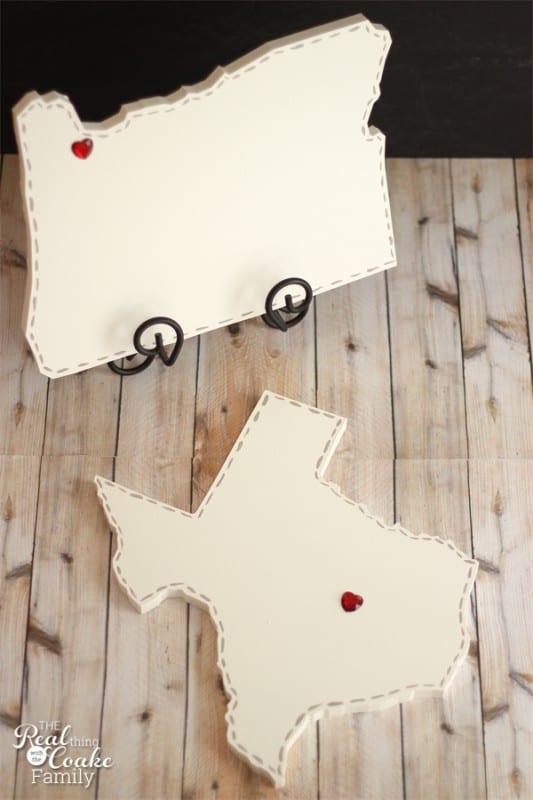
We have lived in four states, so I got to make four state cut outs for my DIY wall art. I don’t know what we will do if we move to a new state because I have no idea if Pick Your Plum will sell these again. Oh well, I will have to worry about that if it happens…not now.
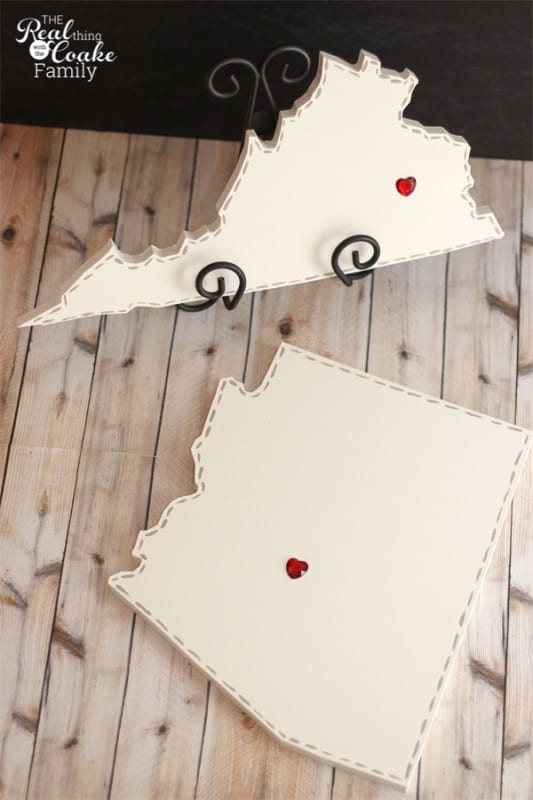
I could not be more happy with how these turned out. They look so cute and just like I envisioned. A little bit of our history right there on the wall as art. ♥
What do you think? Like or love (we won’t make dislike an option because really, could you not like these? Humph!) Would you make wall art for your home that show some of your history? Do tell. Please leave a comment below.
More Home Decor Fun for You:

Love, love, love them! I’m not sure I would have a place on my wall big enough for all the places we’ve lived (retired military), but what a fun idea!!
I bet! I think it would be neat to have something showcasing all the places you’ve been. I love seeing stuff like that!
looks good, it is a great idea! I was wondering how you were doing on your painting expedition, hopefully it is going OK….
Have a great week end!
Getting there. Mostly just need to finish up details now. Have a trip home comingoup so that will stall progress. Oh well. ::sigh::
Love state-inspired art! This is so cute and easy!
Thanks!
These turned out great! I thought about doing something with maps from every city we’d lived in at one point, but I got discouraged trying to track down all the maps. Something like this might work better!
Thanks! It sounds like it might work better for you. I can imagine tracking down and, if you are like me, figuring out how to print maps of lots of cities would get challenging. It sure is a fun way to display part of your history though. Hope you are able to figure out something you love. I’d love to see it if you do. You can post pics on my facebook page. Good luck!
I loved your Tip Me Tuesday link . {thanks girl!}
Would you like Tip Junkie to feature your blog post to over 200,000 creative women? If you upload this blog post into your Tip Junkie craft room using at least 2 images, 2 steps, and blog post URL then I can easily feature it in my RSS feed, home page, and all my social networks instantly. {squealing with delight}
~ Laurie {a.k.a. the Tip Junkie}
https://www.tipjunkie.com/post/how-to-add-a-craft-room-project-on-tip-junkie/
Thanks, Laurie!
What kind of primer did you use?
At the time, I would have used KILZ. I have recently switched to using Zinsser 123 and really prefer the results for it over KILZ. HTH!