Well, despite the fact that I wrote the inspirational post last week of 15 DIY curtains, I did not get the curtains done in my daughter’s room. We did decide on what we are going to do and I got them all pinned, but I need to paint them and actually sew them. Instead, I decided to do a project that feels so much more simple. I decided to make some DIY room decor for her walls that had also been sitting around waiting on me since the beginning of this year. Sigh…I sure do have mommy guilt about how long it is taking me to get her room done.
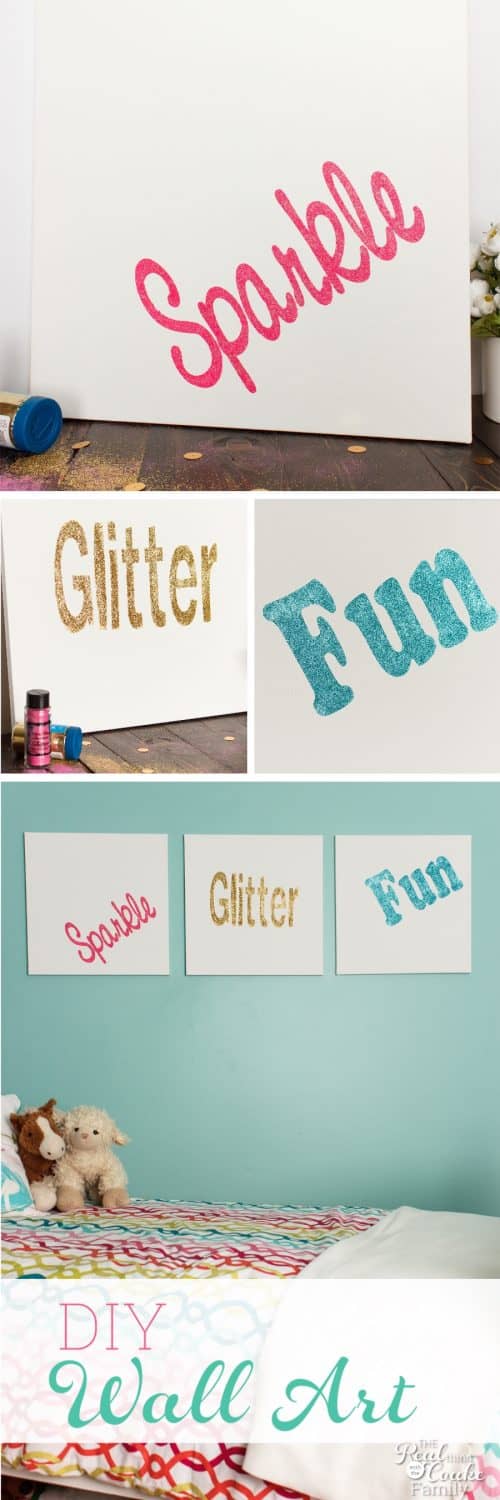
My daughter and I had seen some wall art when we were at JoAnn’s back near the beginning of the year. It wasn’t really anything like the DIY room decor I made for her, but it sparked the idea. My daughter has wanted to start her own YouTube channel for a while now and she wants to call it “Sparkle, Glitter, Fun!” She practices all the time. I just haven’t let her actually start a channel. Anyway, the wall art we saw at JoAnn’s had a glittery word spelled out in it. That word was sparkle. That day, we bought the canvas for this project. Then I came home and wanted to make the wall art immediately, but instead I had to make dinner and now it is 4 months later….does that happen to anyone else? Let’s hope so. 🙂
I’ve got a printable for you at the bottom of this post with full step by step directions for this project. Each step has pictures so even if you have never done a project like this before you can download it, print it out and I am sure you can make your own glittery wall art. If you get going and need help, just leave me a comment below or leave me a message on facebook and I will do my best to help you through the project. The great thing is that you can make this for any word or picture you want on your walls. That is what I love about projects like these. Not only do they save me money, but the are totally personalized. I can have any wall art or picture you want on your walls. That is what I love about projects like these. Not only do they save me money, but the are totally personalized. I can have any wall art or DIY room decor I would like or that goes with what I want in that room. In my daughter’s case, she wanted glitter and words. So easy.
That is what I love about projects like these. Not only do they save me money, but the are totally personalized. I can have any wall art or DIY room decor I would like or that goes with what I want in that room. In my daughter’s case, she wanted glitter and words. So easy.
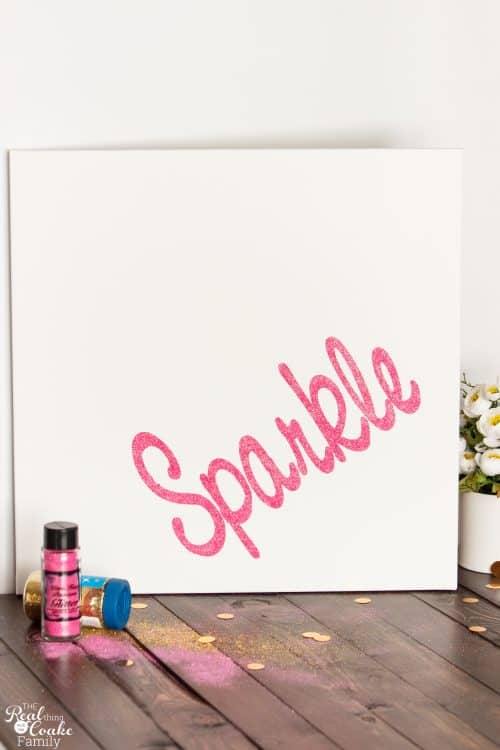
You are going to be seeing more of this color pink as we have come up with the final plans for her room and we are tying this color into the curtains, pillow for her bed, bulletin board, and her bed skirt. Love it when things come together. Now I just have to make them all. 🙂
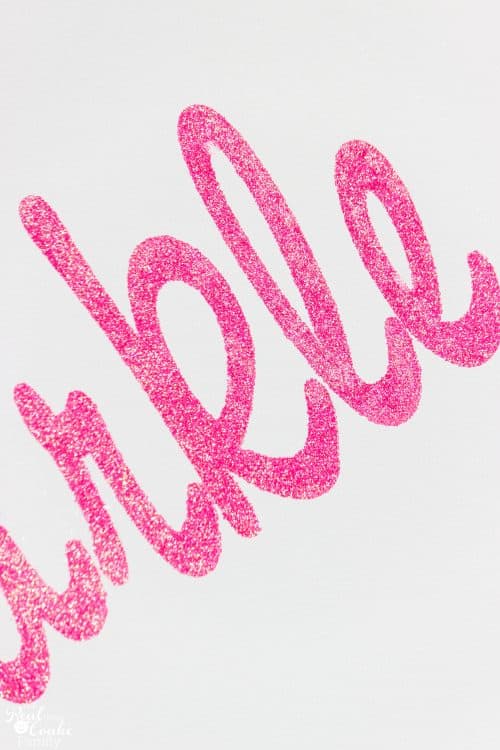
I love how the sparkle really sparkles.
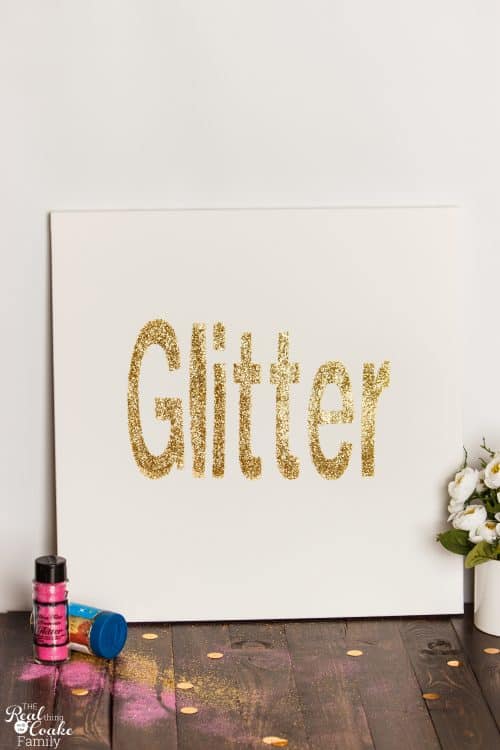
If you are going to have the word glitter on your wall….it had better actually be glittery.
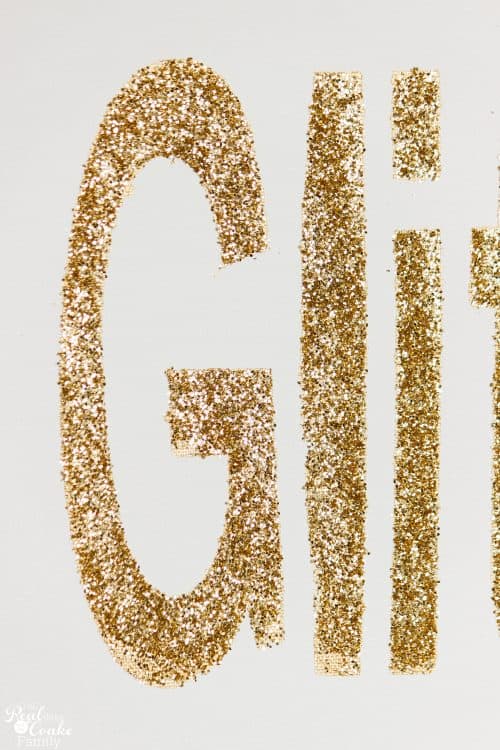
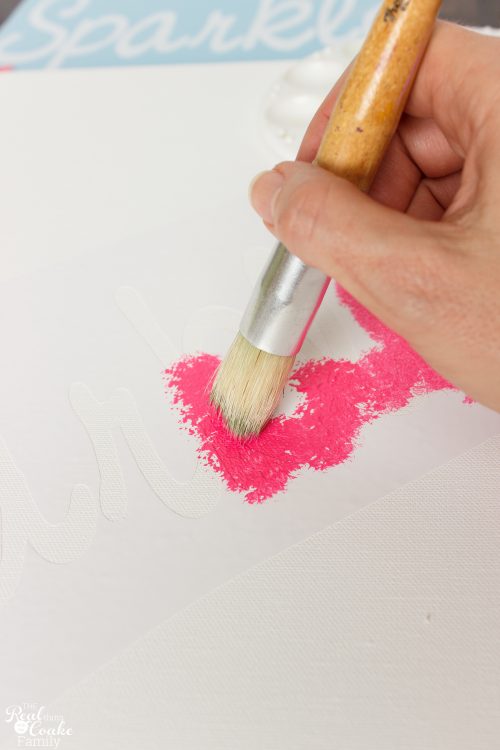
To get full coverage, I made a stencil and painted the stencil with a color similar to that of the glitter I would be applying. As you can see above, there are some spots without glitter, but the overall effect works great!
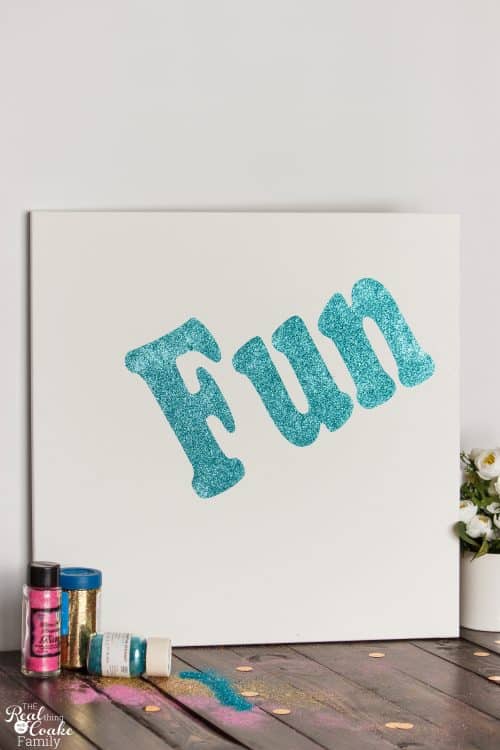
For the word fun, we used her wall paint and added a turquoise glitter I had on hand on top. It makes it close to her wall color, but not exactly.
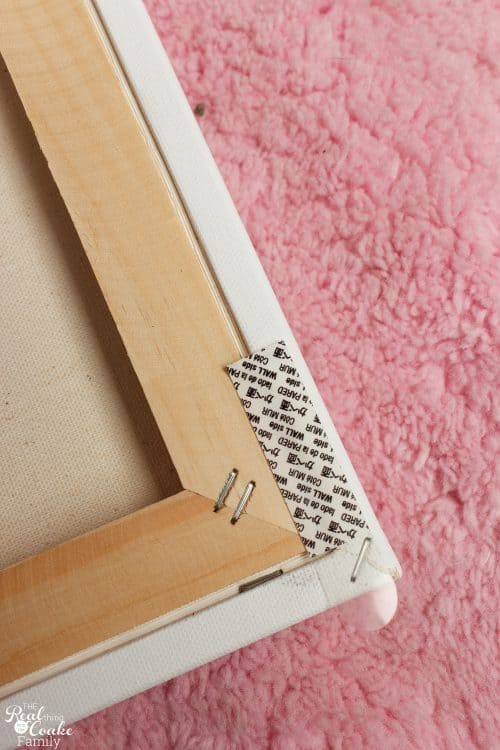
One quick tip I have for you about hanging your DIY room decor, use a single command adhesive strip in one corner. If you ever get frustrated (or maybe this is just my little obsessive self) with wall art being askew and not all lining up on the walls, add one command adhesive strip to the corner. It will hold the artwork in place and won’t allow it to move all over the place. You can also just hang the wall are
You can also just hang the wall art with the adhesive strips, but if you don’t have enough or don’t want to spend as much as it would cost to hang things that way, at least putting one will keep things from slipping and sliding around on your walls.
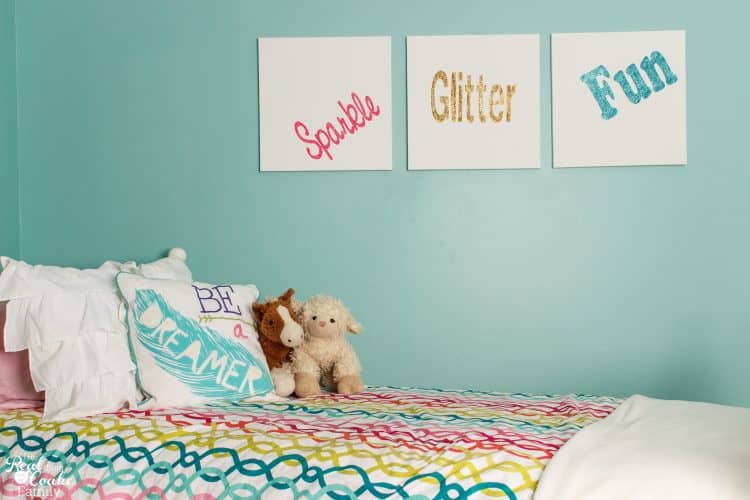
We hung the three together on the wall near her bed. It looks so cute and it is so nice to see something on the walls.
Just sign in below to get your step by step printable craft directions.
Now I just have to make the curtains, a pillow for her bed, do a treatment to her dresser, makeover her bulletin board and make a bed skirt. Since she and I came up with a solid plan for everything, I’m looking forward to getting it done…well everything but the curtains. 😉
I’ve got more ideas and real life fun on Instagram. Follow me so you don’t miss a thing. 🙂

These are adorably fun! I love that your daughter wants to share some creative talent 🙂 Thanks so much for stopping by and sharing with us at Snickerdoodle Sunday! Pinned to share!
Sound like you might have some blogging competition in the future from your daughter, lol! Love these signs! We’re redoing my daughter’s room and it’s taking forever, too – so don’t feel too bad! 😉
No…not competition, she is going to join the ‘family business!’ 😉 Thanks so much! I’m glad that I’m not the only one that takes forever to get things done. 🙂
Love this! I think I will do something like this for the girls’ room!
Love the command strip tip! I get so frustrated when my pictures get askew and I am constantly fixing them. I am pretty sure my husband thinks it’s funny and is the one actually making them hang crooked!
Thanks so much! I loved reading your comment because I love knowing I am not the only one that crooked pictures drive nuts! 🙂 Hope it helps…won’t it be funny if you put them there without your husband knowing and seeing his response to why the pictures won’t move. Lol!
My daughters would LOVE this glittery decor in their rooms! Thanks so much for sharing with us at Share The Wealth Sunday! xoxo
Thanks so much! I’m glad to know there are those in the next generation who will carry on the love of glitter. 😉
What a lovely project for your daughter’s room! It sounds like she shares your same creativity. Good luck with her and her youtube channel 🙂 Thanks so much for sharing this on #shinebloghop!
Thank you! She definitely shares some of my creativity!
my grand daughter loves art and this will delight her. This is great project thanks for sharing