• Home
  • Contact
  • Privacy Policy & Disclosures
  • Nav Social Menu

    • Email
    • Instagram
    • Pinterest
    • YouTube

Real Creative Real Organized

Creativity and Organization for Mom Life

  • Crafts
  • DIY
  • Organization
  • Travel
  • Mom Life
  • Holidays & Special Days
    • New Year’s
    • Valentine’s Day
    • Mother’s Day
    • Easter
    • Father’s Day
    • Fourth of July
    • Halloween
    • Thanksgiving
    • Christmas
    • Seasons
      • Spring
      • Summer
      • Fall
      • Winter
    • Olympics
    • Birthdays
  • Shop
Home » Crafts » Simple Decorative Cork Board

Simple Decorative Cork Board

August 21, 2013 by KC Coake 10 Comments

Share away! 😍

  • WhatsApp
  • Email
  • Facebook

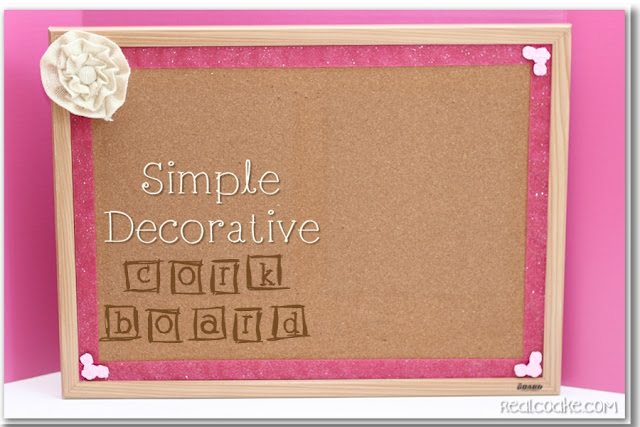
For us, it is almost back to school time! I know for many of you school has already begun or begins this week. Since we homeschool, getting ready for school around here often involves re-organizing and changing things up a bit. We use our kitchen and living room as our primary school areas. I changed things up this year and zhuzh’d up a bit in our school area. I took our plain cork board and added a few very simple and easy touches.
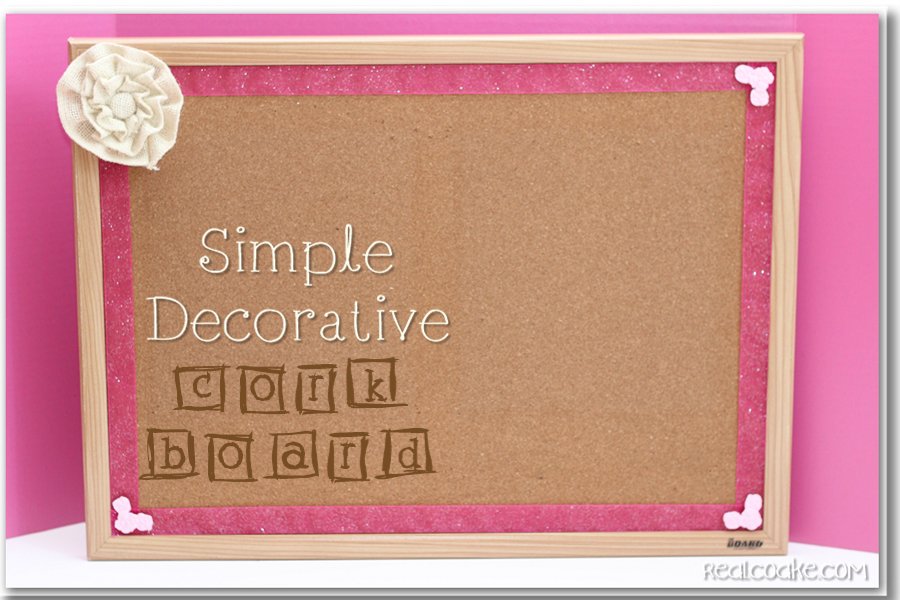
Idea for taking a Cork Board from plain to cute with tutorial #BulletinBoard #DIY #Craft #RealCoake

Now we have a cute decorative cork board for our school area!

It couldn’t be much easier to zhuzh up your own cork board. I’ll show you what I did so you can either gain some inspiration for your own cork board or copy mine.

Simple Decorative Cork Board from www.realcoake.com
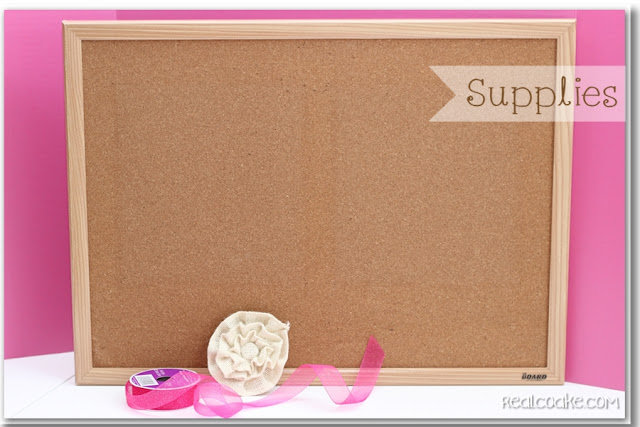
Supplies:
  • Cork Board(any size that works for you)
  • Ribbon
  • Thumbtacks
  • Embellishments (I used a burlap flowerand Mod Melts)
  • Craft Glue if you are using embellishments
Simple Decorative Cork Board from www.realcoake.com
Start by cutting your ribbon as precisely as you can to fit in each corner. Mine ended up being a little long in each corner, but once I got it close I could easily trim small amounts until it fit well.
Use your thumbtacks to hold the ribbon in place. If you are adding Mod Melts or other embellishments onto your thumbtacks, hold off on this step.
Simple Decorative Cork Board from www.realcoake.com
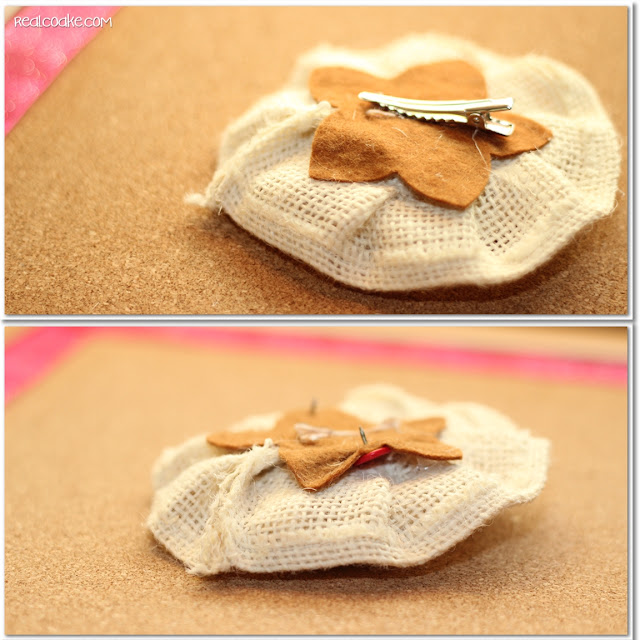
I didn’t want my thumbtacks showing, so in one corner I added a burlap flower. It matches the flower I added on my Pencil Holder – Mason Jar Craft, which sits just below this cork board.
As you can see, remove the clip on the back of the flower. Gently lift the felt and put thumbtacks under the felt. Use those thumbtacks to adhere the flower to the bulletin board.
Simple Decorative Cork Board from www.realcoake.com
Ahhh..so pretty! I’m loving having something a bit more cute and pretty to look at in our school area.
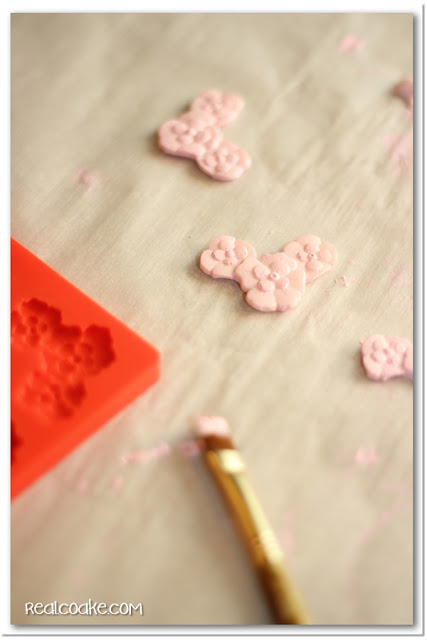
I didn’t want the other thumbtacks to show either, so I headed to my craft stash to figure out what to add to cover them up. That is when I remembered my Mod Melts. They were perfect to add on top of the thumbtacks.
Simple Decorative Cork Board from www.realcoake.com
Melt the Mod Melts and use any mold you prefer. I used this cute corner flower. After the Mod Melts cool, paint your flowers (or whatever you used) with acrylic craft paint.
Simple Decorative Cork Board from www.realcoake.com
Use your favorite craft glue to adhere the flowers to the thumbtacks. Wait until the glue has fully dried…I think this is the hardest part! The torture of waiting for the glue to dry.
Once the glue has dried, you can use your new cute thumbtacks to hold your ribbon in place on your cork board.
Simple Decorative Cork Board from www.realcoake.com
See, I told you this was very simple! Here is my cork board in our school area. You can see the Pencil Holder – Mason Jar Craft on the shelf below the cork board. They all go together and helped me glam up our school area.
I’m going to show you our school area and how I re-organized it later this week. So tune back in if you want to see how we fit a classroom into our living room.
Simple Decorative Cork Board from www.realcoake.com
So much better than the plain cork board that has hung in my living room for 3 or 4 years!
What other ideas do you have to glam up a cork board?

More to Enjoy! 😍

Sewing a Pom Pomrific American Girl Doll Comforter
How to Dye Epsom Salts and DIY Light Jars

Share away! 😍

  • WhatsApp
  • Email
  • Facebook

Hi! I'm KC. I'm a single mom of 2 girls who loves all things creative. Whether it's making something crafty or tackling that DIY project, I'm gonna have some fun and stay organized in the process. 😊 Read More…

Follow Me:

  • Email
  • Instagram
  • Pinterest
  • YouTube
Previous Post: « Real Fun Features #26
Next Post: Real Family Fun #27 »

Reader Interactions

Comments

  1. SouthMainMuse says

    August 23, 2013 at 2:59 am

    How cute are those thumb tacs. And your burlap flower. I would never have the patience. But that would be a great way to keep track of all the announcements that come home from school.

    Reply
    • KC Coake says

      September 3, 2013 at 3:18 am

      Thanks! This really didn’t take much time at all and if you like the idea, you could always buy decorative thumb tack…super easy! 🙂
      Take care,
      KC

      Reply
  2. Katie @ Made to be a Momma. says

    August 23, 2013 at 4:57 pm

    This is super cute!! Love that burlap flower! I would LOVE to have you share this at my link party!!
    https://www.madetobeamomma.com/2013/08/homemade-by-you-64.html

    Reply
    • KC Coake says

      September 3, 2013 at 3:22 am

      Thank you!
      KC

      Reply
  3. Pam Jackson says

    August 23, 2013 at 8:36 pm

    Cute and all dressed up…nice job.

    Reply
    • KC Coake says

      September 3, 2013 at 3:24 am

      Thanks!

      Reply
  4. Nicky @ Pink Recipe Box says

    August 26, 2013 at 8:05 am

    What an improvement! Loving those teeny tiny pink tacks, too. I’d be thrilled if you’d come on over to Pink Recipe Box and link up at Creative Wednesdays: https://pinkrecipebox.com/creative-wednesdays-with-pink-recipe-box-6/

    Reply
    • KC Coake says

      September 3, 2013 at 3:35 am

      Thanks! I had fun coming up with ideas.
      Take care,
      KC

      Reply
  5. Ana Lopes says

    August 26, 2013 at 1:25 pm

    Lovely project!Thanks so much for sharing! Would love to have you visit my blog sometime.
    Have a fabulous week!
    Hugs from Portugal,

    Ana Love Craft
    http://www.lovecraft2012.blogspot.com

    Reply
    • KC Coake says

      September 3, 2013 at 3:38 am

      Thanks so much!
      KC

      Reply

Leave a Reply Cancel reply

Your email address will not be published. Required fields are marked *

Primary Sidebar

Popular Posts

  • IKEA built in hack with storage and desk Great IKEA built in hack for simple shelving and desk
  • collage showing how to paint a stairwell The Inexpensive Way to Paint a Stairwell

Meet KC

Hi! I'm KC, Welcome to my blog!
Click here to Learn More About Me…

Free Member Program:

Let’s Be Social

  • Email
  • Instagram
  • Pinterest
  • YouTube

Copyright © 2023 · Sprinkle Pro Theme on Genesis Framework · WordPress · Log in