I’m back with the next part of the bedding for our American Girl doll bunk beds. This time I took on sewing sheets for the beds. Only I didn’t do the sewing, my girls did!
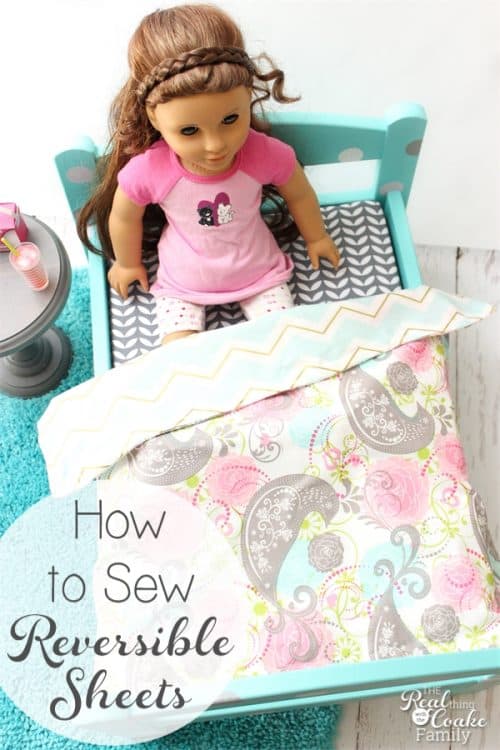
When I made bedding for our doll beds a few years ago, I wrote that I wished I had bought a little more fabric so that I could have made the sheets reversible. This time, I was able to plan for the extra fabric and we were able to make reversible sheets.
In addition to making them reversible, this is an activity my girls and I completed together. We turned it into one of our Real Summer of Fun activities. I let the girls do almost everything to make their own sheet. They did a great job!
You can see the rest of the ideas in my Real Summer of Fun series by clicking through to that post. I have over 15 ideas of summer activities for kids and parents to do together. We can totally make this a real summer of fun!
For today, let me show you how you or your child can make their own reversible sheet.
Supplies:
- Fabric
- Thread
- Pins
- Sewing machine
 (affiliate link)
 - Iron
- Scissors
Start by measuring the bed that you want the sheet for. I just measured some of the side of the bed as well as across the bed. Measure the length of the bed as well. I didn’t want the sheet to go all the way to the top of the bed because it I thought it would look better to see some of the cute mattress I made if the sheet didn’t go all the way to the top. Our sheets are made short…they don’t fill the entire length of the bed.
Since we already had made sheets in the past, I knew that we had made them 20″ x 17″. Snowflake, my oldest daughter, wanted her sheet the same size. Pumpkin, my youngest daughter, wanted her sheet just a touch bigger.
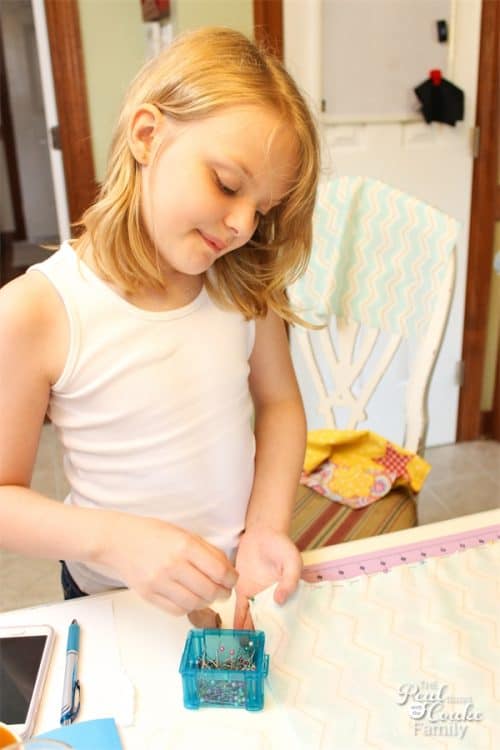
We cut Pumpkin’s sheet at 20″ x 18″. She set to pinning.
For the reversible sheets, you will want to cut two pieces of fabric that are the same size and pin the right sides together.
Pumpkin selected two different fabrics for her sheet.
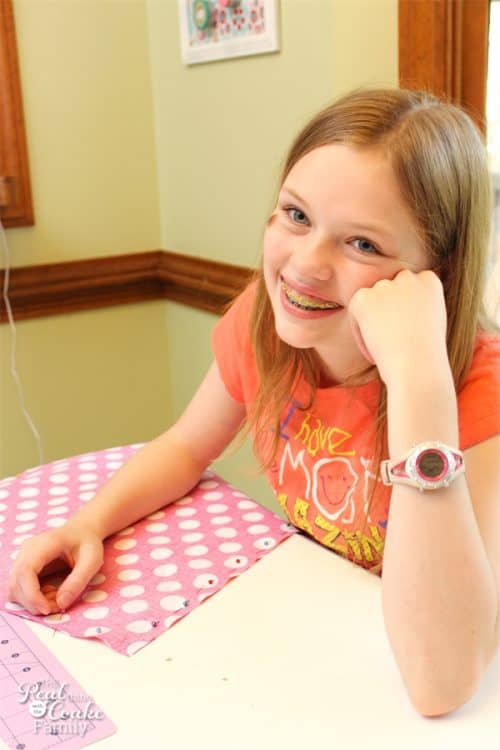
Snowflake picked the same fabric for both sides of her sheet. We cut hers at 20″ x 17″.
She also got a little bored waiting on her sister and her mother (who takes too many pictures…boo!).
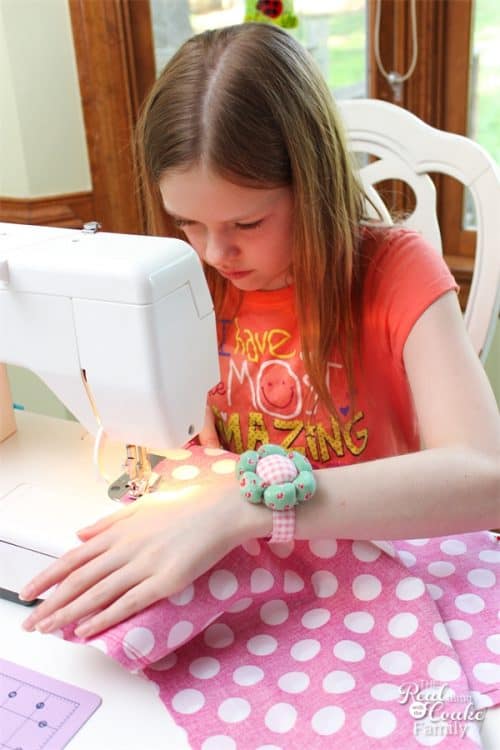
Next up, you will sew your fabric together. Leave an opening on one side of the sheet with which to turn the fabric right side out. Sew with a 1/2″ hem.
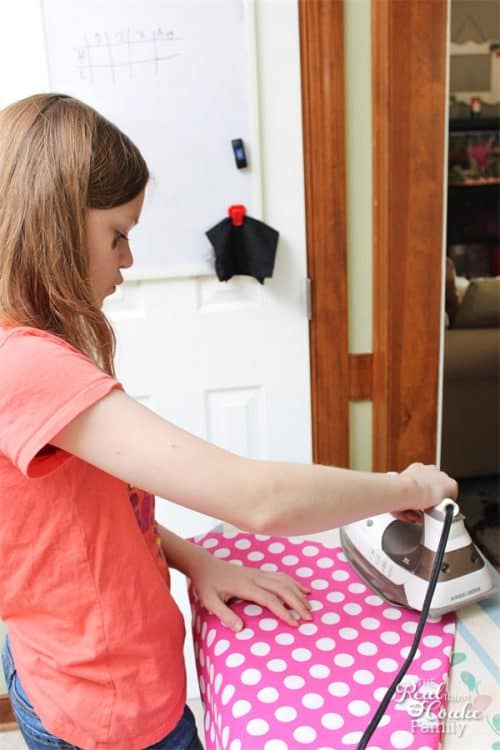
Once you have turned the fabric right side out, you need to iron it, especially the opening. You will want to carefully turn the opening fabric under at the same width that you sewed your hem (1/2″ in our case).
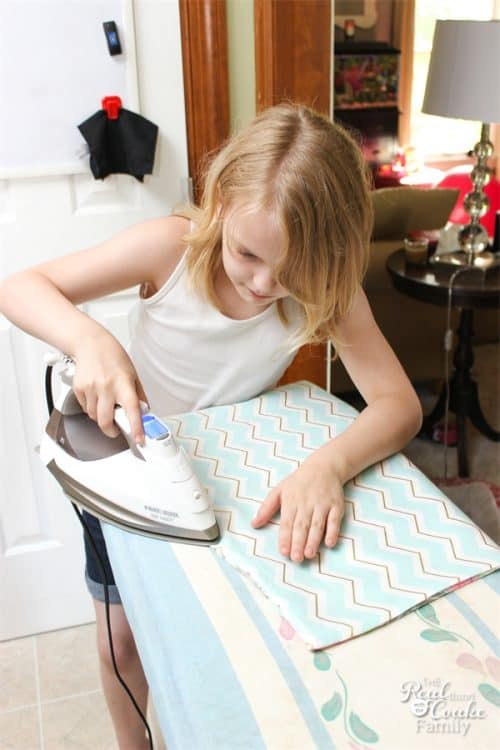
If you are like me, teaching your 8-year-old to use an iron may give you heart failure. 😉
I do realize that not all 8 year olds are ready to use an iron, but Pumpkin is quite mature and I felt like she could handle it. I think I’m the one who couldn’t handle it. She did fine.
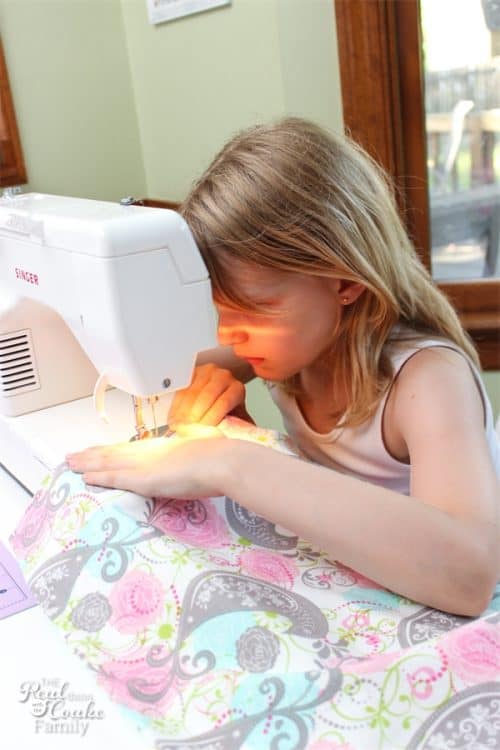
To hold the sheet in place, and keep it from rolling and not staying as it is currently sewn, sew a 1/4″ topstitch around the full sheet. This will also close the opening that you used to turn the fabric right side out.
Pumpkin got a little frustrated with this part because she has a hard time sewing a straight line. She did great! She isn’t totally convinced of that, but she did the project herself and I think one day she will look back and think it is really neat to see what she sewed when she was 8.
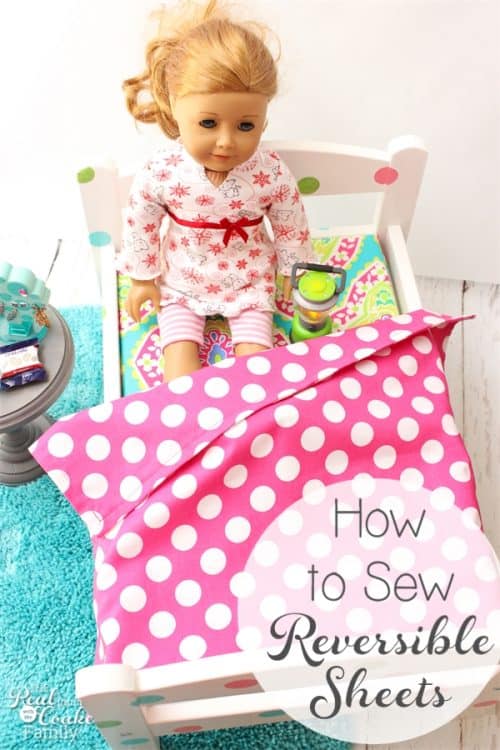
I have a little doll bed quilt I made at about her age. Totally not perfect, but so neat that I made it by myself. (Her sheet is the main cover photo sheet if you want to go look.)
My daughters and I enjoyed this little afternoon project. It was fun to work with both of them and giggle and laugh. They were both so proud when they finished. Proud that they had made their own sheet. I wish I had gotten a picture of that! I missed out on that one. Boo!
I will be back sometime soon with the of our American Girl doll bedding. I still need to make the comforters for their beds, which I plan to show you.
All in all, we had fun together and now my girls almost have their bunk beds complete. More things to play with this summer. Perfect!
Come follow me on Facebook for more fun ideas and projects!
What kinds of sewing projects do you like to do with your kids? How about iron skills…have you taught that yet?
More great posts for you:


Fun project!! I’ve got a Craft Gossip post scheduled for later today that links to your tutorial:
https://sewing.craftgossip.com/?p=83200
–Anne
Thanks Anne! Thanks so much for the features of both of my recent doll bedding on Craft Gossip. I really appreciate it! Tune back in, I will have the comforter in August (sounds like such a long time!!).