We love science at our house! I have seen a few science-themed decorations for the home and have wanted to add them to our home some way. Halloween seems like the perfect holiday to add some science-themed fun! Today, I’ve got super easy and fun DIY Halloween crafts that are science-themed decorations. Fun!
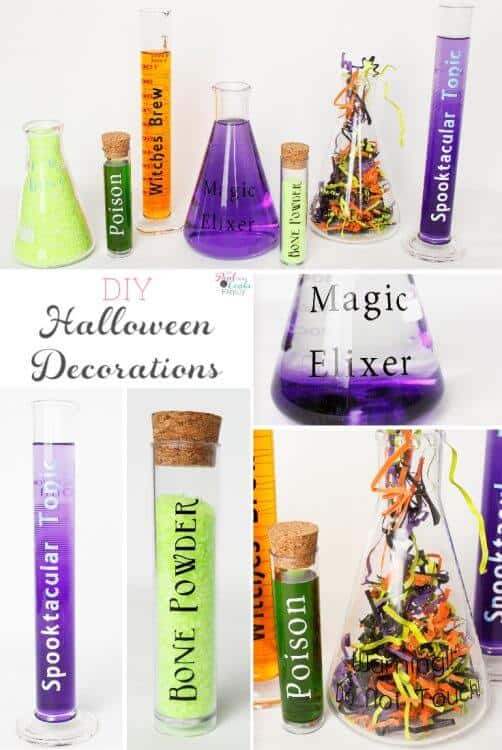
Regardless of whether you love science or not, Halloween seems to be the perfect time for some test tubes and vials filled with fun and slightly creepy goodies. We are never hardcore with our creepiness or goriness as we are chickens, but we still like to have some fun. These DIY Halloween crafts fit that perfectly, but if you prefer more creepiness or goriness, you can change things up easily with this craft to match your preferences.
DIY Halloween Crafts ~ Science Lab Style
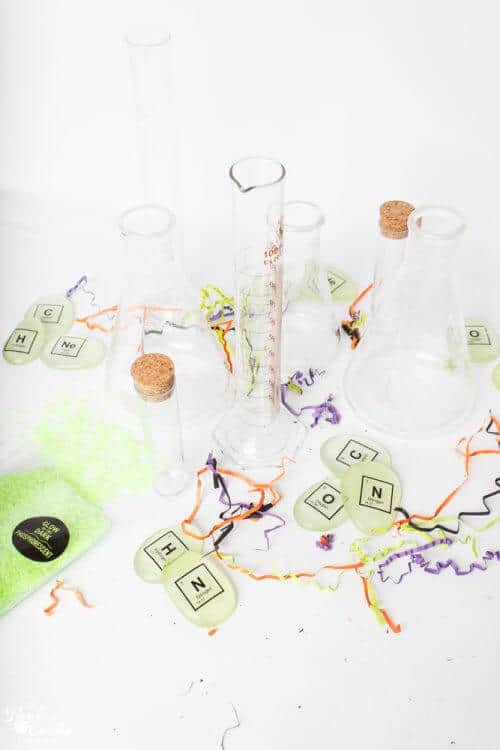
Supplies:
- Science beakers (affiliate link) – I got mine at Michael’s
- Science test tubes
- Adhesive Vinyl (I used black and holographic – affiliate link)
- Vinyl transfer paper (affiliate link)
- Cricut Machine (affiliate link)
- Glow in the dark pebbles
- Water
- Food Dye
- Shredded paper in Halloween colors
Step 1: Cut your wording
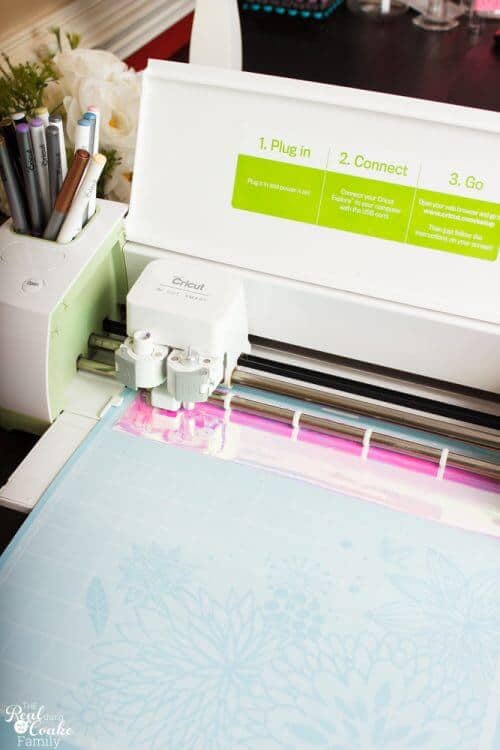
Decide on the sayings you want for your tubes and vials.
I have a link to my Cricut cut file at the bottom of this post. You can use it if you like the sayings and fonts I used.
Cut the words out of the vinyl of your choice. I used both black and the holographic vinyl.
Step 2: Weed your Vinyl
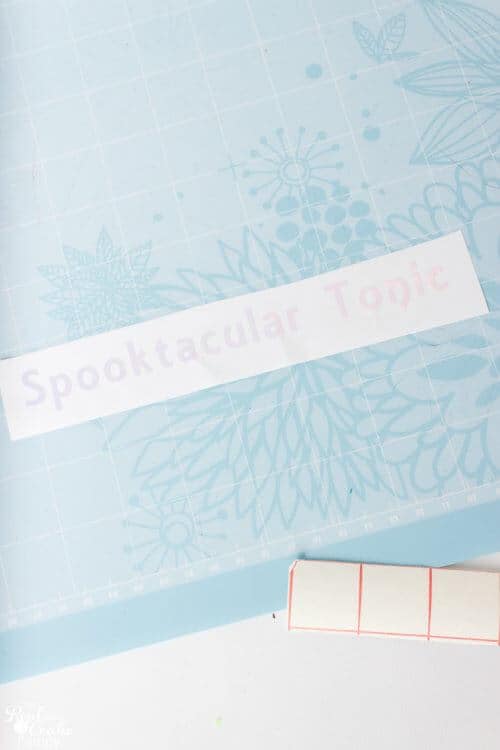
Next up you will need to weed your vinyl. That is just removing all of the excess that you don’t want on your beakers or vials, like the centers of the o’s and the extra vinyl around the letters. Leave them in place on the backing paper for the vinyl.
Step 3: Add transfer paper to your wording
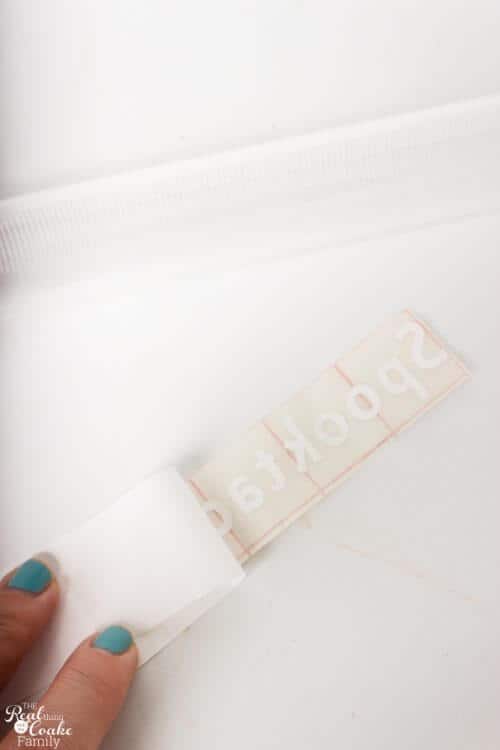
Cut your transfer paper to the size of your wording and press it down onto the letters.
Remove the backing paper for the vinyl.
Step 4: Place vinyl onto beaker or vial
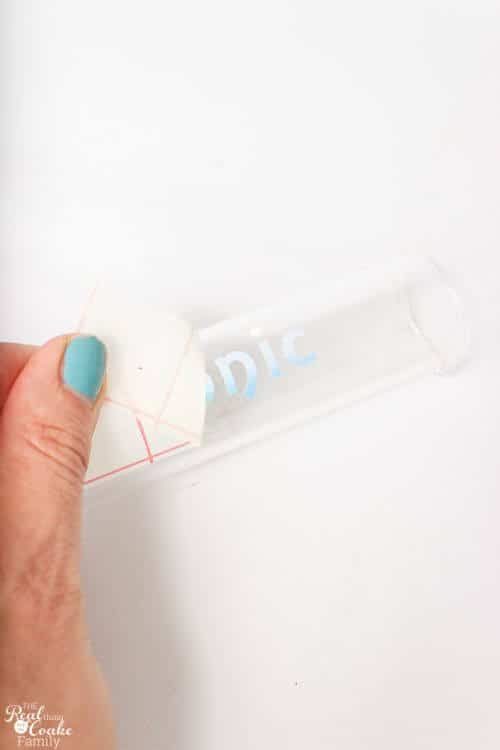
Place the vinyl onto the beaker or vial and press or rub onto the glass.
Slowly peel away the transfer paper.
I find that with smaller fonts or letters, it works best to peel the transfer paper at a slight angle so that the letters stick and don’t come up with the transfer paper. Sometimes it requires pressing a tiny corner of the letter or dot down as you peel the paper away.
Give the letters a good press or rub onto the glass after you have removed the transfer paper.
Step 5: Add decorative element to beaker or vial
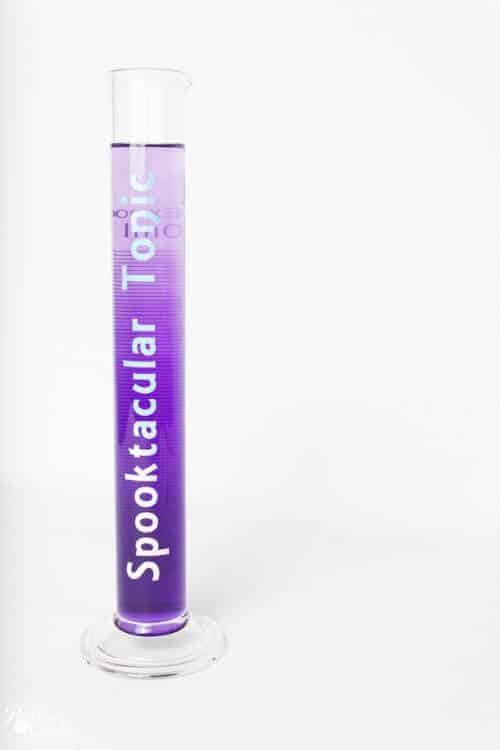
This is the fun part! Adding the decorative element to the beaker or vial.
For this beaker, I added water and some gel-based food dye. I loved how it gave the water an ombre effect and decided to leave it that way.
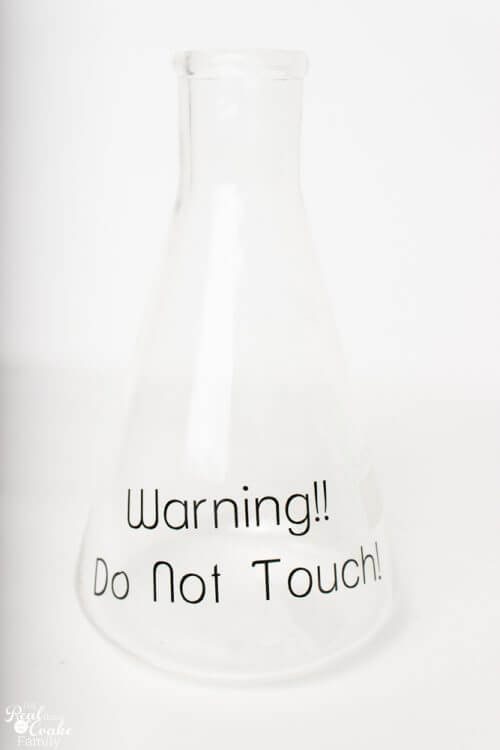
The font for this beaker was pretty fine, which made it kind of a pain to work with and it didn’t show up as well as I thought it would with the filling I added.
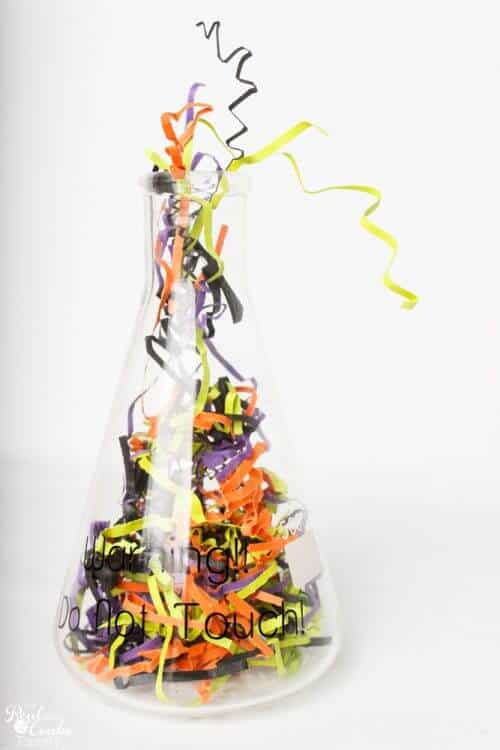
I thought the paper would work and be a cute touch, especially for those who don’t want to use dyed water(in case of spillage, etc.). In the end, I’m not sure it is all that successful as it makes the letters hard to read. If you have the patience to pull out or can buy all one color of shredded paper, that would probably work better and look cute in these. I think that would also make the lettering show more.
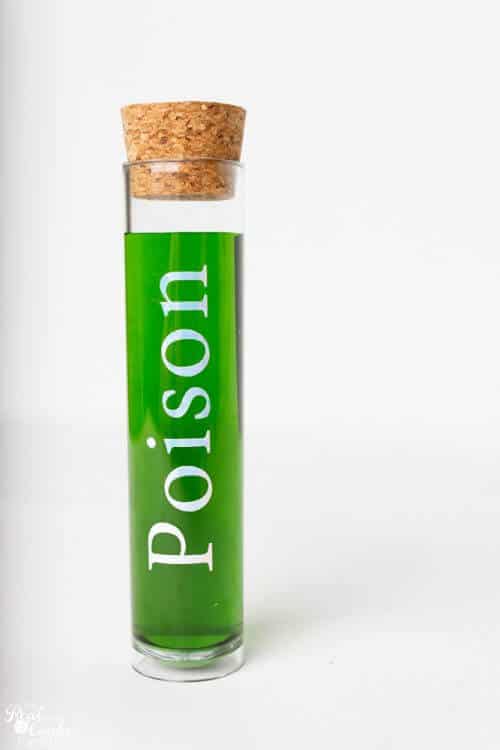
The holographic vinyl looks so neat on these and shows up so well. I wasn’t’ sure if it would show up well or not, but in the end, I liked it better than the black vinyl.
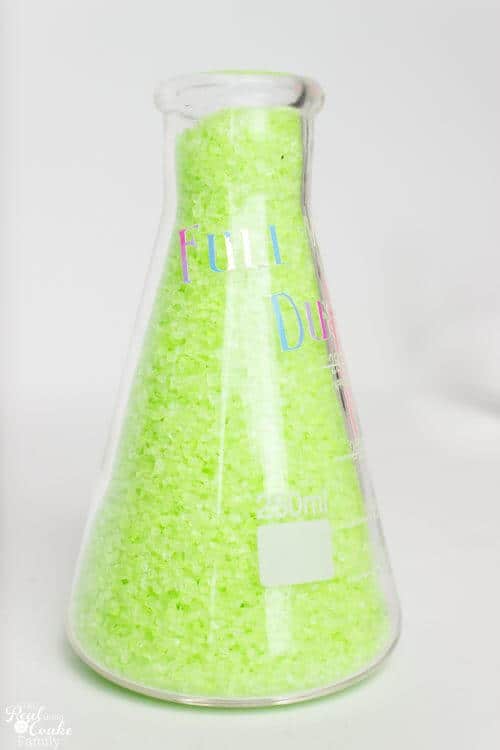
Watch your placement of letters. In my opinion, putting the letters up top on the beakers like this doesn’t work. The lettering just wraps too much around the top of the beaker to be legible. Which is too bad since I thought this Full Moon Dust beaker was going to be cute. 🙁
I filled this beaker with fluorescent pebbles I picked up at Michael’s.
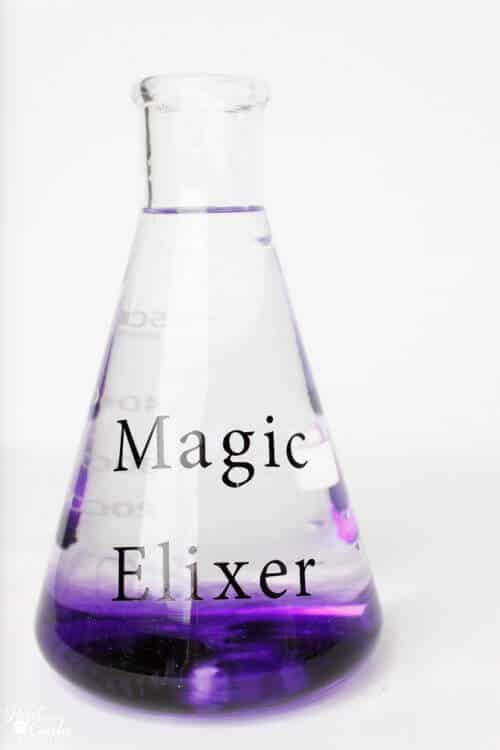
If you use gel-based food dye, like I did, it will settle in the bottom of the beaker or vial. I think it gives it a slightly magical/spooky quality. You can leave it this way if you like it.
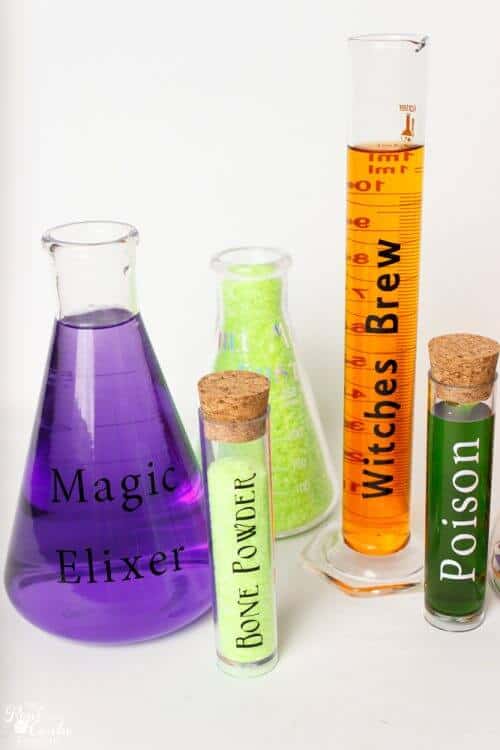
Or you can mix it all in and enjoy it that way as well.
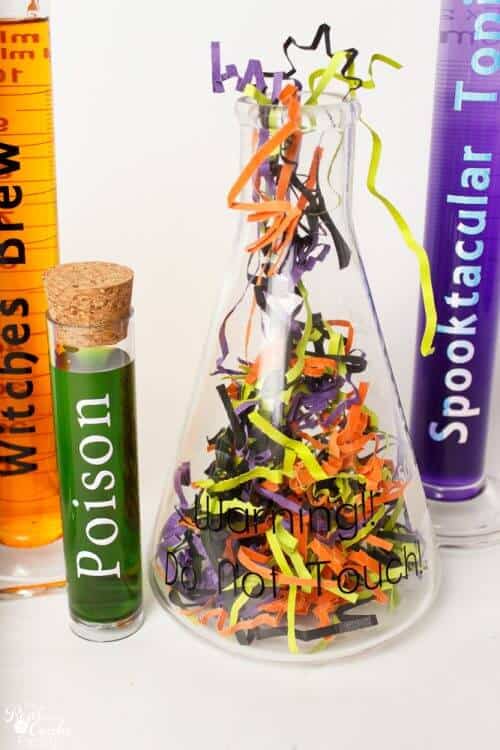
You can go for a color theme with your beakers and vials if you want to add to your home decor.
My mantle has the cute little Halloween hats along with this Halloween wreath I made, some pumpkins, and a few other things. The colors are black, orange, green and purple. I matched my science beakers and vials to the color theme.
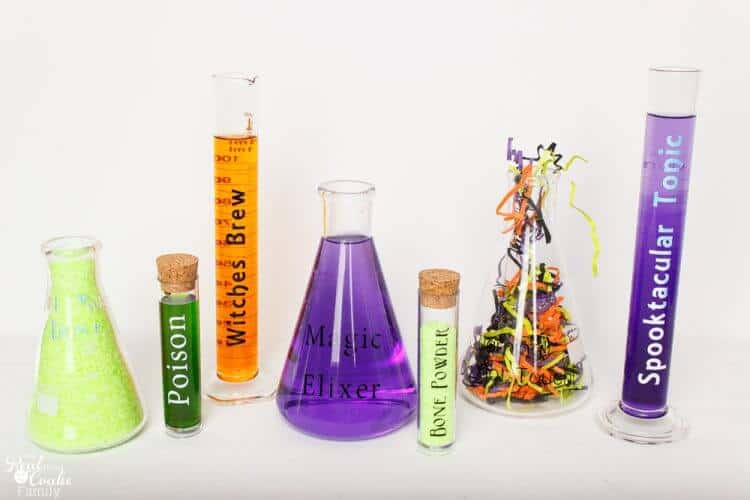
You can follow me and see more of my Halloween mantle on my Instagram feed. I think it turned out really cute combining a couple of new DIY Halloween crafts I made this year with the wreath and pumpkins I already had.
Cute and fun is just what we like to go for at Halloween and year round. 🙂
Just sign in below to get access to the Cricut cut file.
What kind of Halloween decorations do you like? Creepy or Cute? Leave a comment below.
Leave a Reply