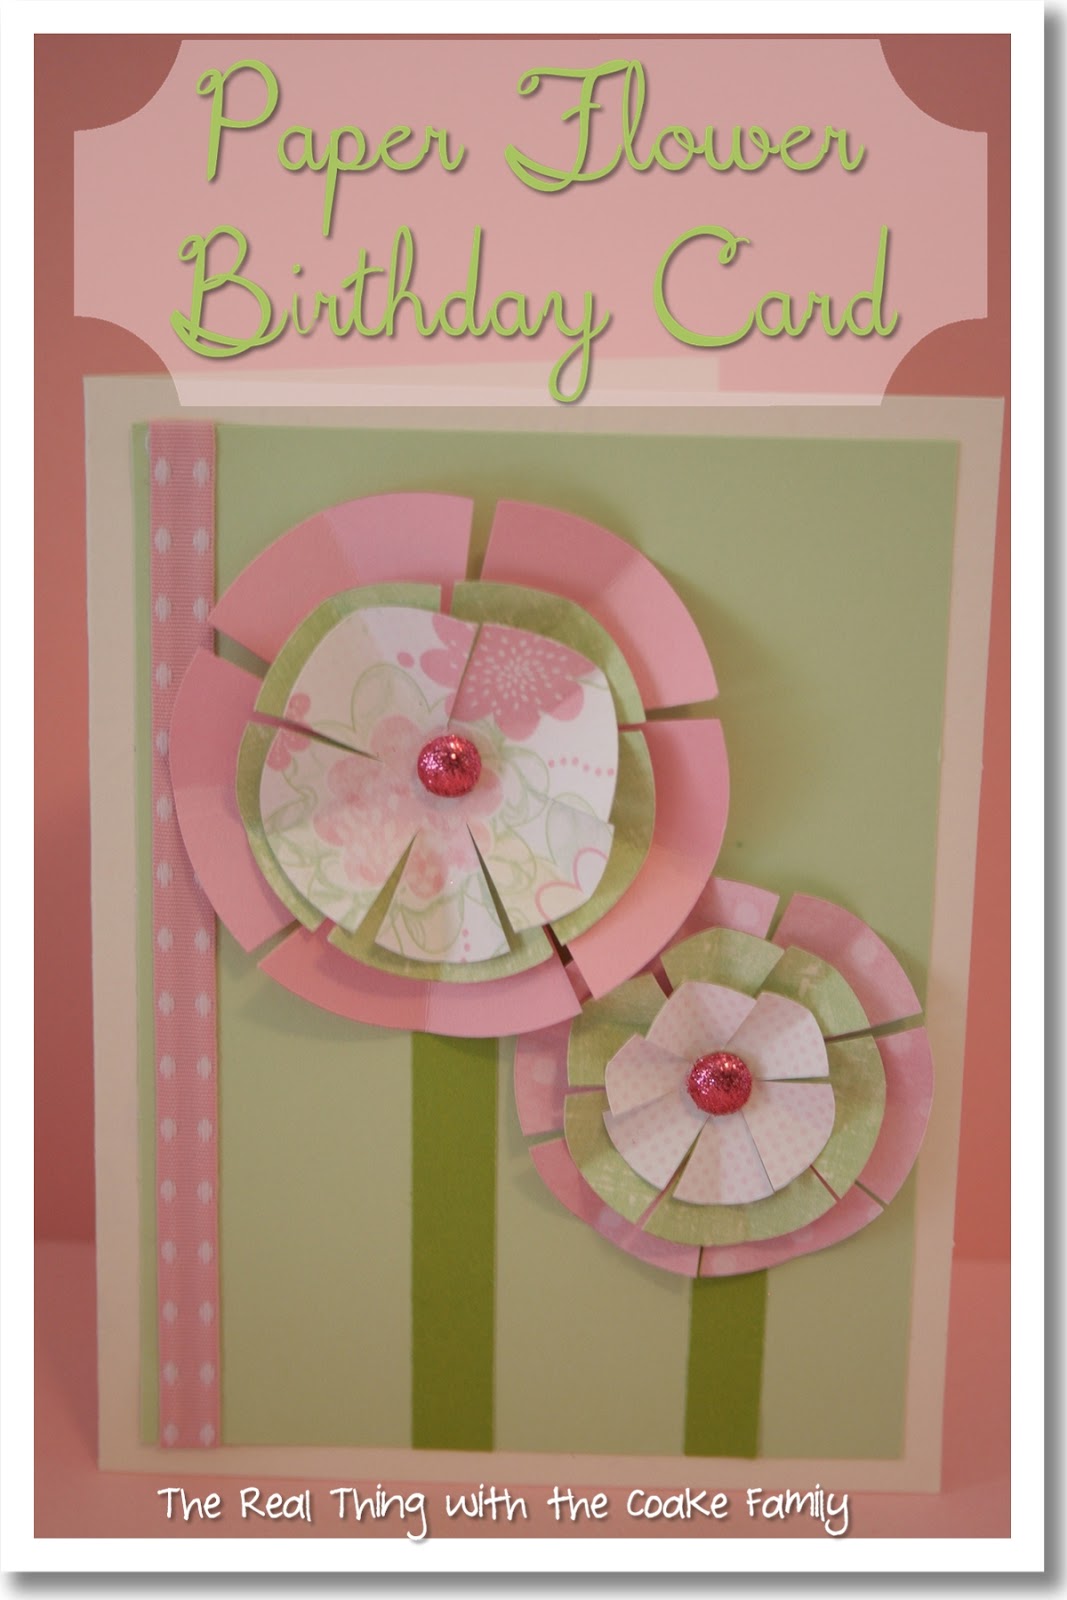
The other day I was trying to come up with a cute idea for a birthday card for 3 of my nieces who have birthdays this month. I had the thought that the paper flowers I used to make my Fourth of July Centerpiece could possibly make some really cute cards. I picked out papers in my favorite colors and went to town making a super cute and super easy paper flower birthday card.

Supplies needed:
- paper in multiple colors/patterns
- ribbon
- cardstock
- brads
- glitter gems
- Happy Birthday stamp and ink
- adhesive
- watercolor pencils
- circle cutter
- scissors

Making the paper flowers is actually quite easy if you have never done it before.
- Cut out different sized circles using your circle cutter. I used my Creative Memories Custom Cutting System.
- Using a pair of scissors, cut in toward the center of the circle leaving the center in tact.
- Cut a slit into the center of each circle. I used my custom cutting system blade to make this really easy.
- Fold each of your cut pieces up in the center to make the petals.
- Put 3 of the circles together and fasten them with a brad.
- Add a decorative adhesive glitter gem on top of your brad. I decided to fancy up the center of my flower(compared to my 4th of July centerpiece). I had some of these adhesive glitter gems left over from making Snowflake’s Hello Kitty invitations. They were perfect for these flowers.

Now you will want to use a piece of cardstock to adhere your ribbon and flowers. This way you can tuck the ribbon behind the cardstock and get a polished look when you adhere it to the front of the card. The piece of cardstock should be cut to be anywhere from 1/4 to 1/2 inch smaller than the card base you are using. As you can see in the picture above, the paper flower looks all fluffy and fancy. Then I had to turn it over to put adhesive on the back. Following that, the flower is rather flattened and deflated looking. That is normal and can be fixed with a little fluffing after you adhere it.
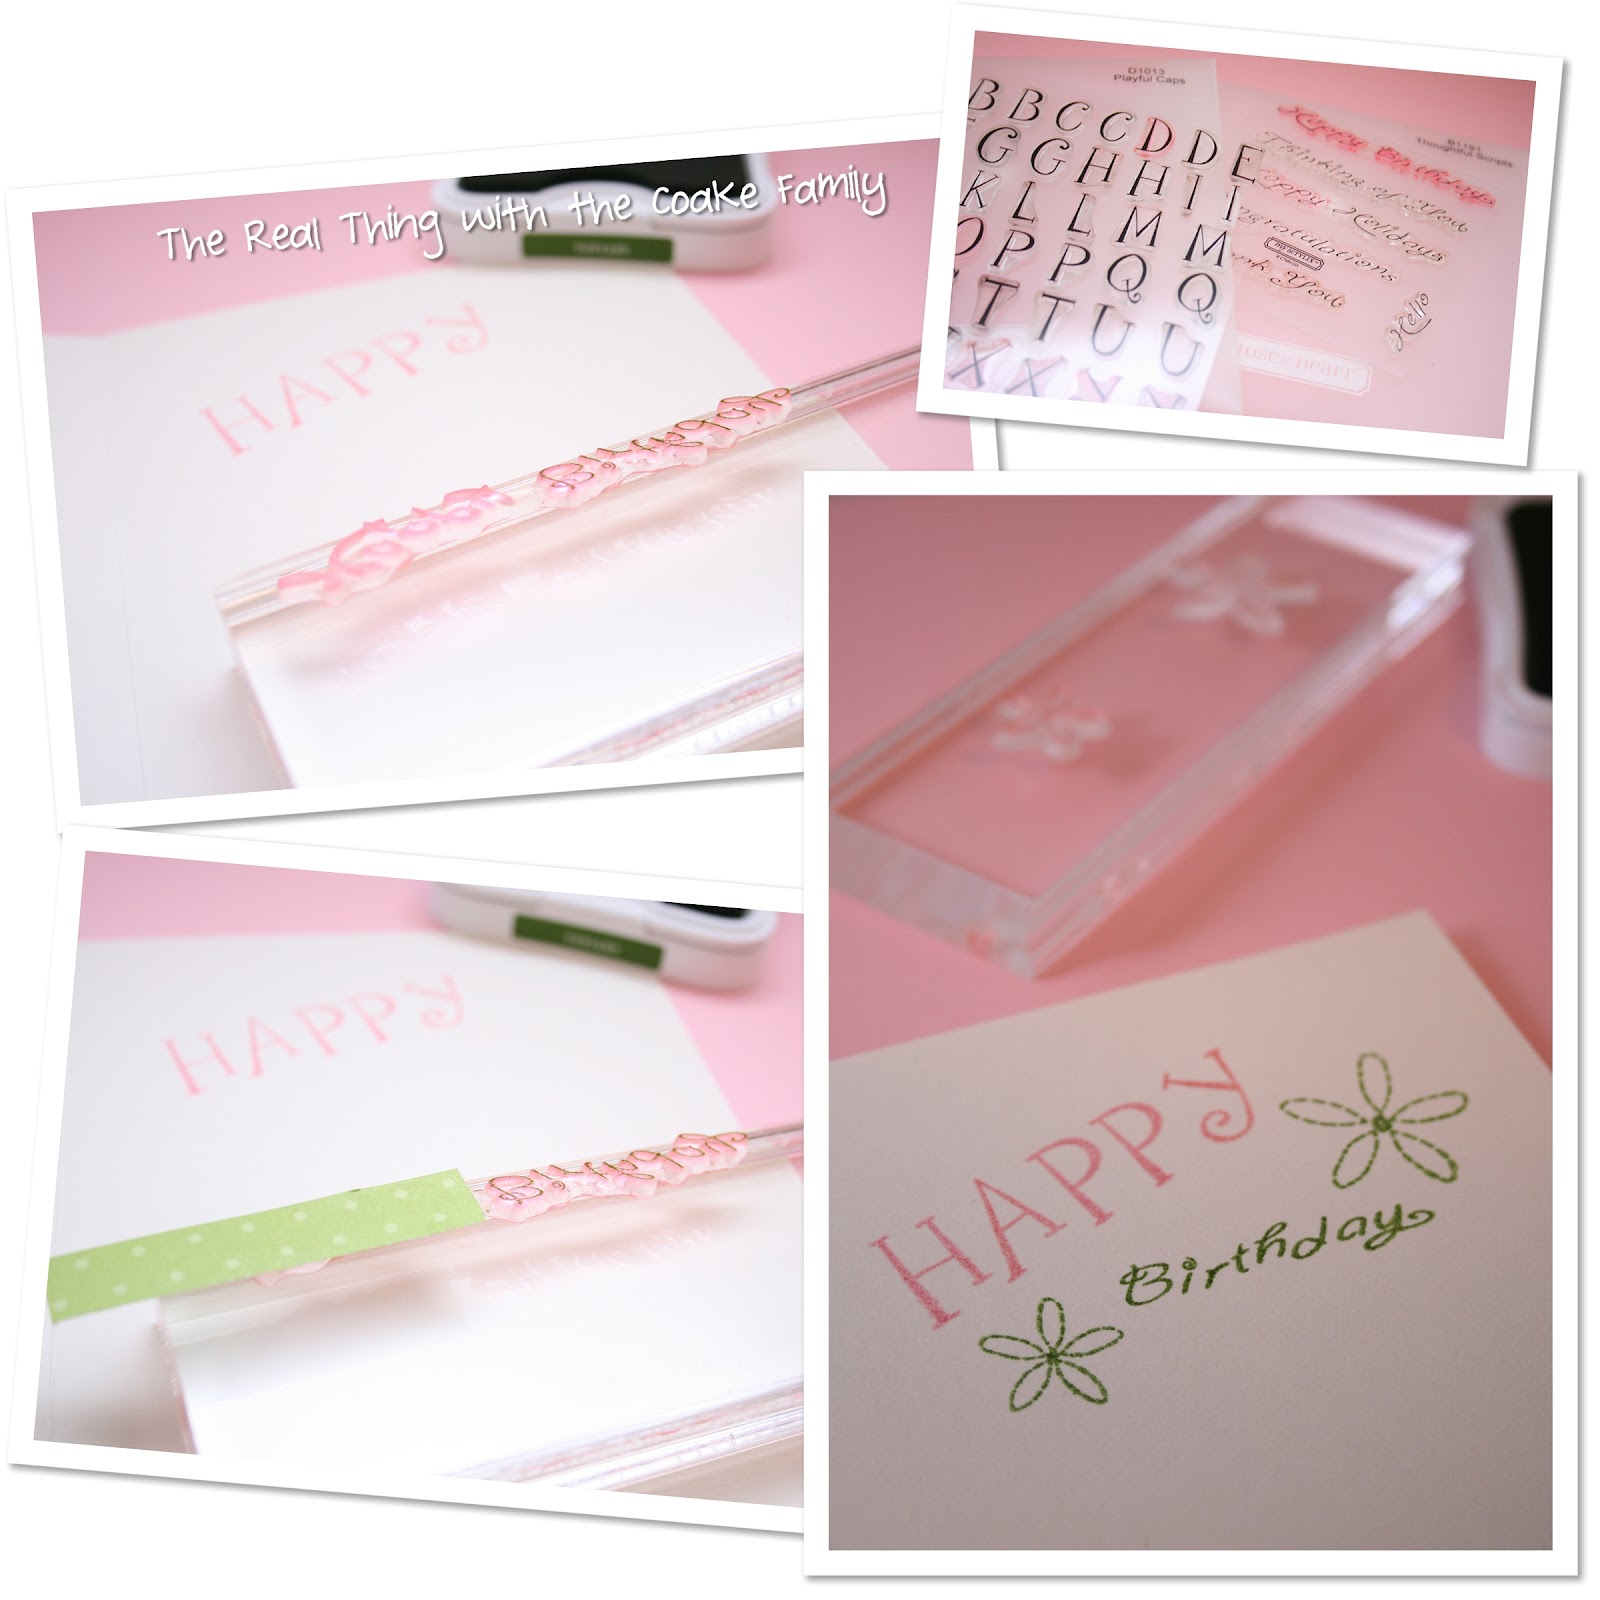
For the inside of this card, I wanted to have “Happy Birthday” as it was a birthday card. I didn’t want my fonts to be too matchy matchy. I used 2 different stamp sets. For the ‘Birthday’ portion, it was part of a stamp that said ‘Happy Birthday.’ I only wanted the ‘Birthday’ portion. To do this, I inked up my stamp and used a piece of leftover scrap paper to cover up the ‘Happy’ portion of the stamp while stamping. You can see all of that above in the pictures. You can also see that I then added some stamped flowers.

To add a little color, I decided to use my watercolor pencils. Watercolor pencils are easy to use, simply color in the item to which you are adding color. (Pictured above in the lower left hand corner.) Then use your waterbrush to lightly brush the pencil color. As you can see, pictured above in the lower right hand corner, it gives the flower a more watercolor look as opposed to the colored look in the lower left.

In the upper left hand corner above, you can see the cardstock and the flowers all flattened following putting adhesive on the back and adhering them to the paper. You can see in the other pictures, the flowers come back to pretty with just a little fluffing.
The finished paper flower birthday card…perfect birthday card for my niece who was turning 15!
While I was making this card, I made a few similar cards as we have quite a few birthday’s in our family this month. Later this week I will show you those as well as show you what I do to safely mail my cards. I’ll even have a printable for you to help you mail your own specially made cards! Ohh La La…see you then!
I really like this card, looks great.
Thanks so much!
This card to so adorable. It is a gift!! Wow you do beautiful work.
Thanks so much! <3
Wow really Nice style and craft! Love our colour combi 🙂
Thanks so much! I love this color combination as well…one of my favorites. (If you can’t tell from the colors on my blog!)
Love this! Would love for you to share this at our Kitchen Fun and Crafty Friday link party…just posted it!
https://kitchenfunwithmy3sons.blogspot.com/2012/07/kitchen-fun-and-crafty-friday-link_19.html
Thanks so much, Jill! I just linked up. Have a great weekend.
Thanks they are really lovely. My boys seem to be drawn to making flowers at the moment so I shall show them this.
How neat! My girls are interested in crafts, but not this kind of thing. Wish they were, it would be fun to make with them. Maybe we will try it and see if they like it. Thanks for the inspiration!
This is adorable!! I love the colors you chose! Thanks for linking this up to Fantabulous Friday at Little Becky Homecky!!
Love this, and LOVE that you have a running addiction! Me too! I’m a new follower. Can’t wait to read more on your blog!
Thanks so much! Love finding another person with a running addiction! Are you training for a race? What kind of distance do you like?
The flowers are AMAZING!! Thank you for taking the time of sharing the step by step!
Thanks so much for sharing this at The DIY Dreamer.. From Dream To Reality!
That is so pretty! I love homemade cards and those flowers really make the card! Thanks for sharing at the Pomp Party! Pinning to our Pomp Party board!
Those are super cute! I am hosting a baby shower and I could use the flowers for decorating. I am a new follower. Hope to see you at True Aim.