I’m super excited to share my latest quick and easy craft with you. I had a total disaster of a desk with papers everywhere. I figured why just organize my home office when I can create something cute in order to get things organized? Anyone else with me?
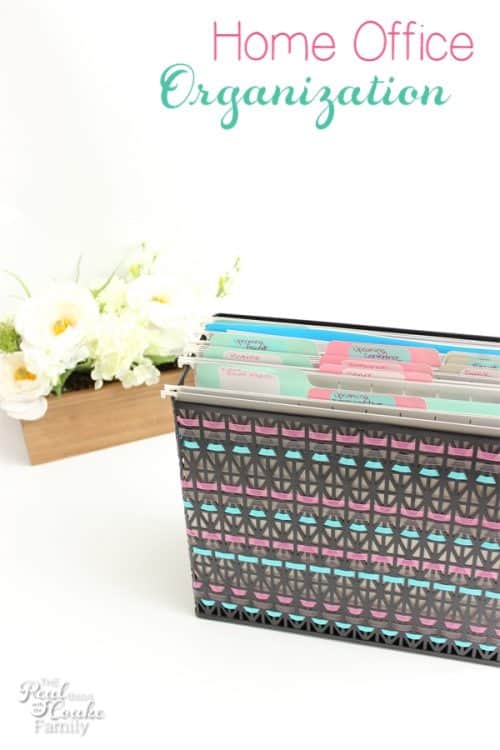
I took a store-bought file organizer and customized it with a super easy craft. The craft was the easy part. The organizing was the challenging part…well not really, but it did take a little bit of time.
I LOVE the end result! It was totally worth the time.
Today, I’ll show you how to customize your own file organizer as well as give you a couple of tips on how to organize the mess of papers that seem to amass at an alarming rate…at least if your house is like mine.
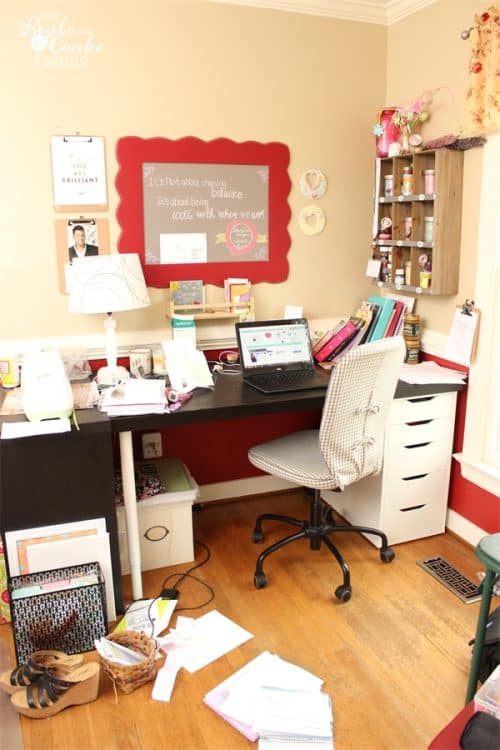
Let’s start with a look at the before of my home office. Home office is a rather generous term. My home office is this desk and the shelf at the end of the desk, which holds a lot of my supplies. I also have the chest of drawers in which I store additional supplies. I showed you that along with a few decorating ideas in my mini hall makeover. I also have a card table that I use as my ‘photography’ studio. I’m super fancy like that. 😉
I’m sure you can see that I have papers covering almost every part of my desk. It is pretty much always like this. The thing is that while I am a creative person, I am also a person who needs things to be organized. I need the clean and clear space in order to feel creative. When things are cluttered and messy, so is my brain and therefore my creativity.
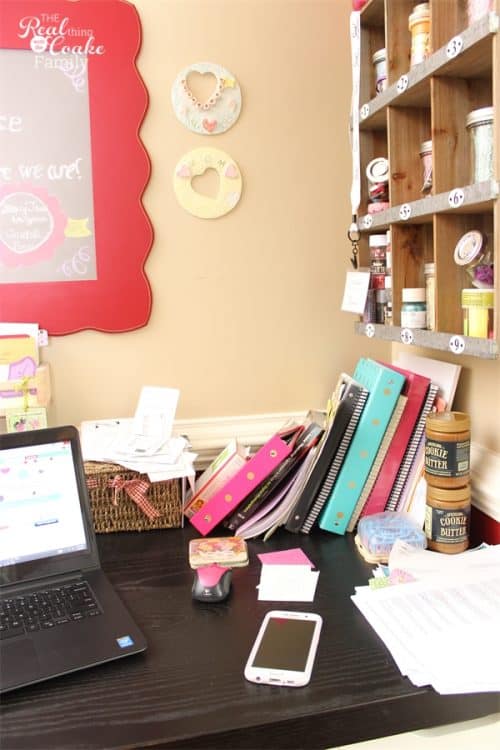
The most offending part of my desk is this little corner. I organize a lot of my business in binders. I thought the cute little basket would hold them in place. It doesn’t. Things always slide down and then fall all over the place.
I also kept a pile of papers to the side of my desk of projects I need to work on or things that are a need my more immediate attention. And doesn’t everybody keep Cookie Butter on their desk? I totally need to mail that to a friend…it has been sitting there too long.
The piles don’t work. I have thought about how to organize this for a long time. I finally came up with an idea. Offray was more than willing to sponsor this post as well as give me the ribbon that I needed to create my new organization idea. Thanks so much Offray!
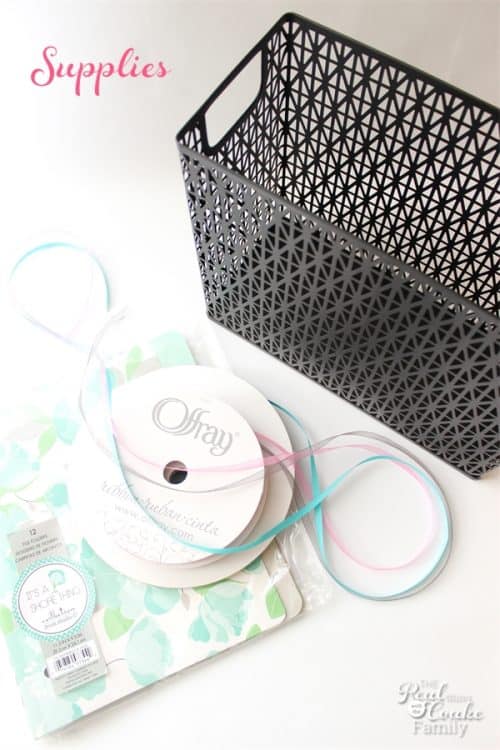
Supplies:
- Desk Organizer (This is the one I got at Target)
- Cute Files
 (affiliate link)
 - Offray Sheer Asiana Shocking Pink 1/4″
- Offray Sheer Asiana Pewter 1/4″
- Offray Navajo Turquoise Grosgrain 1/4″
- Hot glue gun
- Hot glue
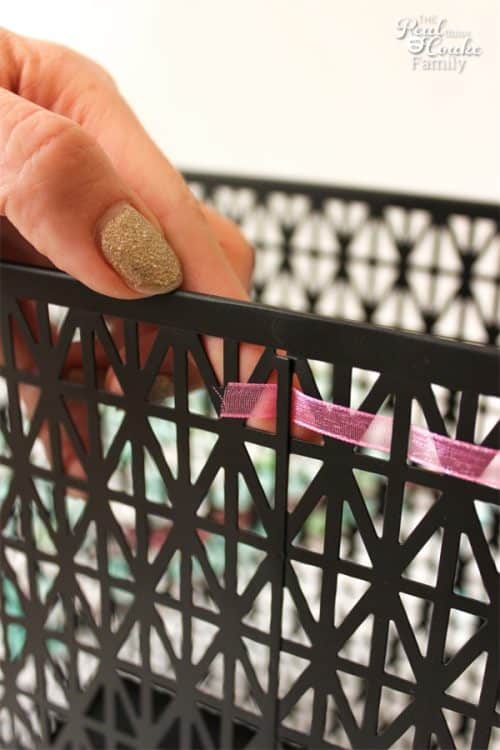
This could not be any easier. It will take a little bit of time. Maybe about an hour.
Weave your ribbon in and out of the file organizer (and please ignore my chipped nail polish…keeping it real…it often looks like that as I forget to make time to take it off).
Do this with all three ribbons. Skip a row and start the pattern again. Continue until you have filled your organizer with ribbon.
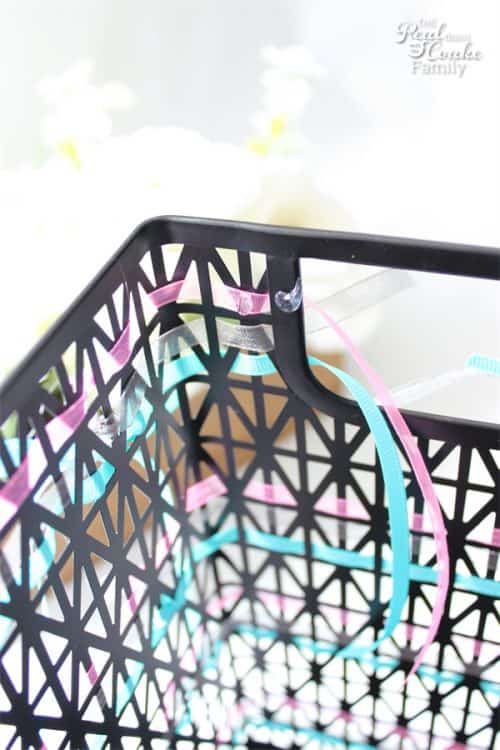
The top of the organizer doesn’t go completely around because of the handles. Wrap your ribbon around the handles. Hot glue in place with a dab of glue on the metal and on the adjacent ribbon.
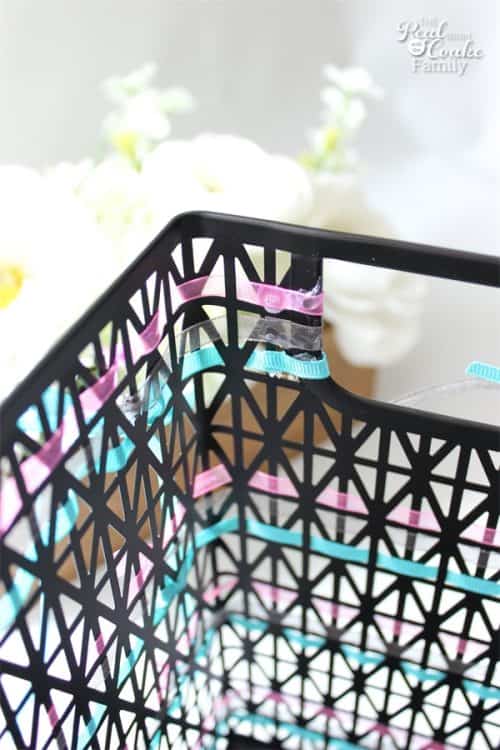
Trim the ribbon.
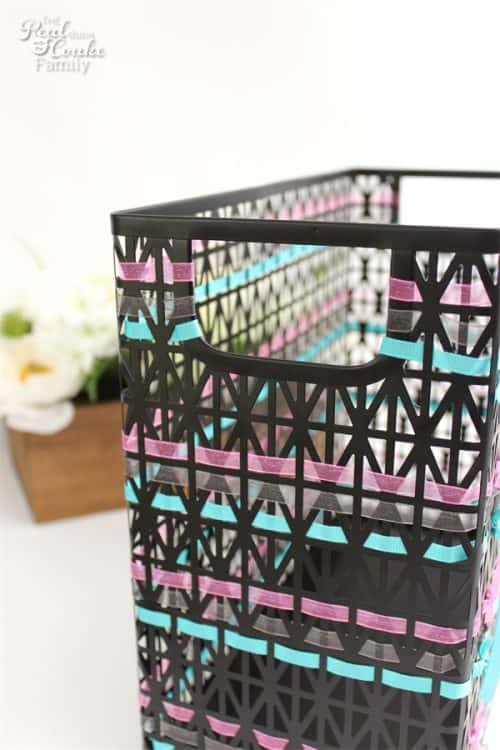
The top of the organizer will look like this, with the ribbon wrapped around the handles.
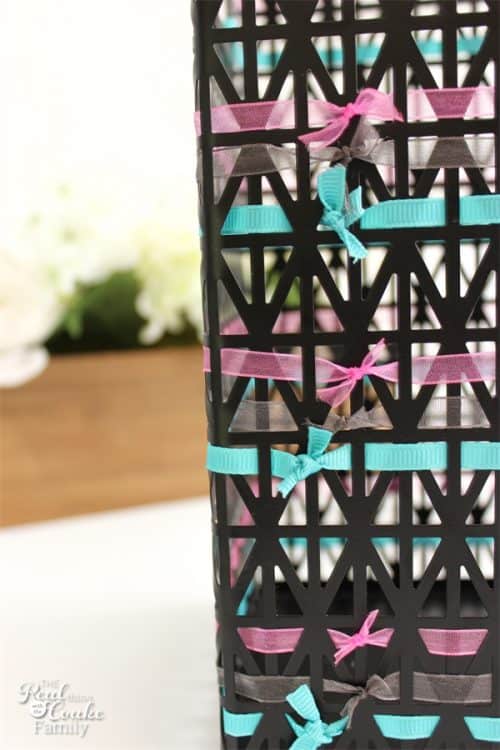
For the rest of the file organizer, you will be able to start and end your ribbon in the same place. Do this by weaving the ribbon around the entire organizer. At the end, just tie the ends together and trim your ribbon short.
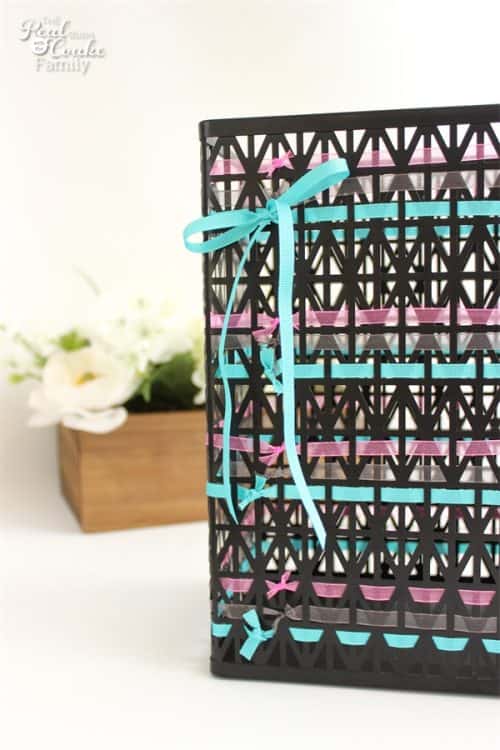
I kind of thought the little knots looked cute, so I contemplated using this side as the side that would show on my desk. Rather than tying knots in all of them, I tied a bow with one of the ribbons.
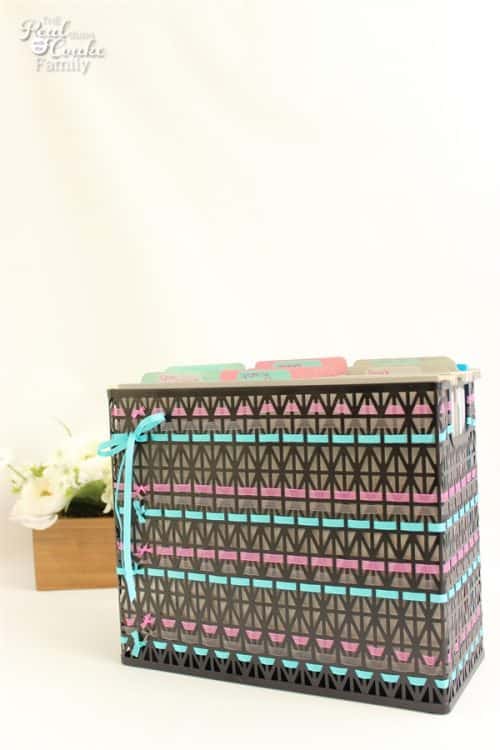
It is a different look and I think it looks cute. Not as clean lines as I want, but cute none the less.
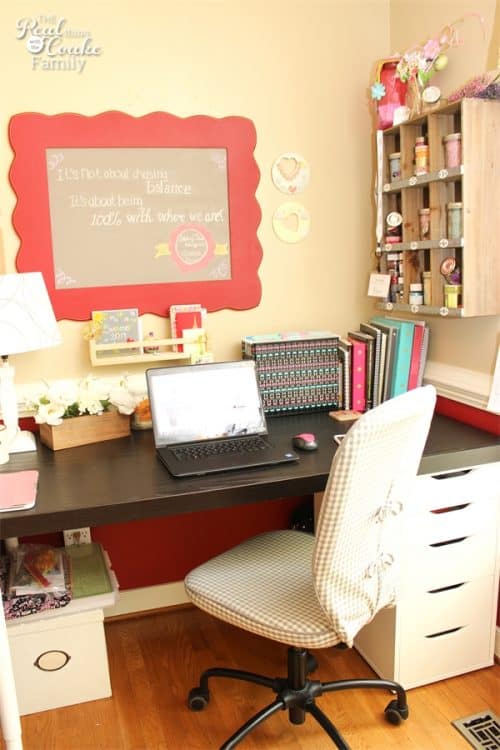
I chose to use my filer organizer on my desk with the clean lines side showing. Look at the difference!
I took about 30 minutes to 1 hour to go through all that stuff and all those papers on my desk. I threw out a bunch. The rest fit in the file box with my new way to organize papers.
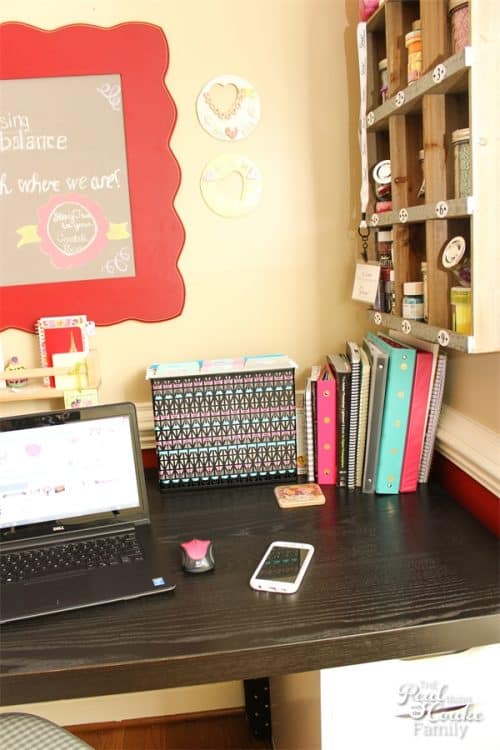
The thing that I love best is that this file box holds the notebooks and binders in place and doesn’t slide all around. I also LOVE that I now have a clean and organized desk. I love seeing the open space.
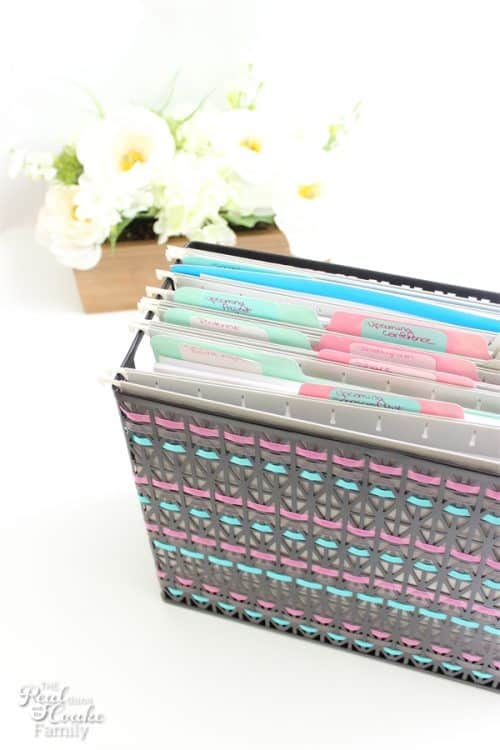
I use file folders, but I rarely commit to the name of the folder. I usually use a sticky note with the name of the file. I place the adhesive side at the top where I write the name. Then I can change the name any time I want. These sticky notes![]() (affiliate link, but I was given mine by 3M at a recent blog conference) are small but the whole thing is sticky, so I won’t have to worry about them peeling up.
(affiliate link, but I was given mine by 3M at a recent blog conference) are small but the whole thing is sticky, so I won’t have to worry about them peeling up.
When you organize your papers, organize them by groups.
I went through and put the papers that go with classes I’m taking together, papers relating to social media go together, papers for sponsors/brands go together and of course I made some personal files as well like those for school papers, etc. Each group goes in a hanging folder with those files in that folder. It keeps it simple, easy to find and makes my home office organized.
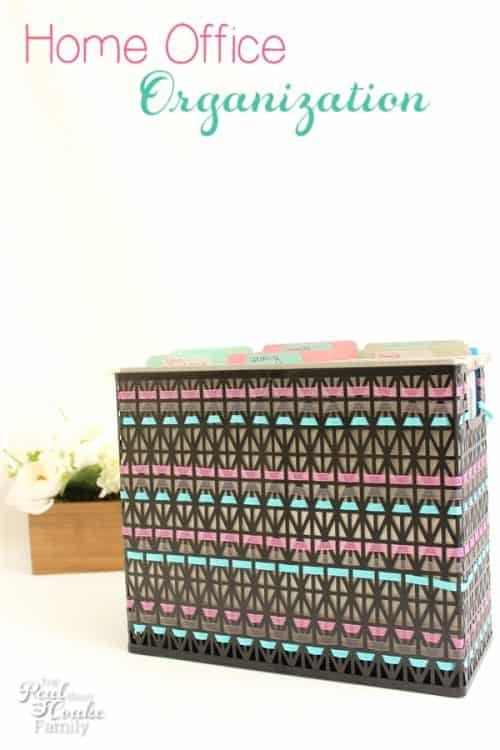
The end result is that this one little tool to organize, cleaned up my whole desk! It took me about an hour to add the Offray ribbon and personalize it. I, of course, selected colors that match my blog because that is fun to me. Then it took me about another half hour to an hour to actually de-clutter and organize. I think every minute was worth it.
I absolutely love seeing my clean desk. It makes me feel successful and like I’m on top of things. Which a lot of the time I feel behind and overwhelmed, so about 2 hours to drastically change those feelings is worth it to me.

I would have NEVER thought to use ribbon that way!! So creative! I love it!
Thanks Jenna! It was an easy and fun way to add some personality and color. So glad to have my desk organized and looking cute.
Such a gorgeous way to stay organized!
Thank you! It makes such a difference for me. How about you?
I seriously love that! So cute!
Thank you!
Oh my gosh! What a super cute idea!!!
Thanks! It is cute and helps me be organized, which has been a tremendous help to my efficiency…always a great thing!
Super cute idea!
Thanks!
How cute is this?? I love these kind of simple ideas!
Thanks, Amy! It is rocking my desk and keeping me organized. Nothing better than that all wrapped up in a cute package. 🙂
So cute, and I love how you added the color to it with ribbon!
Such a fun idea to add ribbon to the file bin! Love it!
What a clever idea!! Love this simple and stylish tip!
Thanks so much! I’m loving how much being more organized has help me be more productive and that the desk is more stylish helps me want to keep it more clean. Can’t beat that combo!
So cute! I’m jealous of your organization….and how nice you made it look!
Thanks Cathy! It was easy. I’m sure you could do something similar.
I like your file holder- I got several old metal desktop file sorters from the OSUsed store and spray painted them in bright green, pink and purple and they also make organizing fun!
I love your desk chair cover-do you have a post on how to do it? I coulddddd figure it out, but would love to just read directions!
Thank you! Your file sorters sound fun. I can very simply tell you about the desk chair cover….go to IKEA. lol! I bought the chair at IKEA and that is the cover that was on it.
You had lots of fun and cute ideas! Although this probably sounds strange but I would LOVE to reupholster my computer chair from the boring black one to something more me. 🙂 thanks for sharing 🙂
Thanks! Reupholstering your chair sounds great! Something like that can make such a difference in a room.