• Home
  • Contact
  • Privacy Policy & Disclosures
  • Nav Social Menu

    • Instagram
    • Pinterest
    • YouTube

Real Creative Real Organized

Creativity and Organization for Mom Life

  • Crafts
  • DIY
  • Organization
  • Travel
  • Mom Life
  • Holidays & Special Days
    • New Year’s
    • Valentine’s Day
    • Mother’s Day
    • Easter
    • Father’s Day
    • Fourth of July
    • Halloween
    • Thanksgiving
    • Christmas
    • Seasons
      • Spring
      • Summer
      • Fall
      • Winter
    • Olympics
    • Birthdays
  • Recipes
  • Shop
Home Β» Holidays & Special Days Β» Christmas Β» How to Make Christmas Placemats

How to Make Christmas Placemats

November 29, 2013 by KC Coake 8 Comments

Share away! 😍

16.9K shares
  • WhatsApp
  • Email
  • Facebook

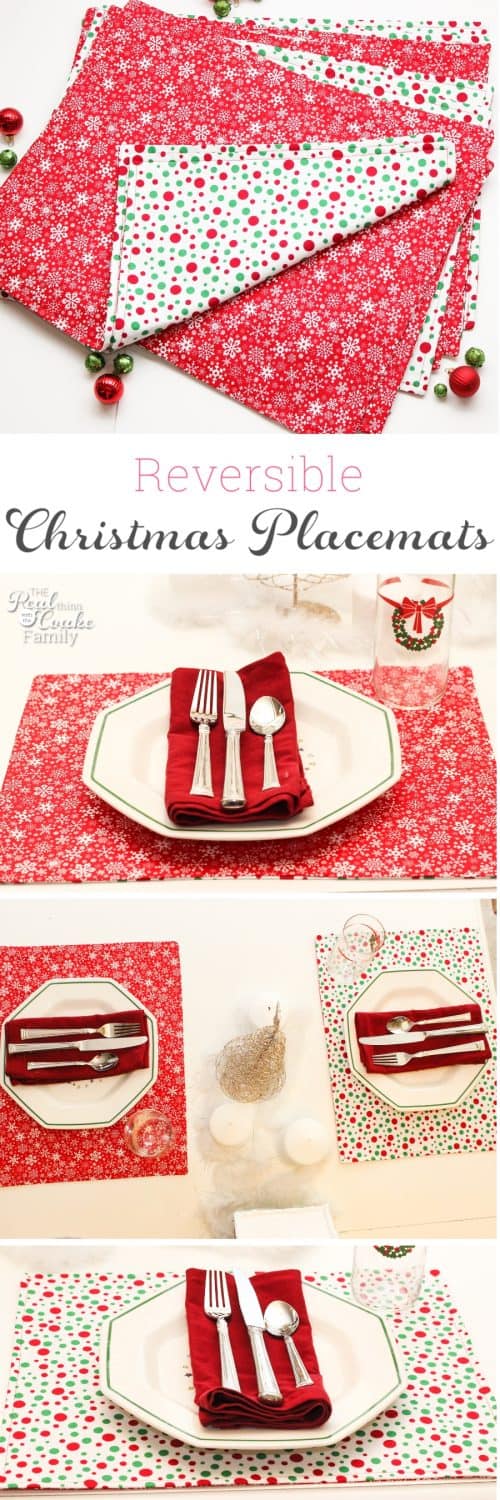
Do you have ideas for how you want to set your table for Christmas? My girls and I came up with a plan for our table. I’ve been showing you little bits and pieces as we have been getting things ready. Part of our table this year includes some cute Christmas placemats. I thought you might like to learn how to make placemats as well.
Cute sewing pattern to make DIY Reversible Christmas Placemats. Shows how to make reverisble placemats and has Fun Ideas for the Christmas table, too. | Patterns

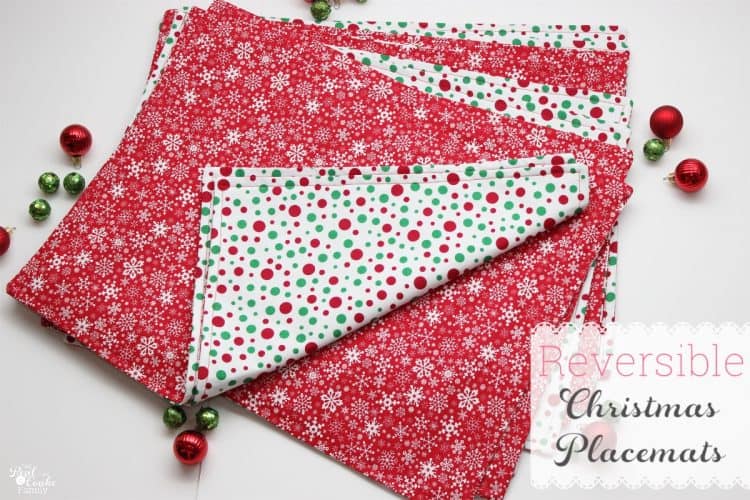
The placemats I made are reversible so you can get two looks to your table or you can let people choose what side they prefer. We love reversible things at our house. πŸ™‚
 I have a full tutorial for you on how to make the reversible placemats in another post I did: How to make placemats. In that post, I give you the measurements and the steps to complete to make reversible placemats.
Cute sewing pattern to make DIY Reversible Christmas Placemats. Shows how to make reverisble placemats and has Fun Ideas for the Christmas table, too. | Patterns
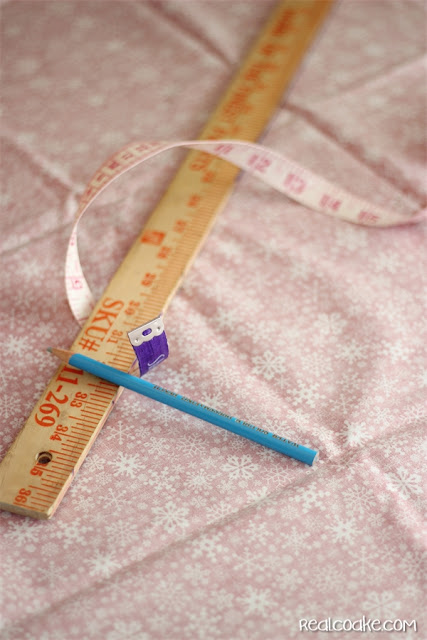
Today, I wanted to show you my idea/tips on how to be efficient with cutting your fabric out. To give my method a try, you will want a yardstick, a measuring tape, a sewing pencil(affiliate link), pins, and a 30-60 or 45-90 triangle(affiliate link).
 
I made 10 placemats and I used 2 yards of fabric. I also used 4 yards of Pellon 910(affiliate link) sew-in interfacing.

We need our fabric to be 18.5″ by 14.5″. We need two pieces per placemat along with one piece of Pellon 910 per placemat.
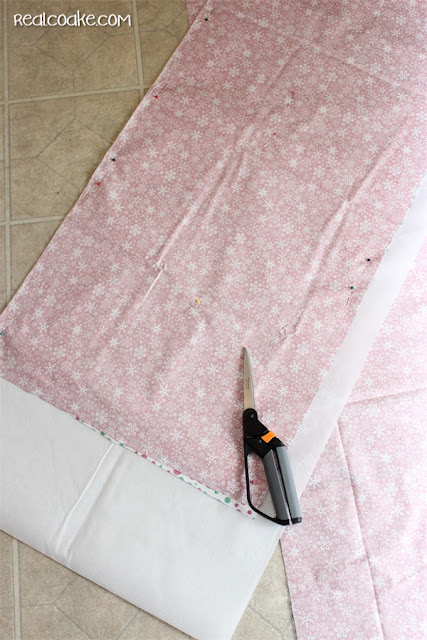
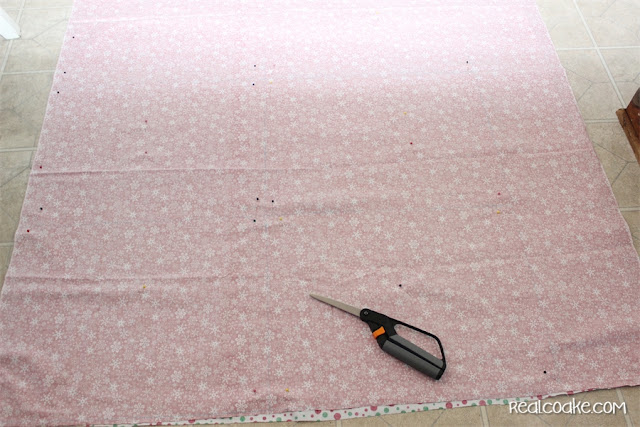
To mark your fabric for cutting, start with one fabric. On the wrong side, use your sewing pencil and mark 18.5″ from the straight salvage edge. I did this by putting small marks along the way up the fabric then connecting them together in a long line using the yardstick.
Once you have the first line from which you used your straight salvage edge, use that line and mark another 18.5″ across the fabric from that line. Once again use your yardstick to create the full line. When you are done with these two steps, you should have two long blue lines(if your pencil is blue like mine) running up the full length of your fabric. They should measure 18.5″ and 37″ from one edge of your fabric.
Cute sewing pattern to make DIY Reversible Christmas Placemats. Shows how to make reverisble placemats and has Fun Ideas for the Christmas table, too. | Patterns
Now we need to mark our 14.5″ cut lines. Line your triangle up with your straight line (blue in my case if you can see it in the picture above). Place your yard stick on the flat edge of your triangle at the bottom of your fabric. This will create your first straight line from which to measure your 14.5″ because most of the time the fabric store doesn’t cut the fabric perfectly straight.
 
Once you have that first line, use your measuring tape to mark off 14.5″ above that line between your salvage edge and the blue line at 37″. You will be making small little marks again. Now, use your yardstick and triangle again to create a straight line. Continue until you have used the fabric or have marked off as many placemats as you would like. Keep in mind for each row, you are marking off two placemats.
Cute sewing pattern to make DIY Reversible Christmas Placemats. Shows how to make reverisble placemats and has Fun Ideas for the Christmas table, too. | Patterns
Once you have done all the marking and making of the lines, if you are making reversible placemats like those shown, get out your second fabric. Line up the straight salvage edges of the fabric. Take your time with this so that you will get the correct cuts. Pin the fabrics together. This is my version of saving time by cutting them all at once and not having to measure again.
 
Instead of all my measuring and marking, you also make a template 18.5″ x 14.5″ and cut around it, but I feel like when I do that I don’t end up with as straight of cuts. I also feel like all my measuring and marking used the fabric the most efficiently.
 
Cut your fabric on your middle line (the first 18.5″ line) and the second long line (the second 18.5″ line which was 37″ from the salvage edge). Cut the top and bottom lines as well.
Cute sewing pattern to make DIY Reversible Christmas Placemats. Shows how to make reverisble placemats and has Fun Ideas for the Christmas table, too. | Patterns
Add your Pellon 910 behind your long wide strips of fabric. Pin it in place and make your final cuts (the 14.5″) lines as well as cutting the excess off the sides and ends of the interfacing.
 
From here you can follow the directions in my post on how to make placemats. Making reversible placemats is quite easy. If you can sew a straight or mostly straight line, you can make reversible placemats.
Cute sewing pattern to make DIY Reversible Christmas Placemats. Shows how to make reverisble placemats and has Fun Ideas for the Christmas table, too. | Patterns
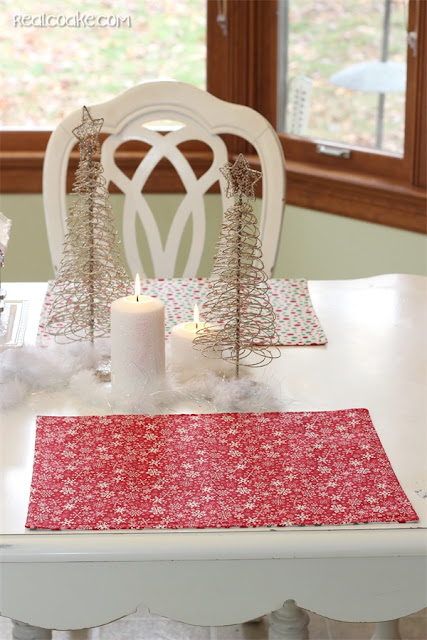
My finished Christmas placemats along with a sneak peak at our Christmas centerpiece/table.
Cute sewing pattern to make DIY Reversible Christmas Placemats. Shows how to make reverisble placemats and has Fun Ideas for the Christmas table, too. | Patterns
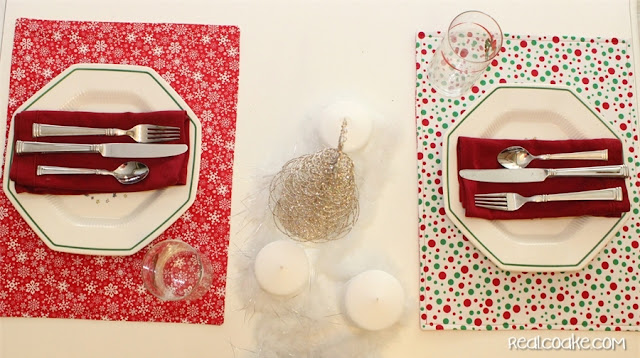
I let the girls help me pick out the fabric. I really wanted the red with the white snowflakes. They both really wanted that and the polka dots. Which side is your favorite? Can you guess which is mine?
Cute sewing pattern to make DIY Reversible Christmas Placemats. Shows how to make reverisble placemats and has Fun Ideas for the Christmas table, too. | Patterns
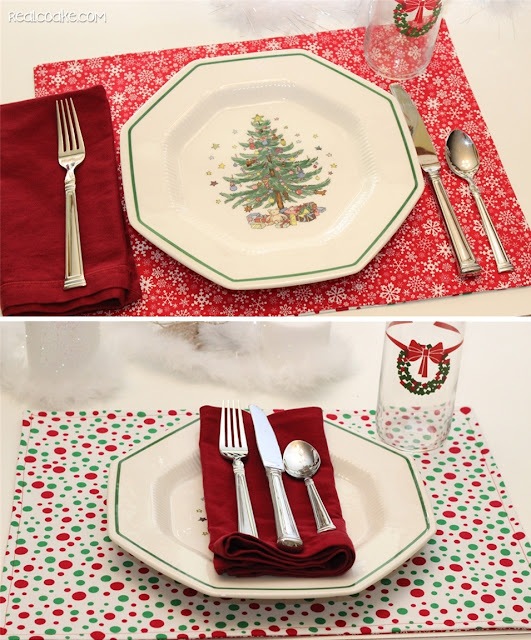
With my Christmas dishes, we are set! Cute Christmas placemats to go with our table this year.
Cute sewing pattern to make DIY Reversible Christmas Placemats. Shows how to make reverisble placemats and has Fun Ideas for the Christmas table, too. | Patterns
 
I love how the Christmas reversible placemats turned out! Though in hindsight based on the number of people we have here in the Holiday season, I should have just stuck with making 6 or I should have bought enough fabric to make 12. Oh well, I’m not making more now.
 
 See my full Christmas table in that post. My girls and I are so happy with what we created and how it looks. We would love to have you come back and take a look. πŸ™‚

Follow me on Instagram or Facebook where I share even more ideas.
More to Enjoy! 😍

Bastille Day (or 4th of July) Craft ~ Real Summer of Fun

Family Dinner Ideas ~ Valentine Pizza

Share away! 😍

16.9K shares
  • WhatsApp
  • Email
  • Facebook

Hi! I'm KC. I'm a single mom of 2 girls who loves all things creative. Whether it's making something crafty or tackling that DIY project, I'm gonna have some fun and stay organized in the process. 😊 Read More…

Follow Me:

  • Instagram
  • Pinterest
  • YouTube
Previous Post: « Gingerbread House {Christmas Crafts}
Next Post: Our Christmas Table Decorations {Christmas Decorating Ideas} »

Reader Interactions

Comments

  1. Miranda @ Someday Crafts says

    December 2, 2013 at 12:36 am

    These are adorable! They totally make me wish we had a large enough table for hosting any kind of dinner. We’ll be featuring your placemats at Someday Crafts tomorrow. πŸ™‚

    Reply
    • KC says

      December 2, 2013 at 9:56 pm

      Thank you! We just use them at our regular kitchen table…nothing fancy. If you really wanted to make them, you could also change the size to fit the space in which you eat. Glad you like them and thanks so much for the feature!
      KC

      Reply
  2. Carrie This Home says

    December 2, 2013 at 9:42 pm

    This is a great step by step tutorial! This would be a fun project to do with kids. Would you mind to link this up to my blog hop? I love to see link ups like this! Thanks!

    Reply
    • KC says

      December 2, 2013 at 9:56 pm

      Thanks so much!

      Reply
  3. Kristen says

    December 3, 2013 at 7:48 am

    Love them! Great directions, too. The fact that they’re reversible makes them that much better!

    Reply
    • KC says

      December 3, 2013 at 9:18 pm

      Thanks so much! Yes, we love reversible things around our house. One of my daughter’s friends called our house, “The reversible house.” LOL! Take care,
      KC

      Reply
  4. Diana Rambles says

    December 4, 2013 at 8:24 pm

    Very cute!

    Reply
    • KC says

      December 4, 2013 at 9:48 pm

      Thanks, Diana!

      Reply

Leave a Reply Cancel reply

Your email address will not be published. Required fields are marked *

Primary Sidebar

Meet KC

Hi! I'm KC, Welcome to my blog!
Click here to Learn More About Me…

Let’s Be Social

  • Instagram
  • Pinterest
  • YouTube

Copyright © 2025 Β· Sprinkle Pro Theme on Genesis Framework Β· WordPress Β· Log in