I’ve been hard at work getting ready for Christmas. I really like making personalized gifts for our family members. We don’t live near our immediate family, so everything must be mailed. For me, that means I need to be done early, that way I can miss the lines at the post office and the packages will arrive in time.
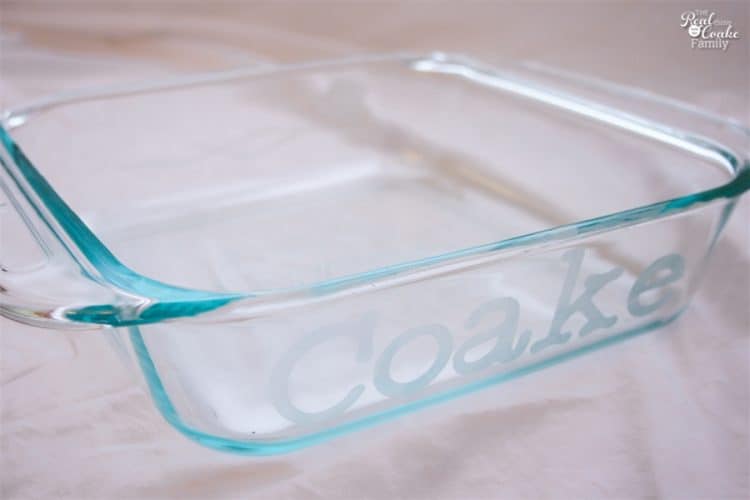
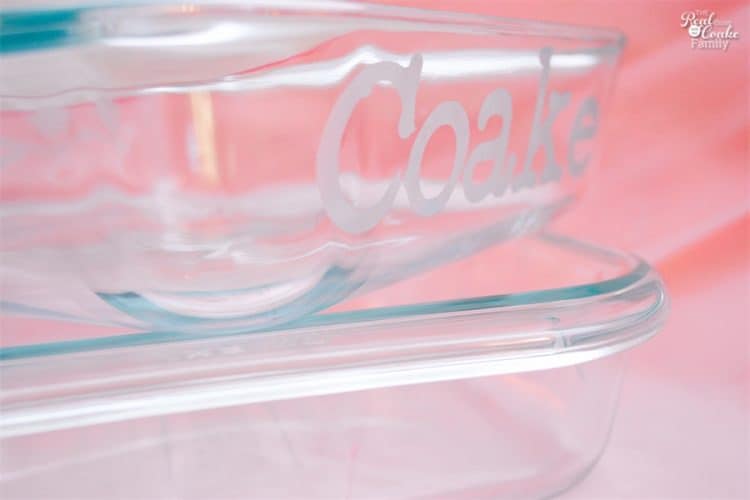
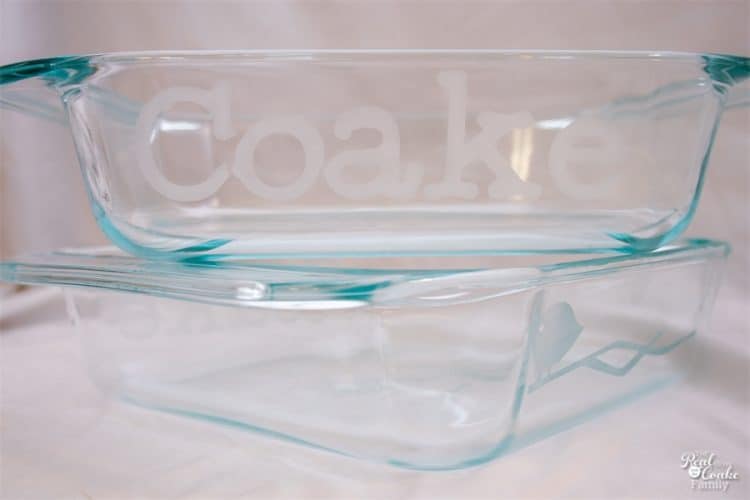
Today I’m showing you the first part in a series of the gifts I’ve made for my parents, in-laws, and all of our siblings. If you are one of the people I just mentioned, please stop reading now and wait for the package to arrive at your house! Thanks! If you are not one of those family members…please keep reading, I would love to show you the beautiful Handmade Christmas gift I came up with this year. 🙂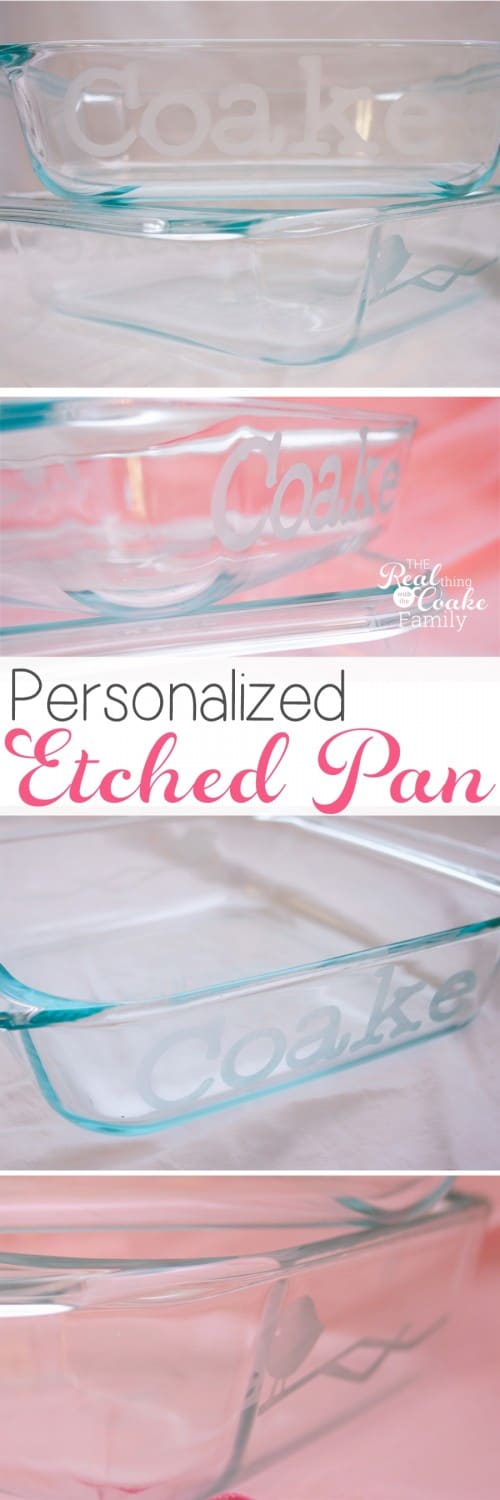 I made a personalized etched glass pan for each family. I put each family name on one side of the Pyrex dish and a design on the other side of each dish. The name and the design are permanently etched into the pan. I got the idea from Make It and Love it in a post about Glass Etching and promptly pinned it to my Real Gift Ideas Pinterest board. Let me show you how I made this gift.
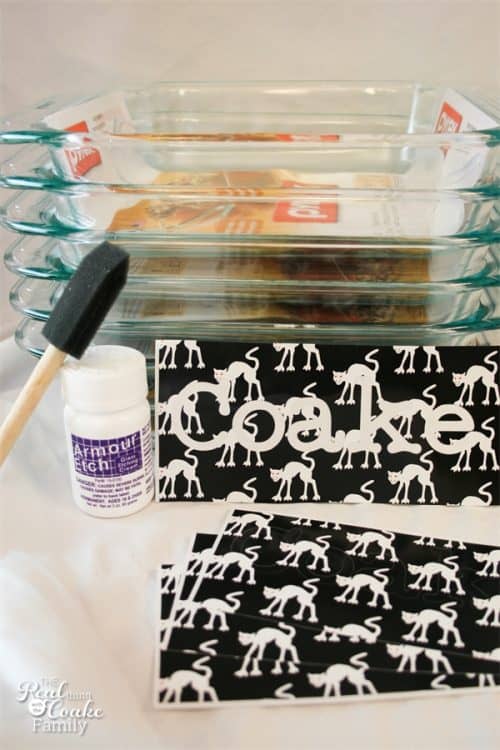
Supplies:
- Glass pan (affiliate link)

- Glass etching cream
 (affiliate link)
 - Sponge Brush or Paint Brush
- Stencil
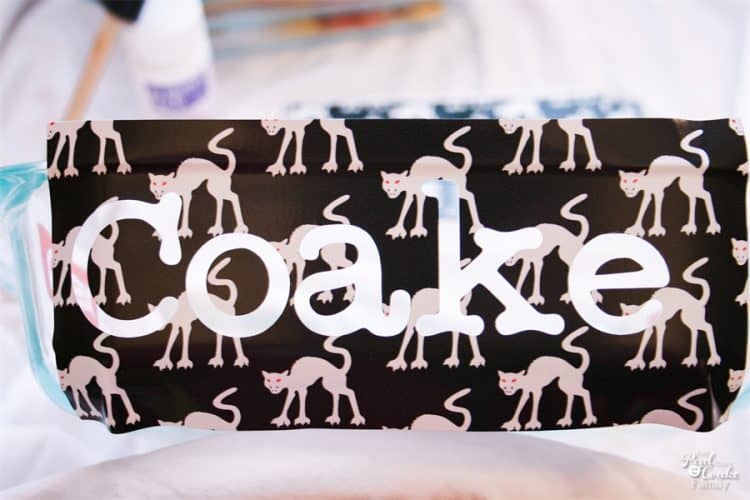
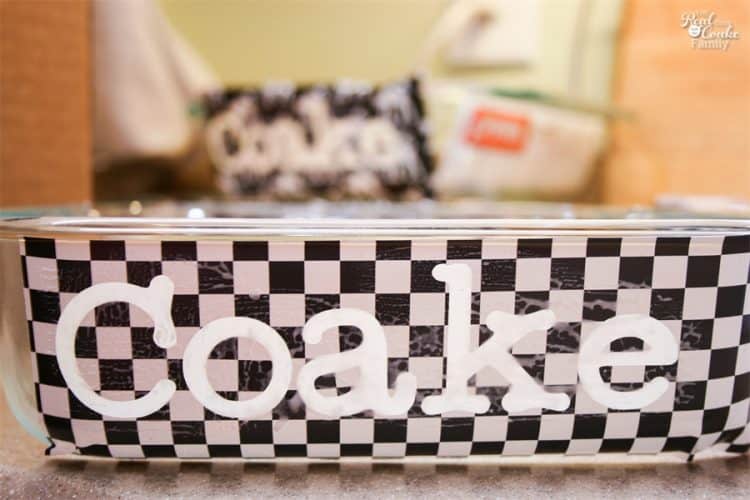
 Once the 30 minutes are up, wash the etching cream off and remove the stencil.
More Great Posts for You:

I’ve been wanting to try etching something – this is a great idea! do you put the etching cream over the whole surface of the glass? I thought it would have to go under the letters…or am I looking at it wrong?
Thanks, Dara. Once you adhere the stencil to your glass surface, the etching cream goes on the glass part that you want etched. In this case, it would go on the letters because I wanted them etched. I don’t want it to go under them because in this case that would mean I didn’t have distinct letters. Does that help or am I not explaining it well. If you have ever stenciled anything, it is jut like that. You put the stencil on a put paint in the open areas you want painted. Same thing, except you put etching cream.
Let me know if that helps or if you have other questions.
KC
Love this! Me too – have wanted to try etching – even bought everything needed – all I needed was to see your pictures – what a great idea! Mahalo for sharing!
I’m so glad I could help out! I hope your project turns out beautifully. Have a great night.
KC
Those are cool!
Thanks!
KC
What a great idea! Who doesn’t love a personalized gift. I have always wanted to try etching cream, and now I think I will. Thanks for sharing.
wwwpvcreations2010.blogspot.com
You are welcome! Have fun…the possibilities with etching cream are so fun and endless.
KC
I have also always wanted to try this ~ I pinned your project and added it to my “do to” gift projects – thanks so much!
Deanne
https://deannescraftingadventures.blogspot.com/
Oh, Thank you so much! Thanks for pinning. Have a great week and have fun with your project…when you get to it.
KC
These pas turned out great…let me tell you if you get the kind of wonderful reactions i got when i made some a few years back…your smile will be huge. GREAT!
Thank you! How fun, I hope my family really enjoy them as it sounds like your family did! 🙂
Have a great night.
KC
This is a fantastic gift idea!!! Really want to do this for my family gift exchange!!
Karen
Thanks! I hope they love the pans, if you make them! 🙂
Take Care,
KC
What a great idea!
Thanks!
KC
Love this idea – what a great gift! Visiting via Tatertots and Jello.
Aw…Thank you!
KC
What a great gift idea. I love it.
Debi
Thank you! I love it, too and I really hope all our relatives love it as well.
KC
I love this idea! I need to create small stencils to do this on wine glasses, this is cool….I have seen it done before, you refreshed my memory…thanks.
Nancy
https://wildoakdesigns.blogspot.com
I love the idea of using this for wine glasses. I may even try it myself in the new year. It would make the usual wine glass so much more fun.
Hope you have a great week.
KC
I made one for my daughter a few years ago…she requested I use her first name because she was hoping to be married someday. So, now she IS married, and her dish says Jamie, not Wilson. hahahah smart girl she is!
gail
I love the idea of using the first name. Yes, she is a smart girl to think of that. When I was single, I probably would have thought of it as well…but my first name it too long, so I would have been bummed and had to figure something else out. LOL!
Take care,
KC
I love this! Just wanted to let you know that I featured this in my 15 Homemade Gift Ideas post:)
Katie
https://www.funhomethings.com/2012/12/15-homemade-gift-ideas.html
Thank you so much! Thanks also for letting me know that you featured me. I appreciate both the feature and the notification.
Have a great holiday season.
KC
I love this! Is the dish still dishwasher safe or does the etching rub off?
Thanks! It is completely dishwasher safe. The etching is permanent.
Take Care,
KC
awesome! thanks!
Your welcome.
What did you use to cut your stencil out on the contact paper?
I used my Cricut. I have a tutorial on how to use your Cricut (you could use scissors) and make your own stencil. https://realcreativerealorganized.com/2012/10/make-your-own-stencils-tutorial.html Hope that helps.
KC
These are adorable – love them! Are they safe to go in oven?
Thank you so much! Yes, they are oven safe. I would recommend you do a little research because there have been some issue with Pyrex pans cracking, breaking or exploding. It has nothing to do with the glass etching, but I just want to make sure you are aware.
Take care,
KC
Did you put the stencil on the inside or outside of the dish?
I put it on the outside. Let me know if you have any other questions.
I love this DIY project! I’m planning on making a few and wasn’t sure what size bottle of cream to get. What do you suggest Thanks!
Thanks so much! I just bought the smaller bottle because it was $10. It was plenty to finish this and quite a few other projects as well. Hope that helps. 🙂
Absolutely love these. Great idea for Christmas. And even the same name. 🙂
Yay! I’m so glad you found them! They were loved by those I gave them to for Christmas and they are relatively easy to make. Have fun!
I love this. So just to clarify…you took something that was a solid sheet (contact paper) and your cricut machine cut the letters out. So what you had left was a solid paper with letter cut out that you stuck on the OUTSIDE of the dish. Am I correct?
Yes, I use contact paper or adhesive vinyl. I cut it on the Cricut. I remove the actual letters (the part that you would use if you were cutting something for scrapbooking). It should look just like a stencil at that point with just the inside of the letters or design. Then, yes, that gets stuck to the outside of the dish and the etching cream goes on that.
So glad you like it. I’d love to see pics of what you make if you want to share. Fun! Enjoy!
This would be the perfect Christmas gift for your friends and family. Love it. Thanks for sharing with us at Family Joy Blog Link Up Party!
They are great gifts! Thanks for stopping by!
I love this idea and I would love to do this with our pans (especially since we attend church potlucks every second week) – I would have our family name right on the pan. Brilliant!
Thanks for sharing (and for linking up to the #SHINEbloghop).
Wishing you a lovely week.
xoxo
It is a great idea for potlucks for sure! Makes it so easy to get the right dish…and people always comment about mine when I use it. 🙂