Mother’s Day is about a month away. That means that if you plan to make something for Mother’s Day, it is time to get working. I love giving a gift I have made and think that the person I’m giving it to will love. I came up with a cute idea that works for Mother’s Day, teacher gifts, Christmas gifts or a just because gift. It is in a Mason Jar, which of course adds to the cuteness of the gift.
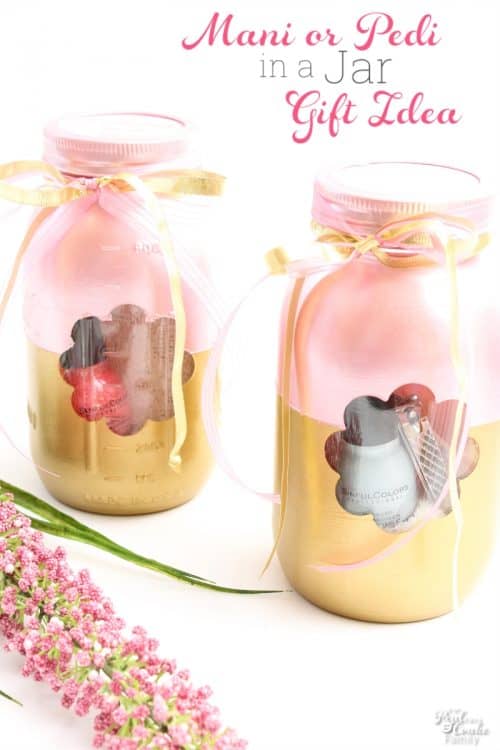
Now, as much as I’d love to say I made these jars are for my Mom and my Mother-in-law, I’ve gotten tired of how much I end up paying to ship things across the country to them, so keeping it real…I came up with this idea and love it, but I doubt I will actually be giving it to my Mom or my Mother-in-Law.
I actually think my girls and I will be using them this week for our spring break. Shhh…don’t tell them. They have seen how cute they are and have been eyeing them.
We came up with themes for our different days of spring break since we aren’t going anywhere and you guys had a chance to decide on one of our days on my facebook page. We had breakfast day (staying in our PJ’s and eating breakfast things for each meal) and we are having a spa day. We will break these out on our spa day. (I write in advance, so I’m writing this the week before spring break, so we may have had our spa day already!)
Regardless of how I use them or you use them, these are an adorable and fun gift idea. They were fun to make as well. Let me show you how.
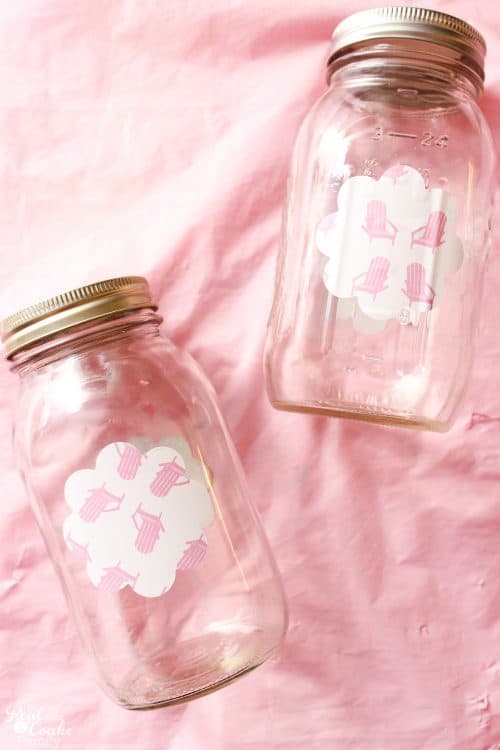 Start with your mason jar. You will need a 1-quart mason jar. I found a smooth jar
![]() (affiliate link- I have no idea why it is so stinkin’ expensive, but at least it shows you what it looks like in the store) at Target and snapped it up. I knew I wanted to paint these jars with a little window in them and thought the smooth jar would be easier to get a clean result. I was right.
(affiliate link- I have no idea why it is so stinkin’ expensive, but at least it shows you what it looks like in the store) at Target and snapped it up. I knew I wanted to paint these jars with a little window in them and thought the smooth jar would be easier to get a clean result. I was right.
You can totally make these jars with the typical Mason jars with the ridges, but they come out a little bit better with the smooth jars.
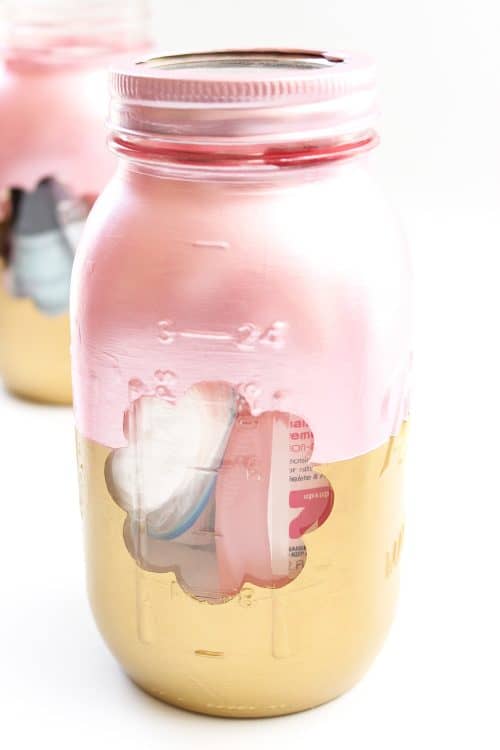
Make your own stencil or buy a stencil that you can use to place on the jar and create your window.
I first got the idea to paint jars like this from my all time favorite blog, The 36th Avenue. She did the cutest little jars like this for Valentine’s Day and I loved them. I decided to make my gift jars somewhat similar to those.
I made my jars multi-colored, so after applying the stencil, use painter’s tape to mark off the area you don’t currently want to paint.
Paint your jars. In my case, I painted the gold metallic paint on the bottom first. It took 3 or 4 coats of paint. Then I removed the painter’s tape and waited a day. I added new painter’s tape to tape off the gold paint and painted the top portion pink. Again, it took 3 or 4 coats of paint.
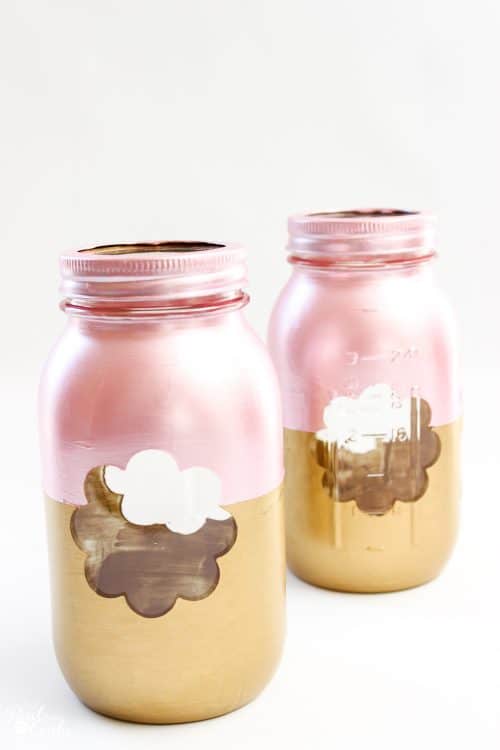
While I was painting the pink on the jars, I gave painting the lids a try. I use regular acrylic craft paint for my jars. Make sure it says it will work on a glass surface (usually I use the Martha Stewart line of craft paints![]() – affiliate link- because I really like them). I don’t use spray paint because it is so harsh on the environment.
– affiliate link- because I really like them). I don’t use spray paint because it is so harsh on the environment.
Remove the stencil that you had in place on the jars as soon as you are done with the last coat of paint. Don’t worry that when you look through the jar the paint job doesn’t look so great. It looks good from the outside and that is the main part that people will see.
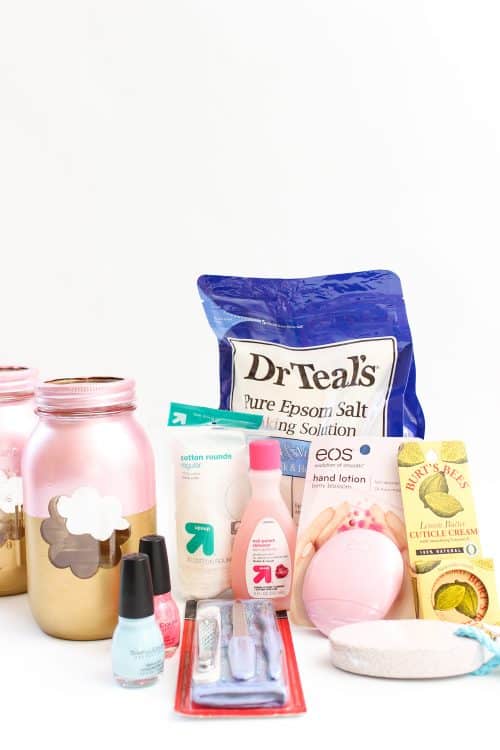
To make your jar a manicure or a pedicure in a jar, you will need some fun supplies. I used the things you can see above.
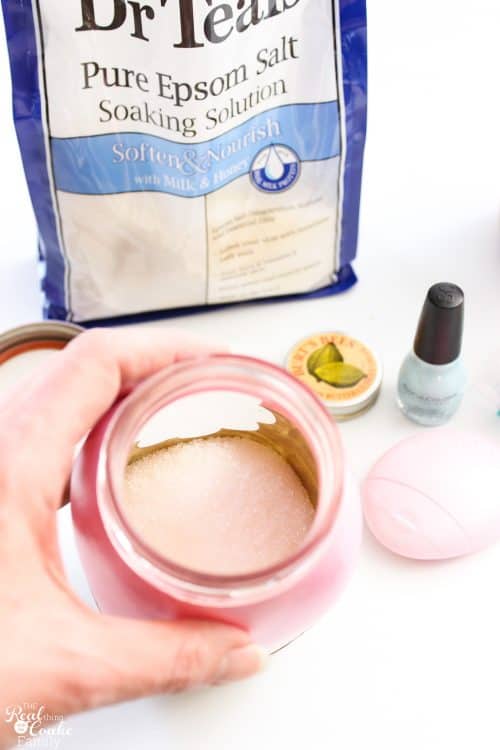
I started each jar by pouring some Epsom salts![]() (affiliate link) into the bottom, not only do they make a great base in which to anchor the supplies you are putting into the jar, they work really well for the actual manicure or pedicure. A lovely Epsom salt soak as part of a manicure or pedicure is great and these Epsom salts smelled so good!
(affiliate link) into the bottom, not only do they make a great base in which to anchor the supplies you are putting into the jar, they work really well for the actual manicure or pedicure. A lovely Epsom salt soak as part of a manicure or pedicure is great and these Epsom salts smelled so good!
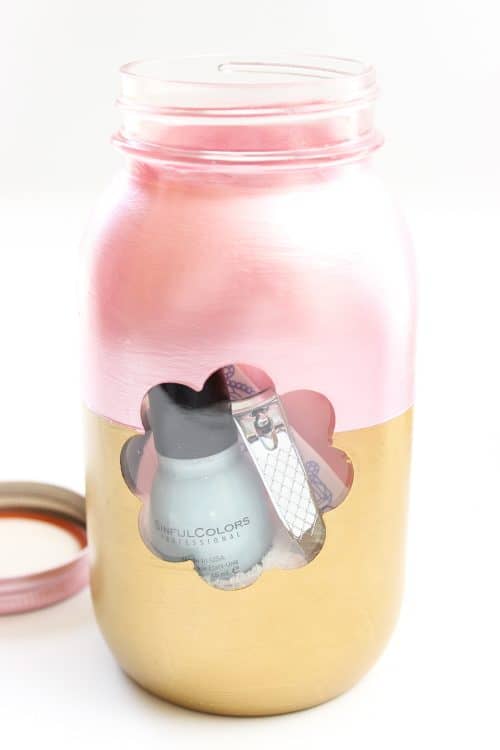
Next layer your items into the jar, using the Epsom salt to hold them in place.
For the manicure jar, I added:
- nail clippers
- nail file (2) – my clippers, files and cuticle trimmer were in this kit
 (affiliate link)
 - nail polish – I selected Sinful Colors
 (affiliate link) because it has fun colors and is inexpensive and has no formaldehyde, toluene or DBP.
 - cuticle trimmer
- Burt’s Bees cuticle cream
 (affiliate link)
 - EOS Hand lotion
 (affiliate link) – which barely fit in the jar and I think is going to be REALLY hard to get back out.
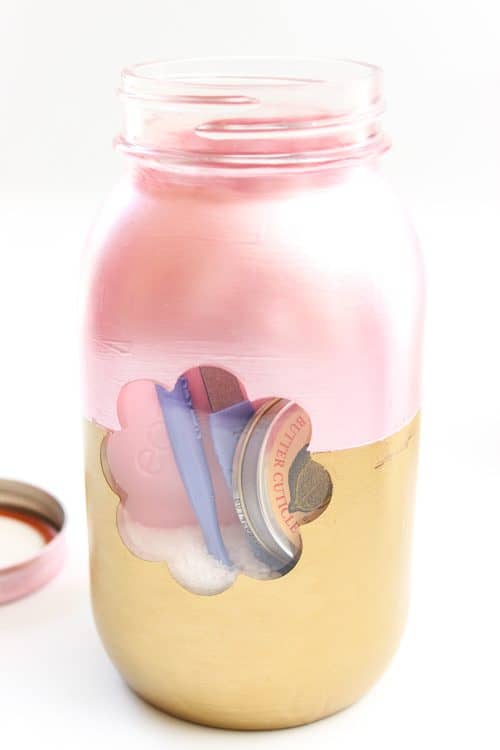
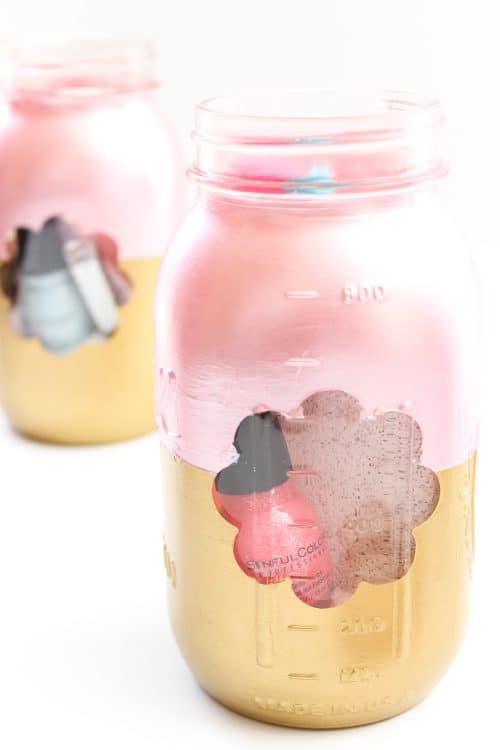 For the Pedicure jar, in addition to the eEpsomsalts, I added:
- pumice stone
 (affiliate link)
 - Nail polish
- Nail polish remover
- Cotton pads
If I had bought 2 sets of everything, I would have also added nail clippers and nail files as well. There wasn’t room to add any kind of lotion, but it would also make a great addition.
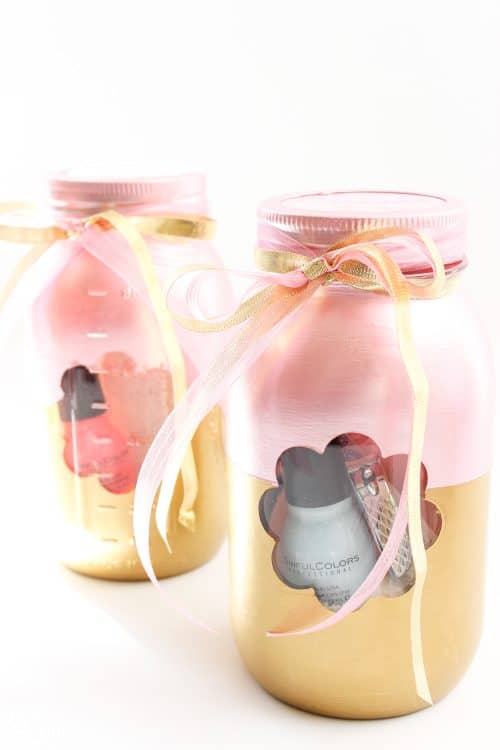 Now you need to close your jars and add a pretty ribbon to the top.
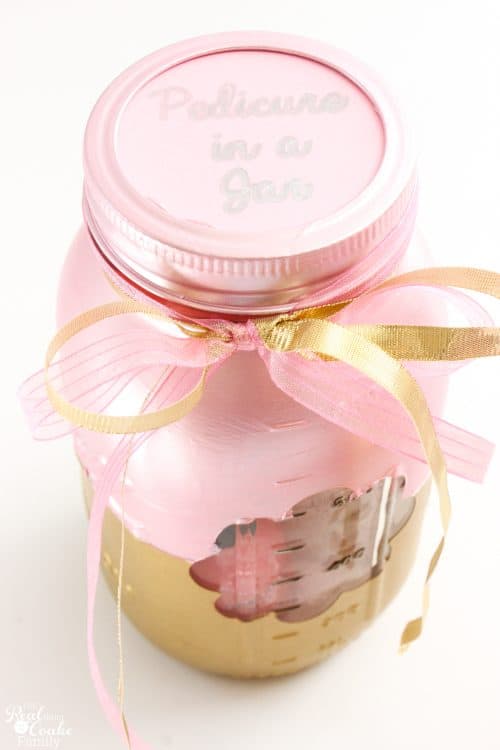
Finally, add a pretty tag on the top. I cut and wrote mine with my Cricut Explore![]() (affiliate link). It can do both. Fun!
(affiliate link). It can do both. Fun!
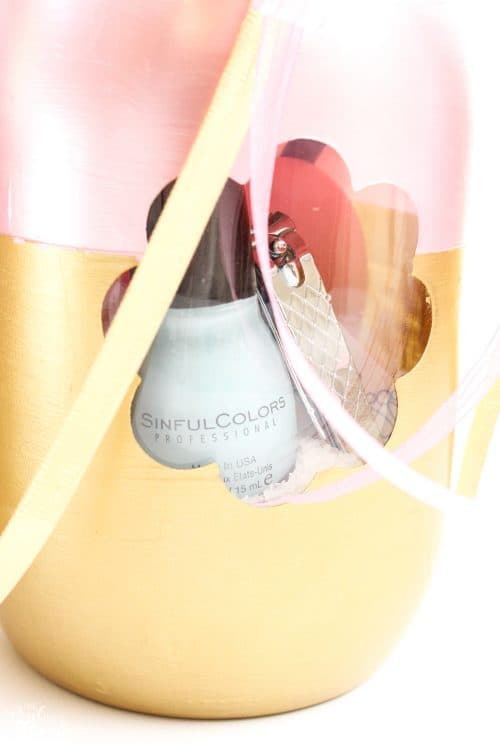
I love the little windows into the jars. It is fun to peek in and see what is inside.
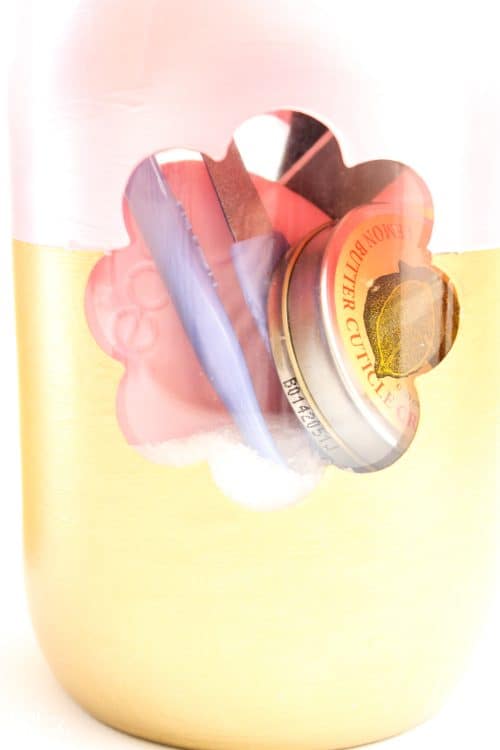
I need to use some of this cuticle cream. Can’t wait to surprise my girls with these jars on spa day!
Like I said, these are great for an any day gift…like an I love you and it is spring break spa day gift in our house. 🙂
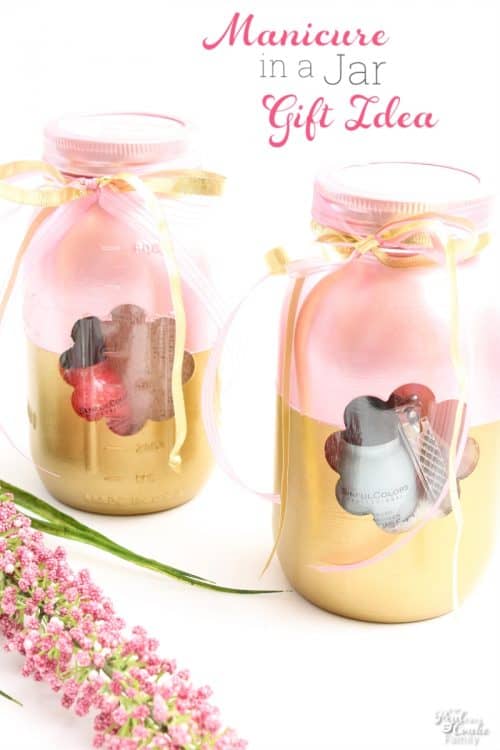
This gift idea did take some time. Mostly waiting for paint to dry on the various coats of paint. In the end, it is such a cute gift idea that, to me, it is worth the time. I could see something like these becoming favors at Pumpkin’s, my youngest daughter, 9th birthday party since she loves spa things so much. Wouldn’t that be so cute?!
Gorgeous! And one can use recycled jars as well……thanks so much for sharing on craft schooling Sunday! I have noticed that you’ve been really working on your photography and styling and overall level, and it really shows, good for you!
Thank you! Yes, this is an older post and I’ve learned a lot about photography in the last few years. Glad it shows! I love your idea of using the recycled jars as well.
These are adorable and I love the colors. Definitely an awesome gift for Mom!
Thanks! Yes, I want to receive one…especially if it comes with a mani and pedi! 🙂
I really loved this easy and thoughtful gift and have decided to feature it on the coming week’s Family Joy Blog link up party. Thanks a lot for joining us. I would also love to share this post with my readers on one of my upcoming posts on Mother’s day gift ideas. Is that okay with you? Do let me know 🙂
Thanks! Of course, you can share it with your readers! I just ask that you only use one picture and link back to my site. Thanks!
Yes – just one photo and of course a link back to your site 🙂 Thank you so much!
What a great idea! Thanks for sharing at Over the Moon!
Thanks!
awww i love the colors!! this is perfect!
Thanks!
I love doing my nails. I find it so relaxing and I feel so pretty afterwards. Great idea!
Thanks! I agree it is both fun and relaxing.