As you may have noticed, if you have walked into a store recently, Halloween is coming. At my house, we find Halloween crafts to be fun. So, I came up with a cute ghost craft that my youngest daughter, Pumpkin, and I made together. Not only were they a fun upcycle craft, but they will help light up our porch on Halloween night. Love it!
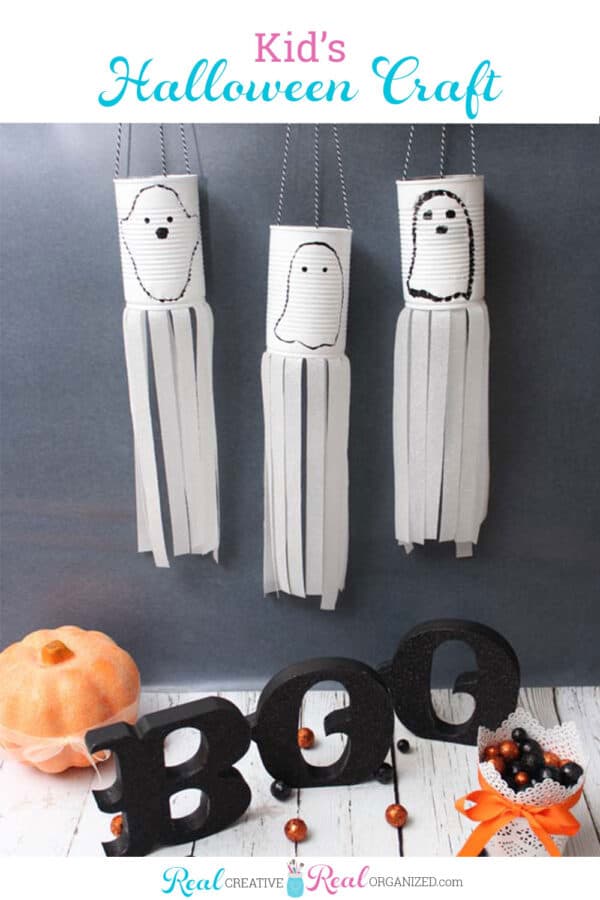
We had such fun making the 4th of July decorative cans, that I was trying to think of a way to make a similar craft for Halloween. One day it popped into my head that we could make ghosts out of the cans and also punch holes in the cans so the cans would light up. Not only would that make the ghosts a bit more spooky, I also wanted them to light up because I’ve wanted to make some kind of cute lights for my porch for Halloween for a couple of years.
Ready for some Halloween crafty fun with your kids (or grandkids)?
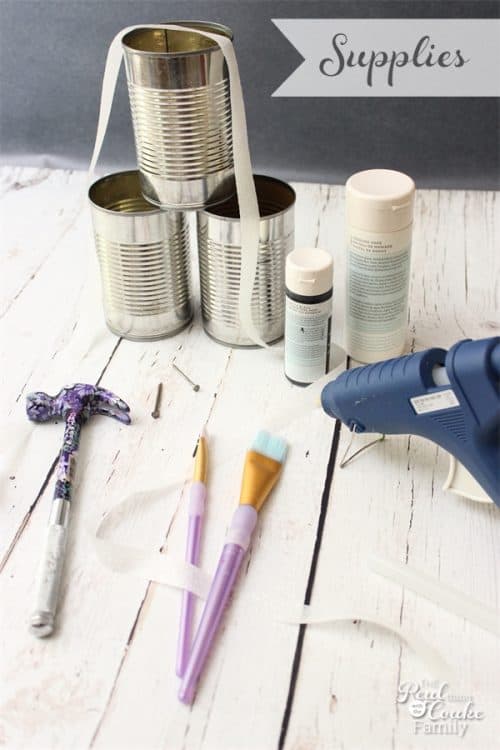
Supplies:
- Empty and clean can
- Ghost template
- Sharpie
 (affiliate link)
 - Hammer
- Sharp Nail
- White paint
- Paint brush
- Black paint
- Sparkle white ribbon
- Hot glue gun and glue
- Black and white twine
DO NOT REMOVE the bottom panel from your can if you plan to punch holes into it and add a candle. If you just want ghosts blowing in the breeze without the light, remove both the top panel and bottom panel from your can and clean it.
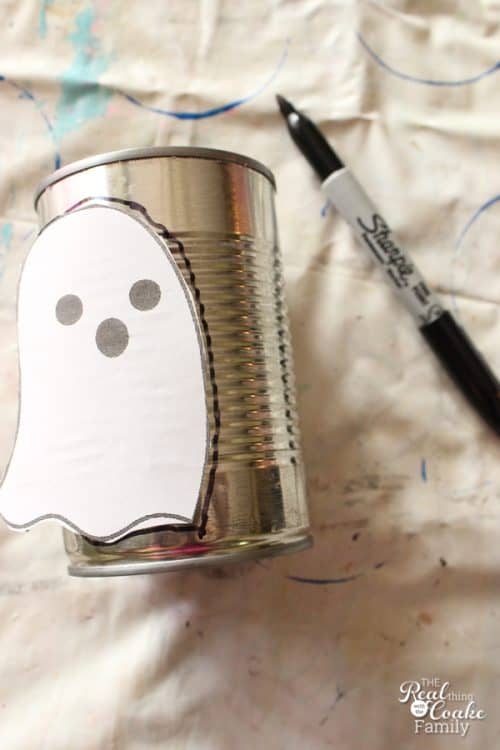
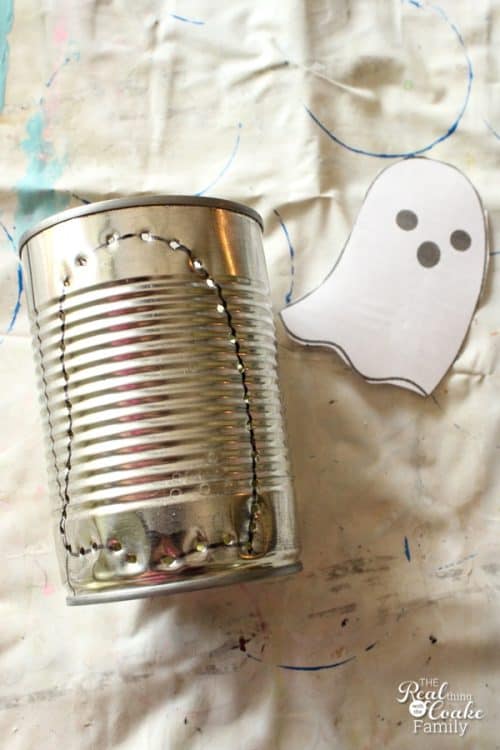
First, you will want to find a ghost template that you like. I just did a quick Google search to find ours. I printed them out and then adjusted the size to fit the can.
Trace the ghost pattern onto your can with a Sharpie.
If you have the time, place water in your can(s) and freeze them to make this next step a ton easier. You can punch the holes in the can without the frozen water trick. It will just a be a little bit harder…trust me. I didn’t have the time nor did I figure out that was the easiest method until it was too late.
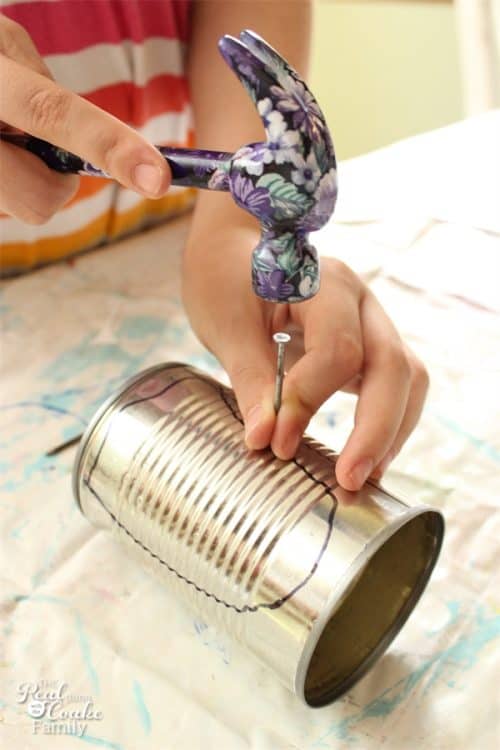
Place your sharp nail on the can on the line of your pattern. Use your hammer to punch the nail through the tin can. If you have not frozen water in your can, this will be tons easier to do at the bottom of the can and really challenging near the top of the can. Just put on your patient hat and hammer away. You may distort your can slightly, but it should be able to bend back into or close to the original shape.
Continue adding holes all the way around your pattern.
You can also just place random holes on the back side of your can rather than following a pattern. Either way, you will have holes in the can that will let the light shine through at night.
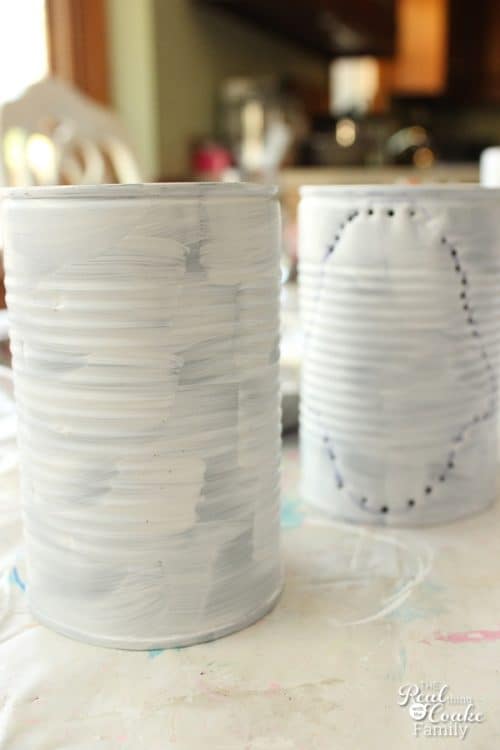
Paint your can white. This are our cans with one coat of white paint. It took us 3 coats to get the coverage we liked.
My daughter was able to paint her cans without any paint clogging up the holes that we punched in the tin. I, on the other hand, had to push the nail through all of the holes because they became clogged with paint. It is a ton easier than the initial punching of holes, so it is an easy fix for sloppy people like me. 🙂
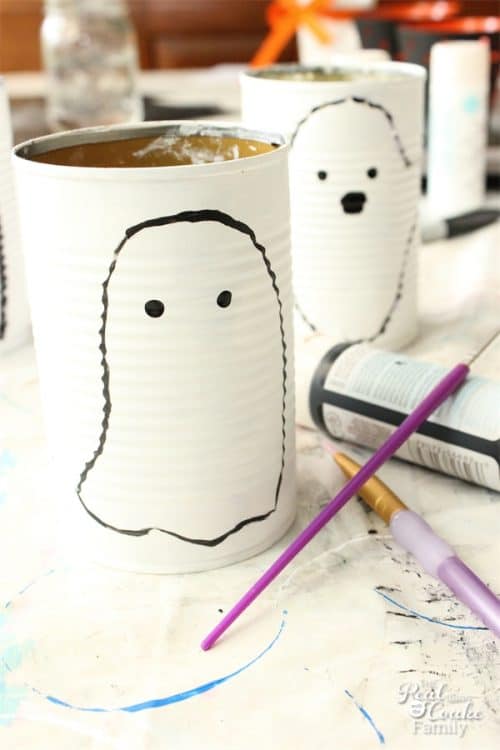
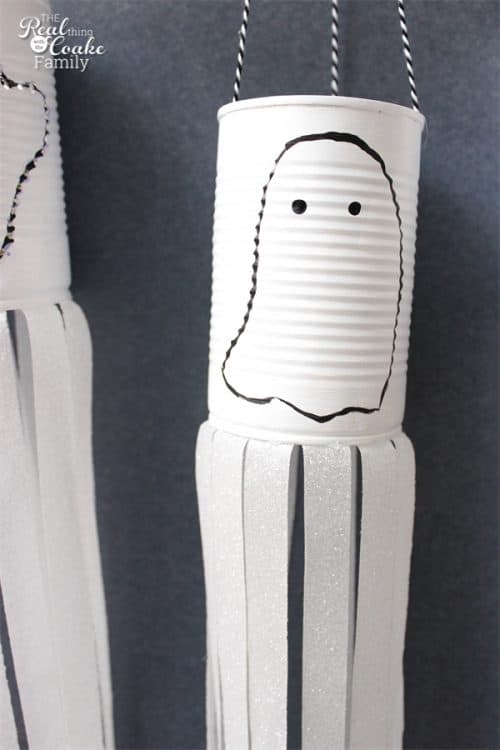
Next up, we traced the pattern of the ghost or followed the pattern of the nail holes to outline our ghosts in black paint. My daughter did her lines quite thick while I did mine thin. I actually think that hers looks better hanging on the porch. It is easier to see the ghost from a distance.
Use the end of your paintbrush or a pencil to add the eyes and the ghost mouth, if desired.
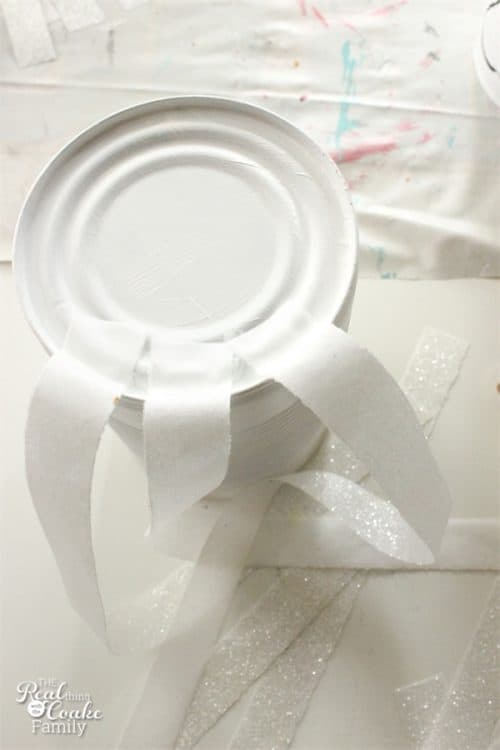
Cut lengths of the sparkly white ribbon. We liked ours at about 10″ long. We also liked varying the length a bit so it didn’t look super perfect.
Place your can upside down and add a dab of hot glue close to the edge of the can. Place your ribbon with the sparkly side into the glue. Continue doing this all the way around the can. Place your ribbon as close together or as far apart as you like for the ghost tails.
Lastly, add some black and white twine to the top of the can to hang your ghosts. We like to add three pieces of twine and tie them together to form a loop at the top. It makes and easy way to hang them.
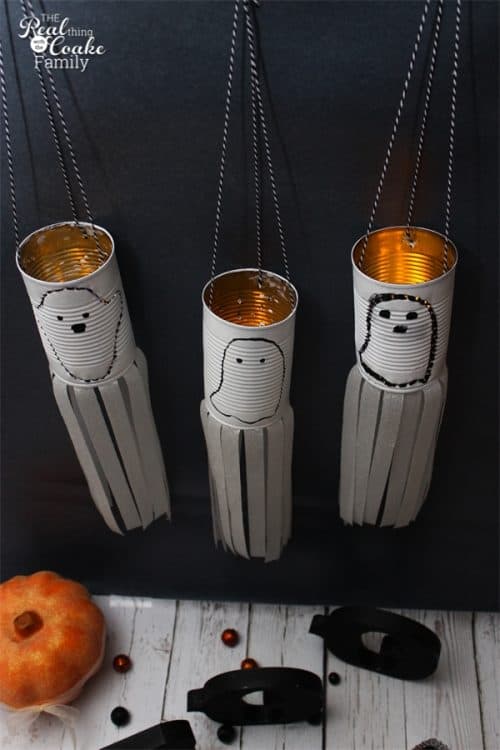
Don’t use real candles in your cans as the twine could catch fire especially if they are blowing in the breeze. I added battery operated candles to ours. I will just put them in and pull them out on the same night as we tend to get a bit of rain here. The effect is cute.
We like the sparkly ghost tails blowing in the breeze. Cuteness! It was also a fun craft for my daughter and I to work on together. It did take us several times over a couple of days because of the paint needing to dry, but that works fine for us. We just left it out on a part of the kitchen table and worked when we had a few minutes.
I can’t wait to light these up on Halloween! In the meantime, we will enjoy seeing the ghosts blowing in the breeze on our porch.
More great posts you are going to love:

Leave a Reply