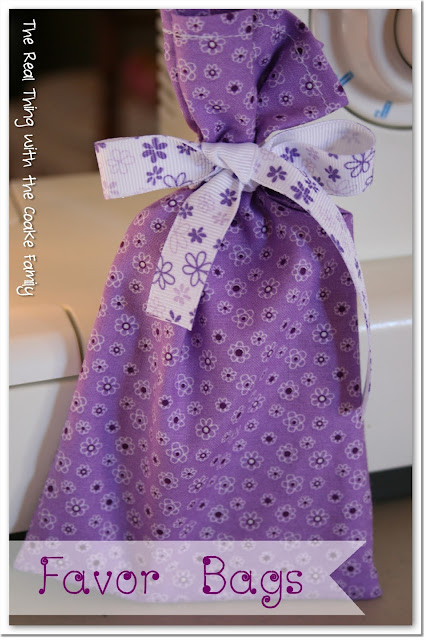
Today I’m going to show you some more from our recent American Girl Party. I made these party favor bags for each girl. If you know how to sew a straight line, you can make these bags. You can also customize the size to fit the favors you want to go inside each bag. These bags fit our Felicity American Girl Party theme really well as they fit what may have been used to wrap things during that time period. Let me show you how to make these favor bags, they were really easy.
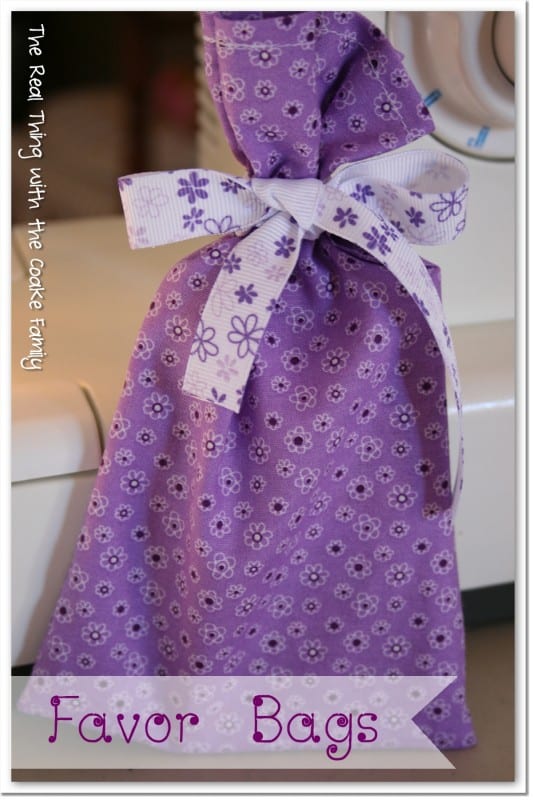
Felicity American Girl Party ~ Party Favor Bags {Tutorial}
To make these bags, I started by measuring the favors to go in the bags. The largest favor I had measured 3″ wide by 5″ tall. I needed to add extra height to allow room for the ribbon and tying the bag closed. I also needed to add extra to allow for the seams and a little wiggle room.
I cut my fabric 10″ wide by 8.5″ tall.
If you are adapting this to fit a different size, take your width and double it (for me that was 6″), this allows for enough when you fold the fabric in half to sew the bag. Then add another 1″ to 2″ per side for your seam and wiggle room. I added 2″ per side, for a total for 4″, and really liked how the finished bag looked and how it fit the favors. If you are adapting this, as far as the height, I added 3.5″ to allow room for the hem, the actual ribbon, and some for the top above the ribbon. You will need to adjust this measurement based on the width of your ribbon and your desired amount of fabric to be above the ribbon.
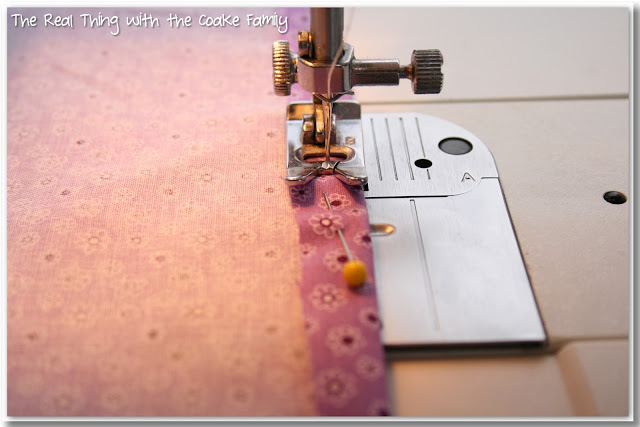
Iron the top of your fabric for your desired hem, mine was about 0.5″. Sew your top hem.
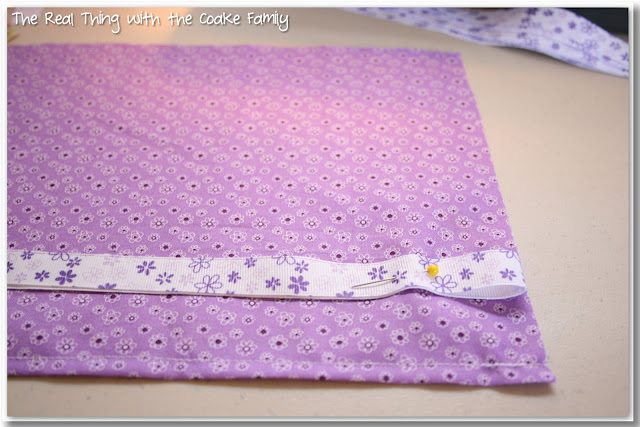
Measure and cut your ribbon. I cut mine at 18″ in length. It worked well for this size bag. You many need to adjust yours for the size of your bag. Pin your ribbon right side out with the right side of the ribbon and right side of the fabric together. Pin the ribbon flush with the edge of the fabric on one side of the bag below the top hem. Remember to take into account how much room you want above the ribbon for the finished bag.
Use your pin to tuck the extra ribbon, so that it doesn’t get sewn into the bag.
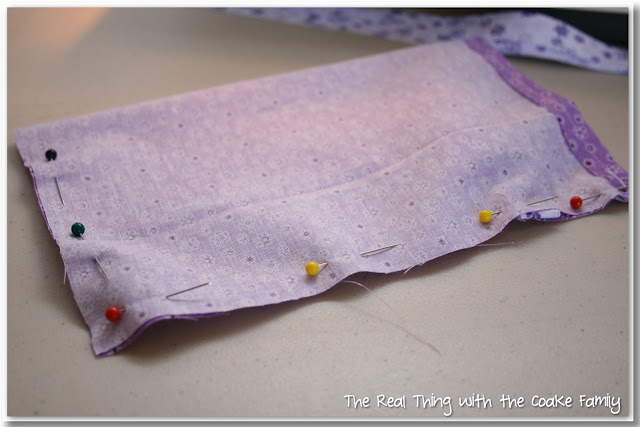
Pin your bag with the right sides together.
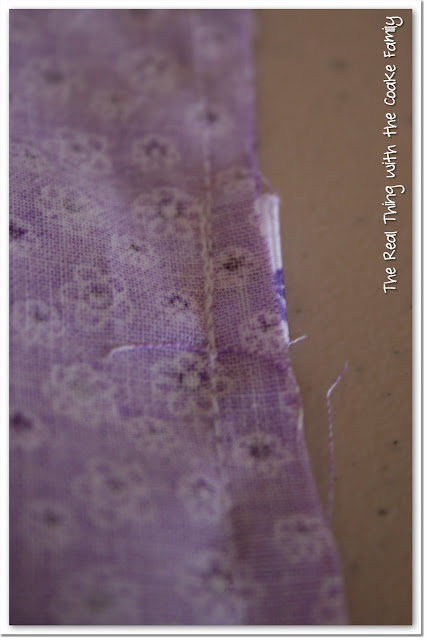
Sew around the edges of your bag following your seam allowance. My seam allowance was 0.5″. When I got to the place where I had pinned the ribbon, I double stitched it for additional strength. You can see that above.
Turn your bag right side out and fill with goodies! I found all of these American Girl Crafts goodies on clearance at Michael’s over the summer. What a great find! They would have otherwise been out of my price range, but with the clearance prices, we were able to give each girl some fun goodies that went with the party theme.
Very easy to make with super cute and customized results! Gotta love that!
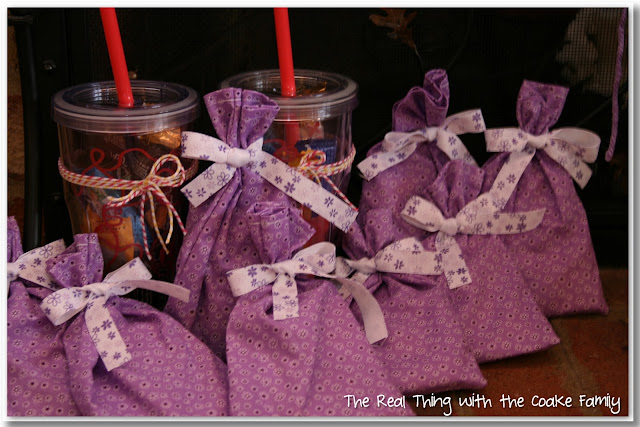
On display at the party.
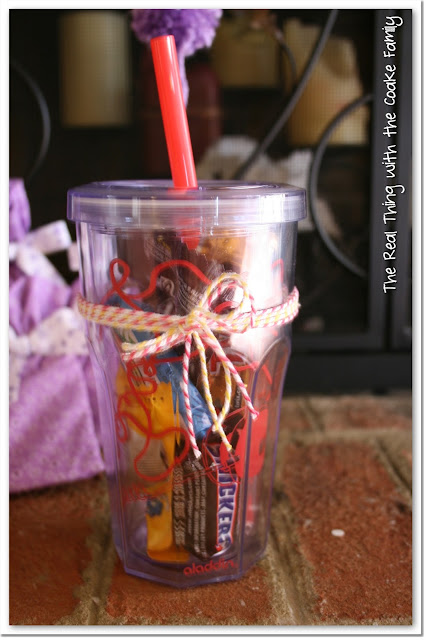
I had two teenagers coming to Pumpkin’s party. I didn’t think they would enjoy the American Girl Craft favors, so I found these insulated drink cups on clearance at Target and filled them with some candy for each of the girls. Of course they needed a little cuteness added, so I tied them with some baker’s twine. These were also easy to put together and the girls seemed to like their favors as well.
More American Girl Doll Fun For You:
So lovely!!! Love the fabric colours! Thanks so much for sharing tutorial! I’d love for you to visit my blog.
Happy rest of week!
Hugs from Portugal,
Ana Love Craft
http://www.lovecraft2012.blogspot.com
Thank you! You have a great week as well.
Fabric party favour bags are a fabulous idea!!! Not only do they look great, but they can be reused as well and they are SO much better than plastic party favour bags. No wonder they went down well with the girls.
Thank you, Pam! Yes, my girls have been re-using theirs for various things and ideas. It is so much nicer to me than a plastic favor bag, but I always try to find long term favors rather than cheap throw away favors.
Thanks for your great link party!