I told you guys a couple of weeks ago that I was working on a new command center for my home. I had hoped to show it to you when I told you about how I keep our meal planning real organized, but I didn’t get it done in time. Do you ever have a project that you are excited to work on, but at the same time you seem to stall out as you work on it? This was that kind of project for me. I think mostly because it sounded so simple in my mind, but in reality, it was a little bit more involved than I thought… the story of my crafty/DIY life. I should really learn some day. 😉
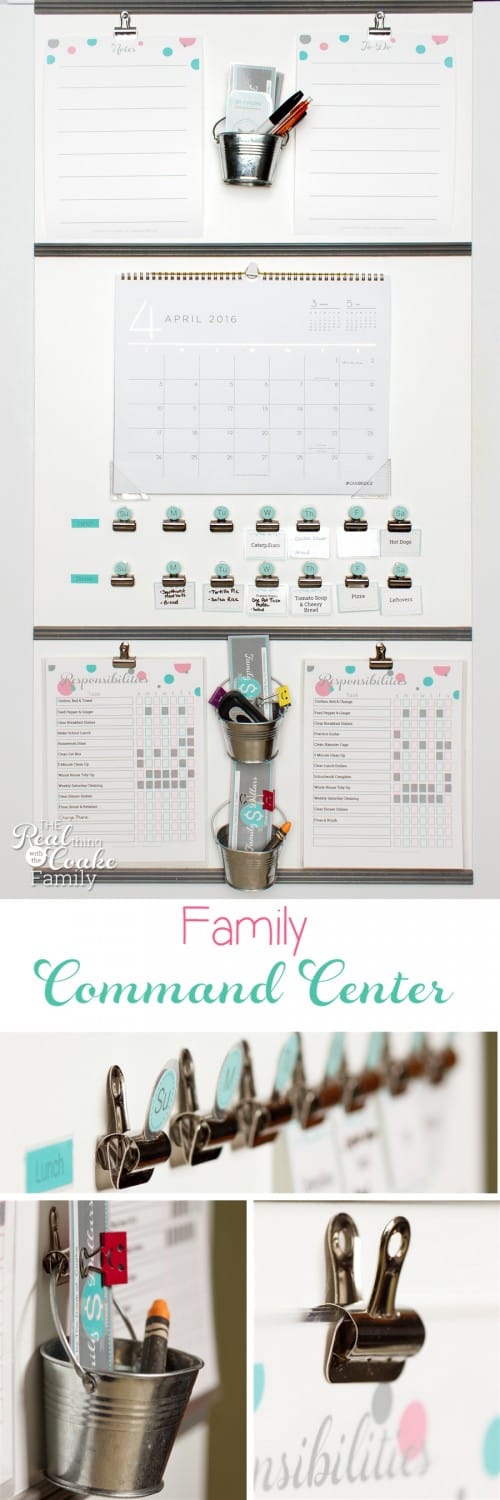
Thankfully this past week I got my butt in gear and got this project done. I’m so happy with how clean and simple this command center is as well as the fact that the parts and pieces of this project are no longer on my living room floor. Yay!
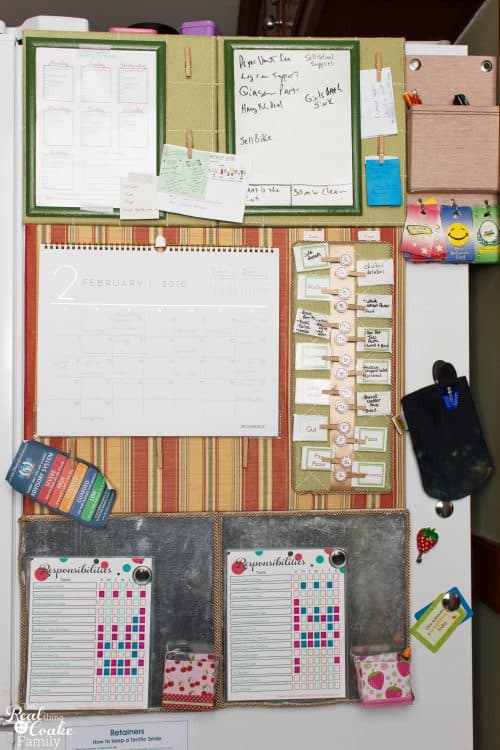
I have to start by showing you my old command center. It was made from various sizes of art canvases. While I liked it, it isn’t the style direction I’m taking my house at this time and it just seemed too busy and cluttered over time.
Time for something new.
I knew I wanted something light so that the weight on the side of the refrigerator wouldn’t be a problem. I did my scavenger shopping trip back in December and figured out that Lowe’s sold pre-cut birch plywood in a size that would work perfectly. I selected a 23.87″ x 47.875″ piece of birch plywood. It was $9.22.
I wanted to add a little bit of definition to the board as well as a little bit of color. I decided on some molding that Lowe’s sells. It is listed as Screen 144 Pine. It is 3/4″ wide and 1/4″ deep. It was $3.92 for one 8 foot piece. I bought 2 of those but only needed one.
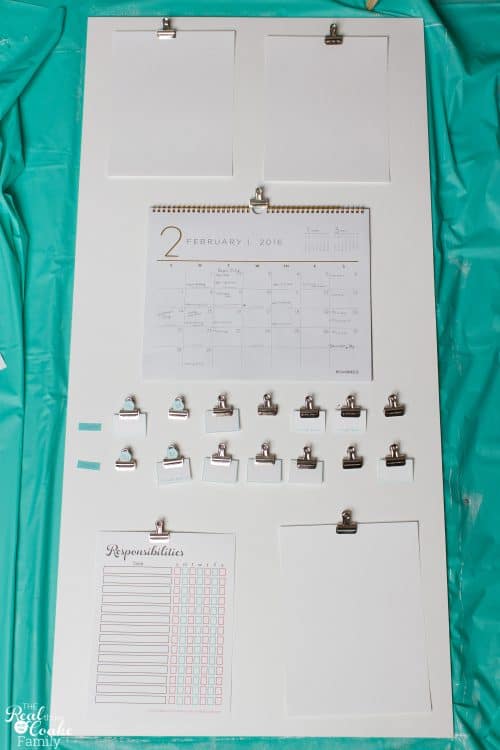
The first thing I did was to prime and paint the wood. After that was dry, I spent WAY too many hours searching online for a sort of industrial clip for the board. My youngest daughter, Pumpkin, was SOOO sick of looking at clips as well as shopping with me because at any store we went to, we went looking for clips. I finally gave up on finding what was in my mind and settled on these bulldog clips. I got mine on clearance at Target, but these are some that are similar on Amazon (affiliate link).
Once I settled on the clips, it was time to lay everything out and decide what would go where. I showed you this in my Real Organized Meal Planning post. Then it all sat for a while.
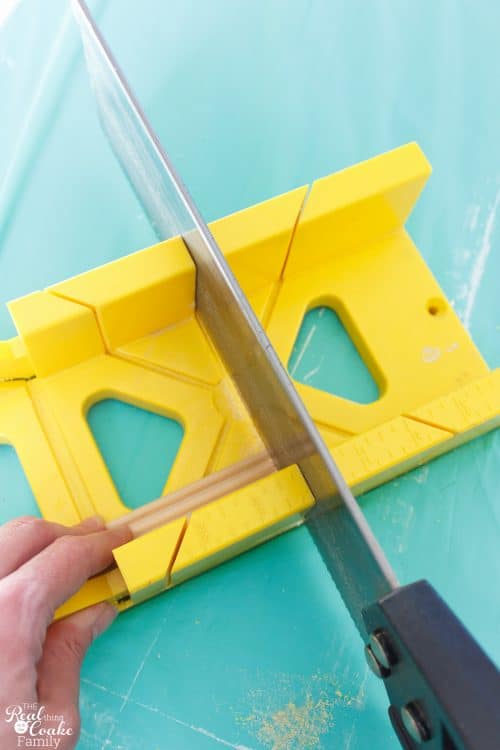
Finally about two weeks ago, I got myself in gear and cut the molding to the sizes I wanted. I just used a simple miter box (affiliate link) for that.
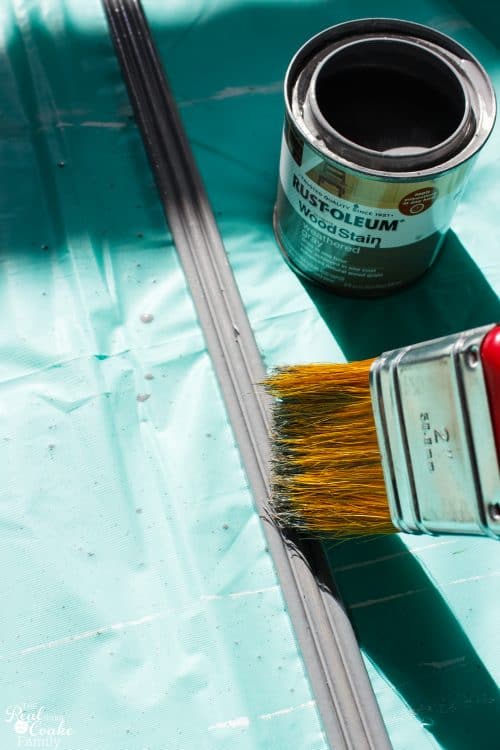
Then I stained the molding and coated it with three coats of polyurethane. I used Rust-Oleum Weathered Gray (affiliate link) and a Rust-Oleum polyurethane (affiliate link) as well.
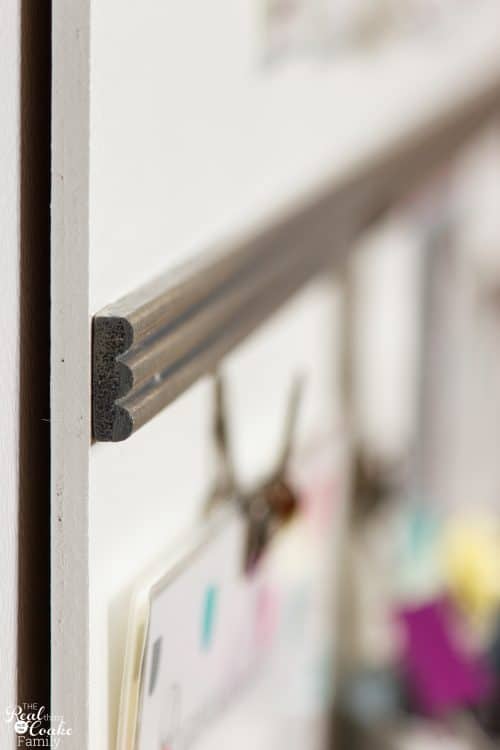
Once those were dry, I let the project sit for another week. Yep, I’m super efficient like that. 😉 When I finally decided it was time to get this done, I adhered the trim to the plywood using E6000 glue (affiliate link). I wanted the full strength drying time, which is 72 hours, on that before moving one.
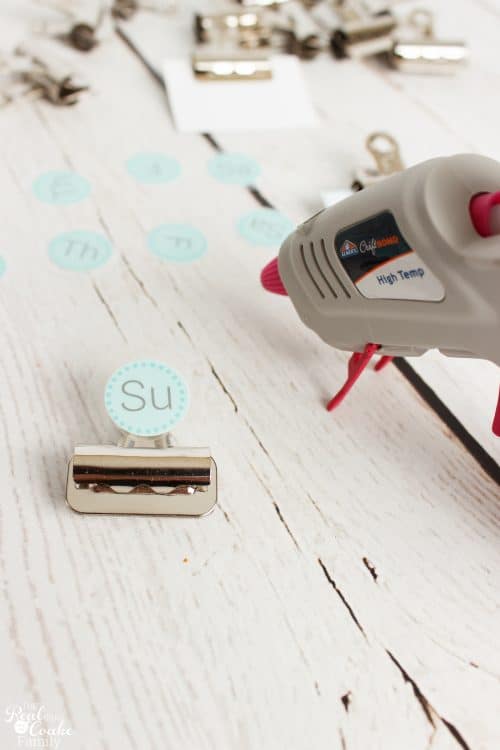
While that was drying and curing, I set to work on the clips that would be part of my meal planning section. I have the printables to make the cute meal planning in my shop (blue and gray), so I printed those out on cardstock and laminated them. Then it was the simple job of using my fun Elmer’s Craft Bond hot glue gun (affiliate link). I’m loving the Elmer’s new glue gun, which they sent me to try out. I love doesn’t leave the strings that most hot glue guns leave.
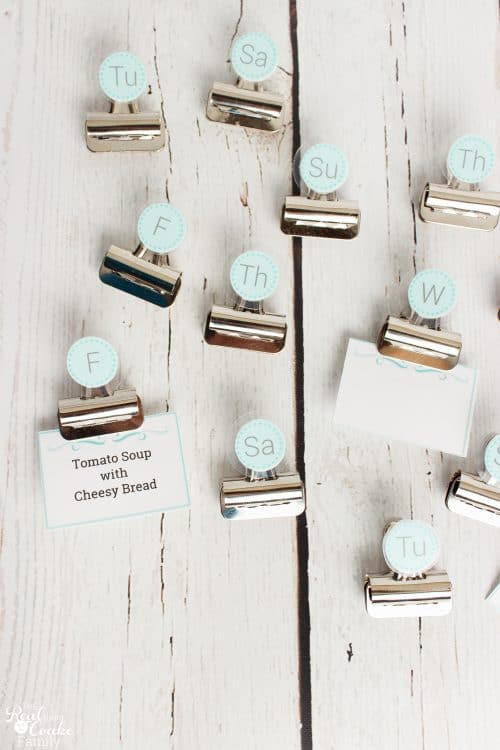
All the bulldog clips along with a few of my meal cards, ready to go. I was beginning to feel like the project was getting somewhere and I might actually get it done.
From there it was a matter of deciding on the spacing of the various clips and papers. The kids and adult sections were fairly easy to lay out and glue down. The meal planning section took a little more time and math. I wish I had thought of it, but I totally could have used our laser level (affiliate link) to get the straight line and saved myself the drawing with pencil and trying to erase it all right before gluing. Again, I used E6000 glue to adhere the clips to the board. I again waited the full cure time before using things. I just wanted to make sure the glue was fully cured before I started using things.
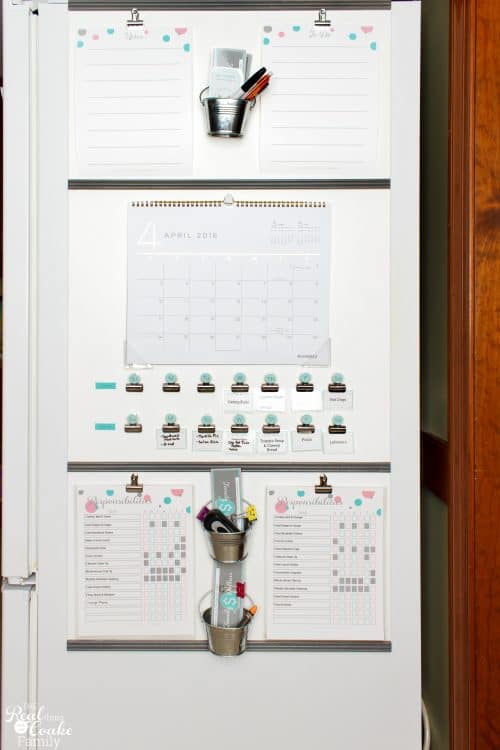
And….voila!!! A new command center for our family. I love ♥ how streamlined and clean it is. My kids are horrified that I removed all the other magnets and papers and everything from the fridge. I’m doing the clean happy dance. 🙂 I’m sure over time things will make it back up here, but for now, I love seeing the clean and open space. When things are added back up there, I will come back here and remember the good old days. 😉
Let me show you the various sections of my command center.
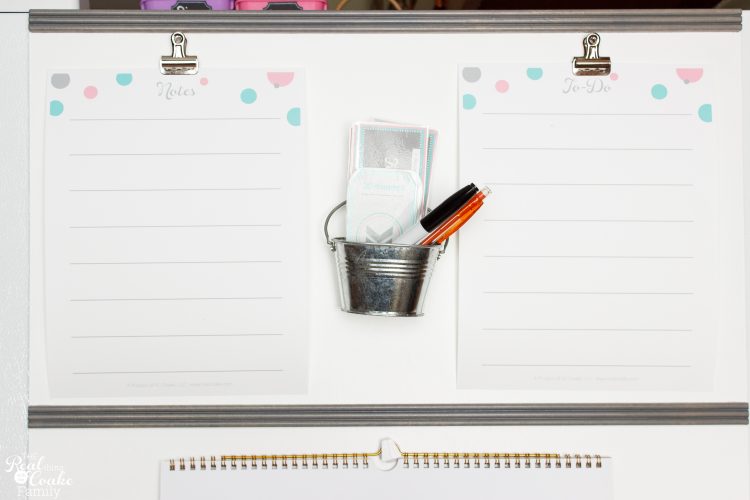
This is what I call the adult portion of the command center. I have these as printables for you. I print them on cardstock and laminate (affiliate link) them. Then they become dry erase boards and we can write and erase until our heart’s content. (They aren’t laminated here because I ran out of laminating pouches, but I’m laminating them today and we will be good to go.)
Just sign in below(or click if you are already signed in) to get your free To-Do and Notes printables.
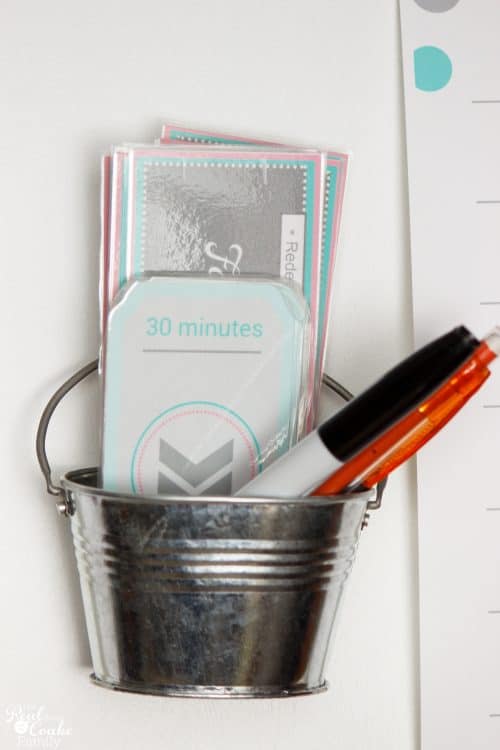
I again spent too much time searching for something to put pens, pencils, etc. in. I couldn’t find exactly what I had in mind again, but I did find these cute little pails at Michael’s for $1.29 each and I think they work and are cute.
The pail in our adult section of the command center has our dry erase pen as well as a pencil to use to add things to the calendar below. It also stores the tickets the kids can earn for electronic time as well as our family dollars, both of those are from my shop.
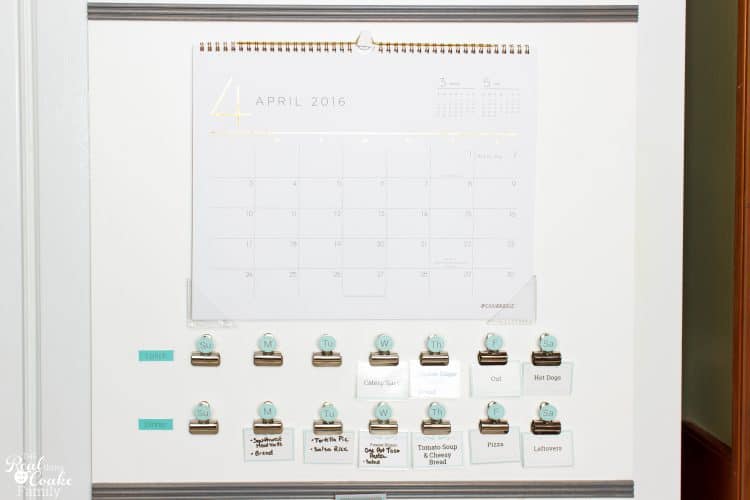
Below the adult area is our family calendar as well as our meal planning for the week.
I know I said this in the post I did about meal planning, but I LOVE my meal planning system. I love that it is re-usable and easy to see what is for lunch or dinner. I love that everyone knows what the meals are and I love that things are so easily re-arrangeable. That is a total necessity at my house because things seem to change often.
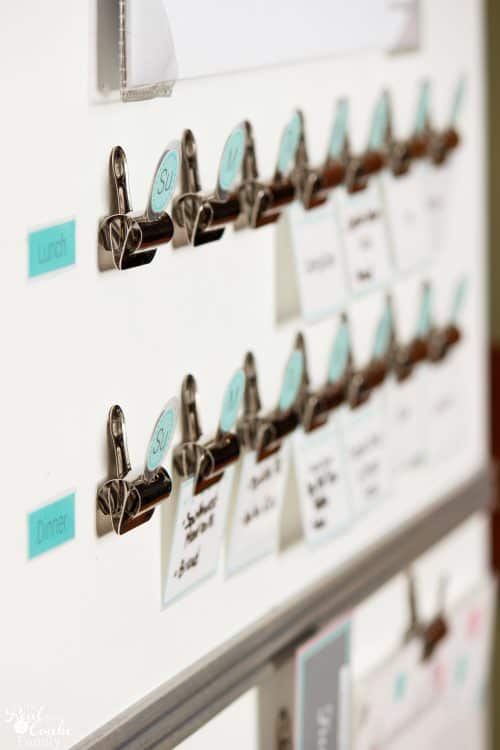
Plus, it just looks so neat to see them all lined up in a row.
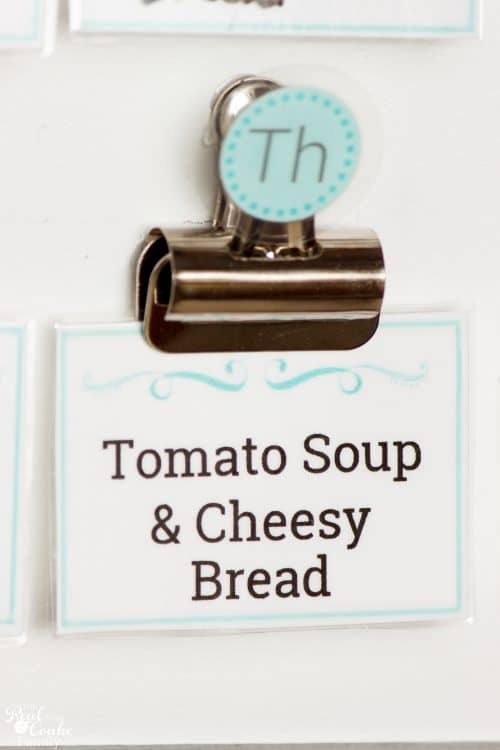
With the meal planning kit in my shop (blue and gray), I’m able to edit and make custom cards for meals we like. I made up a bunch of our more regularly eaten lunches and dinners and laminated them. I will use them for years, just like I did the old green ones. Love that!
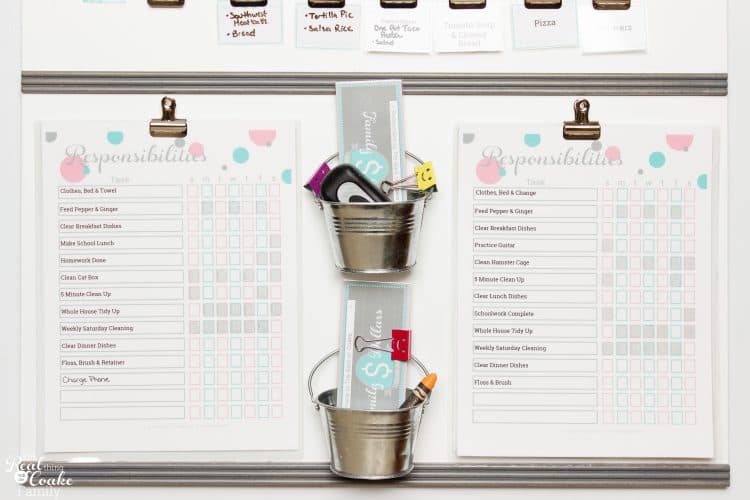
The kids area of the command center had just what we all need to keep them on track. I talked more in depth about what we are doing to help teach our kids to be responsible in my real responsible kids post, but you can see the charts in action here. They are right here in the command center so everyone can find them and everyone knows what is expected on that day.
Just sign in below to get your free charts for you kids (or if you have already signed in, just click the button for your free printable).
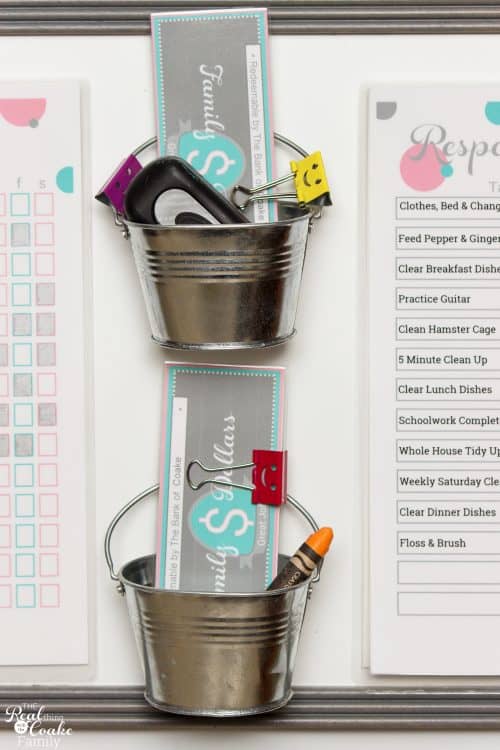
The kids needed a place to store their tickets and/or dollars, so I added a bucket for each of them. They can store their dry erase crayon in their bucket as well as their tickets and dollars. Makes it easy to keep up with those things and not lose them.
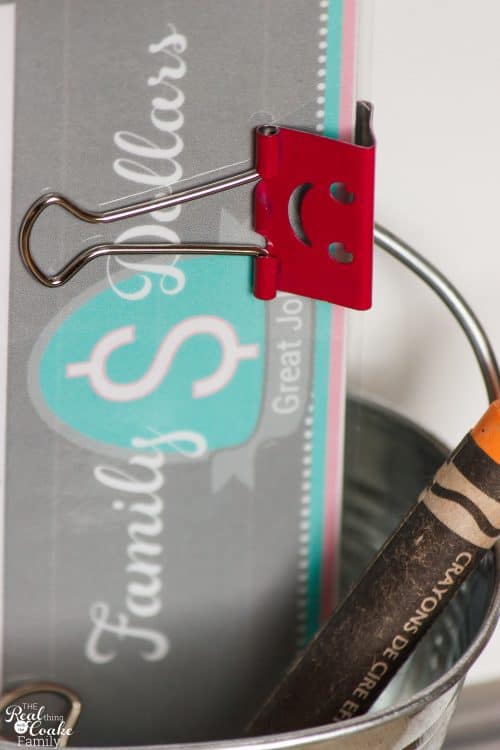
At first, I thought the kids were going to share a bucket, so I picked up these cute clips at Target (affiliate link). They come in different colors and I thought the kids could clip their money/tickets together. In the end, I got enough buckets for them to each have their own, but the clips are so cute, the kids still wanted to use them.
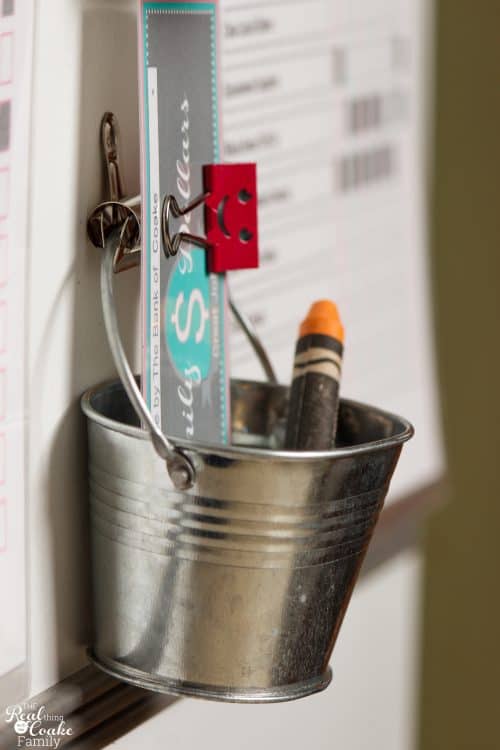
The little buckets were adhered to the board with E6000 and another bulldog clip. They don’t have that much weight to them or in them, so it works just fine.
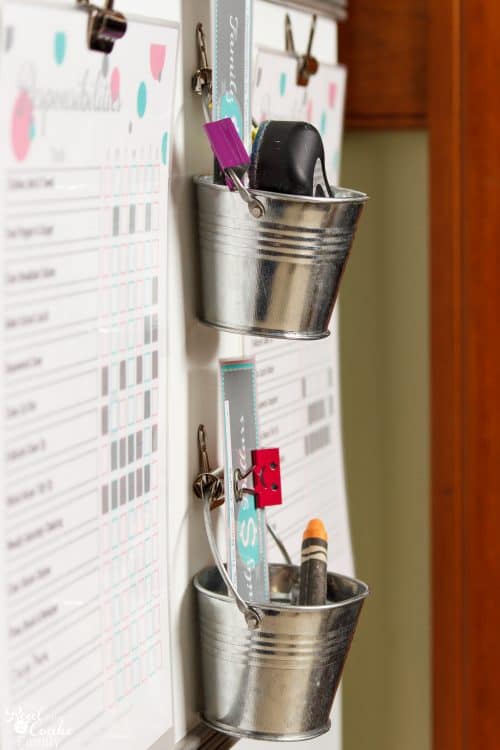
Cuteness!

In the end, I’m super happy with my new command center. It is white and clean and de-cluttered. Exactly what I wanted. Yay!
It did take me a bit longer than I wanted it to, but sometimes I need that extra time to ruminate on things and decide how I want them to go. Do you need that kind of time with your creative projects as well?
I do plan to add my daughter’s initials onto their bucket. I think I will use vinyl and my Cricut. I can show you that if you would like.
Do you have a command center at your home? What elements does it contain? Leave me a comment below.
Follow me on Instagram for more fun and creative ideas.

This is absolutely amazing!! I love it all! I feel your pain with trying to find the perfect clips… if you are like me, I finally settle on something only to question myself immediately after! 🙂
Thank you so much for sharing this gorgeous command center… it has inspired me to re-do mine!!
*Hugs*
I would love you to add your content to the Monday Mish Mash Link Party!! https://countrymousecityspouse.com/monday-mish-mash-link-party-11/
Glad you liked it so much! Yes, I totally questioned myself after I settled on those clips. Of course, now that it is all together, I love it and I think they work great. 🙂 Yay!
I love how beautiful and easy this looks! Thank you so much for sharing! Great photos!
Thanks so much! So glad you enjoyed seeing it. We are enjoying using it.
That’s an awesome command center. I could use one of those. I will be featuring this tonight at my Swing into Spring party that opens at 8pm EST. Please stop by and pick up an I’ve Been Featured button. Thanks https://diybydesign.blogspot.com
Thank you!
I do have a command center, but I love some of your ideas! I think I might have to incorporate a few! Thanks for sharing with us on Throwback Thursday!
Mollie
Thanks! Glad you like some of my ideas. 🙂
Just what I need and perfect timing!
Thanks! So glad you found it helpful.
So-ooo organized. So-oooo pretty. And I’m charmed by those adorable little buckets. They are the perfect solution. Congrats, you’re featured this week at the #ThisIsHowWeRoll Link Party.
Your new command center looks clean, neat, and organized. I like the plain white and turquoise color scheme. It helps the space to look calm and orderly. Great job!
Thanks so much!
That molding really adds a lot to the overall aesthetics of your command center. I love that it helps clearly define the different areas/purposes. Thanks for sharing your fantastic DIY with us at Merry Monday this week!
Thanks so much!