Do you remember a few months ago when I made the new bunk beds for our American Girl dolls? Well, our poor dolls have had nothing but a hard board to sleep on since then. I was just kind of dreading the doll bedding pattern. Not that is it hard stuff to sew, it is just that sometimes I put off pulling out the sewing machine and making things like this. I think I make it worse than it really is in my mind. Ever been there, done that?
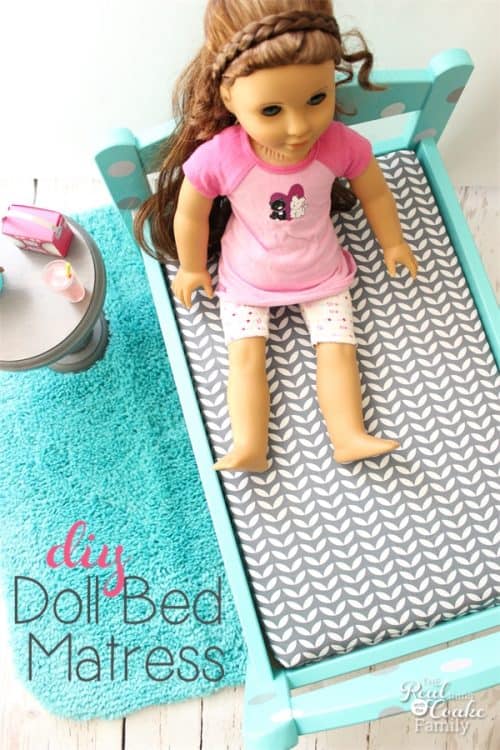
Well, I finally got over my mental block and made new mattresses for the new beds. Yay!
If you have been a follower of my blog for a long time, you may remember when I made bedding a few years ago for our first set of doll beds. This time Fairfield offered to sponsor this post and sent me a couple of products with which to make the doll mattress.
I had originally been planning to make the doll mattress in the exact same way that I made it a few years ago. However, when Fairfield sent me their project foam (affiliate link) as one of the possible items to use to make the mattress, I realized the 1″ thick foam would be perfect for the doll mattress. I also realized it would make the mattresses even easier to make. I always love when I can make a project more simple!
Now I realize that this isn’t directly a fun activity with the kids and myself, but I also know that when I make something like this for my girls they have a great time playing. To me, that helps make for a Real Summer of Fun. That is why I’m including this in my list of ideas for making this a summer of real fun. You can check out all the other Real Summer of Fun ideas in that post.
So let me show you how I made this doll mattress.
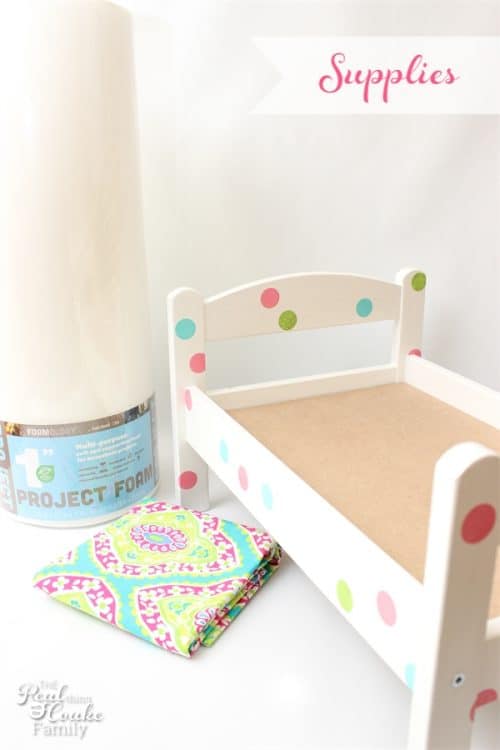
Supplies:
- Doll bed
 (affiliate link)
 - 1″ Foamology Project Foam (affiliate link)
- Fabric
- Thread
- Sewing machine
- Pins
- Fabric marker
- Measuring tape
- Scissors
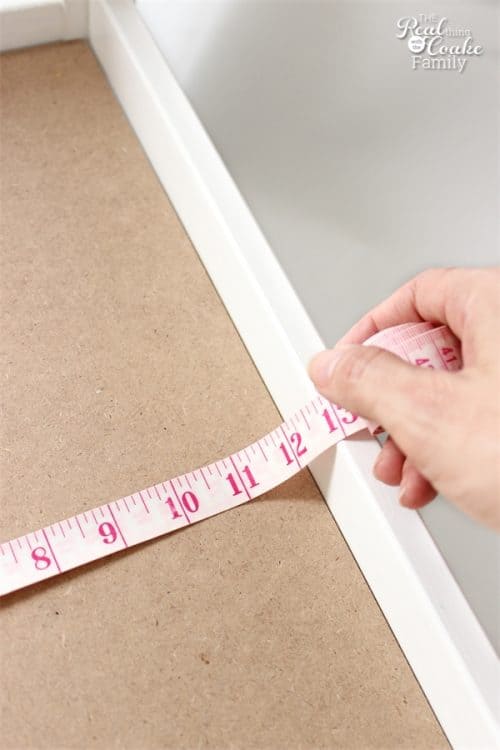
Start by measuring your bed. This pattern can be adapted for any size doll bed.
Our doll beds happen to be the beds from IKEA that I painted and customized. The portion for the mattress measures 12″ x 19″.
You will want to add 1.5″ to your measurements. Cut your fabric at that measurement. My fabric cuts were 13.5 x 20.5″.
Cut two pieces of fabric at this size.
I tried making the mattress casing the same size as the original mattress that I made a few years ago, but because this foam is thicker than the batting that I used last time, I needed to increase the cut fabric size.
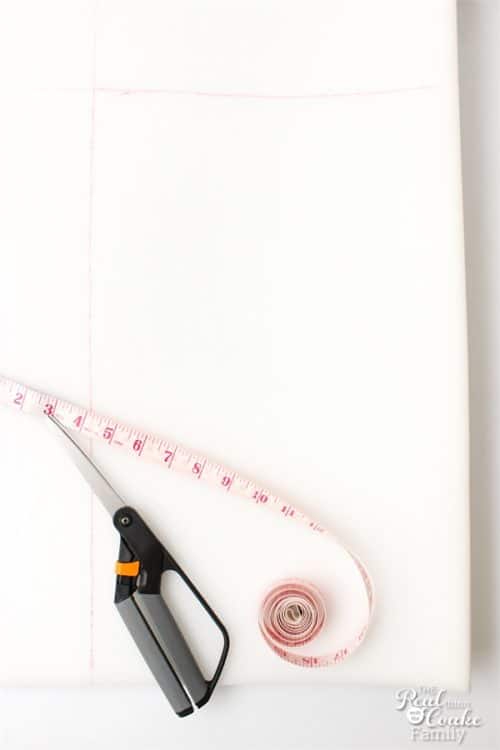
Mark off your Foamology 1″ Project Foam with the dimensions of your bed.
Mine was 12″ x 19″. I was making 2 mattresses. One for each of my daughter’s beds. I marked off two mattresses. 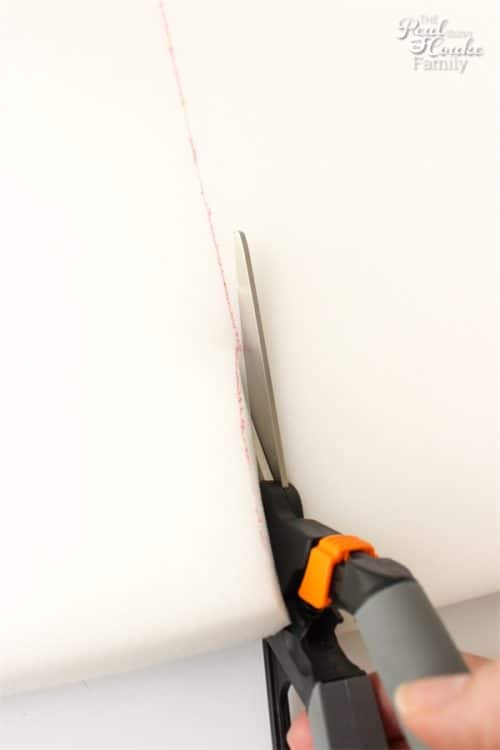
Cut your foam to size following the lines you marked.
Now you need to sew your mattress casing. Place the two right sides (or patterned sides) of your fabric together and pin. Sew with a 1/2″ seam leaving an opening at the top or bottom of the mattress.
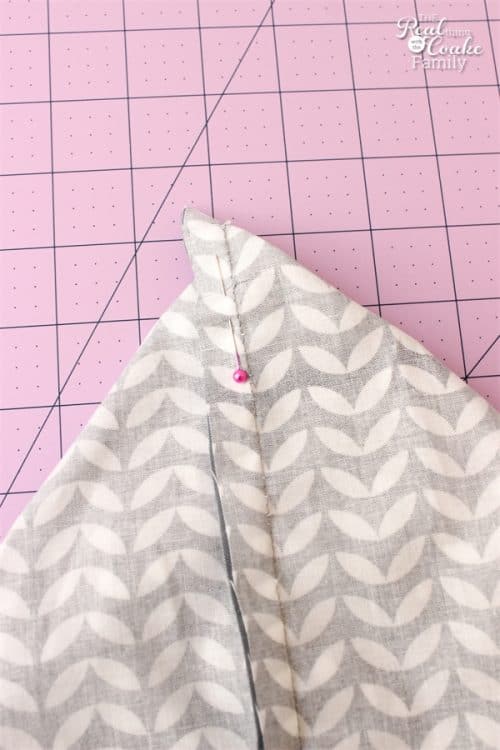
Before you turn the mattress casing right side out, pull each corner to a point and pin. This will give you your box corners for the thickness of the mattress.
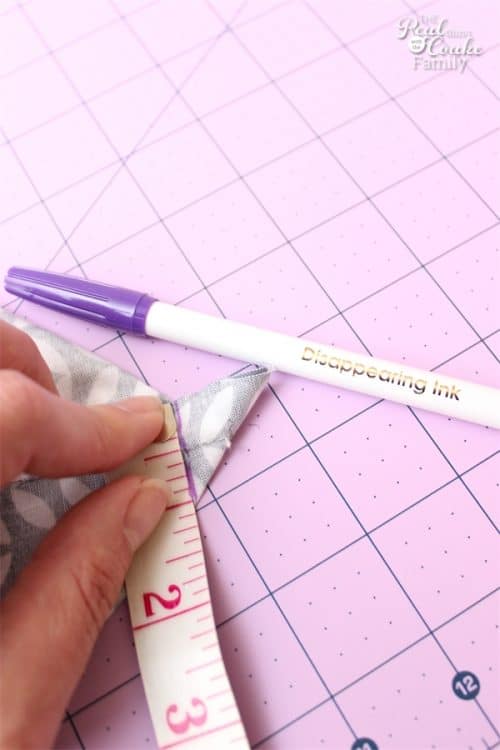
Since I was using 1″ foam, I marked a line across the pointed end at the point where it was 1″ across. Use a fabric marker for this.
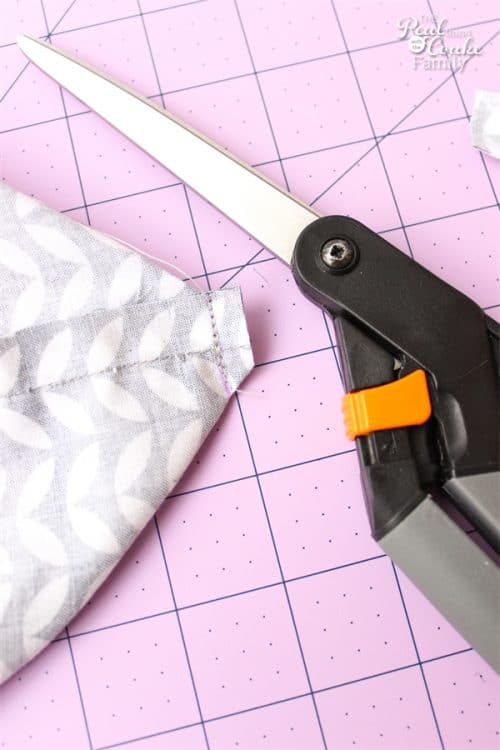
Sew on that line making sure to backstitch both at the beginning and end. Clip the excess fabric.
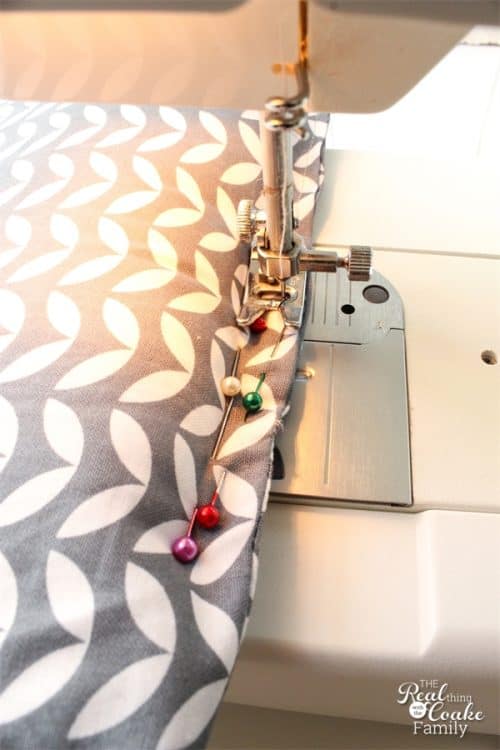
Now here is where I made this a super simple project. Turn your fabric right side out and place the foam mattress inside. You will need to wiggle and work the foam into the corners.
Last time I made these mattresses, my mom was in town. She doesn’t mind doing the hand sewing. She wasn’t in town this time. I really dislike hand sewing. I decided that the mattresses were going to be closed on the machine. In order to do it that way, you will need to pin the opening closed. Then add a second row of pins that will allow room for the presser foot, kind of like when I turned the one IKEA pillow into two.
To get a really narrow seam, if your machine has the ability to move the needle position, move the needle position to the right. Sew the opening closed remembering to backstitch both at the beginning and end.
Easy peasy! It may not look as perfect as the hand sewn closure, but it entailed no swear words and a happier mom, so it worked fantastically for me!
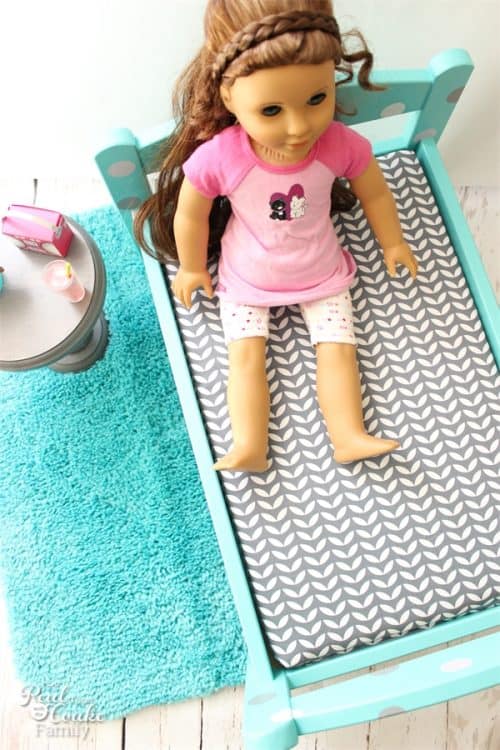
The dolls love their mattresses as well. They don’t mind that I went for the easy closure. I also didn’t add any buttons to the mattress this time. You could add a few buttons to help hold the mattress in place. I dislike sewing buttons as well and the foam is in the casing nice and snug, so I think it will have a hard time sliding around (which would be the point of the buttons).
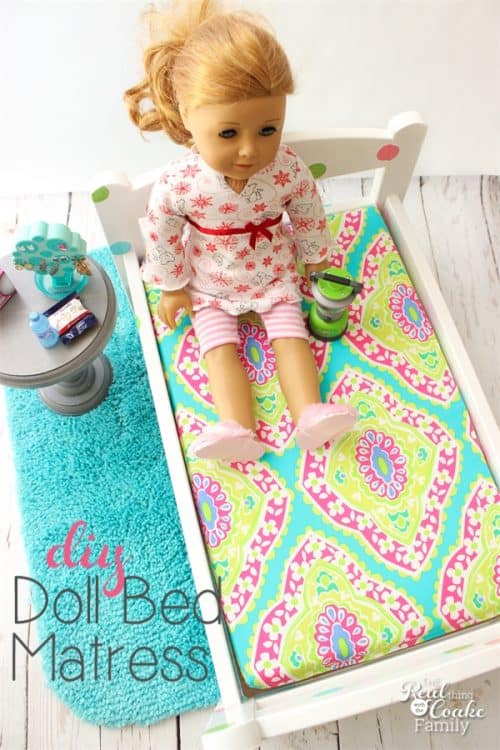
These doll bed mattresses are just adorable. Both of my girls really thought about the paint for the bed as well as matching the bedding to the paint. So far they look great! Next week, I should be able to show you the reversible sheets we are going to add to the doll bedding.
In the meantime, you can whip up a doll bed mattress easy peasy. You can sew with your kids or you can sew it for them. Either way, it gives something fun for your Real Summer of Fun.
Don’t forget to follow Fairfield on Pinterest, Facebook or Instagram for more great ideas and fun.
For more American Girl Doll ideas, follow my AG Pinterest Board. Tons of great ideas!
Follow The Real Thing with the Coake Family’s board American Girl Doll Ideas on Pinterest.


Thanks for the tutorial. I especially liked the part about how to make the box corners. I will be making a mattress in the near future. Yours look great no matter how you closed the ends 🙂 I think I will try that technique also. I don’t mind hand sewing but the machine is so much faster.
I’m so glad you liked the tutorial and those box corners. They are so great aren’t they! It makes it so easy. 🙂 I hope your project turns out great. I’d love to see pics if you think of it. You can email me or post them to my facebook page. Have fun!
Where did you get the fabric? I LOOOOVE it!!!
Thanks! It has been a while since I made those and bought the fabric, but I think I got it at Hobby Lobby.
Do you sell anything that you make? I need a doll crib mattress but I am not a seamstress!
Unfortunately, I don’t currently make and sell anything. Have you checked Etsy? I bet you could find something there.
Are the boxed corners suppose to look puckered? I am not sure if I did something wrong?
I’m not sure exactly what you mean. They really shouldn’t be too puckered. They may pucker a little depending on the size of your foam and such. Did you remember to clip the extra fabric in the corners? That is the only thing I can think of that might make them pucker. Sorry. I don’t think I’m much help. If you can send me a picture, I might be able to see better what is going on.
Thank you. Very quick and easy to make. My husband is making Ana White doll beds and I’m making the bedding.
I’m so glad you found them so quick and easy to make! I bet whoever you were making them for loved them!
How to Make a Mattress for Any Doll Bed
I see that you used an Ikea Doll Bed in your pics. I noticed the Ikea bed is only 20″ long. I was wondering if you could tell me if the 18″ dolls fit properly? ie Amercian Girl, Our Generation etc. or is the bed not quite long enough.
A pic will an 18″ doll laying down would help if you have one.
Thank you. Great easy pattern for the mattress.
Thanks! Glad you like the pattern. It is super easy. I don’t have a picture of the dolls laying down, but the fit just fine. My daughters have a few dolls and they all fit just fine. HTH
Also, is there anyway to print your directions for the mattress?
Thanks again
Linda
That’s a great idea! I don’t have anything currently. I will add it to my list of things to update when I have the time though. Thanks for the suggestion.
I have a question regarding the measurements for the fabric. I am brand new to sewing so please bear with me, I may be making rookie mistakes. The question(s) is regarding the added 1.5 inches. Does this number change if you are using a different mattress thickness? I am looking at this thinking you need 1/2″ for each side’s seam allowance – so add 1″. Then there is 1/2 and inch left to account for the mattress thickness. What I don’t understand is why you wouldn’t add 2″ to the fabric measurements. Don’t you need to account for 1/2 an inch of the thickness on each side of the mattress? I’m just a little confused and could use some clarification.
Thanks.
Ok. Let me see if I can help. I had to go back and read to make sure I was understanding both what I wrote and your question. No, you don’t need to account for the 1/2 inch on both sides of the mattress. I’m not sure how to explain it well, but the extra 1/2 inch is the same all the way around, so you don’t need to double it for both sides of the mattress. It will just be a half inch total. I can see where it would seem like you would need to add that other half inch because I keep thinking you’re right because it sounds logical and like the way you’d want to do it, but I know that the way I did mine, it worked perfectly to fit the 1″ foam into it. Also, keep in mind that you’re adding 1/2 inch to extra to both sides of your measurements. That adds the full 1/2 inch that you need to all sides. So, in my example, the foam was 12 x 19 x 1 and I cut my fabric 13.5 x 20.5. Do you kind of see how that adds it all the way around? Ask any other questions and I’ll try to help. I feel like I’m doing a horrible job of explaining or answering your questions, so I hope somehow this helps.
Thank you. Made the mattress cover and it turned out perfect. Thanks for the help.
I’m so glad it worked out great for you!
I just completed the covered mattress for a doll bed my husband built for one of our granddaughters for Christmas. It turned out perfect! He is building one for the other granddaughter that requires a 2 inch mattress. Will I add 2.5 to the mattress size?
Angelia, Yes, you should add 2.5″. That will give you the correct measurement for the seam allowance. Hope that helps!