Have I mentioned that I have an addiction to decorative pillows? I totally do. AND I’ve got another decorative pillow for you today. Yay!
I love making decorative pillows because they are so easy and such a fun way to personalize a room. I also really enjoy that in this case it is a fun way to make something special for my daughter’s room and it is a simple way to show her some more love.
The pillow I’m showing you today is for my youngest daughter, Pumpkin’s room. I’m still working on finishing her room and I’m getting close. Yay!
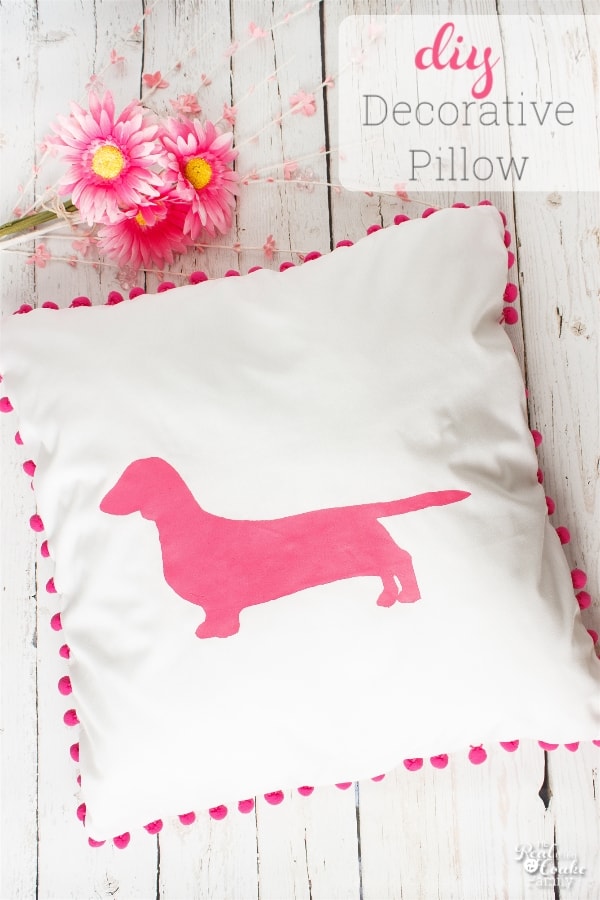
She LOVES dachshunds and really wants us to get one. Yeah, 1 dog is enough for this family, so for now, our Beagle, Ginger, will be it. Pumpkin really doesn’t like my stance on this issue. At any rate, when we were planning the remaining projects in her room, I knew I wanted to make her a pillow. We came up with the idea to put a Dachshund on her pillow in the same pink paint that we used on her curtains. I added the idea of pom poms, which Pumpkin loved. 
I just made simple envelope style pillows. I’ve got the full step-by-step directions for making this pillow at the end of this post. That has all the specifics of what cuts you will need and the steps of painting, etc.
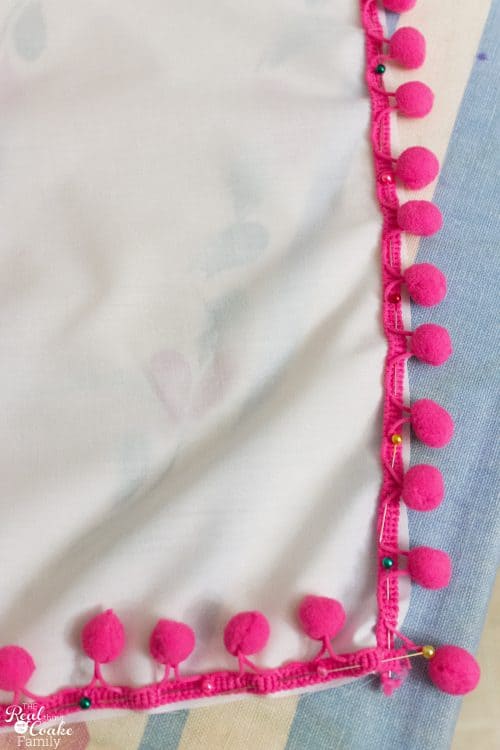
The main thing that I did differently for these pillows was to add pom pom trim. I pinned that right near the edge of the fabric. In the picture above, you will notice that I pinned the trim so that the pom poms go inward toward the center of the fabric (the strip of trim on the right is pinned that way despite the fact that the pom poms are flopped outward).
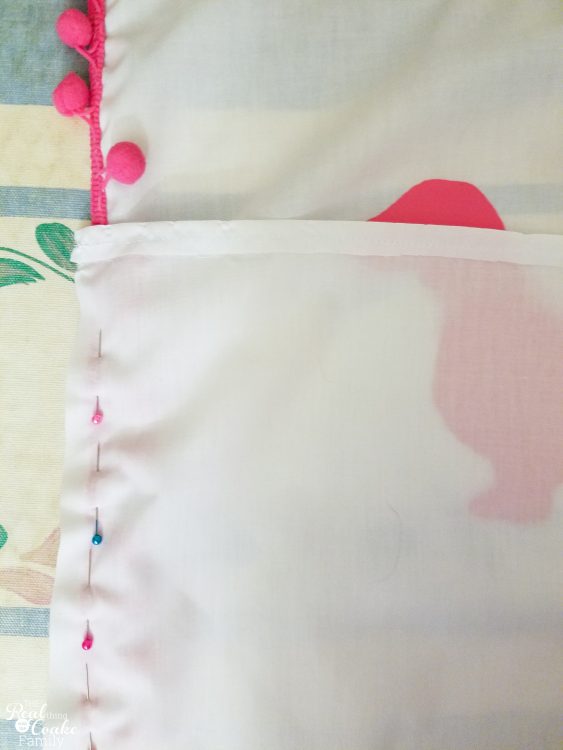
The other part of making envelope pillows that I usually struggle to remember is in which way to make the ‘pillow sandwich’ for sewing.
When you get to this step, you will place your main panel face up(or right side up). Then you will place the smaller, back panels, right side down(the side you want showing in the final product) on top of that and pin. Your two smaller panels in the back will overlap and make the envelope into which you will place your pillow form. It isn’t hard, but for some reason it always requires thought on my part to make sure I get it right and don’t have to use the dreaded seam ripper.
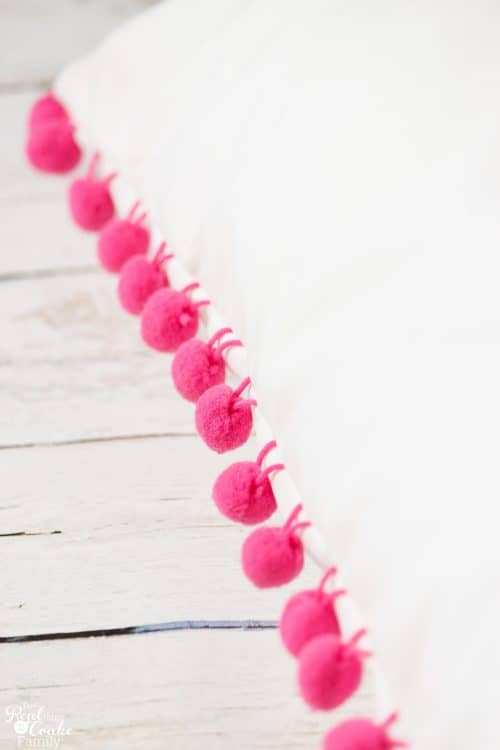
I really wanted to sew this pillow with only the pom poms showing not the trim part. It turned out so cute! Have I mentioned that I love pom poms almost as much as I love glitter, Starbucks, wine, and so on! 🙂
Members of my site can get your step-by-step directions in the box below. If you aren’t already a member, it is totally free and comes with access to all kinds of extra goodies!
What additional trim or decoration have you added to an envelope style decorative pillow? Leave me a comment below…my pillow addict self would love more ideas!
Follow me on Facebook and Instagram for more fun ideas and behind the scenes with my family.


I think that after reading this blog post I love pom poms even more. The pillow is so cute!
Yay! Thanks so much! I’m so glad you like it so much. 🙂
Love the pillow! I like dachshunds too and the pom-poms add just the right touch! Thanks for sharing!
Thanks so much!
Thanks so much for sharing this adorable pillow at The Pretty Pintastic Party! We’ve chosen your post as a feature at this weekend’s party, so I hope you’ll stop by!
Thank you so much!
Love the pom poms and the cute dachshund. Pinned!
Decorative pillows add so much personality to a room. I love the pom-pom edging!
Congrats on your feature in the #ThisIsHowWeRoll link party on Organized 31! I’m pinning now.
Thanks so much!