I’ve got another DIY home decor idea for you today. This time I decided to make a summer themed garland for the mantel. I think ice cream is a part of summer, so I made an ice cream garland.
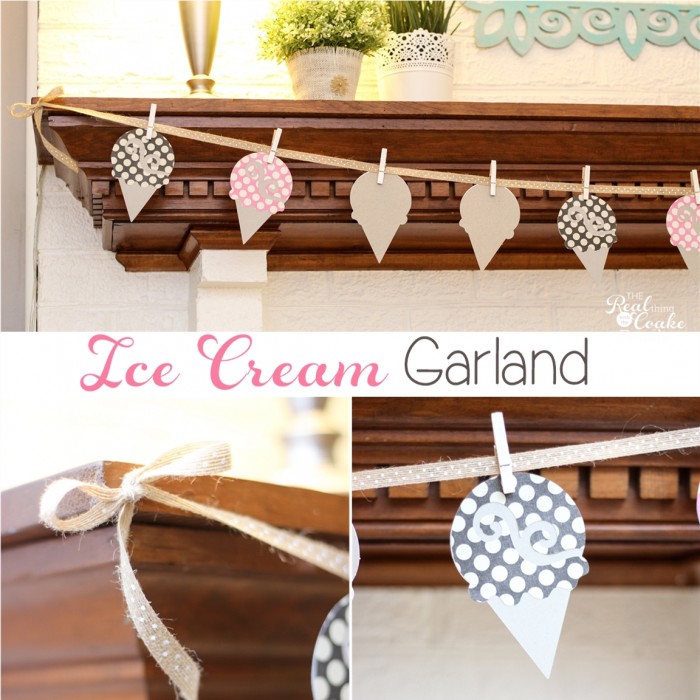
This was one of those projects where nothing goes quite right and it doesn’t turn out at all like you wanted. Ever have one of those kind of projects? I’m willing to bet you have. I think everyone has.
I was originally planning to make a flip-flop garland. I really thought the flip-flops would be super cute and totally summer-y. I even almost bought cheap flip-flops and was going to paint or Mod Podge them. I thought I was making things easier on myself by buying some chipboard instead. I was planning to cut out the flip-flops on my Cricut. Well, as you can see, I didn’t make a flip-flop garland. So what went wrong? So many things. I will tell you as I give you the tutorial for making your own summer garland. You can learn from my mistakes.
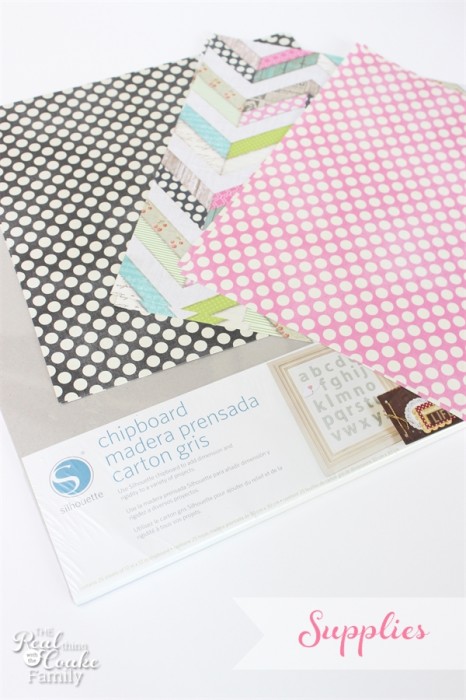
Supplies:
- Chipboard
- Scrapbook paper
- Ribbon
- Adhesive
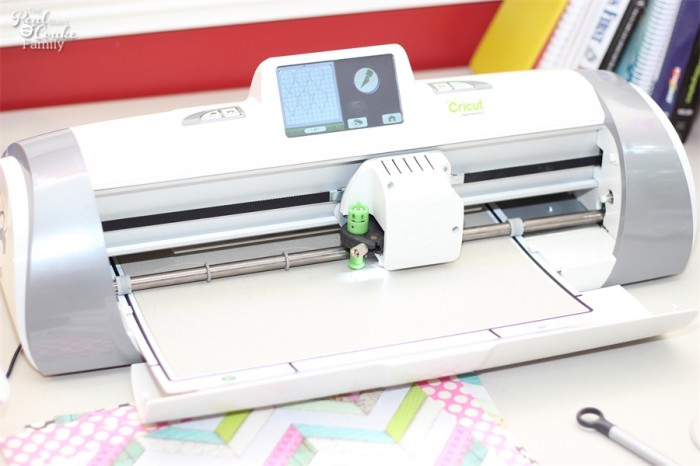
To make your own garland, start by picking out what shape you want. First make sure you have that shape or can buy it or download it for your cutter at a reasonable price. I cut out 12 of the ice cream cones (I ended up only using 11). I set mine to cut at 5″ with my Cricut. For cutting the chipboard, I set my Cricut to cut heavy paper and also set it to double cut. It worked perfectly on the chipboard.
Back to the whole concept of making sure you have the shape you want to cut. I could have sworn I had a flip-flop shape on one of my cartridges. I did not. I looked into buying a single cut file or a cartridge online, but the least expensive I could find was $35. No way. I was not spending $35 for a cartridge to make one garland. So, I had to changed ideas. My next best idea was to make the ice cream garland. The paper that I picked really was meant for flip-flops. Wouldn’t it have been cute? Anyway, I just was over it and wanted this project done, plus it was late at night. Going back to the store for different paper was not happening. I proceeded with this garland with the paper I had….that was my next mistake.
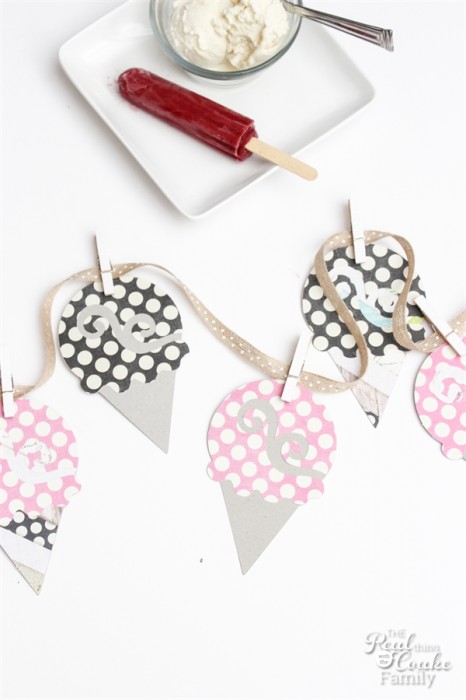
After you have cut your shapes out of the chipboard and the scrapbook paper, use adhesive to adhere the cute paper to the chipboard.
In my case, I didn’t really like the way the multi color paper (which I loved so much) looked on the ice cream cones. I tried a pattern of some with the chipboard and the polka dots with the patterned paper and polka dots. It kind of worked, but you guys, this paper did not want to be photographed!! AT. ALL. I think I spent an hour (probably 2) trying all different angles, props, places, lighting, etc. Nothing worked to get great pics. OMG! I was so frustrated. I finally gave up.
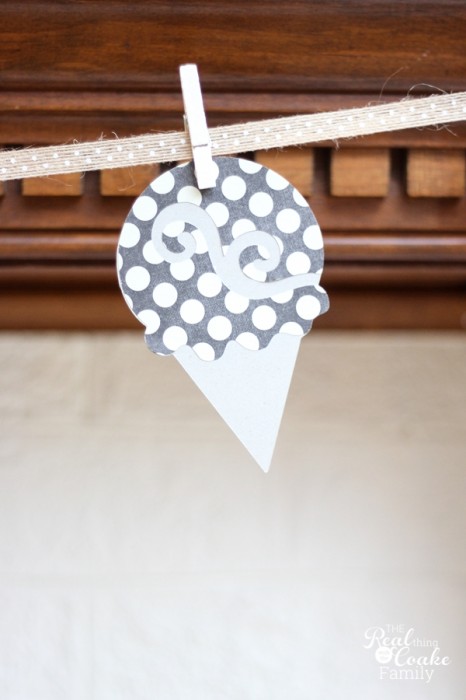
I used a burlapy type ribbon and my glitter mini clothespins to hang the garland. Turns out this was the place I could get the best pictures. Still not what I wanted, but at least they don’t look fuzzy and blurry.
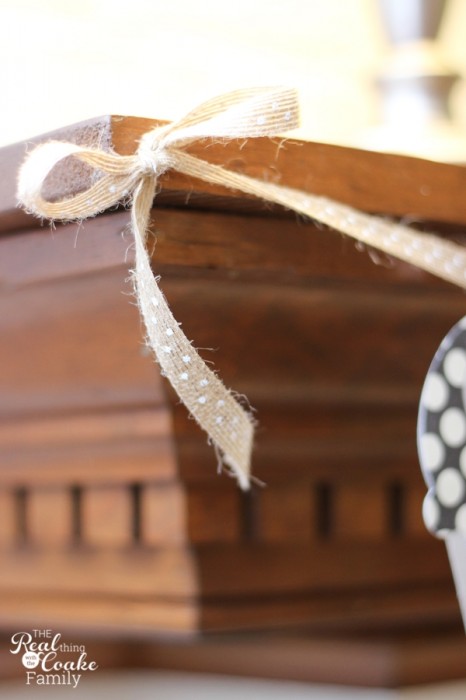
I have a small nail in my mantel. I use it to tie the garland right on. I love the look of a cute little bow on my mantel.
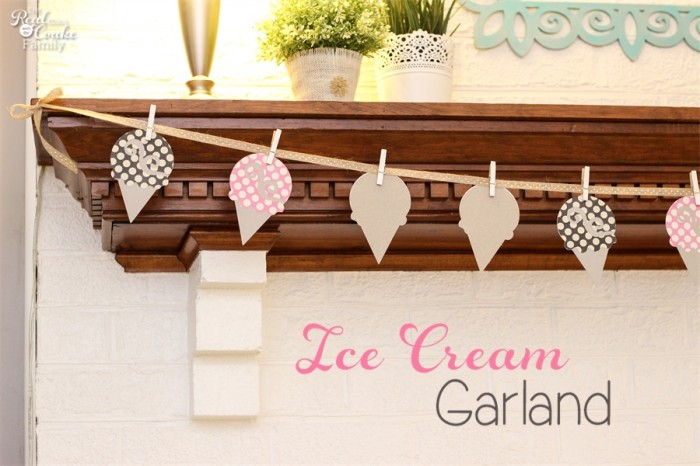
In the end, I decided I didn’t like the ice cream cones I made with the patterned paper. I turned those around and left the plain chipboard. I’m not in love with this garland, but I persevered and it is done. It does add a summer touch to the mantel. Still, there won’t be any love loss when I take this one down. Next time, I will make sure I have the cut file/cartridge BEFORE I start this kind of garland. Please do the same if you decide to give this one a try!
What kinds of projects have you done that just seem like you are fighting with the DIY/craft gods? Please tell me you have some and make me feel a little better. It seems like I’m on a string of them right now. I must have done something to make the DIY/craft gods mad. Lol!
More Fun Projects (that actually worked) For You:

Super cute KC! Happy 4th to you and your family!
Thanks Lisa. Hope you have a great 4th as well!
This is sooo cute! My nephew turns 3 in September and he LOVES ice cream. Might have to make this for his birthday party 🙂
What a cute and easy way to add some summer flair to your house. Love it!
Thanks!
What a cute idea! And gorgeous photos!
Thank you!
What a beautiful idea! I totally love it…
Thank you!