I know a few weeks ago, I told you that the following I would show you the next project in my daughter’s room…and, well, over a month has gone by! Today I do indeed have the next project in her room. I finally got her bulletin board makeover completed. As usual, she had cute ideas and I took forever to complete the project. 😉
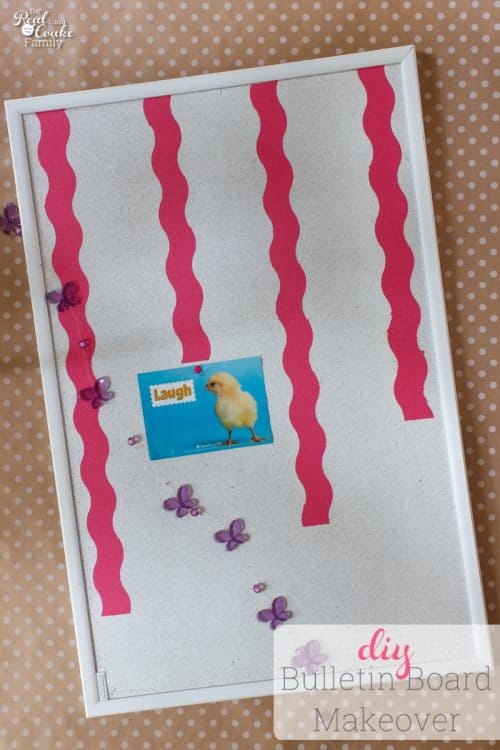
I can’t believe it has been over a month since I last showed you a project in my daughter’s room and what I really can’t believe is that I started on her room about a year ago. Darn Timehop just showed me that I was painting her room about a year ago. Can you say, “Mommy guilt?” How does it take me so long to finish things….oh I know. Life is busy and I get easily distracted with lots of fun ideas and projects. I bet my daughter would prefer if I would FOCUS. Lol!
At any rate, I have the DIY bulletin board makeover project and despite that it took me forever to get to the project, it was a fairly easy makeover to complete. The design my daughter came up with adds some fun to her custom DIY pink desk area/corner.
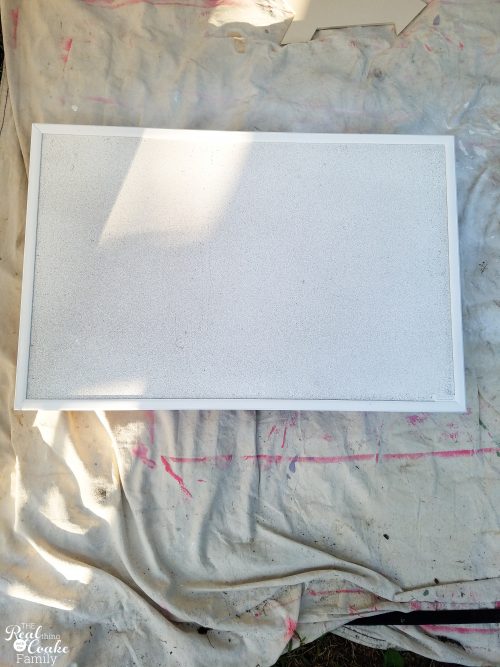
The bulletin board that got the makeover was just your average cork board. Brown and boring. It was the one that had been in her room. Just like I did for my older daughter’s bulletin board, Pumpkin wanted me to give her cork board some pizzazz as well.
To start, the bulletin board needs to be primed. I got to use my new Home Right Finish Max Sprayer (affiliate link) again, like when I made the sister wall art. While I was at it, I primed and painted all the fun pieces for my new hallway gallery wall.
After priming, paint the bulletin board with 2 – 3 coats of paint. Mine took 3 coats to cover the brown to my satisfaction.
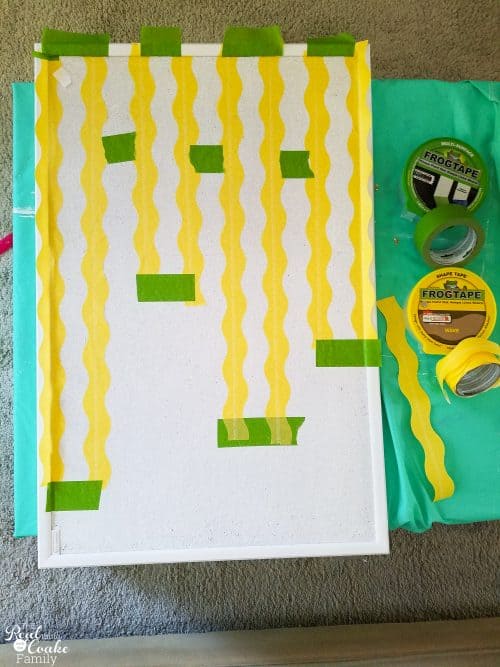
Then it was time for fun! Pumpkin wanted me to use the same color paint and fun shape tape (affilate link) that I had used on her painted curtains (and that color is the same that I used on her adorable dachshund pillow, too).
For her bulletin board, she decided she wanted the stripes to be vertical and to have varying endpoints so that they looked kind of like party streamers.
Literally, the hardest and most time-consuming part of this project was taping the streamers off. It took a bit of math to get them spaced correctly and then patience and a ruler to get the tape even, straight. and with the same spacing from top to bottom. If you try this, just do your math and factor in the space in between each streamer as well. Then you have to make sure you are measuring and taping off from the actual end point for the streamer not the end point of the tape.
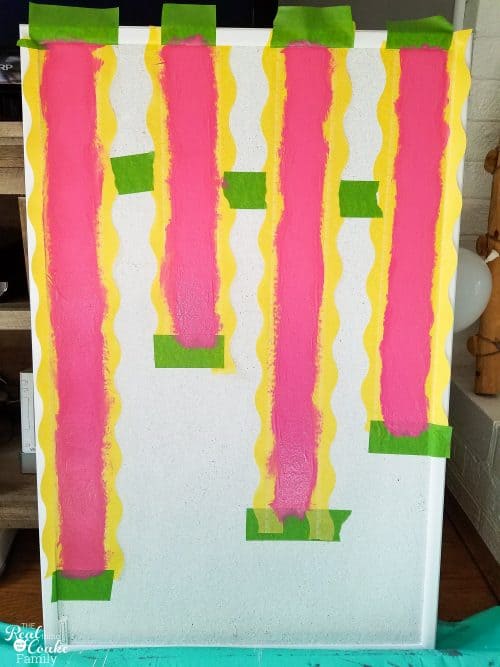
After all the figuring and taping, it is just a simple job of painting two coats of your selected color. Remove the tape while the paint is still wet.
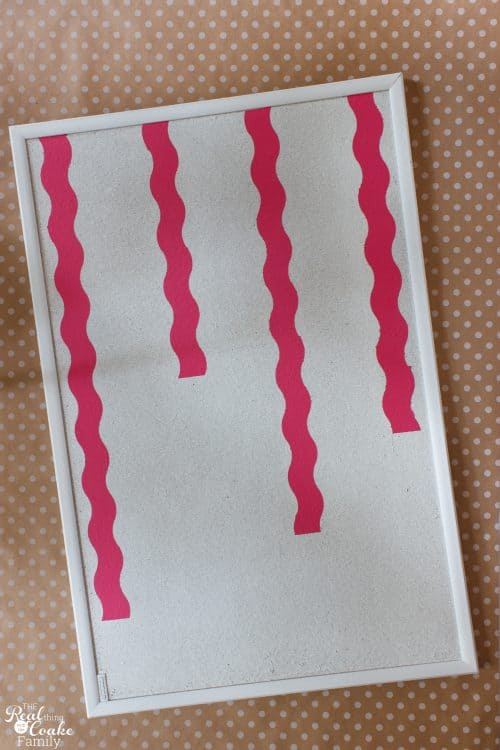
You will have a cute bulletin board that looks like it has some party streamers.
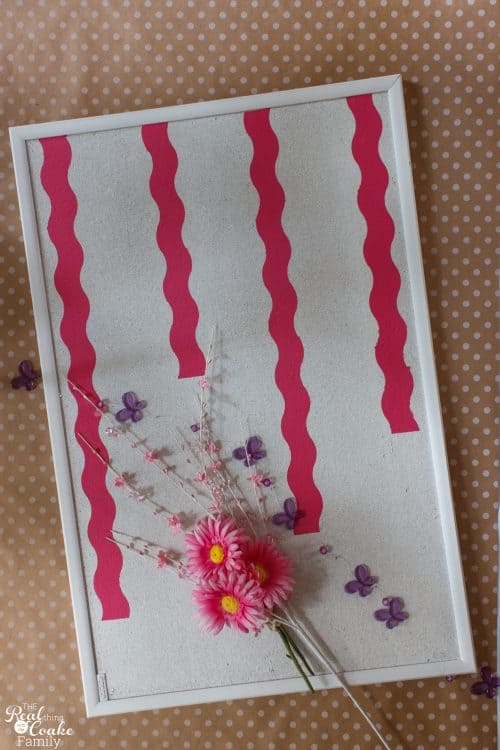
I love how unique this bulletin board is and that my daughter came up with the design. She is enjoying finally having a place to hang things in her room…well other than that huge art wall that we added to her room. lol!
In theory, in the next couple of weeks, I will be bringing you the last project in her room, her bed skirt, and then a post with the whole completed room, but reality tells me it could be a little while…especially since I have been avoiding making the bed skirt for a good 6-9 months now. 😀
Have you done a bulletin board makeover? Do tell! I’d love to hear what design you came up with. Leave me a comment below.
For even more fun with you should totally be following me on Instagram. I share all kinds of fun stuff. I ♥ IG!
This is quite a makeover. I love the color choices you choose.
Thank you for sharing this with us on the #HomeMattersParty. We hope to see you again when we open our doors on Friday at 12 AM EST.
Thanks!