In my quest to get a few new things for my Easter mantel this year, I made an adorable spring/Easter banner and added some twine tassels to it. I love how it turned out. It is so cute and it was so easy, too! Love that!
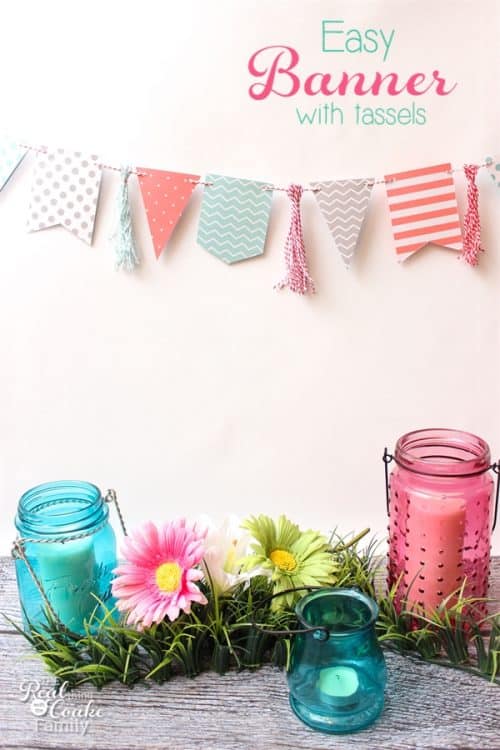
When you have the right tools, most of the time, the job is much easier. That was just the case with making this banner. I’ve always struggled when making banners and pennants from paper, to get the right angles so that all of the banners or pennants look the same. How about you? or am I the only one?
I had the opportunity to work with the new We R Memory Keepers 1-2-3 Punch Board and Banner Punch Board as they sponsored this post and sent me the HSN Party Pack (affiliate link) to use to make my banner.
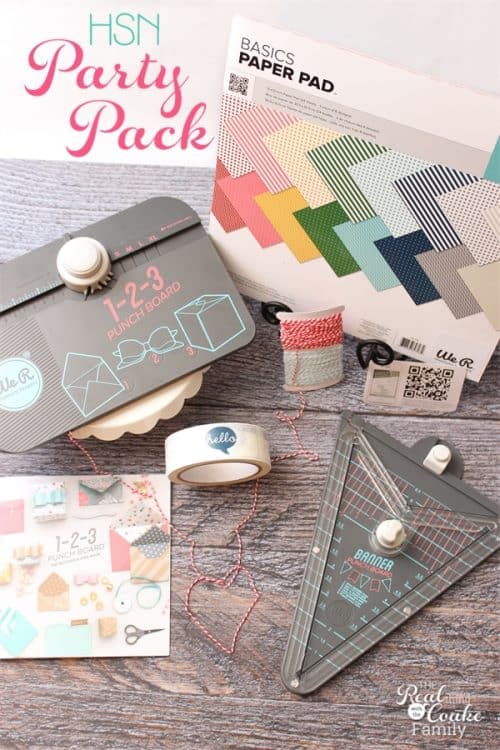
Like I said, having the right tools usually makes the job easy. I knew from the moment I heard about this opportunity that I wanted to try making a banner…my nemesis. I’ve never been able to get one right or to look good enough to actually use. There is just something about the angles that I can’t get right. Not only did the We R Memory Keepers Banner Punch Board(affiliate link) help me get the angles correct, I was done in about 30 minutes (or less). Perfection!
Let me show you what I did, so you can recreate this banner for any season or occasion at your house.
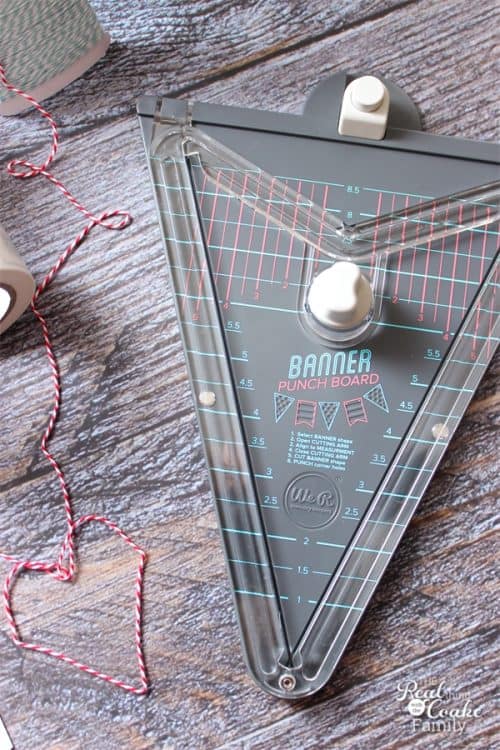 To make a banner use the banner punch board.
Start by cutting out the size paper you want your banner. I made mine 4″ tall by 3″ wide.
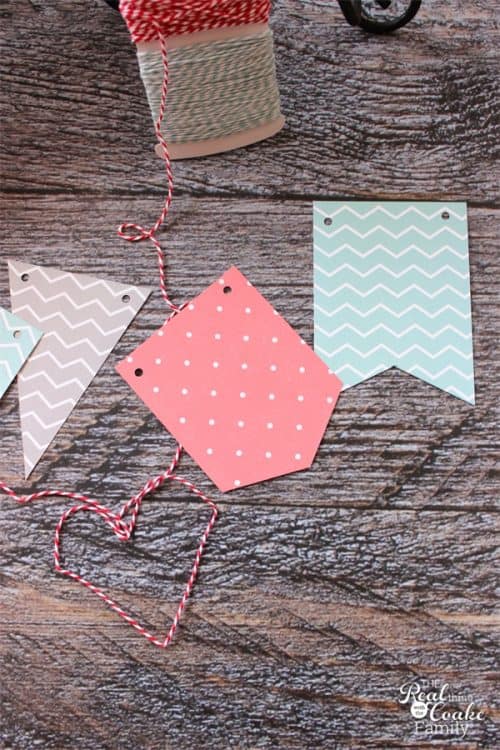
The Banner Punch Board can make three different styles. The pennant, the crest, and the flag. All three are easy and quick to make.
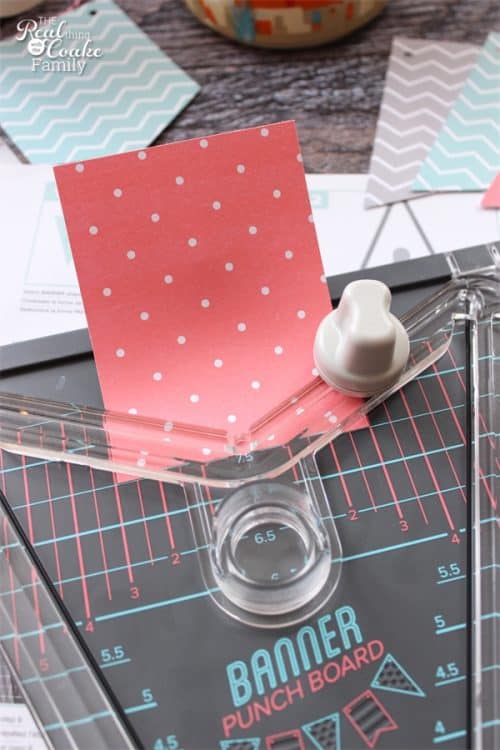
To make the crest, open the cutting are and line your paper up in the top portion of the Banner Punch Board. Close the arm and cut along the top in the two groves. The blade has a peg that fits perfectly into the groves and gives you a perfect cut every time.
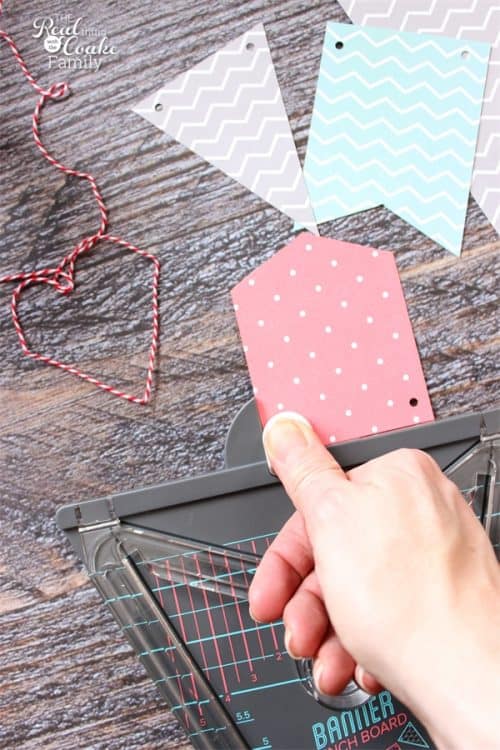
At the top of the Banner Punch Board is a hole punch. Just line up the piece you cut and press down for perfectly spaced and even holes every time.
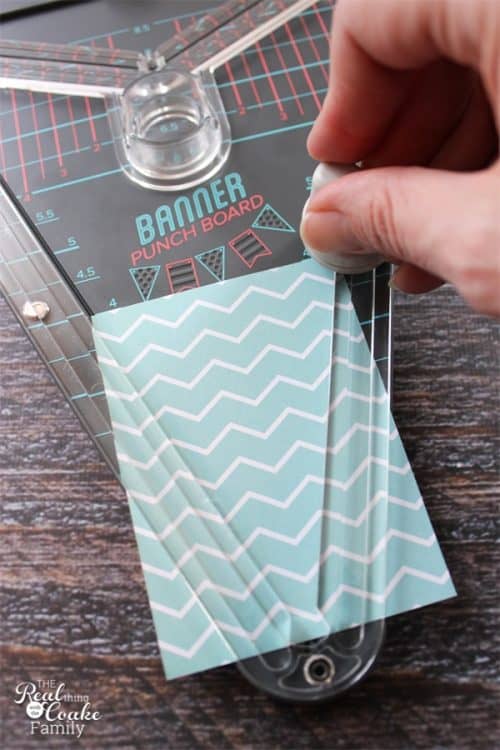
To make a pennant, take your cut piece of paper and line it up so that the bottom of the paper lines up at the bottom of the cut lines. It should also align with the number that corresponds with the height of your pennant. 4 for 4″ in my case.
Once again, place your blade peg in the groves and make two different cuts.
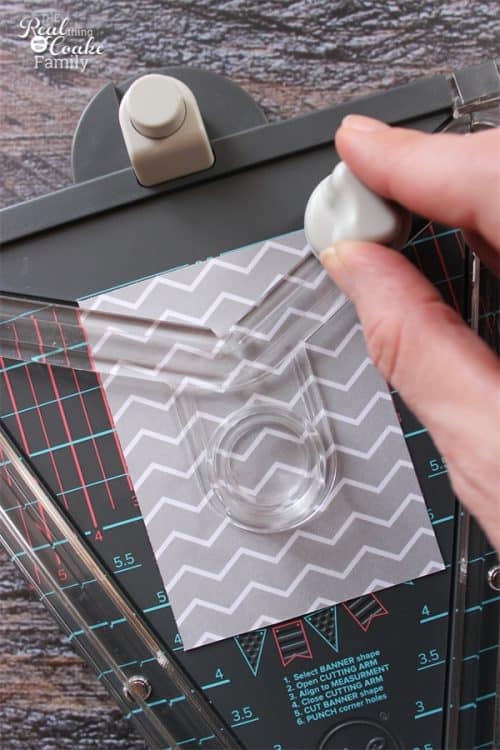
Finally, to make the flag, line up the top of your paper with the top line on the Banner Punch Board (affiliate link) and cut away just like the other cuts.
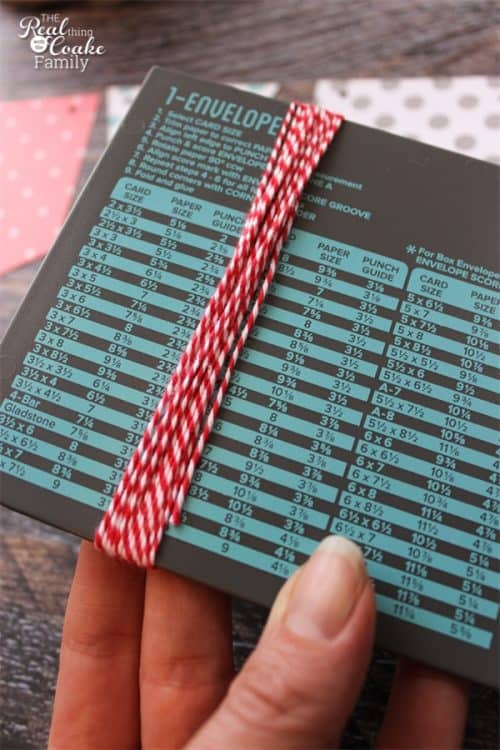
I decided to use some of the twine that came in the 1-2-3 Punch Board Party Collection to make cute tassels. To make them all the same size, use the flap on the 1-2-3 Punch Board to wrap your twine around. I wrapped mine 12 times.
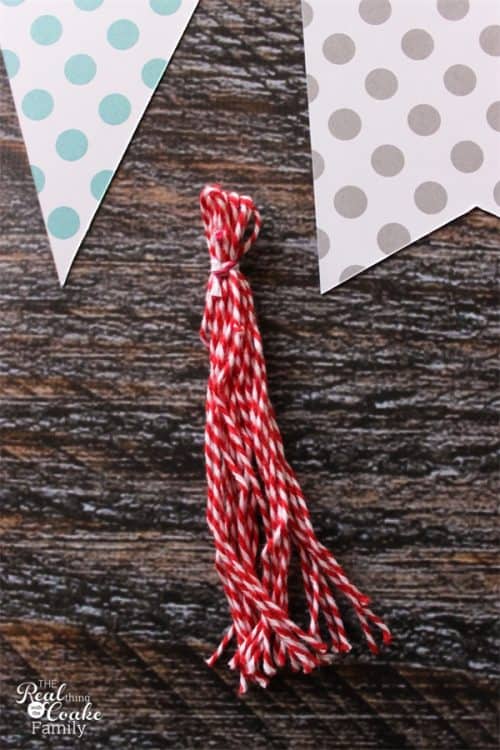
Slide the twine off and tie it near the top with another small piece of twine. Cut the bottom loops of twine to finish your tassel.
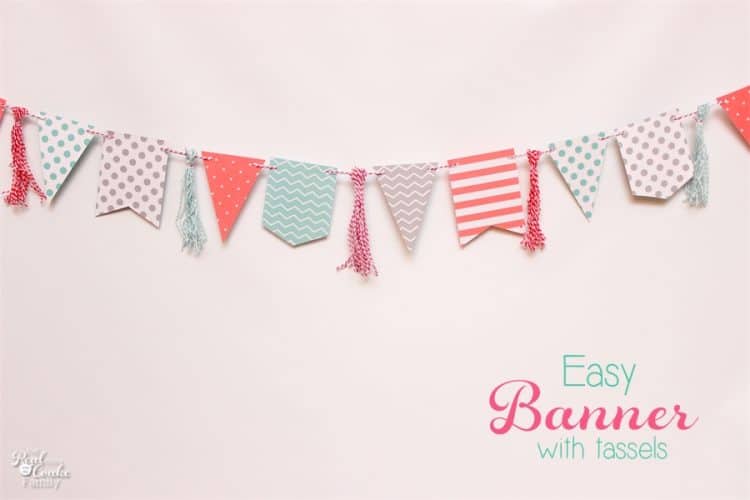
All that is left to do is to slide the pieces of the banner onto whatever you plan to hang the banner. In my case, I used more of the twine.
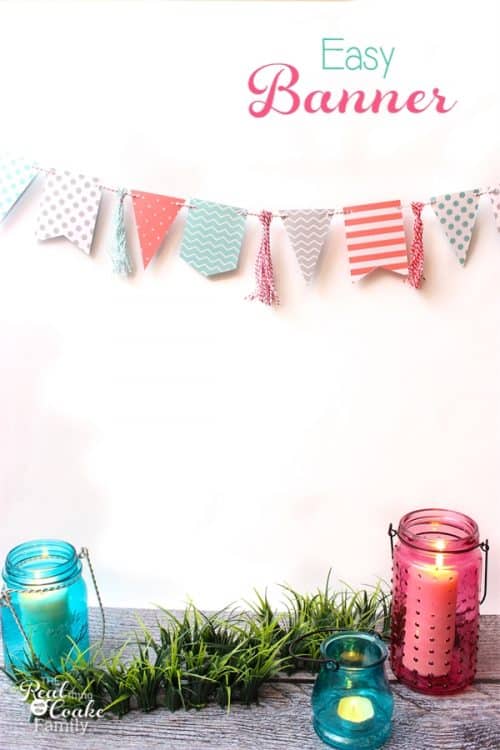
Now I just need to finish getting Valentine’s decorations put away and get the mantel done for Easter. I should have that done this week and I will show you pics of my Easter mantel next week.
I had fun making my banner. Part of why it was so fun was that it was so easy to use and get the results I wanted. I bet you are going to see quite a few more banners here on the blog. 🙂 I bet if you watch you will see them in the background or as props in my photography. They are just so stinkin’ cute and knowing I can quickly and easily make one to match something I’ve made will mean I will be using them more. Fun! I also know that they will make great decorations for birthday’s, holidays, and just for fun around the house. My girls are not so patiently waiting for a turn to try things out…once I give them the go ahead, there will be banners galore at our house.
What ideas do you have for cute banners at your house or workplace?
I love this banner! It’s so fun and cute! Perfect for spring.
Thanks Amy! It looks cute on my Easter mantel and was easy to make. Perfect!
OK- I seriously need these tools! Too cool! Loving the adorable banner as well!