This shop has been compensated by Collective Bias, Inc. and its advertiser. All opinions are mine alone. #FreeToBe #CollectiveBias
Do you guys know what is coming up? The summer Olympics are about a month away! Yay! We are huge Olympic fans at our house. I planned fun games for the summer Olympics 4 years ago and the winter Olympics 2 years ago for our co-op. This year with my oldest daughter being in school, I wanted to plan something that she could be a part of as well. I came up with some fun water-based games and we invited some friends to join our fun.
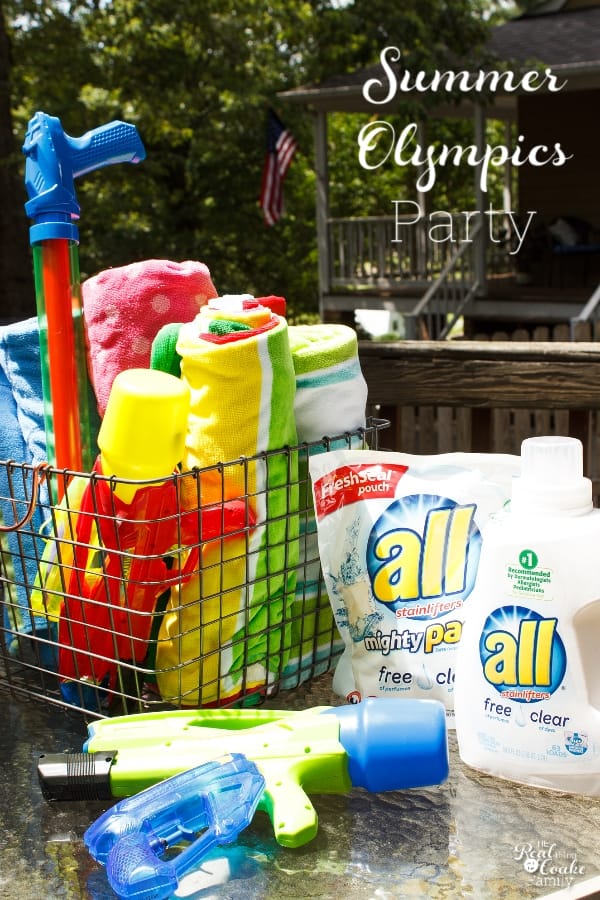
I love planning things like this. It might be a dorky obsession for me but I find it fun to both plan and participate in things like this, so when all® Free Clear Detergent asked me to plan a summer party as well as offered to sponsor the party and this post, I was super happy to participate! Yay! An excuse for a summer Olympic party!
The hardest part of planning this summer Olympics party was waiting for decent weather. We have had day after day of cloudy weather or thunderstorms. Finally last Friday, despite the possibility of thunderstorms, we went for it. Thank goodness the weather was fine…if you call nasty hot and humid fine, but at least almost every game had a water element to help cool us off.
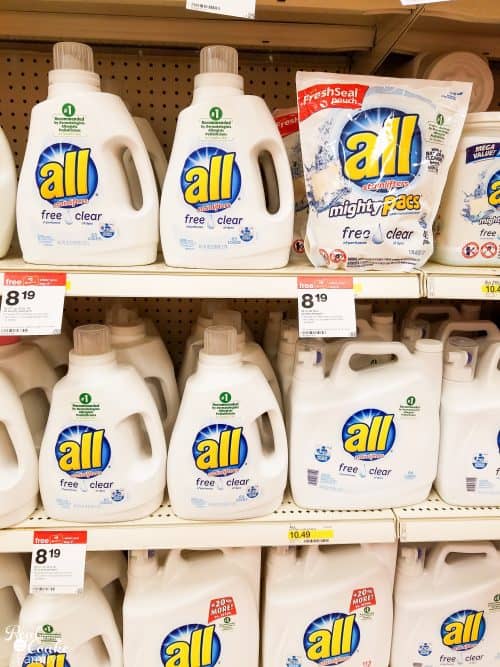
I started my planning for our summer Olympics party with a quick trip to Target…where you can get everything you need and it is one of my happy places, so it is always fun!
In addition to some water guns, water balloons, and cake mix, I knew I was going to need a few additional beach towels to dry us off and I found some cute colorful towels that go well with the Olympic colors. I also knew that we were running really low on laundry detergent.
I have to be very careful about what laundry detergent we use because I have super sensitive skin as does Pumpkin, my youngest daughter. My oldest daughter, Snowflake, has psoriasis and we have to be careful of perfumes and other irritants for her as well. We have used all® Free Clear Detergent for over a year now and really love it. It is the #1 sensitive skin brand. I love that does a great job fighting tough stains and clean our clothes really well and that it works great with our sensitive skin. Knowing I was buying new towels, I knew I would need to wash them first to make sure we didn’t end our party with irritated skin.
Oh and I discovered the all® Free Clear Mighty Pacs® last year right before our road trip. They are awesome! Perfect for our road trips and still making sure we have clean clothes that don’t irritate our skin no matter where I was doing laundry. Let me tell you we tested out the stain fighting ability on our road trip. Worked great!
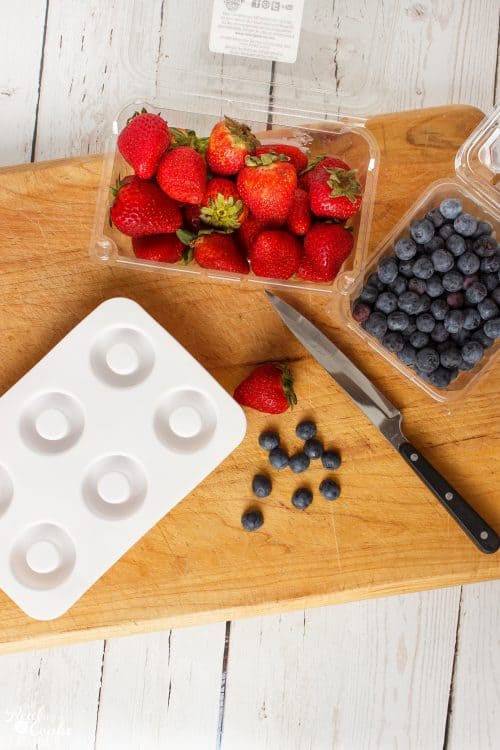
While I was shopping, I found this adorable ice tray. It was with the seasonal products and right by a mold for star shaped ice. I looked at it and quickly replied, “Why would someone want circles? What would that have to do with summer and 4th of July?” Thankfully, I have smart children who were with me. One of them said something to the effect of the Olympics and the lightbulb went off. I knew I could make some really cool Olympic ring ice.
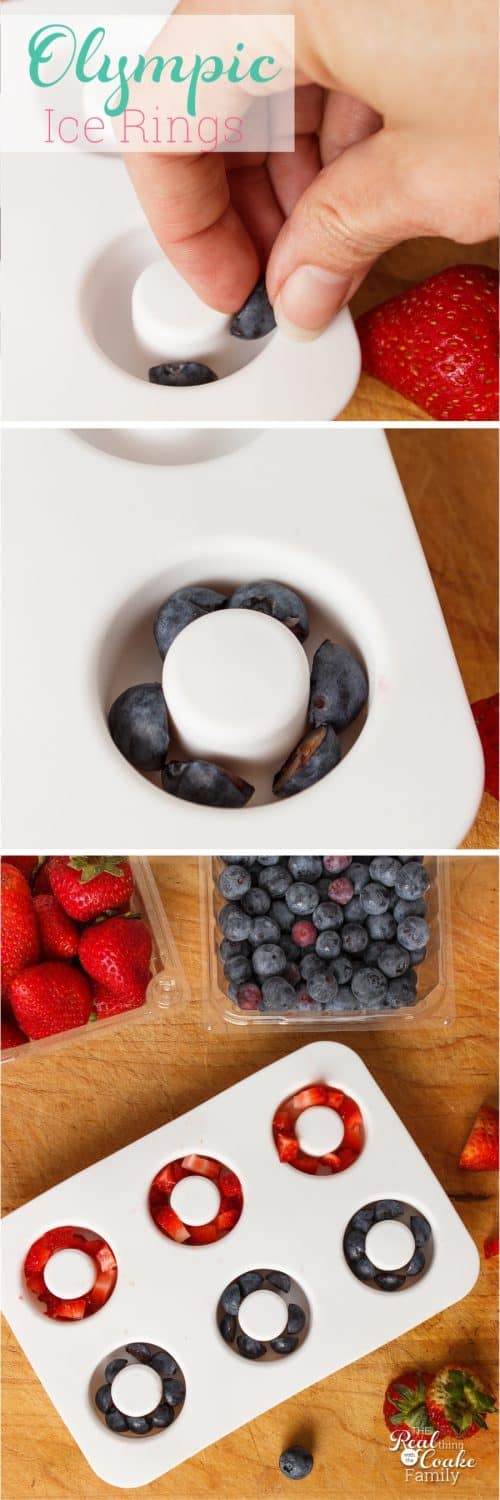
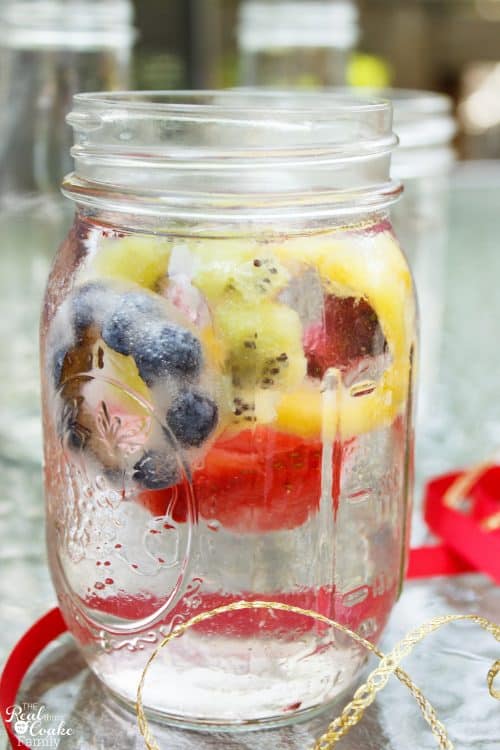
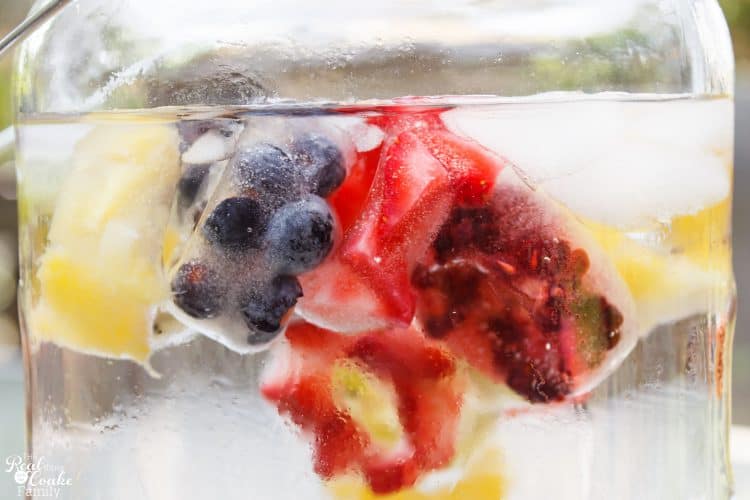
To make the Olympic ring ice, you will want fruit the colors of all of the Olympic colors. Those colors are Blue, Yellow, Green, Black and Red. I selected blueberries, pineapple, kiwi, blackberries, and strawberries.
To make the ice rings, cut your fruit into small bits and place it into the mold. Fill the mold with water and place in the freezer. For the blueberries, I found that it worked best to place them with the skin facing out so that I got the best color. All of the other fruit, I was able to cut it up and just place it in the mold.
Making the fruit ice rings is super easy, but it is something that you will need to plan ahead or buy multiple molds because of the time for the rings to freeze.
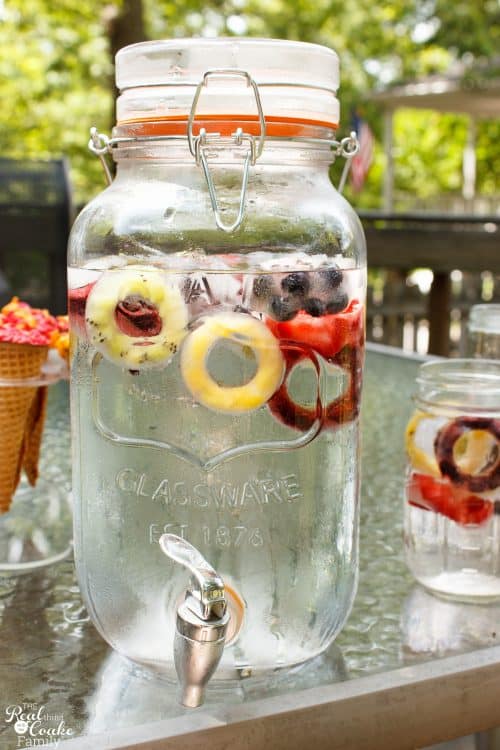
I love the effect that the rings give the water. So pretty and fun! I made 6 rings of each type of fruit so I could have extra that the kids could put in their glasses. I was hopeful, but really thought none of the kids would actually drink the water with the fruit in it, but they totally went for it and enjoyed it. Yay!
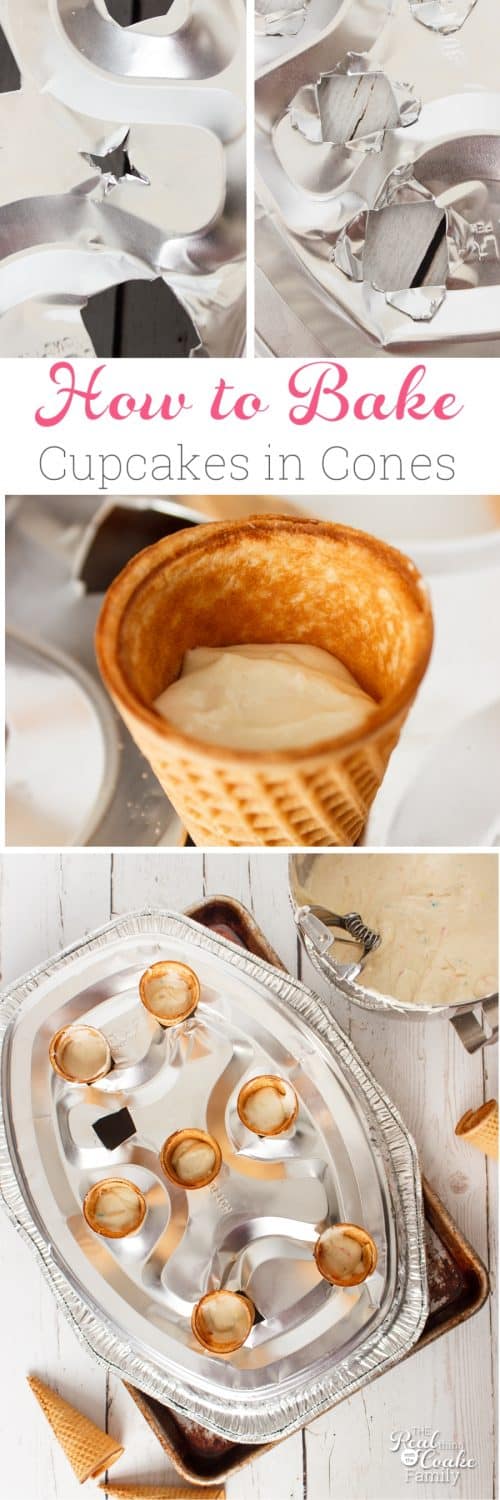
Next up, I wanted to make some Olympic torch cupcakes. I had made these years ago and knew generally what I was doing but I was trying to improve on the frosting for these this time.
I have a whole post on how to bake cupcakes in an ice cream cone if you want a little more detail, but the gist of it is that you will take an aluminum baking pan and cut an X into the bottom of the pan. You will want the pan to be upside down as you make these cuts. Then very carefully, because the aluminum is sharp, fold the cut aluminum into the pan (it should be folded to the right side of the pan – the side you would usually use to cook). Cut about 7 holes into your pan. You don’t want too many holes or the cones may lean on each other and not bake correctly. You need your holes in the pan large enough that they hold the cone in place about midway up the cone.
Place your cones into your cut pan. You may need to place the pan onto a rimmed baking sheet to give more room for the tips of the cones. Add a small amount of cake batter to your cone. In the picture above, you can see about how full to fill the cones. If you fill them higher than that the cake bakes up too high in the cone.
These go stale really quickly, so if possible you will want to bake these the day of your event. I baked mine a few days before hoping the weather would cooperate, but that didn’t work out, so ours were totally stale by the day of our party. Thank goodness I had made cupcakes with the rest of the batter so we had something to serve.
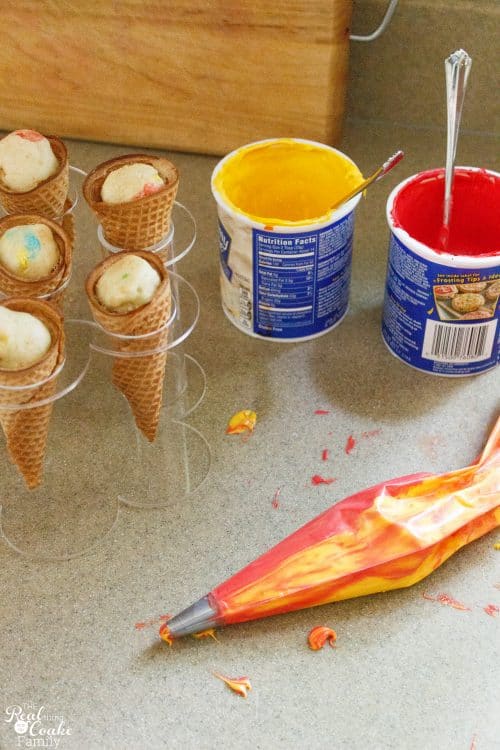
Hoping to improve on the frosting from the last time I made these, I worked hard to get a real red and real yellow frosting for the flames. It took an entire bottle of red food dye for the red and almost an entire bottle for the yellow. I mixed the two frostings together in my piping bag and tried to make flames.
I’ve never had so much trouble with frosting. I’m pretty sure it was because it was 90 degrees with 100% humidity. The weather was awful and the frosting was just flopping over or melting into a pool on top of the cupcake cone. It was frustrating and disheartening.
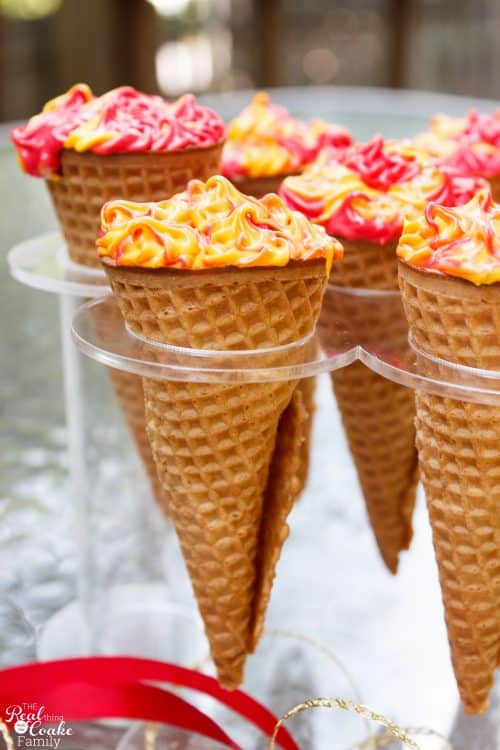
This was the best I could get at my attempt at flames and torches. I know had the frosting been more cooperative, I could have gotten pretty big flames. The kids didn’t care so it is all good.
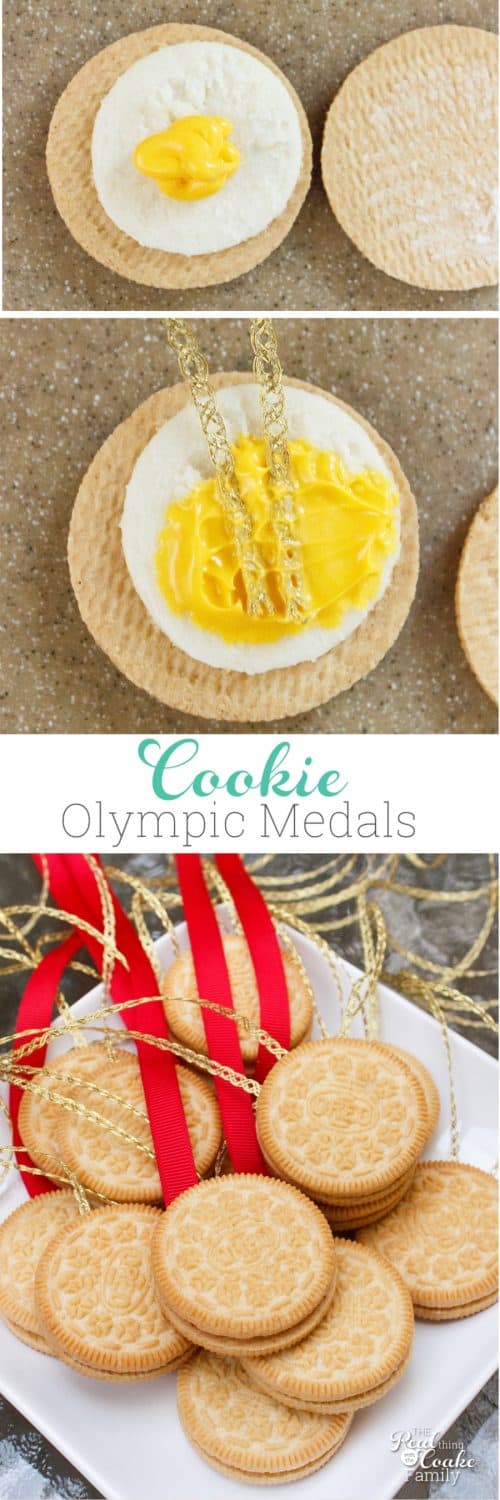
The final bit of prep work that I needed to do was to make medals. I have a really fun idea for making non-edible medals, in fact, it is my next craft kit that will be in my shop on Monday, but that wasn’t quite ready for this party, so I made some quick and easy edible medals instead.
For these, you will need golden cookies. Pull the cookies apart and add a dab of frosting. Then place your ribbon into your frosting and close the cookie. Place in the freezer to set the frosting and help the medal stick together.
These worked pretty well, but again the heat did have an impact. For a few, the ribbon pulled right out, but most of them worked perfectly.
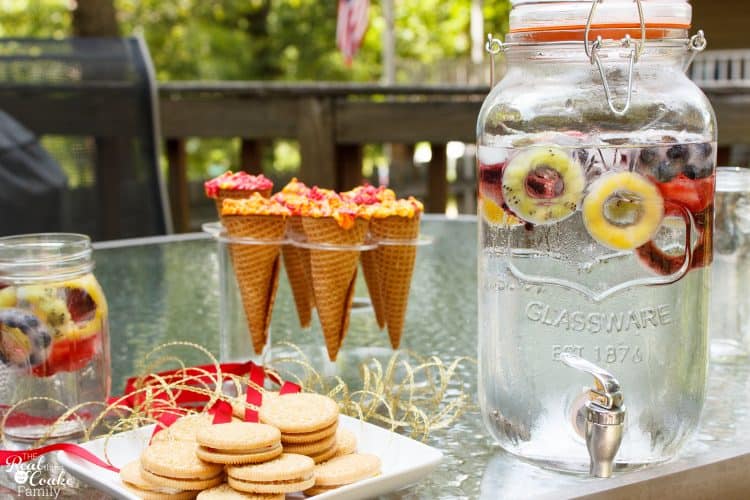
After doing the prep work, I got our table all set up and ready for the girls. I kept it fairly simple because the kids care more about the games than that I spend an hour or two on an elaborate table set up. Plus, I don’t feel like Pinterest-worthy party tables are my strength.
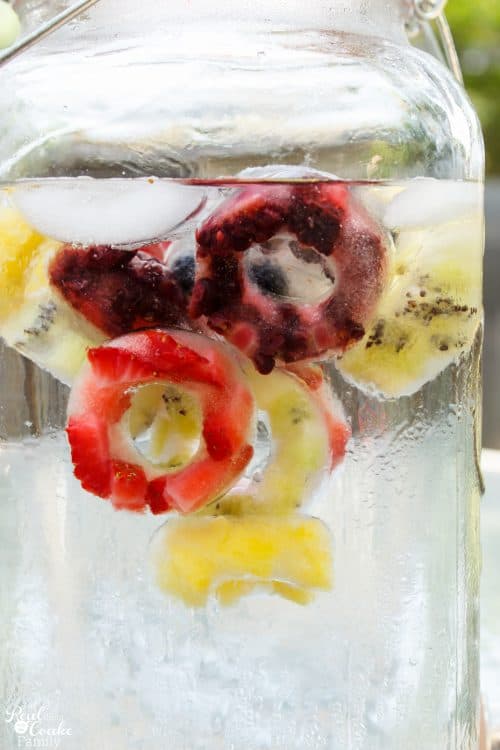
Yum! I love the bright fun that the fruit in the water adds.
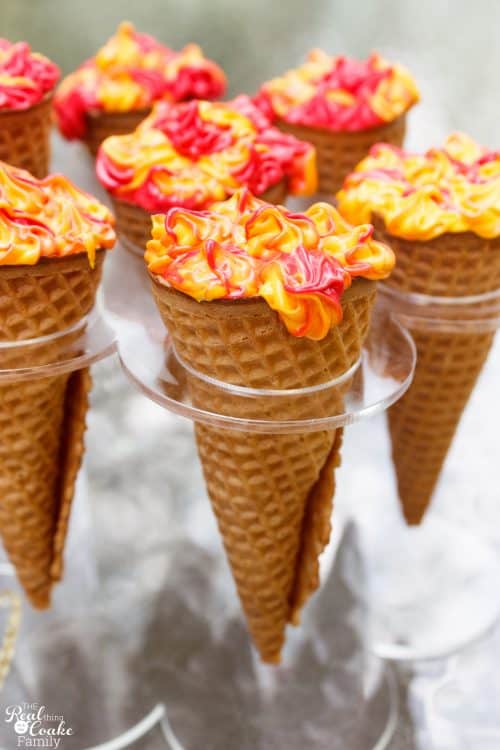
I had less than 5 minutes of photographing outside before the frosting was totally melting down the sides despite having been put in the fridge to set it. Again, they looked cute and the kids thought they were neat, so it wasn’t a big deal.
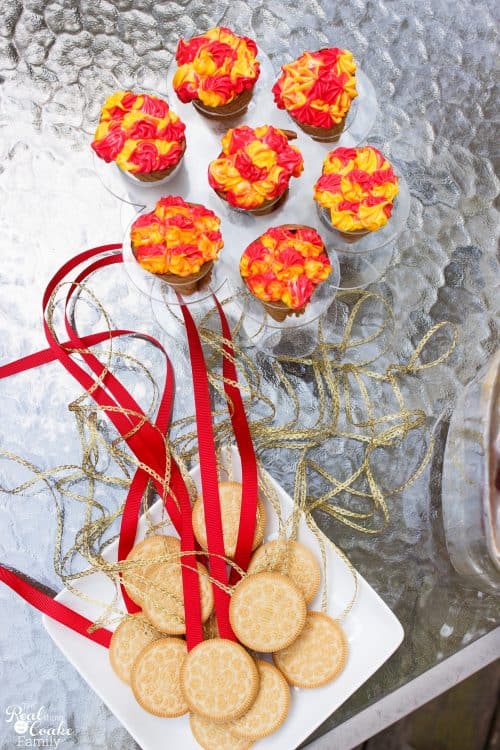
It just feels like the Olympics. A yummy fun Olympics!
Now for the games we played, the fun!
Water Balloon Skeet
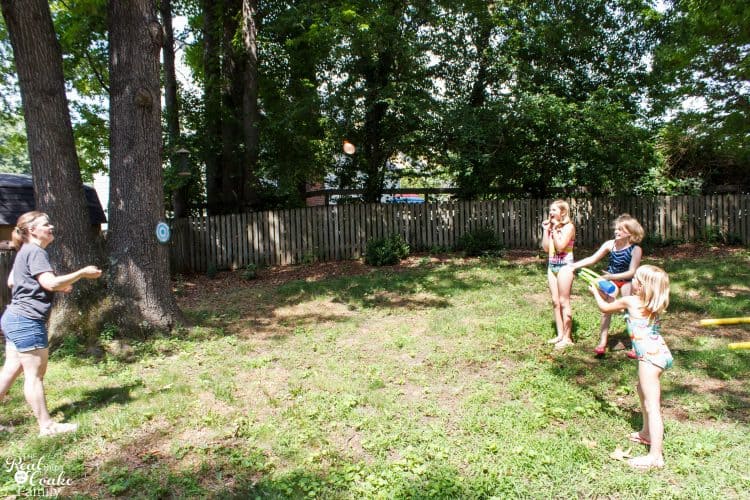
Our first game was water balloon skeet. I had 5 water balloons for each girl. They yelled, “Pull,” and I threw the balloon. I had the girls not shooting the water balloon stand across from me so that the water balloon hit the ground near them and they got splashed. The girl shooting the balloon was to aim and hit the water balloon with her water gun.
It turned out to be pretty hard to tell if you hit the balloon with the water, but everyone gave their opinion and we just went with what people thought. We weren’t being hardcore with our games. It was meant to be fun and everyone liked this game.
Long Jump
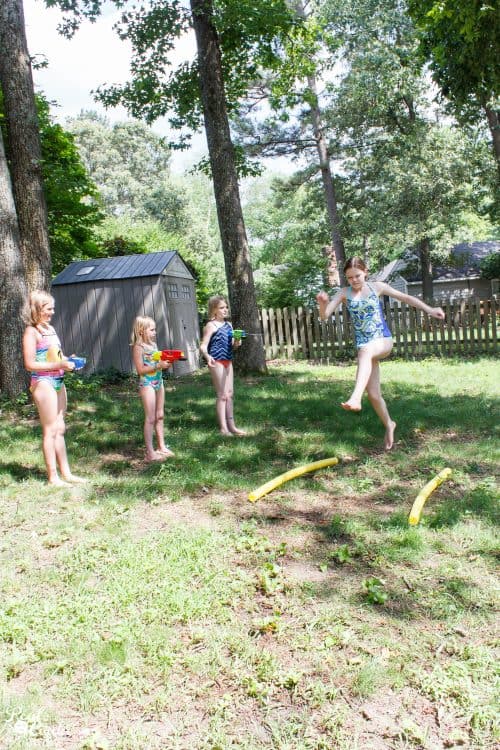
Next up, we played long jump. I used 2 pool noodles, I picked up with the water guns and water balloons on my shopping trip. I used them in various ways, but this time, I laid them parallel in the yard and each girl took a running jump. We marked her jump.
The girls had the idea to use their water guns and stand to the side. They got the person jumping wet as they ran by. Worked great especially since it was so hot.
Water Gun Archery
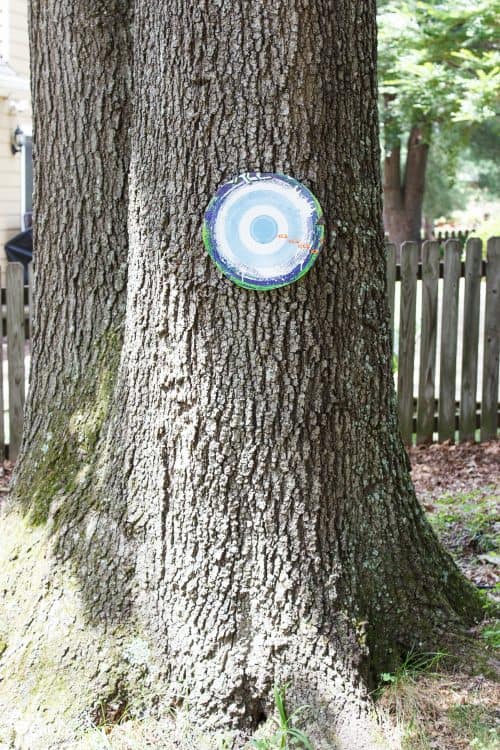
One of the water guns I got on my shopping trip had a target on the back of the package. I covered that with packing tape so it could handle the water. If you didn’t have a target, you could use water or regular balloons as your target. Just use a different color for different point values so you can tell what is what.
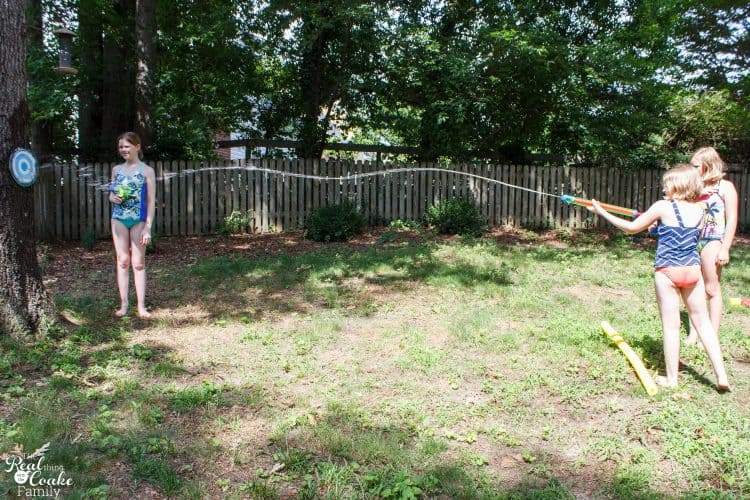 OK first, is the water in the picture above not totally cool? I love this shot I got! As to the game, I guess this isn’t so much archery as it is shooting, but I still called it archery. On the water gun packaging, it showed a bow and arrow water gun, but I couldn’t find it at the store. That would be so neat!
Anyway, I marked the shooting line with my pool noodle. The girls had to stand behind that line and aim at the target. I had a judge standing near the target to give the points that were earned. We went with wherever we felt the water hit first. It was kind of hard to tell, but again we weren’t being hardcore, just having fun.
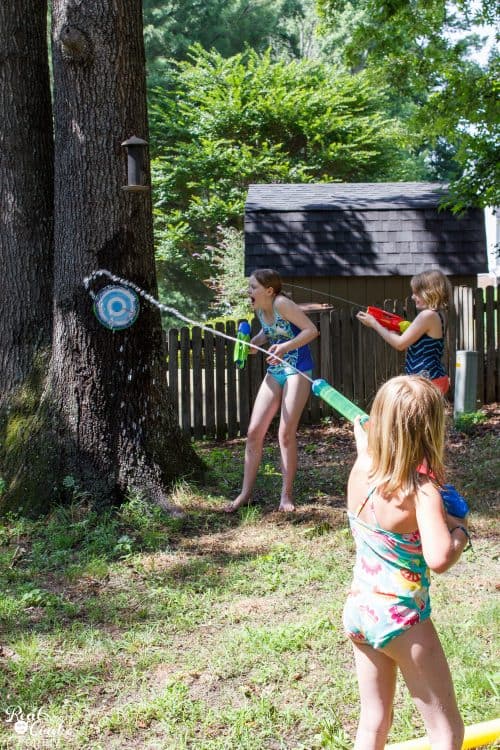
The pictures of shooting with this jumbo water gun were fun. It was amazing to see what the water did. There may have been some misjudging or bribery going on as the judge was being attacked by her sister. Lol! Water guns are fun!
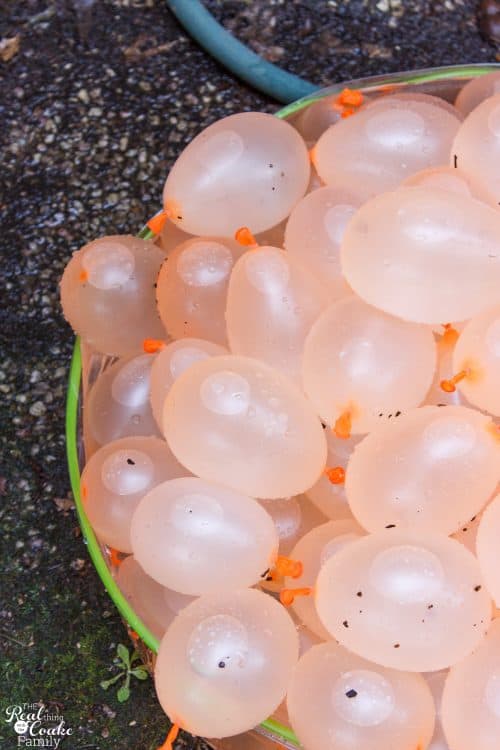
We used 100 water balloons for our day. I am sure that if we had more the girls would have used more because after our games, they had fun water balloon fights with the remaining balloons. We used them for the Water Balloon Skeet as well as the Water Balloon Shot Put.
Water Balloon Shot Put
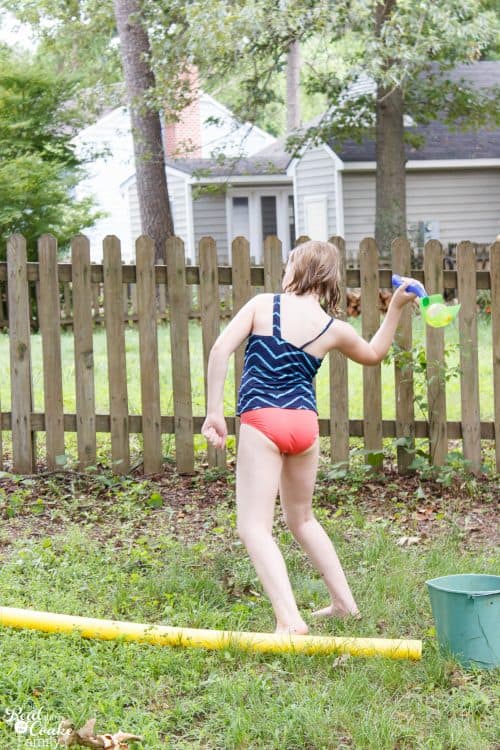
When I bought the package of water balloons, I found one that came with a water balloon launcher. Perfect for our water balloon shot put! Again, I used a pool noodle to mark the line. They launched their balloon and then when they were done, stood on their farthest throw to mark that spot. It was funny to see how intense the kids, in particular Pumpkin, got with this game.
Balloon Volleyball
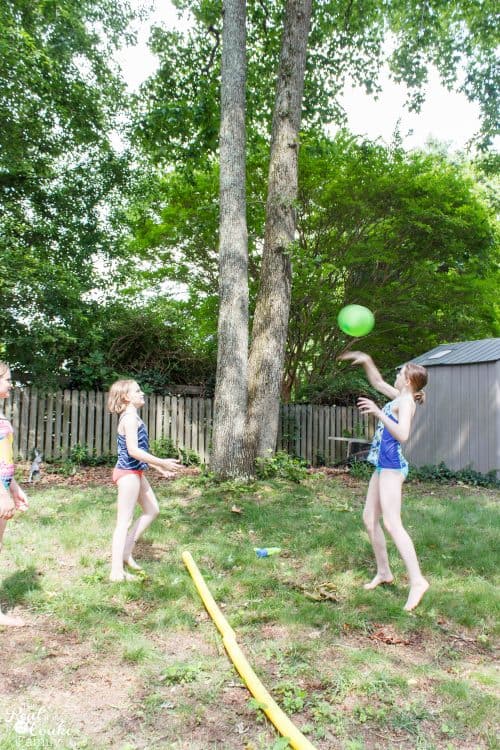
This was meant to be like beach volleyball but in a backyard and with a balloon. The balloon didn’t travel very far, so the girls got quite close to the line, but the competition was fierce, especially when they discovered how to spike the ‘volleyball’ at each other. 🙂
Sprinkler High Jump
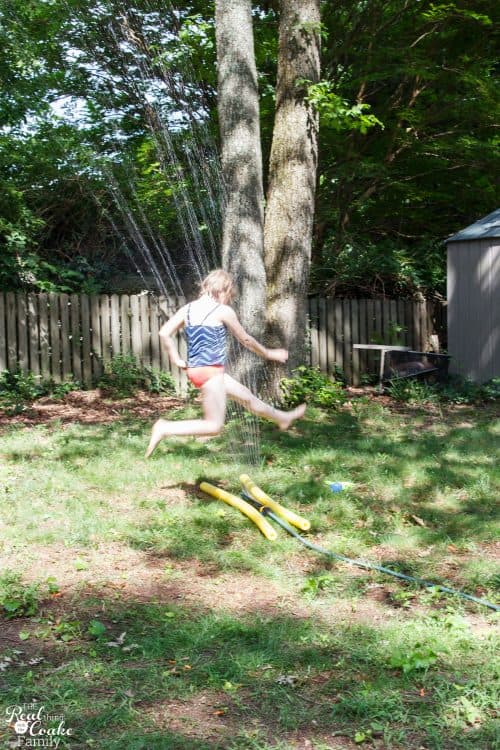
Our final game was sprinkler high jump. We have an official play sprinkler, but both of my girls hate playing in it. They prefer the sprinkler that is meant for watering the lawn. I marked it off with the two pool noodles in hopes of everyone noticing where it was and missing jumping on it and hurting themselves.
They got in some impressive jumps! I love that I was able to capture them in pictures.
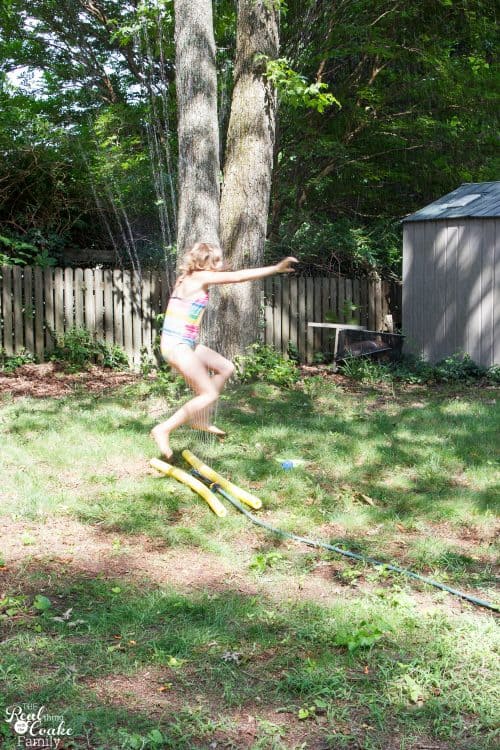
We deemed everyone a winner for sprinkler high jump.
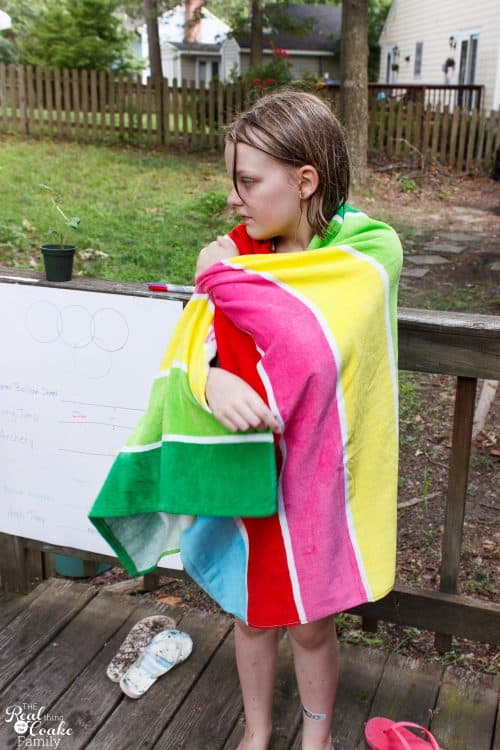
After a bit more of playing in the water, water balloon and water gun fights, it was time to dry off, eat some torches, and have our award ceremony.
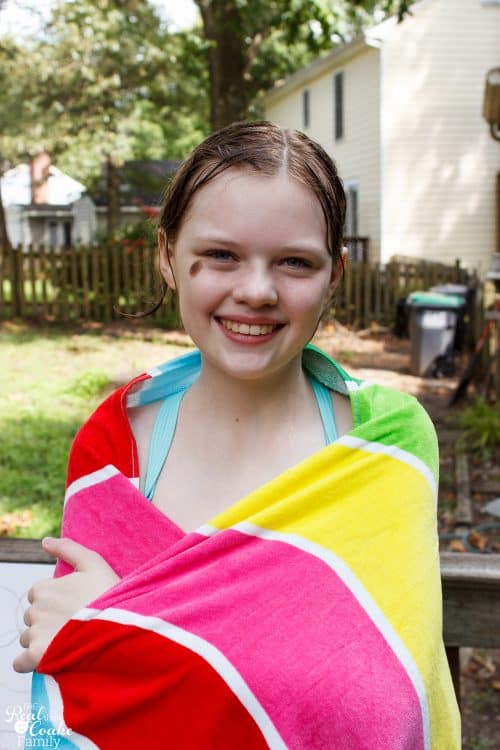
Thankfully, we had pre-washed the towels in all® Free Clear Detergent, so the fun continued instead of flared up sensitive skin. Yay!
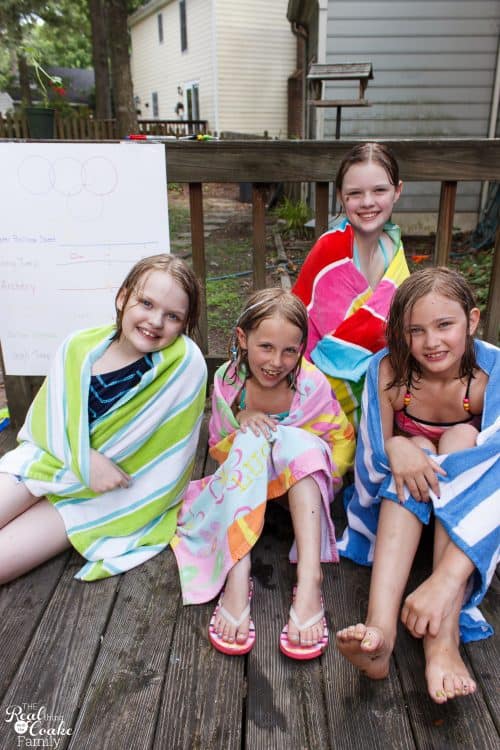
We had hoped to have more friends join us for our party but because of the many changes due to weather, we had a small group. It worked out fine and fun was had!
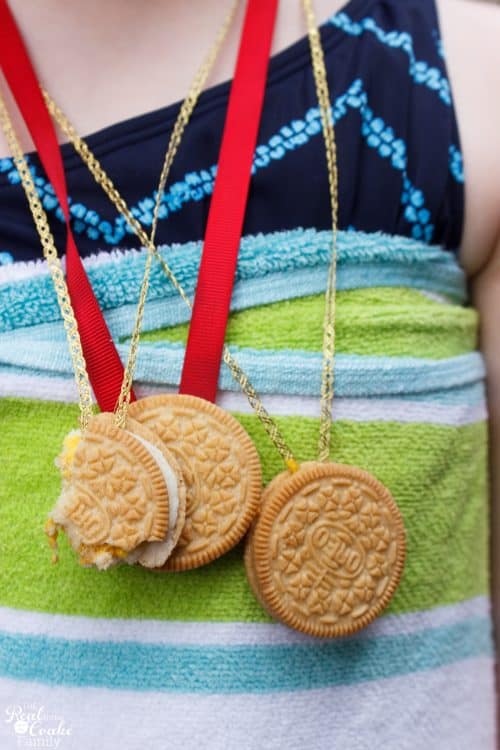
Medals got eaten as well. 🙂
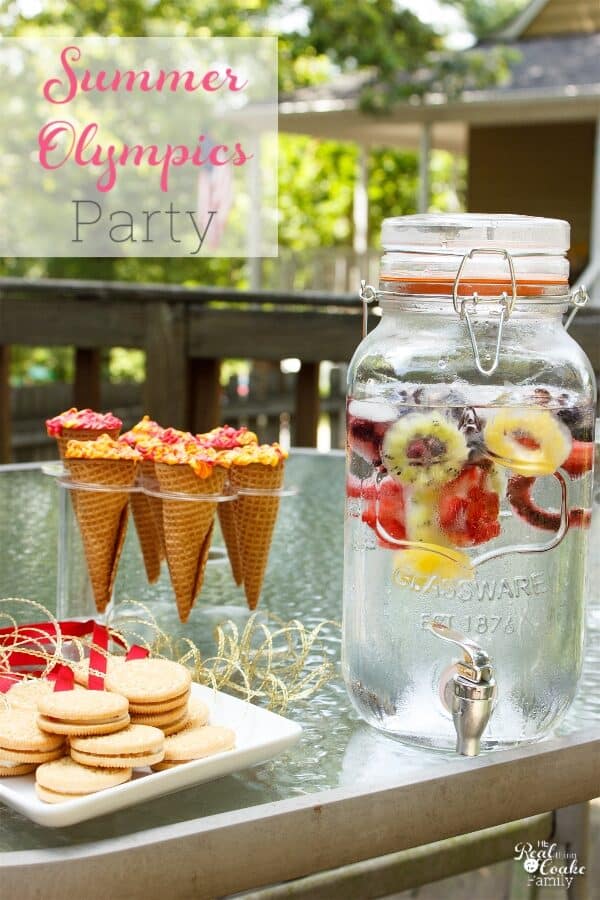
Despite our crazy humid and hot day, we had fun! The kids enjoyed the games and the little Olympic treats I had as well. Yay! A successful summer Olympics party for the kids (and I may have participated in almost all of the games as well because…why not?!).
If you are looking for more ideas, I have even more summer Olympic game ideas in a post I did 4 years ago. All of those games are dry games. In my winter Olympic games post there are some additional really fun food ideas. As you plan your own Olympic games, don’t forget to start your planning by making sure you buy all® Free Clear Detergent and wash things following the directions on the detergent packaging before they get used so the day starts and ends with fun. 🙂
How fun! My girls would love to have the Olympic in our backyard! Your refreshments all look delicious too! Thanks so much for sharing your great ideas with us at Share The Wealth Sunday!
Thank you!
Ok these ideas are brilliant! I loooove the olympic ice rings and the sprinkler high jump? Pure genius! Fantastic job, KC. Pinning and sharing for later 🙂 Thanks for joining us on #shinebloghop this week.
Thank you! I had fun creating it and the kids enjoyed the ideas. Nothing better than that. 🙂
So many great ideas but I hafta say those ice-cubes are the best!! Thanks for sharing with us at Throwback Thursday!
Mollie
Thanks so much! I love the ice cubes as well! I’m so glad they actually turned out well. 🙂 Thanks for hosting!