Are you guys ready to talk about Valentine’s Day? It is less than a month away. I’m looking forward to some fun Valentine’s crafts and ideas that I will be sharing with you this year. I wanted to start with a cute wreath or wall art idea that I came up with this year and which Offray sent me the ribbon to complete as well as sponsored this post.

So one of the fun perks of my job, is that sometimes I get to try things out before they are even available to purchase yet! That was the case when Offray sent me this beautiful photo realistic rose ribbon. I knew as soon as I saw it, that it would be perfect for Valentine’s day. They sent it to me back in December, so I had to be patient and wait to share it with you. 🙂
I really wanted to make a heart-shaped wreath with it, but I couldn’t find any heart-shaped forms at the craft store. I went with the initial of our last name, C. Might seem a little strange for Valentine’s Day, but I think it is really pretty and am really happy with the way it turned out.
It was a surprisingly simple wreath to make. Just a little bit of time, some patience with wrapping ribbon and hot glue and you will have a pretty wreath. I think ours is going to go on my Valentine’s mantel this year. Let me show you how to make your own Valentine wreath or wall art with this gorgeous ribbon.
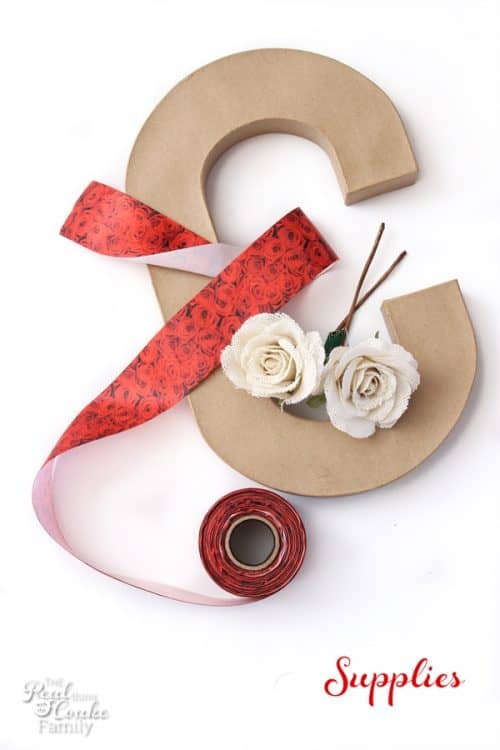
Supplies:
- Paper Mache letter (or heart if you can find it)
- Rose Ribbon (coming soon)
- Hot glue gun
- Hot glue sticks
- Scissors
- Burlap flowers
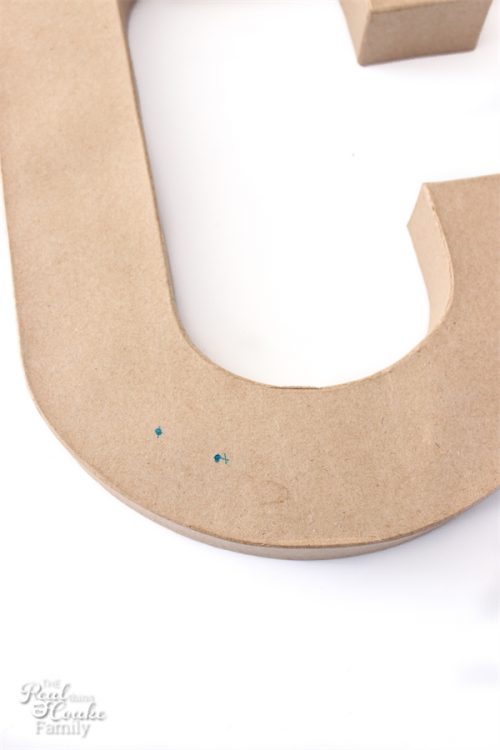
I knew I wanted to keep this wreath simple and let the ribbon be the star, but I wanted to add a little embellishment. I selected the burlap flowers.
To easily add the flowers to the wreath once it has been wrapped with ribbon, mark the placement of the flowers on the paper mache letter prior to starting to wrap with ribbon. This will allow you to poke a hole through the ribbon as you go. You can then place the flowers into the hole and hot glue them into place. I also did this with a hole on the back of the letter to allow a way for me to hang my wreath.
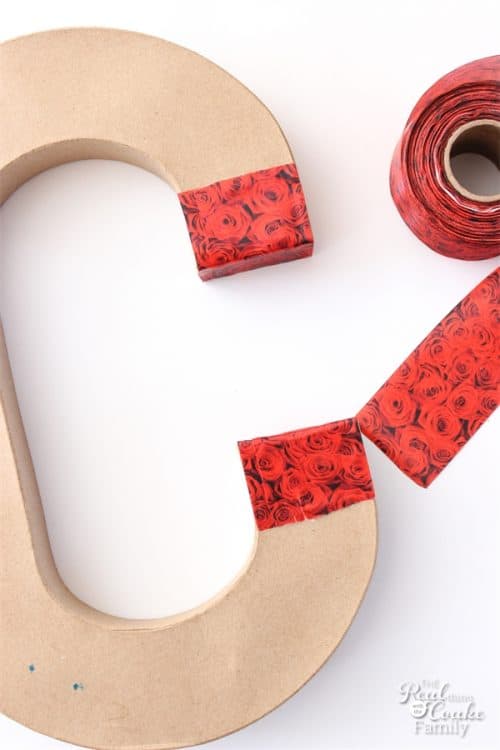
If your letter has ends like mine, start by wrapping the ends of the letter. You will do this by using small sections of the ribbon and hot gluing them into place over the end. Take the time to line the ribbon up and make sure that it covers the edges of the paper mache letter, as pictured above.

Now you just need to wrap your paper mache letter in the rose ribbon. The corners can get a bit challenging to get the ribbon to cover and not pucker up. I found that if I folded some of the ribbon over and then wrapped it around it would lay more flat. The part of the ribbon that was folded over, was then covered up by the next wrap of ribbon around the wreath, so it is never seen.
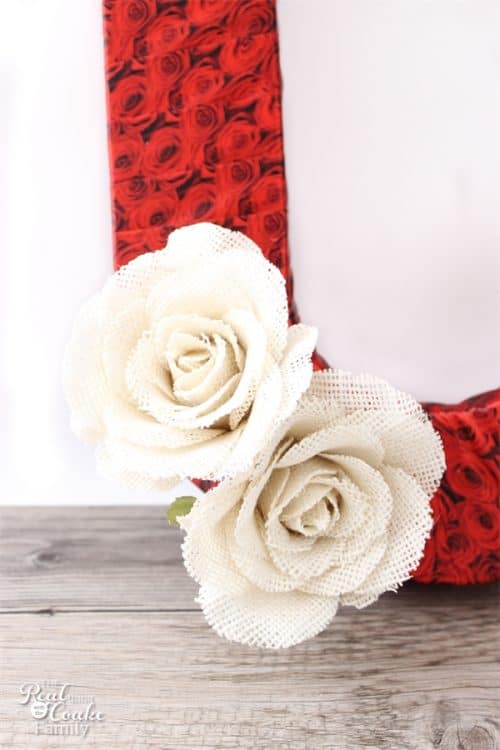
As you get to the place that you marked for the flowers, poke a hole in the ribbon at the marked location with scissors. You will most likely need to do this more than one time for each location as the ribbon will be multiple layers thick due to the wrapping.
Once you have completely wrapped your wreath, add some hot glue into the hole(s) you created and place the flower into the hole. Add a little bit of glue around the base of the flower to hold it in the position that you prefer.
Guess what? You are already done. Love that! Now you just need to find a place to hang your new wreath.
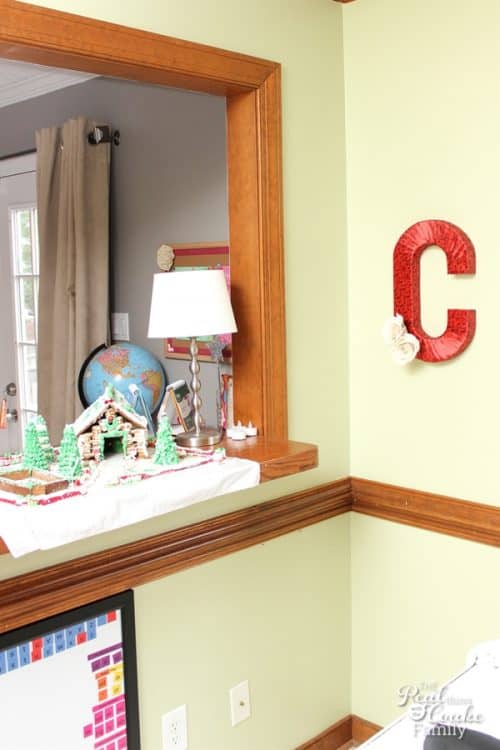
My mantel is currently a winter theme and I didn’t feel like pulling it apart to take pics, so I tried the wreath on this wall to get pictures for you guys. Keeping it real, I thought you might like to see the holiday confusion we still have at our house. Our Gingerbread house is still on our bar area along with the Valentine wreath and the mantel is winter. Ummm…I should probably pick one and go with that. 😉

In any case, I have a gorgeous Valentine’s Day wreath to start off my Valentine’s decorations for this year. It took me about 1+ hours to make. It was not a complicated project at all, it just took a little time to get the ribbon to lay flat and look great on the curves of the paper mache letter. I love the look of the roses on the ribbon. They are so pretty! I don’t know that I would have ever gone into a craft store and picked this ribbon out, but I’m so glad Offray sent to me and I got the chance to use it because the ribbon is just gorgeous and I LOVE the end result. The red makes a great statement and is going to look great on my now white mantel, when I decorate for Valentine’s day.
What plans do you have for your Valentine’s Day decor?
More Valentine’s Ideas for you:
Get more behind the scenes info. by following us on Instagram.

This is gorgeous and I absolutely adore that ribbon!
Thank you! The ribbon is really gorgeous… it made it easy to make a pretty wreath.
I love how easy this is to make!
Fabulous! Makes a great statement on the wall and would look great in a vignette!