Today in the Real Organized series, we are going to take on our recieps. You know, that big stash of recipes you have pulled from magazines, printed from blogs or just gotten here or there. If yours are like mine were, they are a big jumbled mess and they are doing you no good as they are because you can’t find what you need and you have no idea which recipes you tried, which recipes your family will eat and it makes figuring out what’s for dinner yet another stress in the day.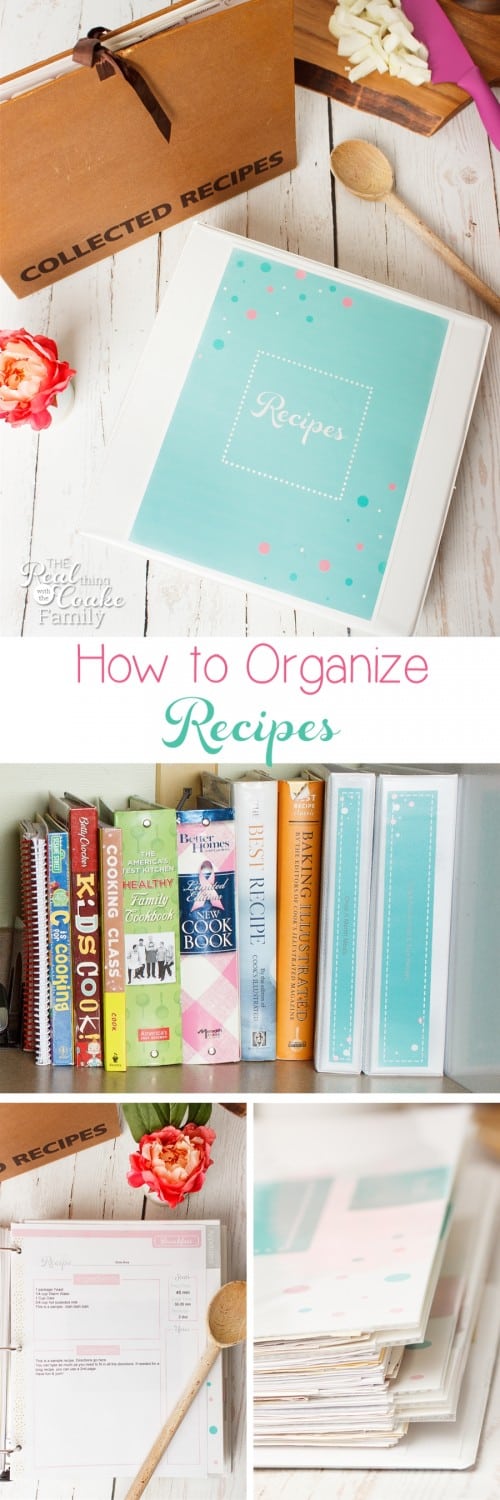
Now, I have promised you that the tasks in the Real Organized series will mostly be 30 – 60 minutes. I’m going to be honest with you, for me, this project took longer than that. You will see why when we get to the pictures.
I want you to know that so you set aside the right amount of time.
I took on this project in the evenings while I watched a show and it took me a few nights to complete. I’m guessing it was more like 2-3 hours for me, but don’t let that stop you from tackling this task because like all of the projects in this series, it builds and you need to get your recipes organized in order to make a few of the upcoming projects faster and your daily and weekly life easier. I promise it will be worth it in the end. Just find a way to break it down into the time you have, like what I did with watching a TV show while sorting. It makes it less painful.
This post is part of my #RealOrganized series. If you want the whole series, just click the graphic above or you can click here to sign up to have each week of this series and all the freebies directly emailed to you. The goal of this series is for you to be able to organize some of the things that as moms, we have to deal with on a yearly, monthly, weekly, or daily basis. By getting these things organized we can free up time in our week as well as space in our homes and minds. The main goal is to feel more organized and less clouded as moms so we can find time and space to spend with our family as well as do things we love and find fulfilling.
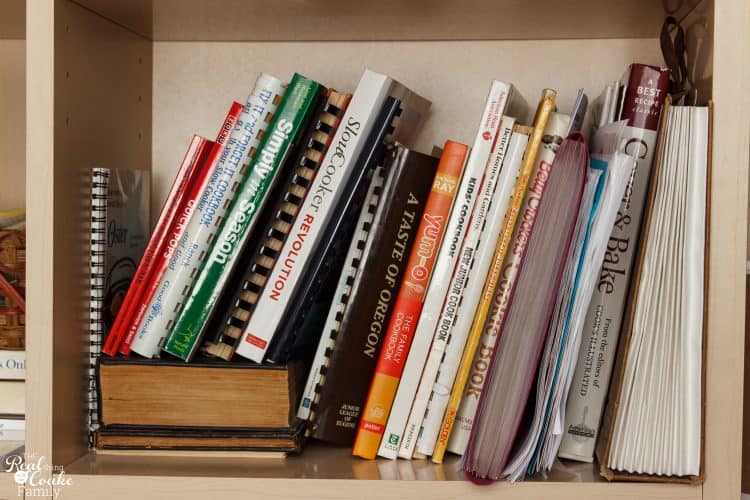
Your first step in getting your recipes organized is to collect all of your cookbooks and recipes into one location.
I keep my recipes and cookbooks in two locations. I keep some in a bookcase in the office, which is just around the corner from the kitchen. It wasn’t too bad, but if you can see all those sheets of paper, those tend to be our most used recipes, just thrown in there. It was kind of hard to find the one we were looking for and it took up way too much time each week when I planned meals.
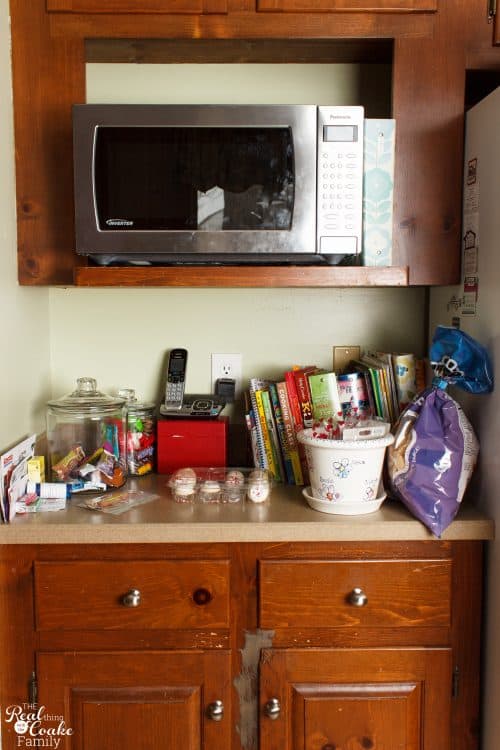
Our kitchen has this little counter space between the refrigerator and the pantry. Ignore the fingerprints all over the microwave and the ugly cabinets. It gets messy. I’m sure you have an area like this in your house. At any rate, this is the other place that I keep recipes and cookbooks. Behind the bag of chips is another stack of printed out recipes and a bunch of cooking magazines.
I pulled everything from the shelf in the office and this space onto my living room floor.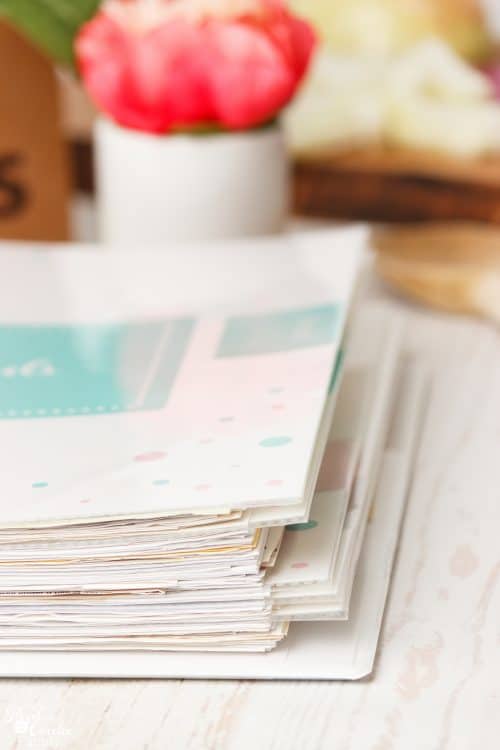 Once you have all of your recipes and cookbooks in one location, you need to start sorting. The picture above looks SO much nicer than my living room floor did during this process. 🙂
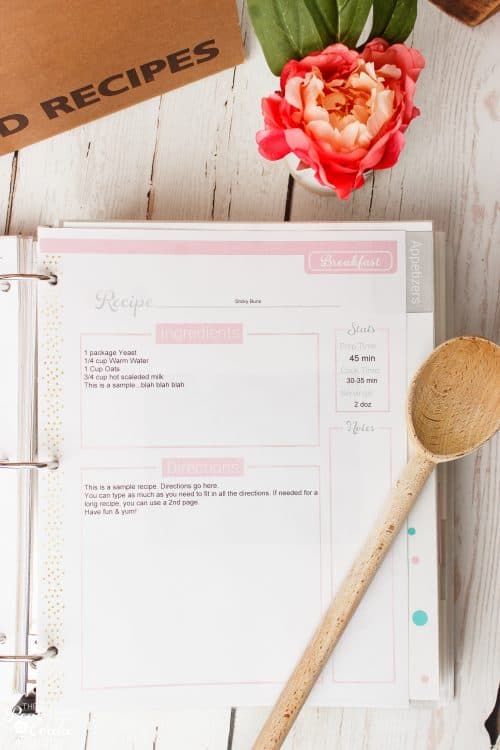 Get rid of cookbooks that you rarely use. You can make a copy of the one or two recipes that you like from those cookbooks you are only keeping for a few recipes. Or you can type them up on the recipes cards included in my recipe set.
Next, you need to sort through all those printed recipes or those ripped from magazines. While you are at it, sort through your cooking magazines (if you have them). Only keep recipes that you plan to try or have already tried. Don’t keep the whole magazine.
I really like cooking, so I have quite a few. It took a while, but I’m glad I took the time.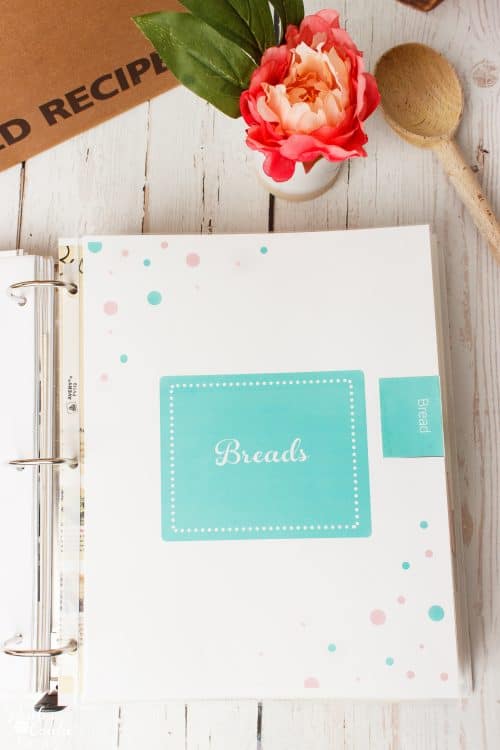 Once you have purged all your recipes and cookbooks, you will need to sort them into categories. My recipe system has categories, so I sorted by those. Sort by those categories or whatever system you are using.
I highly recommend that you have a two different binders or ways to keep recipes. One that is for those that are tried and true and you know everyone will eat. The other for those recipes you want to try but haven’t yet. For me, I use the brown accordion file (affiliate link) to keep the recipes that I want to try. I use my recipe organizing system and a high-quality binder (affiliate link) to keep our tried and true recipes.
To me, it is a genius system that means that I know when I’m planning dinner that I’m either taking a risk and trying something new or that I’m making something I know everyone will love.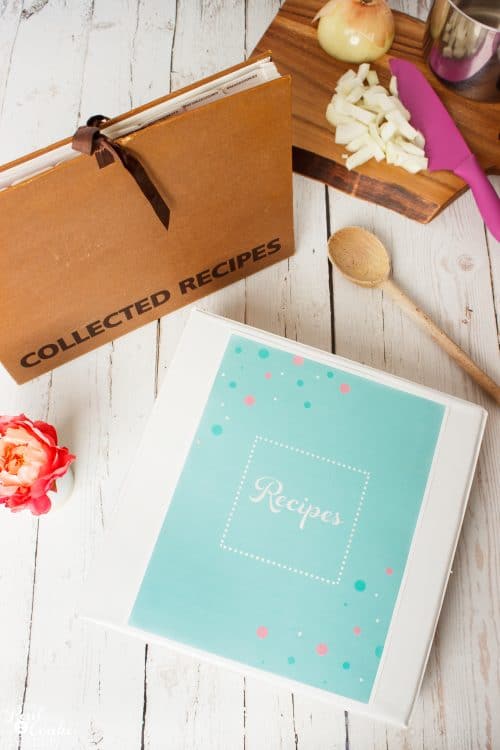 Once you have sorted all of your recipes into your categories, figure out where you plan to store them and if needed purchase your supplies. Make sure you buy big enough for what you have.
I totally thought a 1″ binder would be enough. May I say, “Duh!” I totally needed a 2″ binder for all of my recipes.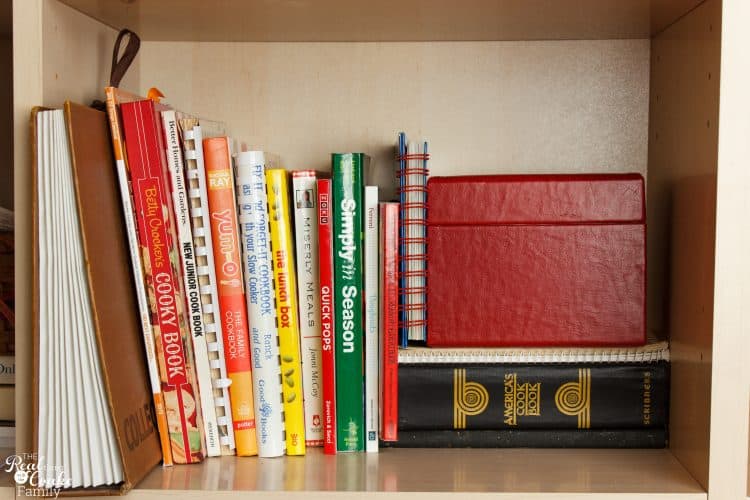 Finally, put your newly organized recipes and cookbooks back in the spot you plan to store them.
For my results, the shelf in the office looks so much better!
You can see that I placed my recipe accordion file (affiliate link) here, since I don’t try new recipes as often as I use our tried and true recipes and I have limited space in my kitchen, I place it in here.
If you have to store cookbooks in two locations (or more) as well, think through which you use the most often and place those in the location that is the easiest to access.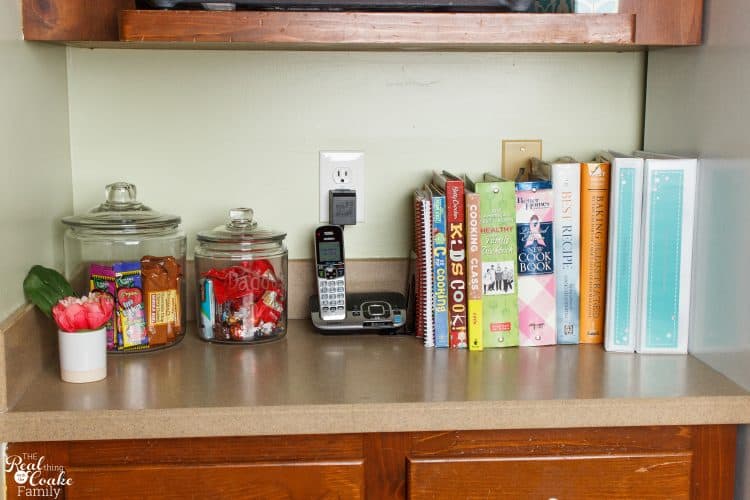 For me, that is this little counter in the kitchen. I have all of my most used cookbooks as well as my recipe binders here. Easy access is another key, in addition to organization, that will help make your life easier.
In my kitchen, I de-cluttered and tidied up this counter a bit in the process. I love that the recipe notebooks keep all the recipes easily organized and they look neat on the counter.
We used to have a big jumbled mess of papers and recipes shoved in this area and it made it hard to find things and ugly. I love how easy it makes it to plan our meals for the week as well as use the recipes when it is time to cook.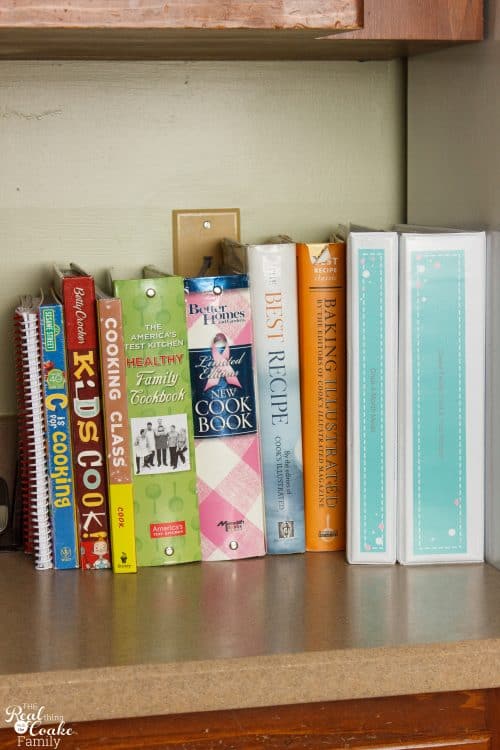 One additional tip, place one or two empty sheet protectors (affiliate link) in the front of your recipe binder. That way when you plan your meals for the week, you can place the recipes you intend to make that week in that sleeve. It makes it even easier to find your recipes during the week. Then once you have made that meal, place the recipe back behind the correct tab in your binder.
For those of you who have asked, the larger 2″ notebook contains all of our tried and true recipes and the smaller 1″ notebook contains all of my Once A Month Meals (affiliate link) recipes. I wanted to find a way to organize those as well so we can remember what we liked and didn’t like for future monthly cooking. Works perfectly and looks nice as well.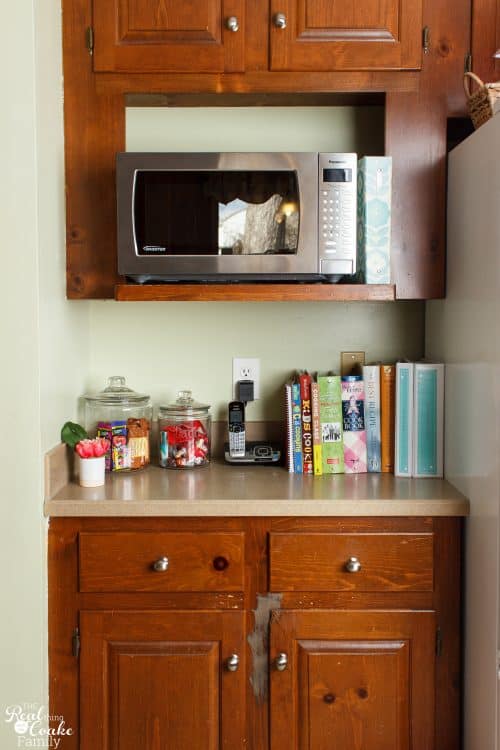
Can you believe the difference? Looks so much better. This project is an easy project.
It will take you some time to sort and purge if you have a jumbled mess of recipes, but it is so worth it in the end.
This is a project that you will see immediate results and be so glad to have things organized and easy to find. It will also build on the next couple of weeks of tasks we are going to work on. Yay!
For those who are hesitant or for whom this feels overwhelming, just keep in mind the ultimate goal of creating some space in our minds and feeling less cluttered and frazzled as busy women managing our families and our homes. I promise! Keep it up and you’re going to love the end results of all of these projects.
I have loved knowing exactly where our favorite recipes are and after over a year of using this system, it is still working great for us. Yay!
I’ve got a free editable recipe cover and spine set for you. Just enter your info. below to snag that or you can grab your complete recipe binder set in my shop by using the pink buttons below.


Recipes have been my organizational nightmare for a long time. I used to cut out the recipes from magazines and glue them to index cards. I have 3 index card boxes and you know how many times I got through once maybe twice a year. I seemed to be more of a recipe collector so I implemented a new system. Recipes get a windows of time. If the recipe isn’t tried within 2 months, it isn’t a recipe worth saving. I don’t go back and look through again, I toss. To aid in this, I have 3 plastic folder they stay in, once the date is gone, they are toss. This goes for all recipes except holiday recipes have a different system, but I don’t plan to try that until next holiday. Cake decorating ideas. For the most part, I don’t need the cake recipe, just the look of the end project so instead of the recipe, I take a picture of the end project and save that in a folder on my computer.
Such fabulous ideas for taming all those cookbooks and recipes we all have! Thanks so much for the inspiration and for the resources. I’d love for you to share this on my The DIY Collective linky party. We are live now!