I haven’t shared anything American Girl Doll with you in quite a while. Not since I went on my sewing spree in the Spring. Get ready for some American Girl fun because I have this post and a few others to come. 🙂
Snowflake had seen this bed at IKEA when we were there last year. She actually decided to save up for this bed and not a Build-A-Bear (small miracle there). Of course the bed is now going to be for her American Girl Doll and her Build-A-Bears…so I guess it is still Build-A-Bear related for her. Since Snowflake was getting her bed, Pumpkin really wanted to get one as well (that made big sister SO happy…insert eye roll!). I think these beds are really reasonably priced. They are $20 each. I had everything else we needed to make them pretty on hand.
We brought our 2 DUKTIG beds home. Pumpkin immediately knew exactly how she wanted me to paint her bed. We bought these on an IKEA shopping trip in June…Snowflake gave me her plans for her bed last week after I told her I was finally going to do this post without her bed. I will have another post later with Snowflake’s bed as I don’t have time to get it all done right now. Her plans are a little more complex.
I had some very cute helpers to hold up the background for these pictures. We are a full family operation here! 😉
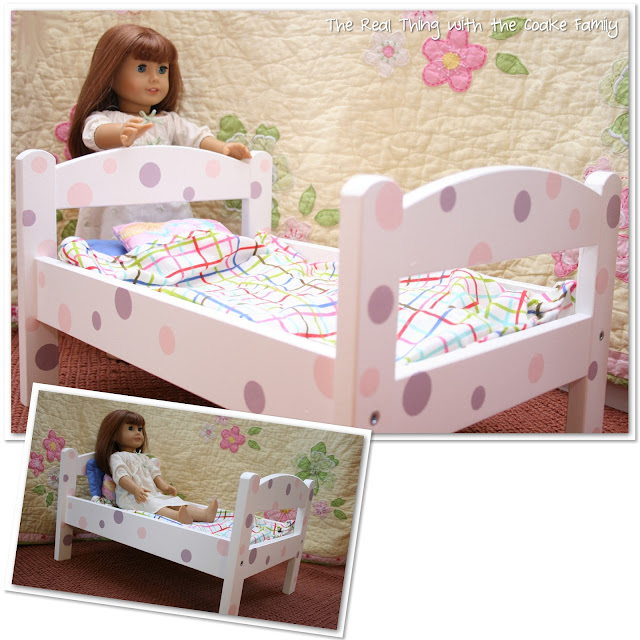
As I said, Pumpkin knew exactly what she wanted. She wanted her bed to be polka dots. I took the bed apart, primed it and painted it with white paint we had from painting all the trim in our house (yes, I said ALL the trim in our house). It’s too bad I wasn’t a blogger when we moved into this house. Boy, I sure could have had a lot of before and afters for you.
Anyway, I needed to figure out a way to make my own stencil for making polka dots. I wanted this to be fairly easy and quick.
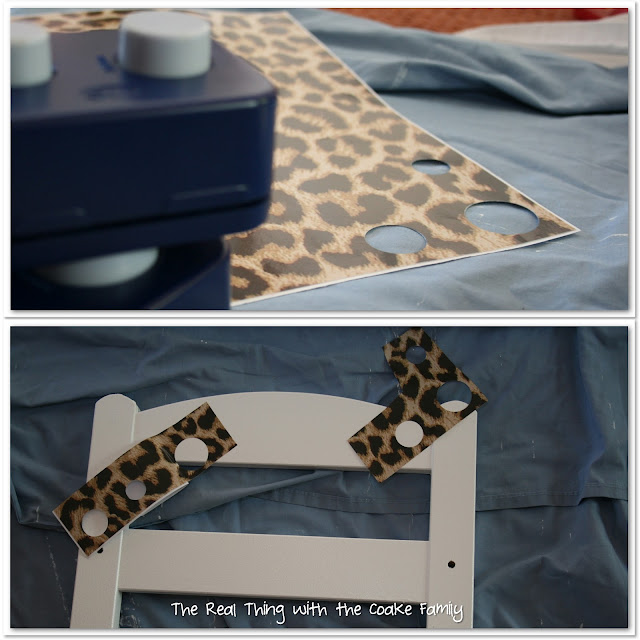
Earlier this year, I won 30 sheets of vinyl in a giveaway. I hadn’t found a use for it yet. Another project on my long list. It is adhesive and I thought it would work perfect for a stencil. I picked out one of the sheets that is not my style and that I wouldn’t use for a different kind of project. Then I used my circle punches to cut out 3 different sizes of circle from the vinyl. Lastly, I peeled the backing and presto…instant move-able stencil. Could that be easier? Nope!
In case you haven’t stenciled before – here is a quick run down on how to stencil and get good results.
- Use a good quality stiff brush. Dab it gently into your paint. Make sure there is paint covering the end completely.
- I think you get a better look and get less potential for paint under the stencil if you use a fairly dry brush. To use a ‘dry’ brush, pounce your brush in an area of your ‘tray’ without paint to remove some of the excess paint from the tip of the brush.
- Pounce your brush over the stencil, being careful not to go over the edge if you stencil is like mine and has a small edge to it.
- Remove your stencil and enjoy. I like to remove my stencil immediately because I feel like I get more clean lines that way.
In the pictures above, you could very easily wrap your vinyl stencil over the edge and paint both surfaces if you want the polka dots to continue onto the next surface.
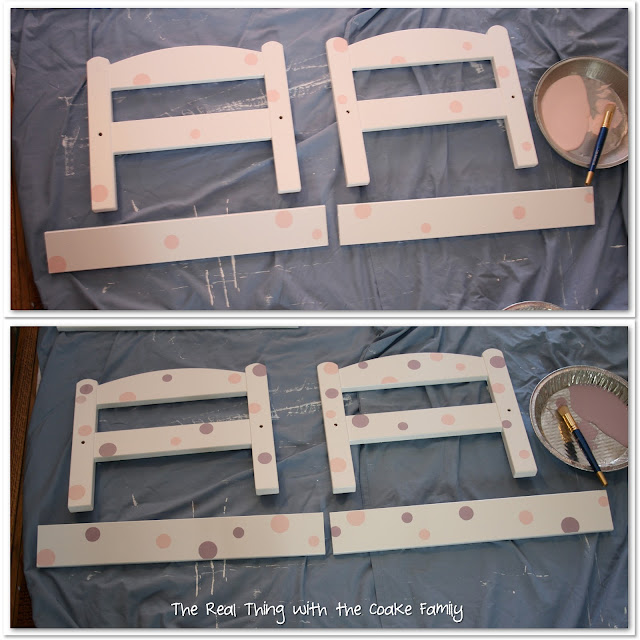
I stenciled this bed in layers. I worked on the pink layer first, then added the purple polka dots to fill in where I felt there needed to be more polka dots. Let this side dry, then stencil the opposite side.
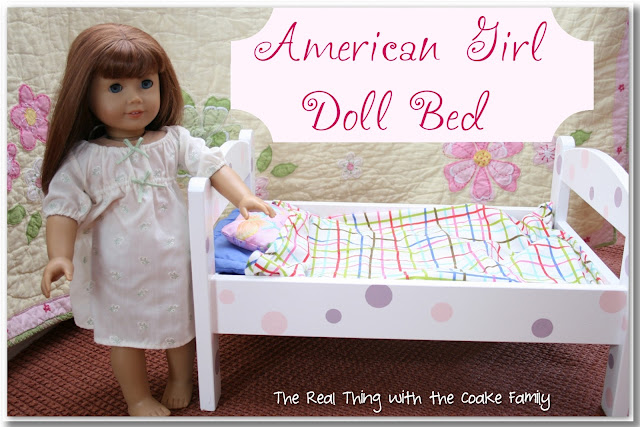
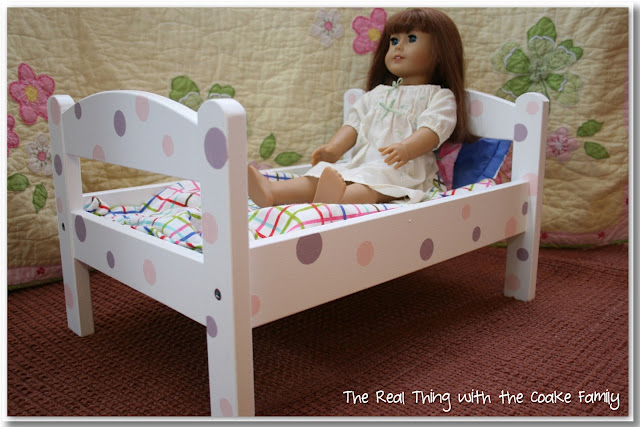
The result is a cute polka dot bed for one Felicity (I didn’t change the dolls name…do you think that will be ok…hehe). This is Pumpkin’s doll and her bed designed by her and painted by me. Her doll is quite happy in her new bed. Doesn’t she look happy?
The bedding came with the IKEA bed. The pink pillow was made by Pumpkin. Her Grandma taught her how to sew, the pillow is her first sewing project. The bedding is the only thing that Felicity has complained about. I plan to make her some new bedding at some point when I have time to sew the bedding and money to buy the material.
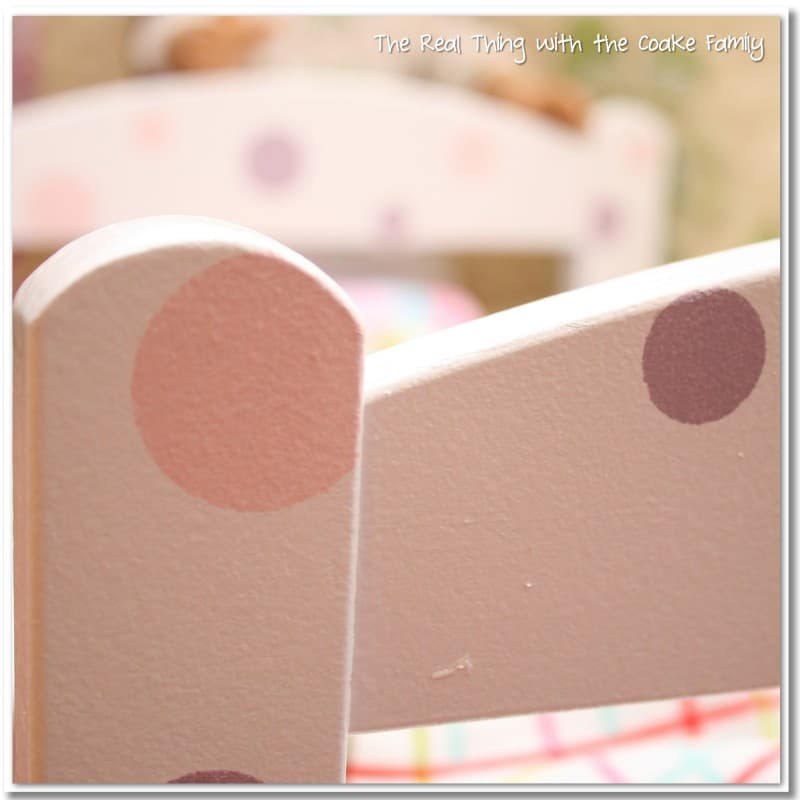
I just liked this polka dot picture I took, so since it is my blog, I’m including it for you polka dot enjoyment!
Have a great day!
More American Girl Doll Fun For You:




Awwww! It’s darling.
<3 Christina at I Gotta Create!
Wildly Original Linky party is open!
Oh super cute!
Ooooohhhh this is so adorable!! We are HUGE American Girl Doll fans here. We go to the LA store every year for my daughter’s birthday. But {dare I mention?} that the American Girl stuff is extremely expen$ive! This is a wonderful idea that I think lots of girls would love doing. I’ll have to pin this now…
Take care!
Kelly @ Smart! School {House}
https://www.facebook.com/SmartSchoolHouse
This is just too adorable for words!
Great job – your american girls must be thrilled!
Hugs,
Suzan
Adorable! They just opened an American Girls store here in St. Louis! I don’t have any girls but I still like going in to look around. Thanks for sharing at the Pomp Party! Pinning!
So so so cute – my daughters love AG and drool over everything!
Cute! I had no idea Ikea had these little beds…thanks for the inspiration!
Thanks! and you are most welcome for the inspiration!
That is really cute! Great job.
Wow wonderful job, looks so cute with the dots!!! Nice inspiration have a great
sunday
Thank you so much! You have a great weekend as well.
Oh!! I just love it!!!! Way to go!!!
Thanks so much for sharing this at The DIY Dreamer.. From Dream To Reality!
Great job! Another thing to add to my Ikea list for the rare time we get to shop there!
This is so adorable! Love the polka dots… just so pretty and perfect!
Take care,
Trish
Thank you! Enjoy your weekend!
So perfect girly and adorable! Thank you for sharing at MightyCrafty Mondays!
Thanks!
Super cute! I am working on a doll related furniture project and my daughter said she wanted polka dots. I *might* try it after seeing this!
Hope it works out well for you if you try it.
Cute! Did you sand the wood before painting it? If so what grit did you use?