While we were on our road trip this summer, we spent a week with my family to celebrate my parents 50th Anniversary. I knew I wanted to make them something special for their anniversary, but anniversary gifts aren’t something I make that often. It took a little thought about my parents and what they like, but I was able to come up with something I could personalize for them and this special occasion.
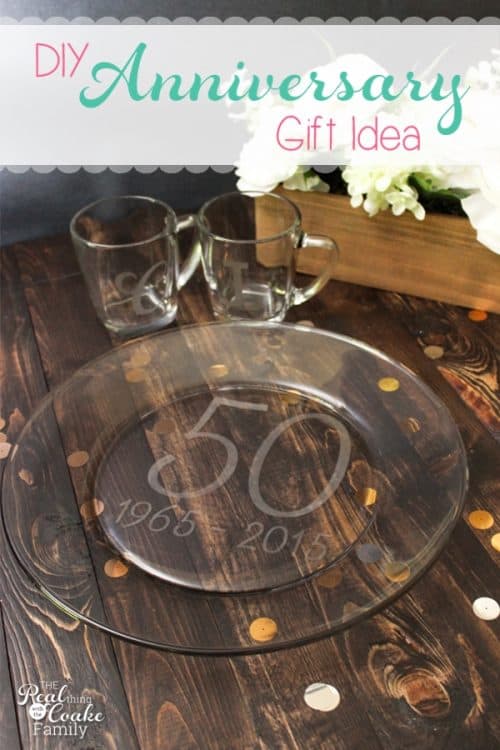
My parents like to entertain a lot. Even when they aren’t entertaining, my mom likes to serve things in serving bowls or plates at the dinner table. I knew making them a special plate to commemorate their anniversary would work perfectly. I also know that in the ‘winters’ in Phoenix, they love to drink hot tea, so I decided to add some personalized glass mugs for them as well.
If you are making this gift for a wedding or anniversary of a couple who like to drink wine or beer, just click on those links to see my tutorials on how to personalize wine glasses and beer glasses. It is easy and adds a fun personalized touch and would go very well with this serving tray.
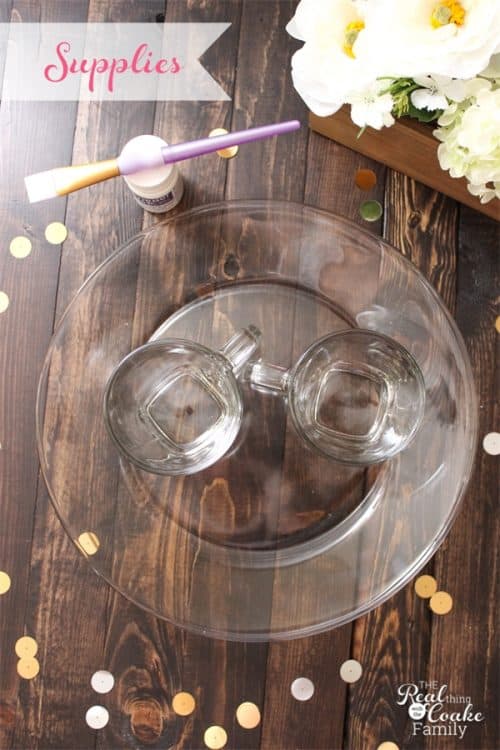
Supplies
- Glass plate
- Glass mugs
- Armour Etch Cream
 (affiliate link)
 - Paintbrush
- Cricut Explore Air Machine (I have it on sale for a great deal in my shop!)
- Adhesive vinyl
 (affiliate link)
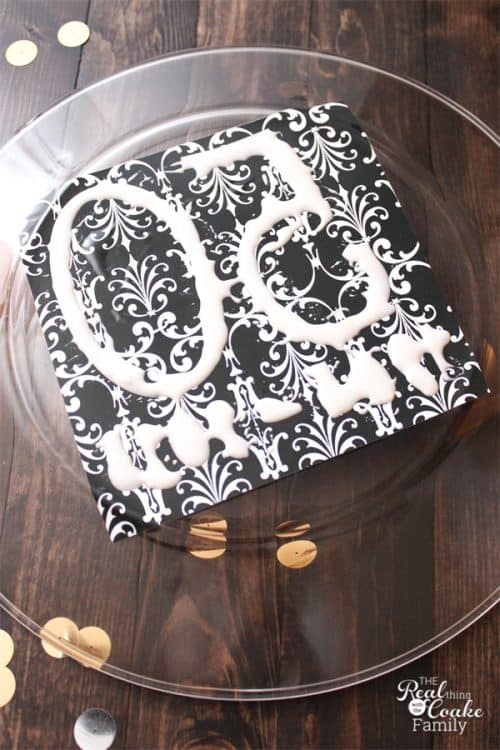
Start by designing your stencil. If you have the Cricut Explore, you can easily do this using any font on your computer within the design software. I have the Explore on sale for $50 off right now in my shop, so you can take advantage of that deal if you don’t have one.
Cut your stencil out of adhesive vinyl![]() (affiliate link). You will do this by turning the dial on your Explore to the Vinyl setting. If you have an older Cricut machine, you will want to use a kiss cut. I have the actual settings for you in this post about making stencils with your Cricut machine.
(affiliate link). You will do this by turning the dial on your Explore to the Vinyl setting. If you have an older Cricut machine, you will want to use a kiss cut. I have the actual settings for you in this post about making stencils with your Cricut machine.
The most important part of cutting out the stencil is to cut it out as a mirror image. Only do this if you are etching into the bottom of a glass plate. If you are etching on the side like I did in the cups or in the Pyrex pans I made, you will just cut the stencil out using the typical settings.
Now, just in case you are curious, I used the font Frosting for Breakfast for the 50 (it was 4.5″ tall). I used the same font for the 1965-2015, but that measured 1″ tall and 6″ wide.
Once you have your stencil cut out, carefully center it on the item(s) you are making. Smooth out all the bubbles and any wrinkles, especially those that are near the edges where you will apply the etching cream.
Apply a thick coat of the etching cream. Leave it on the item you are etching for 30 minutes. You can use your paintbrush to scoop excess cream back into the jar to use again. Then rinse the remaining cream off and remove your stencil. Be very careful that none of the cream touches your skin. It will burn you.
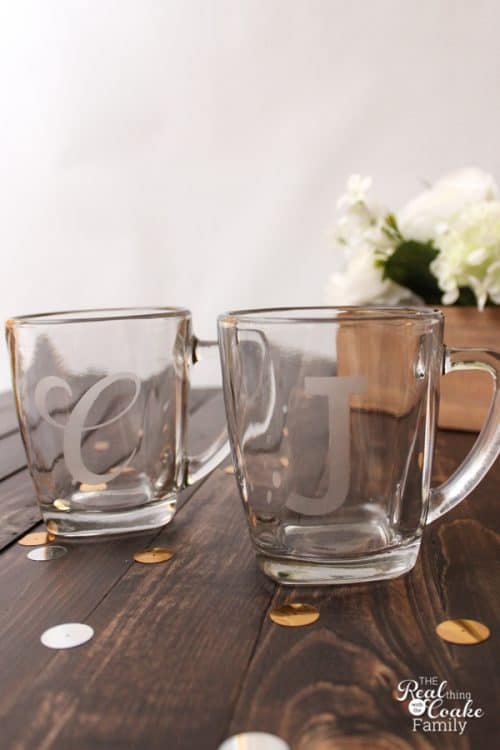
I made these before our road trip and shipped them to my parents. Unfortunately, I didn’t write down what fonts I used for these mugs. The process for making the mugs is the same as for the plate. The only difference is that you will want to lay the mugs down so that the cream doesn’t run down the front of the mug and don’t use a mirror cut when making these stencils.
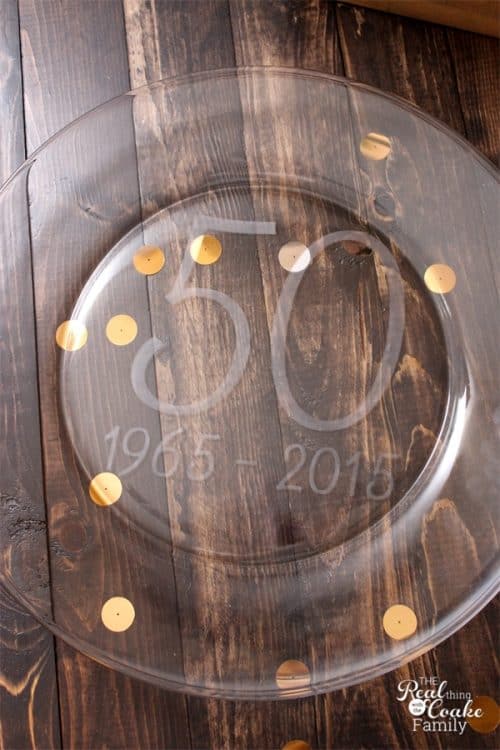
The personalized plate was a huge hit with my parents at their anniversary party. They were very impressed with what I had made for them as were the other guests at the party. I kept telling everyone it was crazy easy to make. It really is, you totally need to give it a try. It was also inexpensive…but don’t tell my parents that. That would make me feel like I was a cheapskate with their gift. Shh…it will be our little secret. 😉
Do you give many anniversary gifts? I’d love more ideas. What are your best anniversary gifts or personalized gifts?
More post you are going to love:

What a nice gift! Thanks for the idea.
We loved the 50th Anniversary gift!!! Using it tonight with our LifeGroup! Thank you KC!!!
Yay! I’m so glad you guys liked it so much. Just writing about that part of our trip for a post later this week. 🙂