Hey, you guys! I’m super excited to be sharing today’s post with you! I don’t know about you, but for me, between working, homeschooling and keeping up with my two girls, my life is a bit busy. I always tried to plan easy dinners, but more often than not they weren’t as easy as I thought and dinner would end up taking an hour or more to pull together. I love eating healthy, but I was getting a bit stretched thin and dinner was becoming a problem. Today, I want to share my solution with you.
I met Katie from Once a Month Meals at Snap (a creative bloggers conference) earlier this year. We chatted about the idea of my trying out Once a Month cooking and I knew I wanted to give it a try. I also knew that with the end of the school year and then my girls and I heading out on our road trip, I didn’t want to stock up my freezer at that time. I wanted to wait and give it a try in the fall.
I also wanted to wait until I had some experience under my belt to tell you all about it. I had my first cooking day a month ago and my second cooking day last weekend.
I also want to let you know that Once a Month Meals gave me the Pro Membership and that I will be using affiliate links in this post. That means I got something free from them and if you want to give this a try yourself and you click-through my links, I will get a small commission as a thank you for referring you. It does not affect my telling you my real experience and opinion about Once a Month Meals and once a month cooking. If my affiliate links make you uncomfortable and you want to give it a try, just go to the site on your own and sign up that way. Works either way.
Our dinners had become totally stressful and I was spending way too much money eating out or wandering the frozen food aisles at 6 pm with 2 hungry children. Not the best way to stay on budget nor eat healthy. I contacted Katie and told her I really wanted to give Once a Month Meals a try. She hooked me up with the Pro Membership, which I totally recommend, and I dove right in.
I recommend the pro membership for one main reason, it allows you to exchange out meals on the menus for the month. I guess we are picky eaters, but there were a lot of things on the monthly meal plan that we just wouldn’t eat. It is so nice with the Pro Membership to be able to swap those out for things I know we will eat. Anyway, I think I’m getting a little bit ahead of myself.
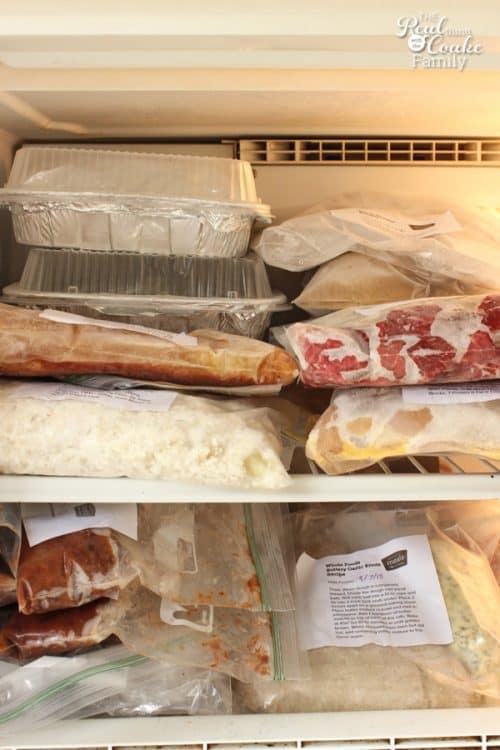
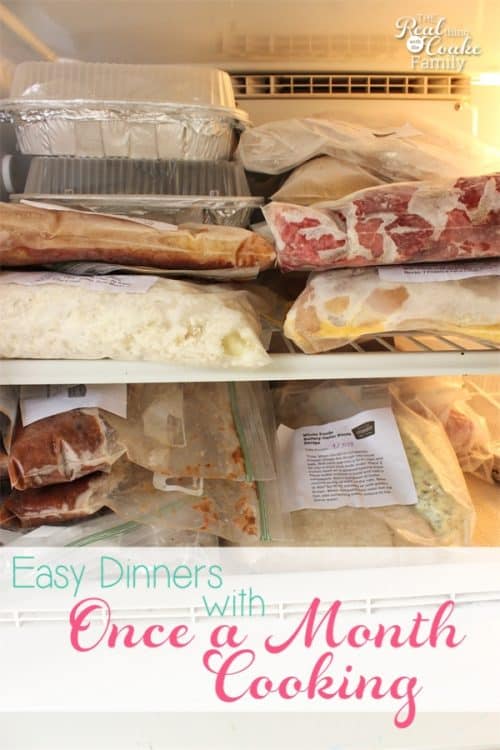
There is so much information I can give you with regard to this that I’m not exactly sure how to fit it all in one post and I’m thinking of doing a few other posts with more tips and ideas so this one doesn’t get totally overwhelming. For now, how about if I attempt to walk you through what Once a Month Cooking is like and tell you why I’m in love with it?
You will first need to sign up for a membership. You can sign up for a monthly membership (standard or pro) or a yearly membership. I have a hard time committing to things like this, so I would probably start with the monthly membership and go from there. I would, however, highly recommend the pro membership because then you can customize the monthly menu to exactly what you want and like.
Once you sign up, you will start getting a series of emails from Katie at Once a Month Meals. Read them. They are spot-on for the information you will need to get going with your once a month cooking. They are very realistic (love that…no sugar coating) and have great tips, tricks, and information.
Katie recommended that I start with this 30 meals menu because it gives you tons of dinners that are all easy assembly and really gets your freezer stocked. I decided to take the advice of a pro. Now, look through whatever menu plan you have selected (they have tons of options from diet to Paleo to Whole Foods to Gluten Free, etc.) and if you have the pro membership, do any swapping that you need to do. When you are swapping and planning a menu…pay attention to the cooking day type of cooking. If you select all meals that are stovetop or baking, you are going to be hating this experience. Select only 2 or max of 3 that are stovetop or baking for your first month. The rest, you want to select easy assembly. Easy assembly is your friend! Don’t let it fool you though, your cooking day is still a long experience kind of like childbirth, if you have children, you won’t be super happy during it, but you will forget the pain later when dinner is a snap.
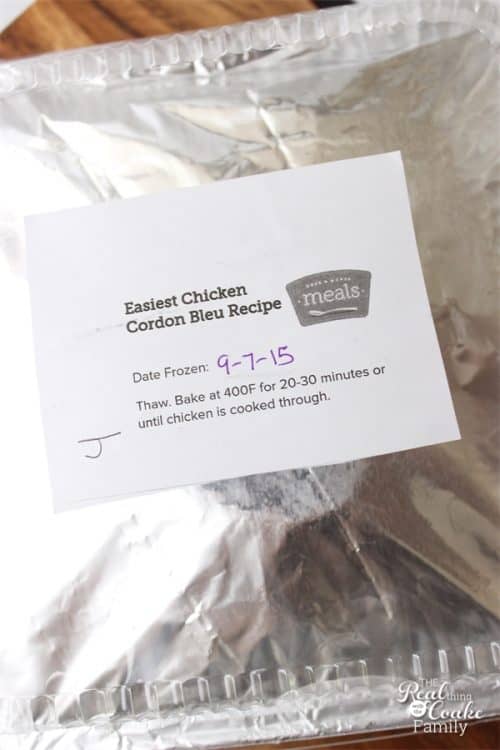
One of the things that I love about Once a Month Meals is how stinkin’ organized they are. (Like the fabulous labels you see pictured above.) It makes it so easy for me. Once you have selected all your meals, you will see on the right side of your screen that there is a shopping list, prep instructions, cooking day instructions, recipe cards, labels and a thaw sheet. There is also a place to select how many people you are cooking for, so make sure you select the right number of people for your household. As much as I try to be paper free, print them all out (unless you are totally paper-free, in which case do what you normally do with these types of things).
One of the main tips, don’t plan to shop, prep and cook on the same day. Ideally, this is a 4-day process. Plan the meals one day, shop another day, prep another day and cook another day. Even though it sounds like a lot, it will make your life easier.
The shopping day was very different for me than a typical shopping day. SO much more food to buy. One of the mistakes I made on the first month of cooking was not fully paying attention to the meals I selected. I totally picked out things we like to eat, but I didn’t really think about the fact that we don’t generally eat meat at every single meal. We usually have vegetarian or meat-free meals about as much as we eat meat. My first month of cooking, every single meal had meat. It was way too much meat and it totally made me go well over our normal grocery budget. Lesson learned. The 2nd month of cooking, I selected a lot more meals that were meat free and my costs reflected that. Pay attention to those kinds of things when you menu plan.
The night (or day) before your big cooking day, you will spend 2.5 to 3 hours doing the prep work. You may be tempted to skip this. Don’t! It will make cooking day so much easier even though it is a total pain. Basically by the time you get to cooking day all the prep work is done and it is just mixing things up and assembling things or the bits of oven or stovetop cooking. It makes it so much easier that the onions are already all chopped, etc.
I’m not going to lie, cooking day isn’t a whole ton of fun. My first cooking day felt like it took forever and felt somewhat like torture, but that night when I went to bed (with sore feet), I was already super happy I had done it. It was a huge sense of relief to me to know that all those dinners were in the freezer, ready and waiting for our family. I knew that it meant that dinner was going to be easier, more sane and not nearly so stressful. It really has been. Even though it takes away a whole day, it adds time to the day-to-day, which is where I need it.
My second cooking day was better than the first. I went for a run that morning, which may seem nuts since I was going to be on my feet all day, but it always gives me more energy. I know that actually made a huge difference for me. There were still some points that I wanted to stop or throw out a recipe because I felt like I had been stuck on it forever, but I made it through and even in time to watch a movie with the family that night this time! Oh, and I got to take a lovely bath with a Lush Bathbomb my daughter gave me for my birthday. Fun! I think I may need to buy one of those for each cooking day. That got me through, knowing I was going to get to relax and do something fun for me at the end of the long day.
Again, this month, it is so nice to know that I have all those meals in the freezer waiting for my family and me.
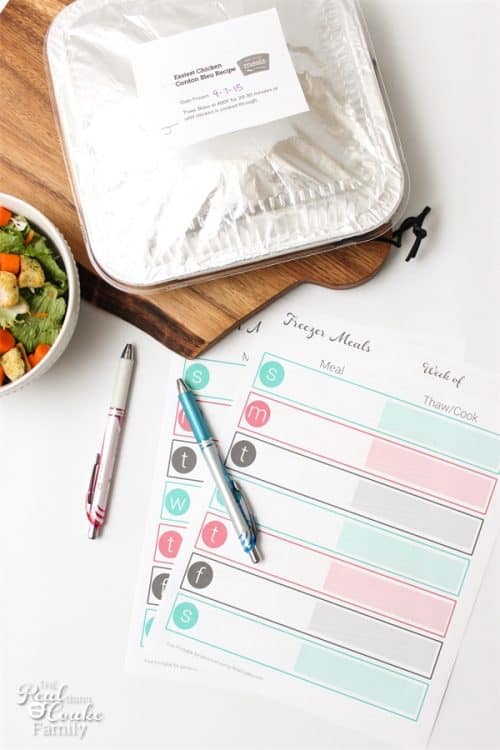
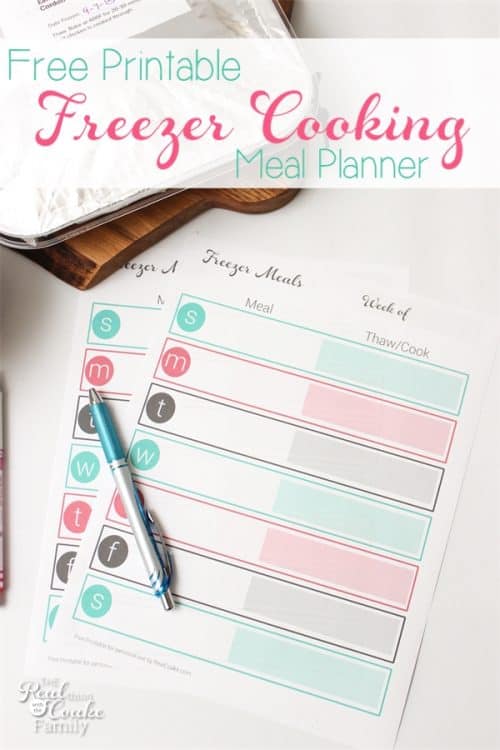
Now that I have all those meals in the freezer, I need to plan slightly differently when I do my weekly meal planning. I need to plan the side that we will have with the main dish that I cooked. I also need to plan ahead with the thawing of things. I have had at least one night where something didn’t thaw out in time and I had to figure something else out. That kind of defeats the point.
To that end, I’ve got a free printable for you that will help you, should you give freezer cooking a try. You can plan your meal on the left side and on the right side you can note what meal needs to be pulled out to thaw that day as well as any cooking instructions for the meal that night. Hopefully, it will help me with getting things thawed in time. Generally, I’m pulling things out to thaw in the refrigerator 2 days in advance. For most things, that seems to be working. Just sign in below to get your free printable.
Ok, so now let me hit you with my biggest tips and some things I LOVE in the kitchen on cooking day. I’m linking to the actual tools I love so you can see what I love and what works really well.
Tips
- Try to overlap ingredients when you plan your meals for the month. For example, this month we had 4 or 5 dishes with apples in them. It makes the prep a bit easier and can help keep costs down as well.
- Limit your meats – this can mean two things. First, have no more than a variety of 2 to 4 meats for the month. It will help keep your costs down. Second, if you are like me, don’t plan all meals with meat in them. It will be too much and too expensive.
- Pick out 1 or 2 recipes that cook in the slow cooker
 (affiliate link) on the day of the cooking day. It is cooking for you and you don’t have to do much. Just don’t forget to borrow and extra crock-pot if you pick out two recipes like this.
 - Limit the number of items that you have to bake or cook stovetop. Pick up to 3 of these, but not more.
- Use Easy Assembly (you can search for them in the drop down menu on the Once A Month Meals site) or No Cook options. They are your friend on cooking day…trust me! Have at least 3 or 4 of these…or almost all of these. 🙂
- If you print your recipes, don’t print them double-sided. I have printed mine out and have made notes of what we liked or didn’t like for the future. Double sided printing didn’t work very well for that because not all of the recipes are two pages. Some are 1 page and others are two pages. If they are printed double-sided, you will have to keep them together and in the order in which they printed.
- If your shopping lists says, Mild Cheddar – Shredded, buy it shredded or you will have to add the shredding part to your prep night (or freak out mid cooking day that you need to shred something! Which may have happened to me on my first cooking day.).
- If you want your family to love this, get them involved. I sat down with my family both times and went over the meals I had selected. I made sure they sounded good to them. You will be making 2 of everything you select. I didn’t want to spend all that time and money to hear that they didn’t like it. I had them buy into it before I spent a penny. If they didn’t like the sound of it, I found something else. I also had a bell on cooking day. They were my runners to my outside fridge. They helped a ton that way which saved me more walking, etc. on an already tiring day. They enjoy helping, so it wasn’t a big deal for us.
- Print your labels out on full-size label sheets
 (affiliate link). Cut them out and stick them on the items before you freeze them. I have had one or two that didn’t stay on, but most of mine have stayed on.
 - Be prepared for a lot of dishes on cooking day.
- Keep your shopping list handy until you are done with cooking day. See number 5 below.
One of the things I don’t like about this is the waste. It is a ton more plastic bags and disposable pans and I don’t like it environmentally. Over time, if I continue to like it, I will probably add one glass baking pan per month to help reduce the number of disposable pans I need to buy. There are re-usable options for the freezer zipper bags. I may buy one of those and give it a try. They are expensive, though.
Cooking tools I wouldn’t live without on cooking day:
- Quad timer
 (affiliate link) – you will have times that you are cooking multiple things and a quad timer is so handy.
 - Liquid measuring glass
 (affiliate link) for teaspoons and tablespoons. This way you can measure the liquid in this glass and keep your other measuring spoons dry for dry ingredients. It = less washing of things…which on cooking day is a fantastic thing.
 - Multiple sets of measuring spoons
 (affiliate link) and cups
 (affiliate link)
 - Multiple sets of mixing bowls
 (affiliate link). I have 2 sets and 1 extra-large bowl. I usually go through all of them twice on cooking day.
 - Kitchen scale
 (affiliate link). When you buy things in bulk, the scale makes it easy to measure out the correct portion for each recipe. It also makes it easier when the shopping list says you will need 14 oz of Apple butter and the recipe says 32 tablespoons. Weighing out 14 oz is a ton easier than counting out 32 tablespoons.
 - Lots of wooden spoons and spatulas.
- Full Sheet labels
 (affiliate link)
 - Sharpie
I know this has been a crazy long post. Thanks for hanging in there with me. I hope it has given you some ideas to bring back sanity to your dinner time. Please ask any questions you have about Once a Month Meals in the comments and I will get back with you or I will write another post. I know my friends have had tons of questions for me about this whole thing. I think we are all looking for something that can make dinner a little more easy.
Also, if your life can’t swing a whole day of cooking, there are mini menus that are available that you can use and still get some food in the freezer to help out. It won’t be a whole month of dinners, but it will still help. You can get a free mini menu just for signing up for the Once a Month Meals email. You can give it a try and see what you think.
What do you think of once a month cooking and having some easy dinners? Leave comment and questions below.
For more organization and meal ideas, sign up for to get my latest posts directly in your inbox. Fun!

Leave a Reply