THIS POST IS A SPONSORED POST FOR WHICH I RECEIVED COMPENSATION. ALL OPINIONS ARE 100% MY OWN.
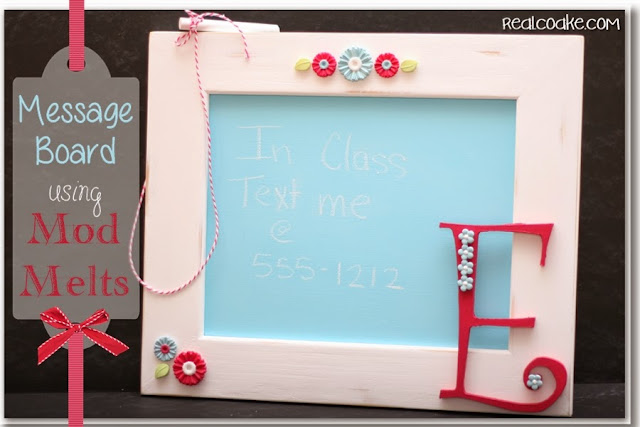
I’m so excited to share with you the message board I recently made. I’m excited because I got to make this sweet gift for my cousin (1st cousin once removed to be exact) who is heading off for college in the fall. I also got the opportunity to try out Mod Melts from Mod Podge for this post.
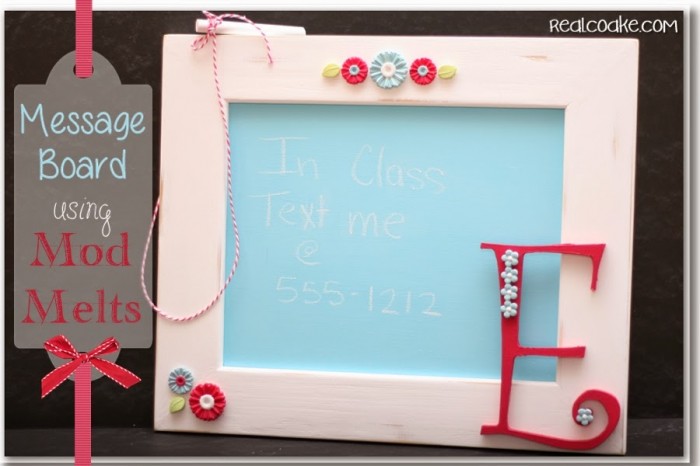
Let me just spoil the suspense now and tell you I had so much fun making this message board and working with Mod Melts. It was so refreshing to have a fun project and one without problems after all the projects I have worked on lately that have been challenging. It was especially sweet as it is a gift for a sweet cousin who I am so proud of and who my girls and I are going to miss dearly while she is away at college.
Supplies:
- Frame
- Backer board for the frame (needs to be smooth)
- Mod Melts- Mod Melts Milk Glass White
- Mod Melts- Mod Mold (Flowers)
- Paint
- Chalkboard paint
- Paint brush
- Primer
- Adhesive
- Mini High Temp Hot Glue Gun
- Removable picture hanger adhesive
- Curly letter
- Baker’s Twine
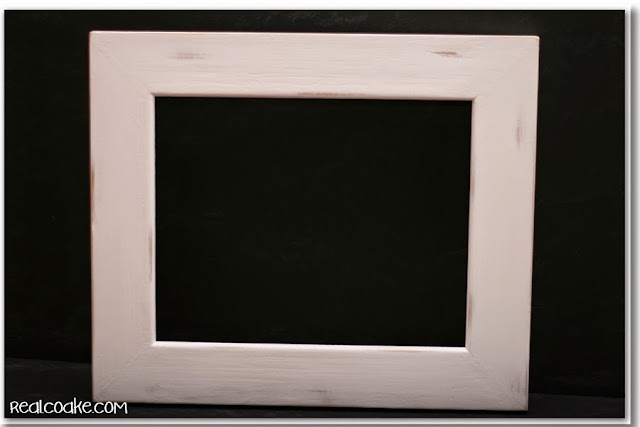
To make your own message board, start by priming your frame, curly letter and backer board. Then paint each of them with at least 2 coats of paint. Use the chalkboard paint on the backer board to make a chalkboard surface. Make sure you prime your chalkboard paint by rubbing the entire surface with chalk and removing it.
I messed up my paint a little bit on the frame, so I decided to give my frame a shabby chic look by sanding away the paint in a few areas.
Now for the fun part, place the Mod Melts in the glue gun and heat it up. The Mod Melts are super easy to work with and make. Just wait until your glue gun is hot and fill up the mold. Wait 10 minutes and the shape you made will pop right out of the mold. It couldn’t have been more easy.
For those of you who follow my blog regularly, you may remember that I am not often a fan of the hot glue gun. I can honestly tell you that I had so much fun with the Mod Melts AND the glue gun for this project. I just kept making molds. I’m pretty sure you will see these make an appearance or two in future projects. My girls ended up with quite a few to use in their own projects! I just couldn’t stop making the cute little flowers.
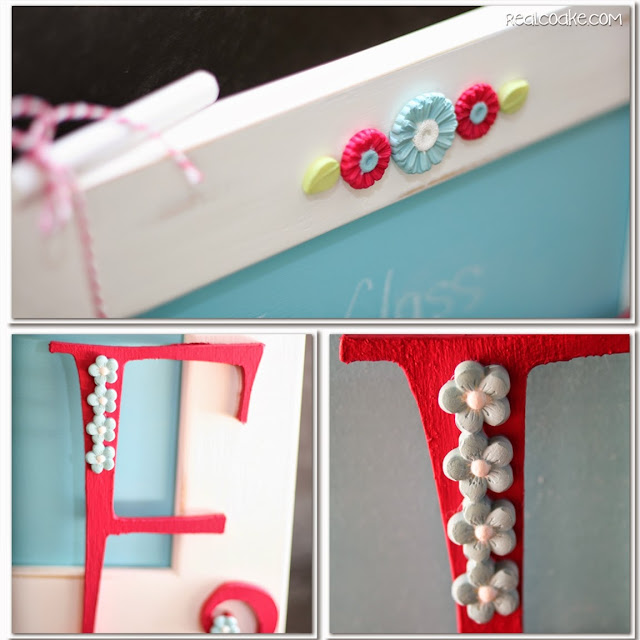
My biggest tip for you, when you work with Mod Melts, is to fill the mold as you can see above. It looks to me as though it is not quite full, but it comes out really well and really cute when you fill it just enough and not any extra.
When you are done playing with the Mod Melts and glue gun, the Mod Melts are paintable. Paint the flowers to match the colors of your project. I found it easiest to use a fine tip paintbrush to get the detail that I wanted when I was painting my flowers.
Don’t forget to add a removable picture hanger adhesive to the back of the frame. That way this can be hung and removed easily. For my cousin in a college dorm, that will come in very handy and not leave a mark.
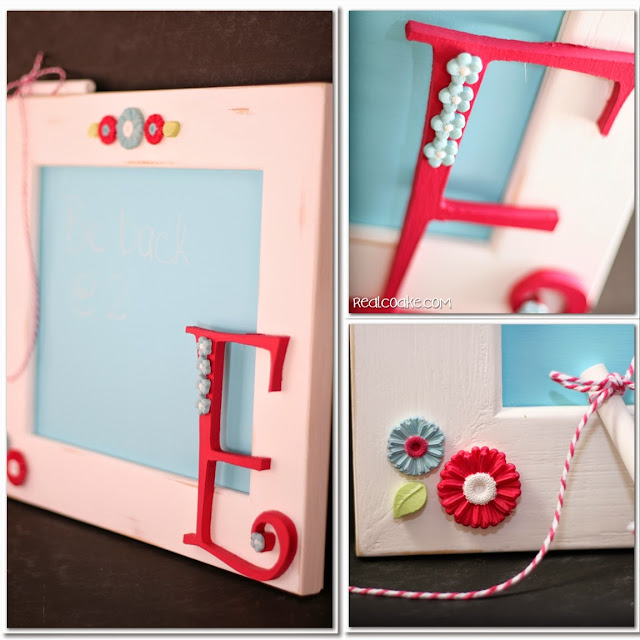
Add the flowers to the frame and letter with adhesive.
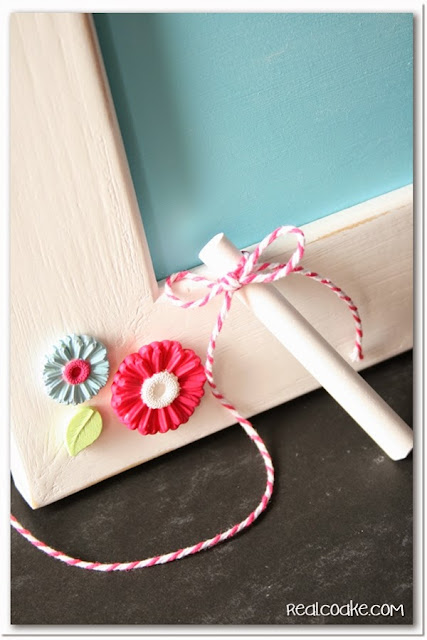
Then, use a piece of baker’s twine to add your chalk. You can adhere it with a staple gun and a dab of adhesive to the back of the frame. Now your message board is all ready to go.
Aren’t the Mod Melts flowers so pretty? I just love how they turned out,
Congrats to my cousin who graduated from High School! I hope this message board will be well loved and well used during your time at college.
You can learn more about Plaid and Mod Melts and join the fun on their social media sites: Facebook, Twitter, Pinterest or their blog.
Thank you to Plaid and Mod Melts for allowing me to try this new product and share it with my readers. I appreciate the opportunity.
More Great Crafts:




super cute!
Thank you!
KC
So cute! I love that you put the on the initial too – so fun!
Thanks! I love the initial as well…I had so much fun making it and giving it to my cousin.
Take care,
KC
This is a really cute project! Love all of the tiny details with the flowers, and you know I love that fancy “E”. Perfect for my first name too. 🙂
I totally should have made an extra one for you! Thanks for your sweet comments. It was such a fun project to work on.
Take care,
KC
This is super cute. We would love you to share it to our Monday linky party!
https://www.theprincessandhercowboys.com/2013/06/on-display-monday-7.html
Have a good one!
Britney @ The Princess & Her Cowboys
Thank you so much! Have a great weekend.
KC
I just saw this at Pink Cricut!! AWESOME!! love it !TFS
Have a wonderful day,
Migdalia
♥ Crafting With Creative M ♥
♥ 2 Creative Chicks ♥
♥ Silhouette Challenges ♥
Thank you so much!Hope you had a great day as well.
KC
Cute message board!!! The Modge Melts look like fun!!!
Saw this at Pink Cricut!!
Thanks! They were fun to work with!
KC
Fun! Love the personalization with the E!
Thanks! I love that E as well…it seems to add so much.
Thanks for stopping by.
KC
I love the colors you picked and I am pretty jealous you got the mold with the flowers!!
Thank you! Yes, I’m super happy I got the flowers, worked out well for me.
Take care,
KC
I love this board, the colors are GORGEOUS. I would really like to make some of those flowers! I might have to make an emergency trip to MICHAEL’s like … RIGHT NOW.
Thanks for sharing!
Thank you…yes an emergency trip to Michael’s is definitely in order. Have fun!
KC
Super cute! Another thing pinned from your fab blog today! 😉 Thanks for sharing!
Thanks! I appreciate the sweet comments and the pins.
KC
This is super cute! 🙂
Thanks!