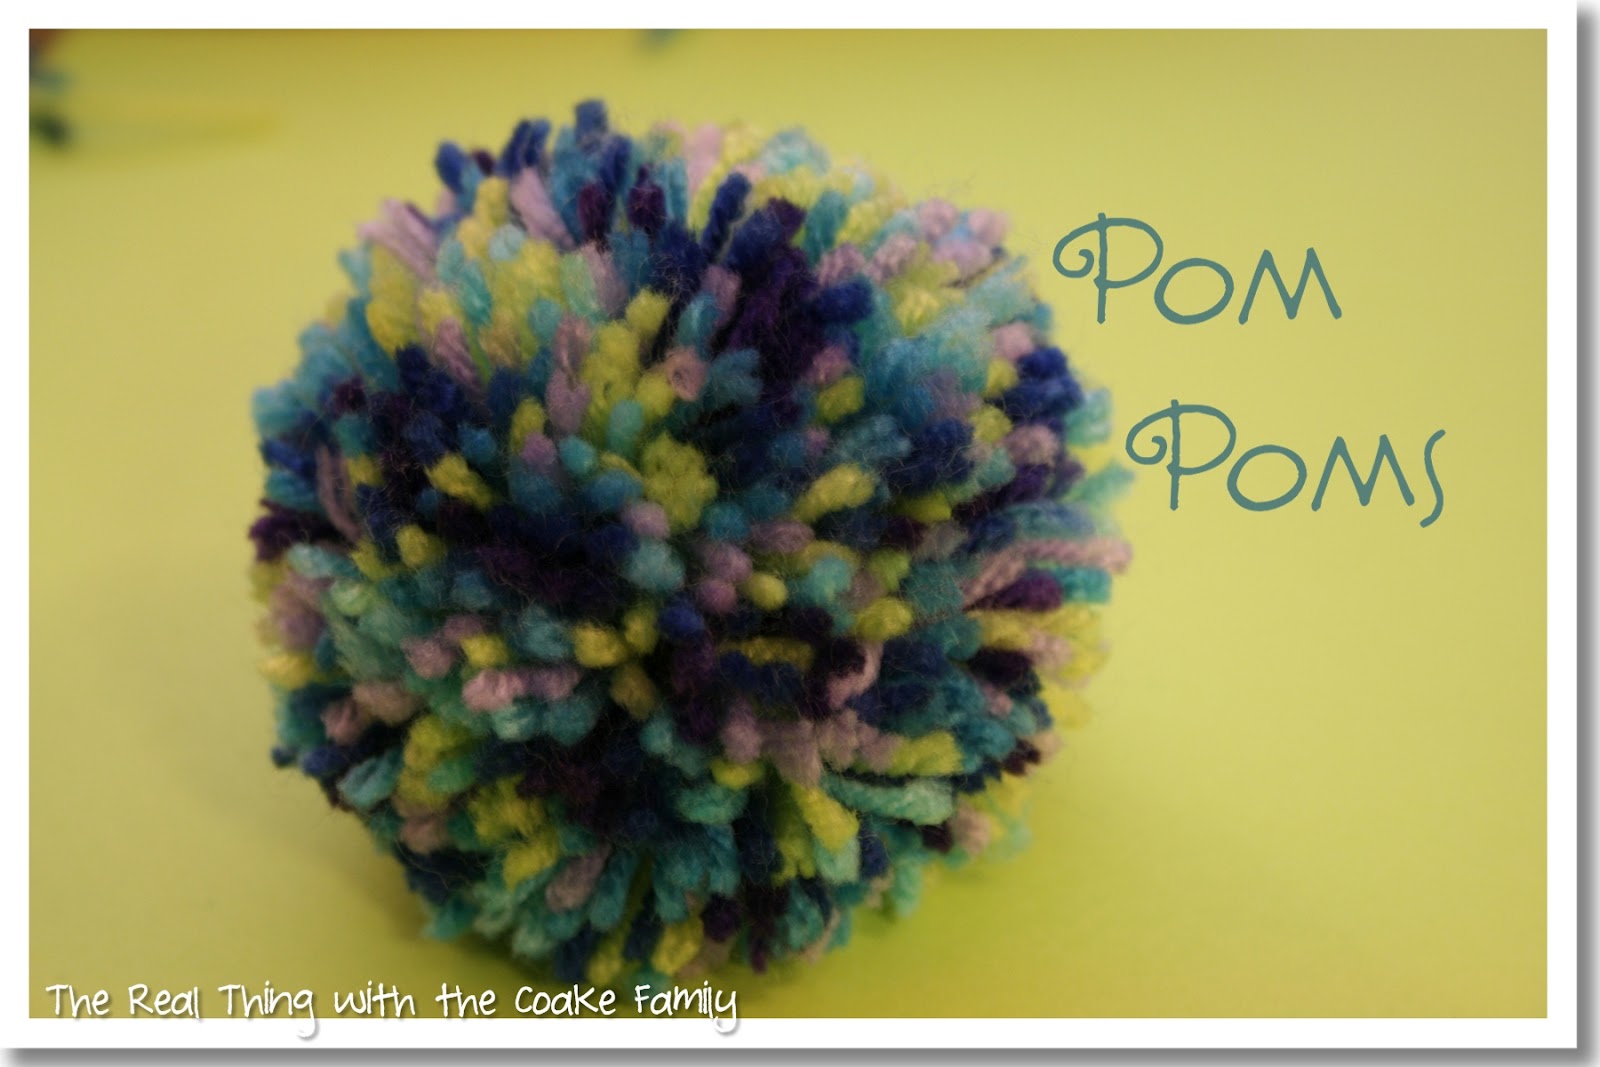
I’m working on a new centerpiece for our kitchen table. I wanted to make something that looked summer-y and fun. I have done the same thing for the last year or two and wanted something different. I came up with the idea to make pom poms and use them as part of an ice cream themed centerpiece, because what is more summer like than ice cream, right?!

I had seen these Clover Pom Pom maker (affiliate link) and I’d been looking for a reason to try them out. I finally found one. I got my Clover Pom Pom maker at Michael’s with a coupon.
At first I was a little disappointed with my makers. The first few pom poms I made didn’t come out looking as full as I wanted them to look. They do come with little pictures and directions, but I thought you might like my tips on how to make a full pom pom with these fun pom pom makers. Which now that I have them figured out, there will be many more pom poms in my future. They are so cute and cheery to me!

- Wrap your yarn over the Clover Pom Pom maker covering the entire surface from one end to the other end.
- Wrap back in the opposite direction.
- Wrap again a third time over the entire surface.
- All done! Now do the same thing on the other side.
There may be a better way to get a really full look from your pom pom. This is the way I made mine. I found that just wrapping one time was not enough. Two times was a little better, but for the look I wanted wrapping the entire surface three times was the winner!
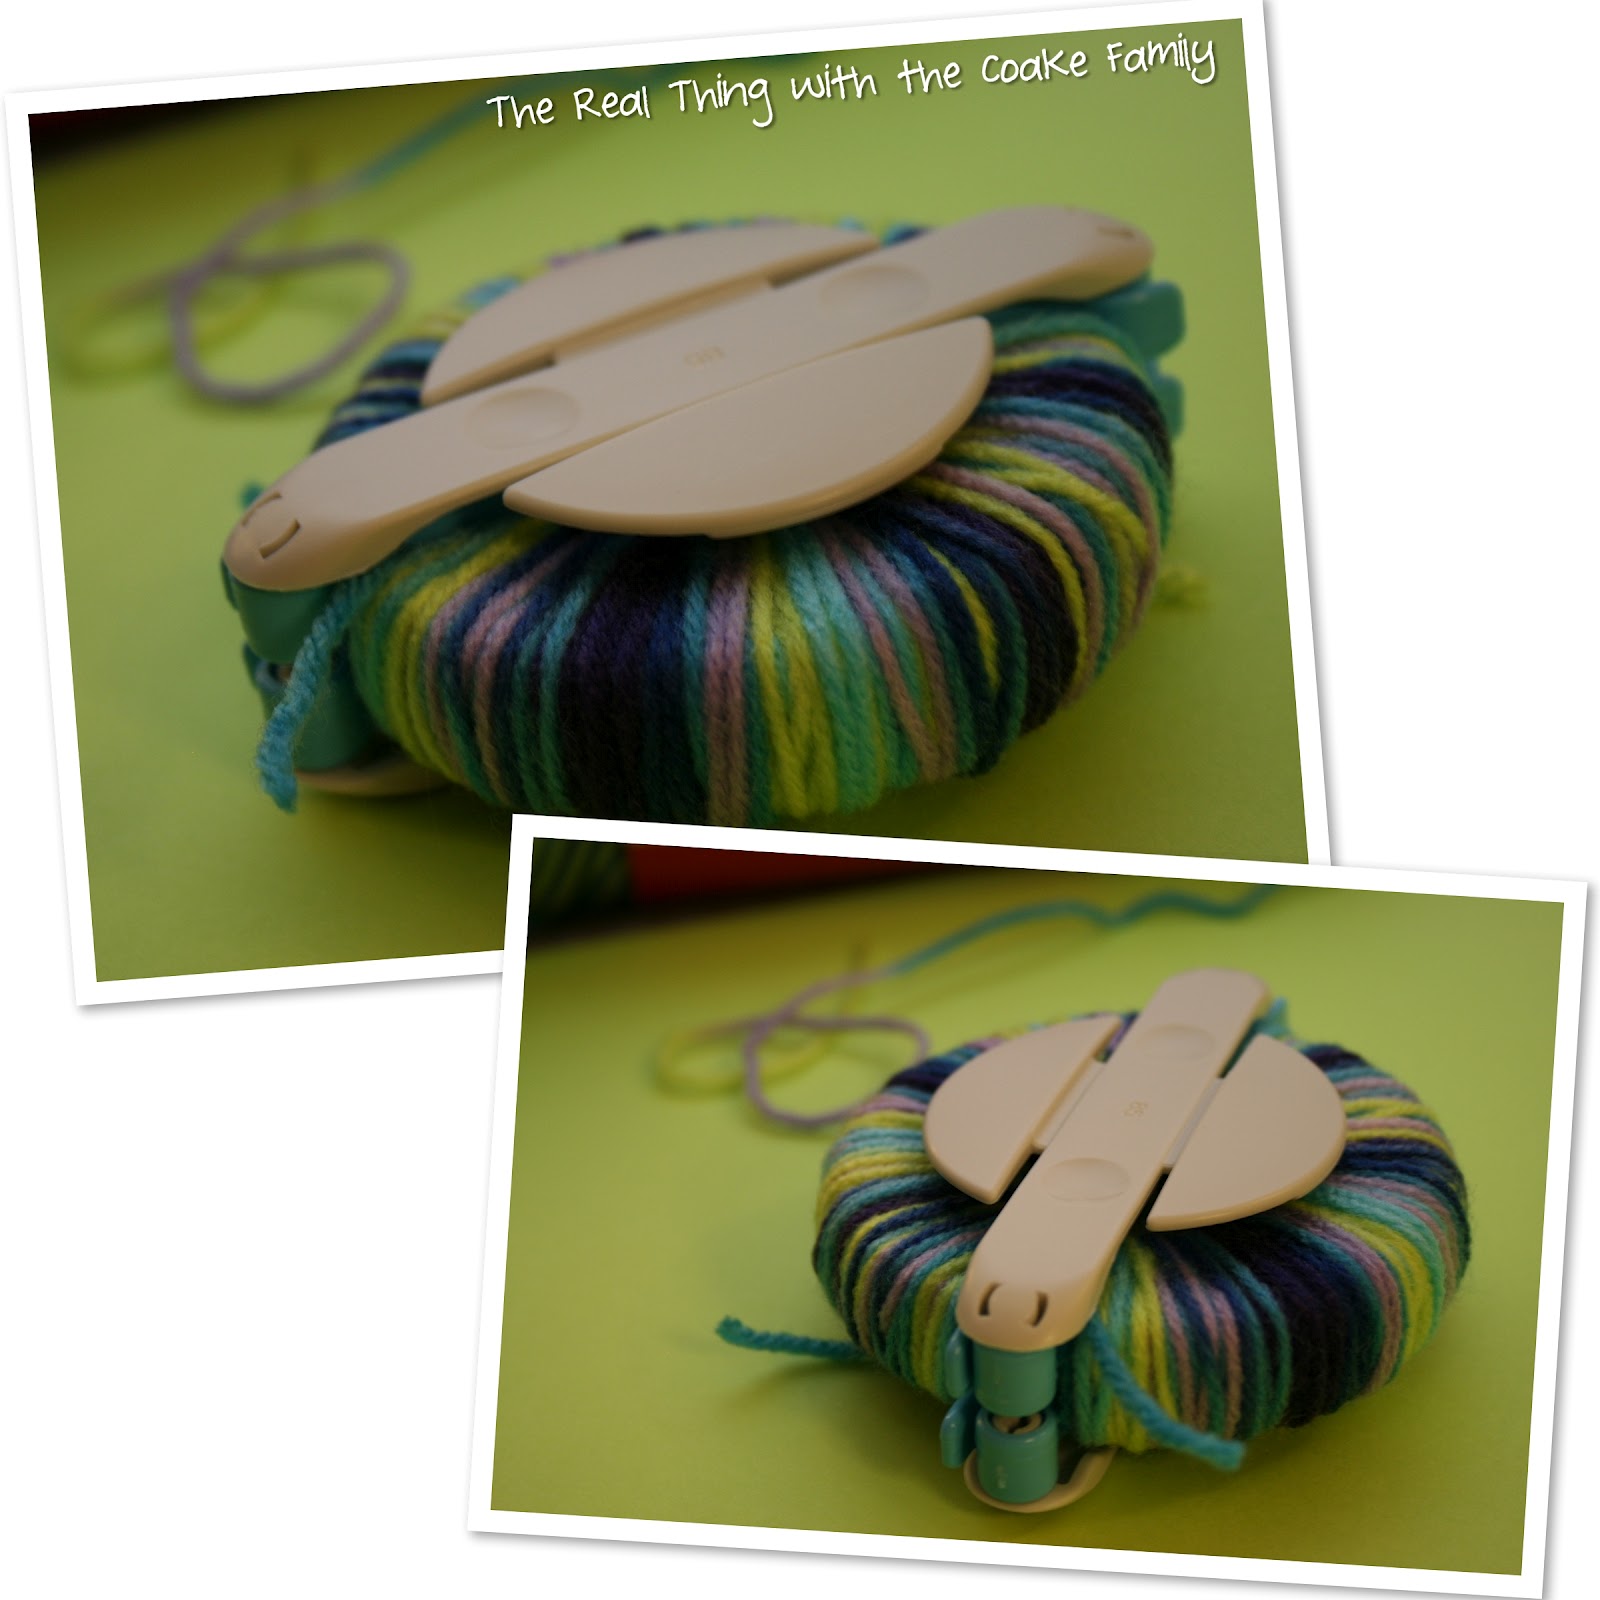
Your pom pom maker will look like these above when you have wrapped both sides.

Next you use sharp scissors to cut through all that yarn.
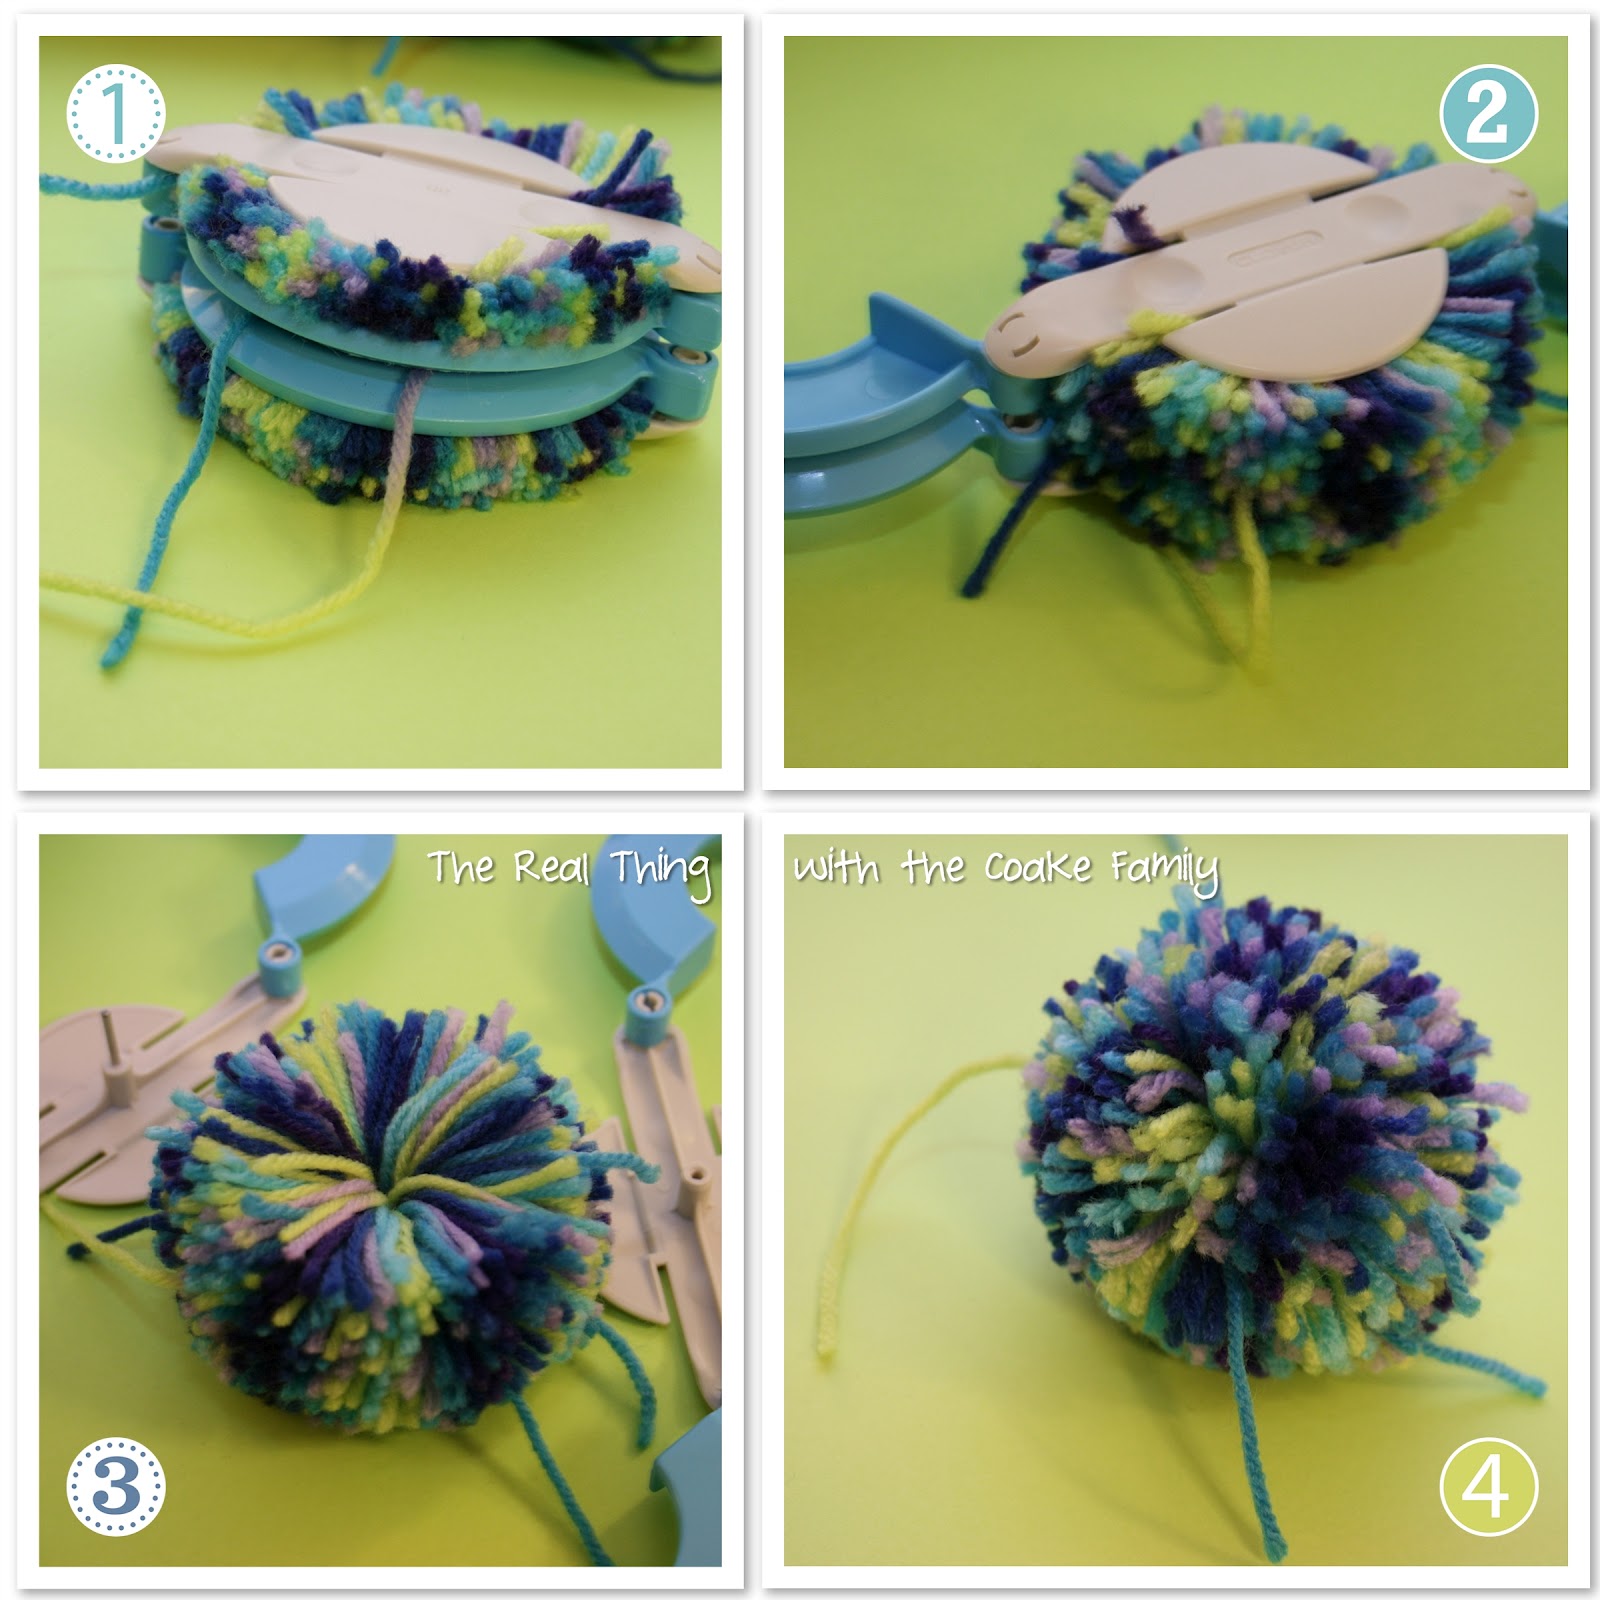
- Use a piece of yarn through the center. Pull it really tight and tie it off in a knot (or a double knot if you want it to be super secure like I did mine).
- Release the swing arms one at a time.
- Pull the two pieces apart to remove your pom pom.
- Voila…pom pom!
The only thing remaining is to trim your pom pom and enjoy the cuteness!
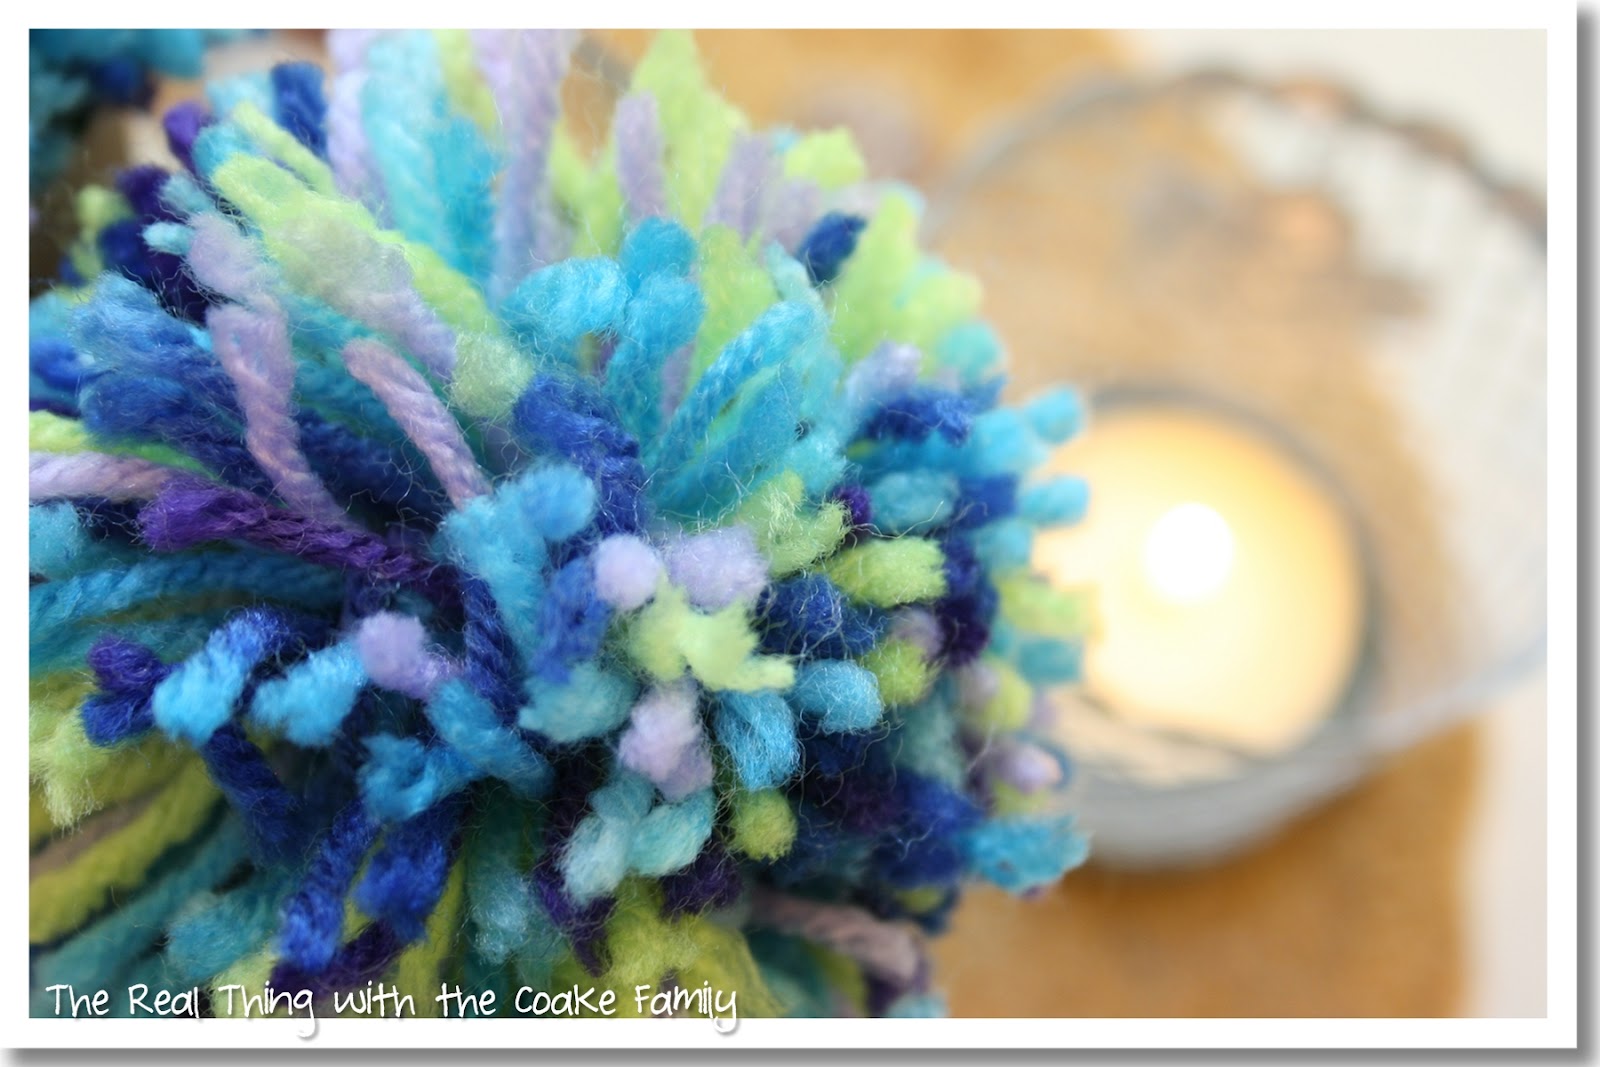
You can see the completed summer centerpiece in that post. I also have another summer centerpiece idea as well as a cute way to fill apothecary jars for your summer home decor.
How fun!! Thanks for stopping by my blog! I’m new to my iPhone and accidentally did something to your comment and it’s not there. I’m sorry! Hope you show your centerpiece when it’s done!
I want one of those! How fun! Thanks for sharing at the Pomp Party! Pinning to our Pomp Party board!
the pompoms look really cute and I can’t wait to see your centerpiece!
Thanks so much! You can see it tomorrow morning..yay!
Wow, I’ve never seen a pom-pom maker before! When I made pom-poms as a kid, we did it the old-fashioned way with cardboard ‘donuts’! Those pom-pom makers make some fab-looking pom-poms!
How cute! Thank you for sharing this at Saturday Show and Tell. I can’t wait to see what you have for this week! I look forward to seeing you there.
-Mackenzie
https://www.cheeriosandlattes.com
Thanks so much! Thanks again for hosting! ‘See you’ this weekend.
Oh!!! It must be sooooOo fun to play with colors and create pompoms!
Thanks for sharing this at The DIY Dreamer.. From Dream To Reality!
Ohhh.. Ive seen those pom pom makers in the store! Im going to have to buy them now.. thanks for the tutorial!