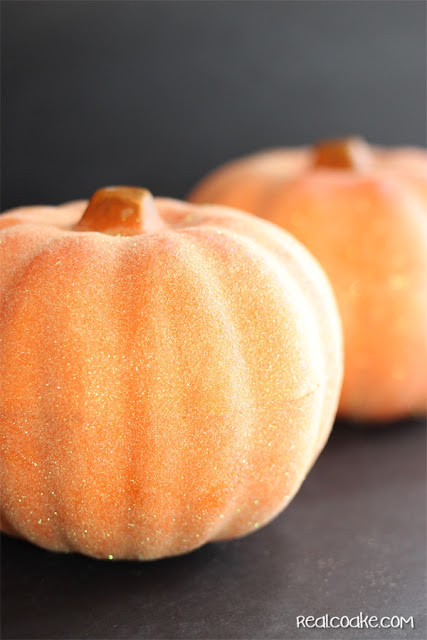
With fall in full swing, I wanted to get in the mood with a few DIY crafts. Today I want to show you how to take a plain dollar store pumpkin and add some pizzazz to it. It makes a perfect fall decoration and it is super easy, too. Yay!
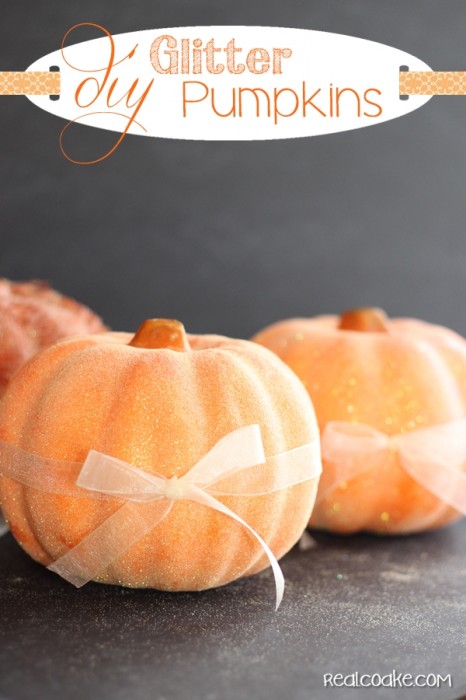
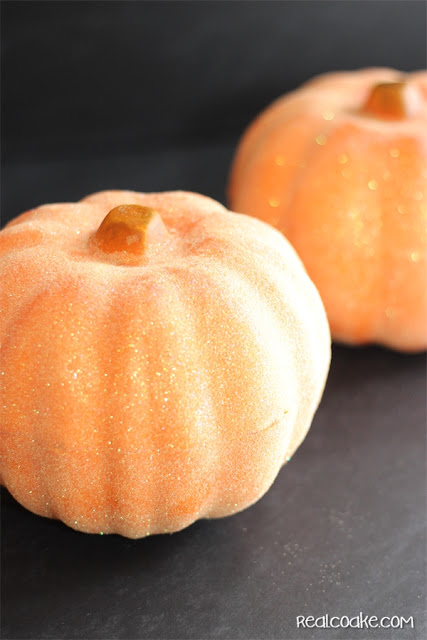
From plain orange pumpkin to pretty sparkly pumpkin and it only cost me a couple of dollars. You ready to make your own? I’ve got a tutorial for you…let’s have some fun!
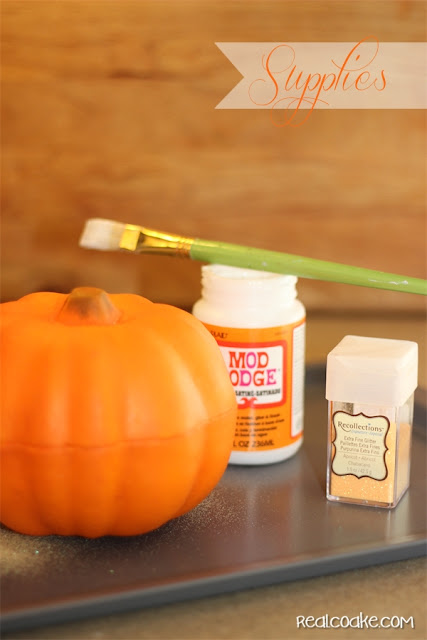
Supplies:
Foam pumpkin (I got mine at the dollar store)
Paintbrush
Parchment Paper (optional)
I’m all about the quick and easy crafts and finding ways to get things pretty in the least number of steps possible. I also wanted the glitter to completely cover the pumpkin. I didn’t want to have to paint a section then come back and paint more, etc. I wanted to keep it simple and quick.
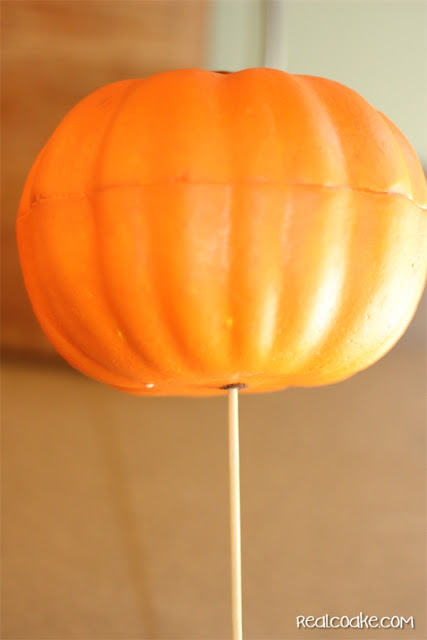
Here is the trick for you: use wood skewers! I had wood skewers on hand. I got mine at Target for making kebabs. The dollar store pumpkins are made of foam, so you place your skewer right up the center of your pumpkin in the bottom. This will allow you to paint the whole pumpkin with Mod Podge and glitter it all at one time.
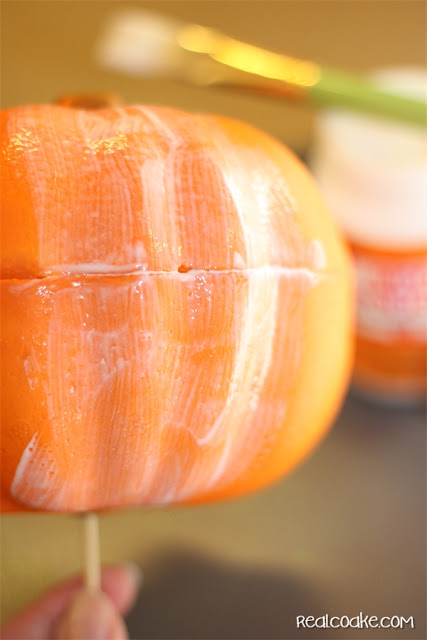
Once you have skewered your pumpkin, just paint the entire surface with the Mod Podge and glitter away. When you are done, place your pumpkins on a piece of parchment paper to dry because they won’t stick and the least amount of glitter will be lost. It works perfectly!
I told you that was easy. Your craft is already done and sparkly pretty. Now this pumpkin looks really pretty, but her sister pumpkin walked a different path.
I wanted to try another method of covering the pumpkins. I was looking for something that would cover up that middle seam.
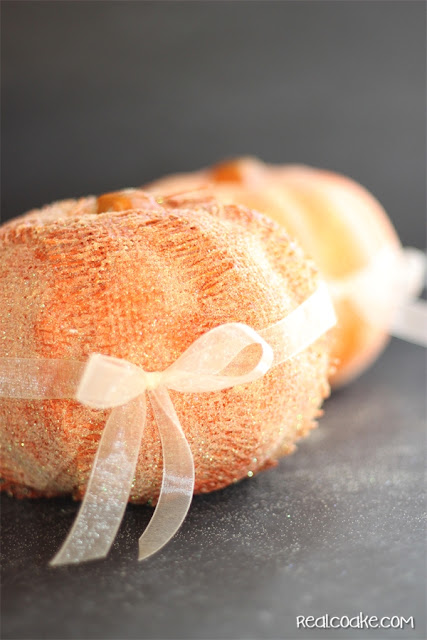
Do you remember the burlap ribbon that I used on my apothecary jars? I removed the wire from the ribbon and used the Mod Podge to attach the ribbon to the pumpkin. I wasn’t really in love with how it looked. I was thinking this was a craft fail. Since it was already a craft fail, why not keep going and see if I can rescue this little pumpkin from her misery.
Trying to rescue my idea, I added glitter on top of the ribbon and a ribbon around the middle of the pumpkin. It’s not my favorite pumpkin ever, but I think I sort of rescued this DIY failure. What do you think?
Getting back to my pretty sparkly pumpkins, I love how they turned out, but I didn’t totally love how you could see the seam in the middle of the pumpkin.
I decided to add a ribbon around the middles of these pumpkins to cover the seam. I think it was the perfect final touch. I can’t wait to show you where I used these pumpkins in my house!
What do you think of my ribbon covered pumpkin? Craft heaven or craft fail? I’m going with craft fail, but where I ended up using it, it actually looks OK. Surprising, in a great way! Thank goodness for that and for the two pretty glittered pumpkins that look great.
I link up with these great link parties and at Between Naps on the Porch and Savvy Southern Style.
© 2011-2013 The Real Thing with the Coake Family. ALL RIGHTS RESERVED.



Very nice! I love glitter for all holidays 🙂
Glitter is great anytime….at least that is my motto. Apparently I like shiny, sparkly things! 🙂
I can’t believe how these go from okay to fancy.
Thanks! It was easy to help them go from OK to fancy, too. Gotta love that!
KC
Saw this on Six Sisters link party! I’m all about glitter; these are adorable! Deon | ipinnedit.com
Isn’t glitter so fun! Thanks so much for stopping by and your sweet comment.
KC
Oh what a fun idea and they are so pretty. Great tutorial too. Hugs, Marty
Thank you!
KC
Beautiful!! You are amazing!! C3
Thanks, Mom!
KC
These are too cute. Thanks for sharing with us at Family Joy Blog Link Up Party this week. Hope to see you next week!
Thank you! Thanks for hosting!