Do you love pom poms? I’m pretty sure I’m addicted! They are so cute and can add some fun and cuteness to most anything….like the DIY I have for you today. Just buy a throw and spend a little time to give your throw some cuteness with pom poms! It is a fun and cute home decor project that just make me smile as I snuggle under the throw on these cold winter nights.
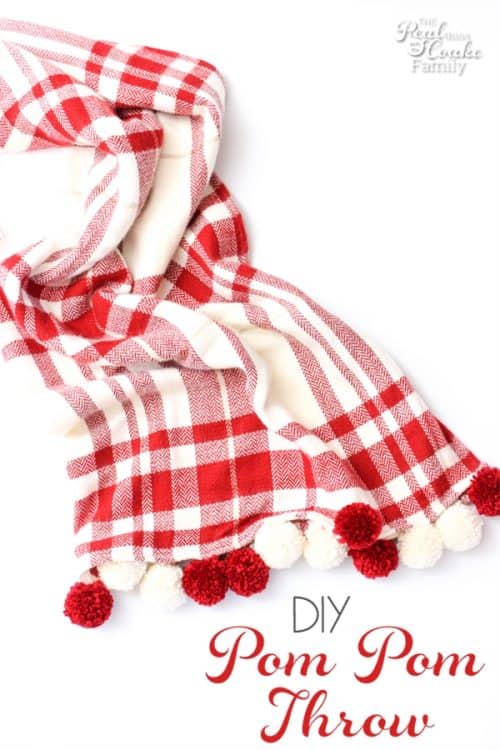
I had originally planned to make and show you this pom pom throw during the Christmas season because I thought it would add a fun touch to our holiday decorations. The holiday season just got too busy and I decided rather than kill myself to bring you another post, I needed to take a break. That was a great choice for me.
I still really wanted to make this pom pom throw because, like I said, I LOVE pom poms. I decided it works great for my home decor throughout the winter. I also think it adds a fun touch to the living room that, since I selected a red and cream color throw, we can say is Valentine’s day. Especially once I have decorated for Valentine’s Day. 😉
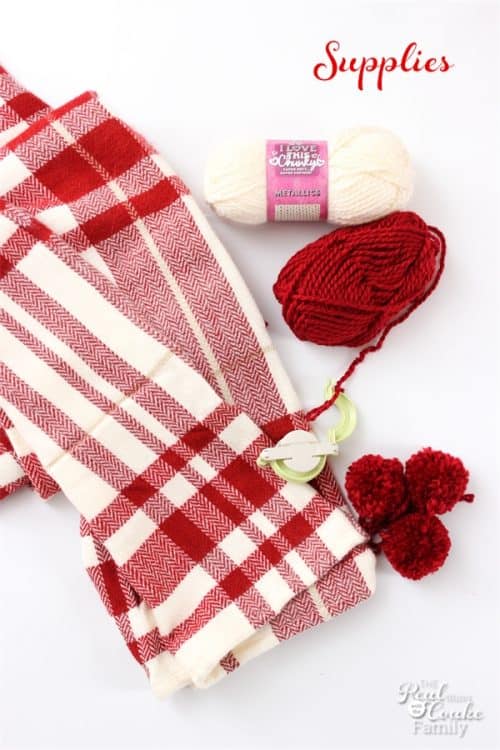
Supplies:
- Throw (purchase one with no tassels and not too thick or you won’t be able to using your sewing machine for this project)
- Yarn
- Pom pom maker
 (affiliate link)
 - Heavy gauge ball point sewing machine needle
 100/16 (affiliate link)
 - Thread
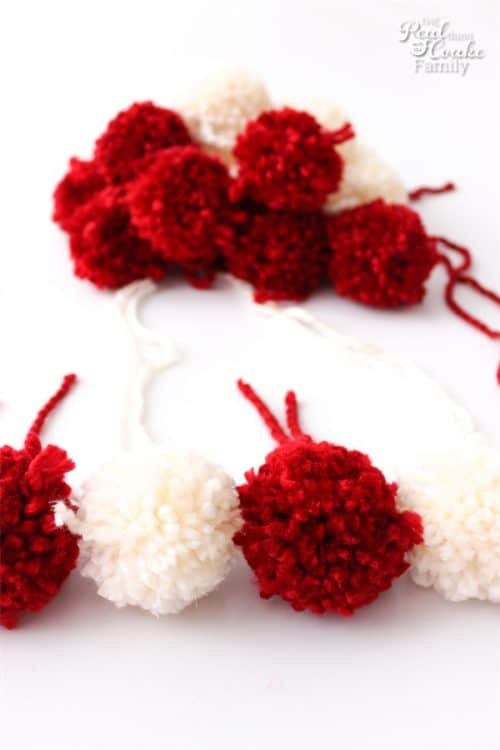
You will start by making your pom poms. I used two full skeins of yarn for this project. I love making pom poms with my clover pom pom maker![]() (affiliate link). I know you can make them the old-fashioned way, but I love gadgets, so I use the pom pom maker.
(affiliate link). I know you can make them the old-fashioned way, but I love gadgets, so I use the pom pom maker.
When making your pom poms, make sure to leave a long tail on them and do not cut the tail off yet.
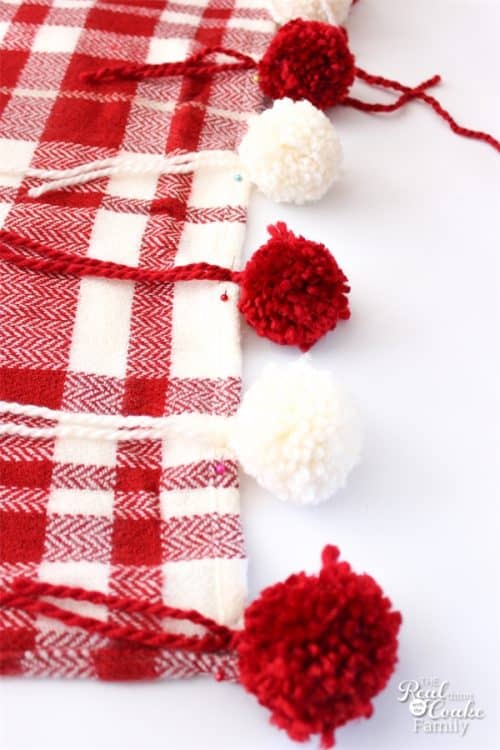
Once you have made your pom poms, decided on your placement. I placed mine every 4.5″ and alternated the colors. Allow at least one inch of overhang from the edge of the throw to the center of the pom pom. If your throw has a larger hem, you will need more than 1 inch. Pin in place on the wrong side of your throw.
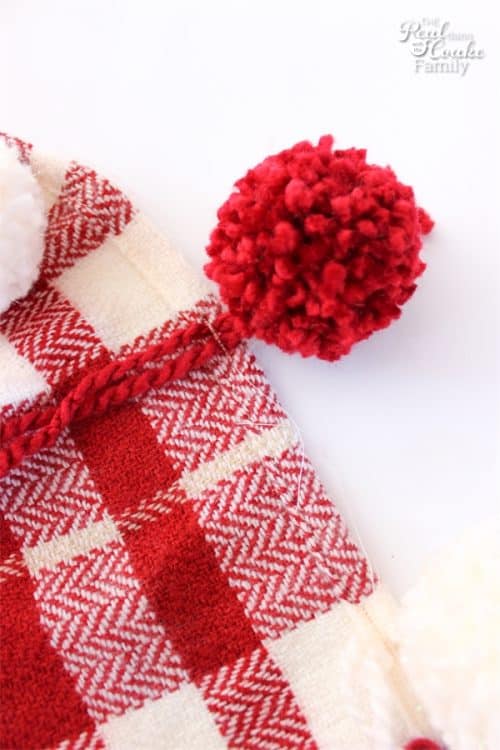
Sew the pom pom in place. Sew and backstitch over the yarn multiple times to make sure it holds.
Trim the thread and the tail of the pom pom.
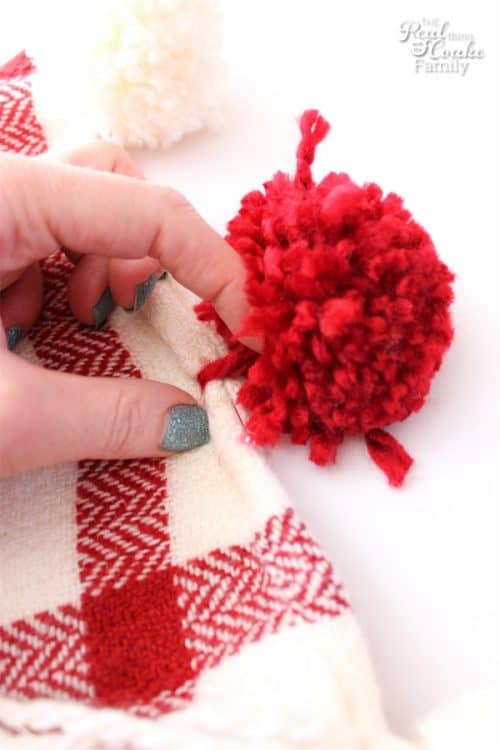
Fold over the bottom edge of your throw to hem it. Pull the pom pom over the fold to the outside edge of the throw(as pictured above). This is why you left at least 1 inch between the edge of the throw and the pom pom. You will be sewing over the yarn. This will hold the pom pom in place and give the throw a new finished edge.
Sew the hem into the entire edge of the throw. You will need to use a heavy gauge ball point needle for the best results. I bent up a lower gauge universal needle trying to go through all of these layers. Sew on the wrong side of your throw. Backstitch over each pom pom yarn to give more security. You will have to hold the each pom pom out of the way as you sew in that area. It can be a little tricky, but just be patient and it should work fine.
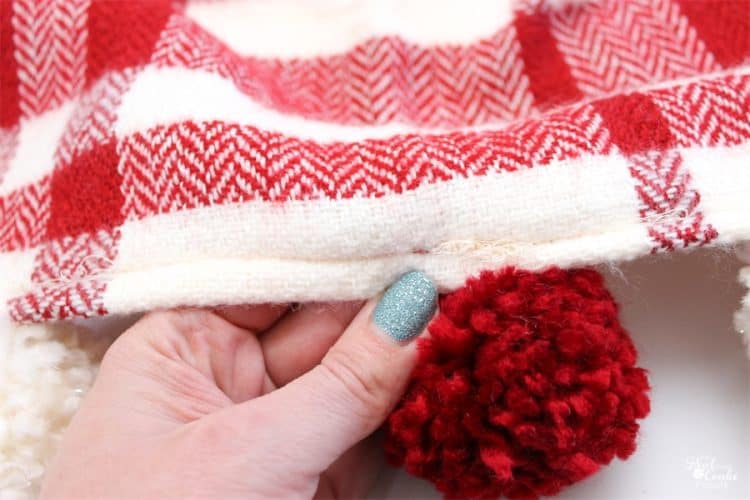
Unless of course you have something wrong with your thread and you don’t realize it until you are half way through one side of your throw…like me. Just keeping it real as usual. I didn’t realize something was wrong with this side of my throw until I was about halfway done sewing this hem. Uugh!
I lack the patience to go back and rip all this out, so I just left it. I really doubt that anyone is going to inspect my work that closely and if they do and they say something, I will hand them the seam ripper and my sewing machine. 😉
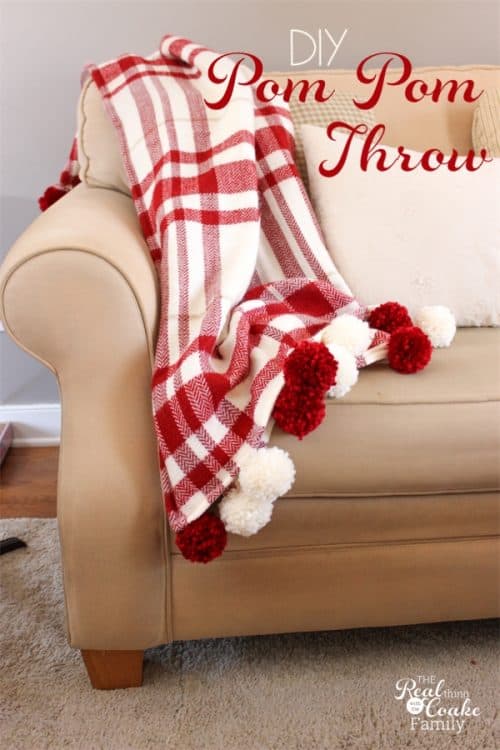
In the end, I have a new throw in my living room that I love! It looks so cute and it is fun to snuggle under. It took me about 2 hours to make once I got to the sewing part. I didn’t keep track of how long it took me to make pom poms because I did those at a school meeting and while on the phone with my home warranty company(you can read more about that on my facebook page).
Now I just have to find a way to keep the dog from eating the pom poms. She seems to think that pom poms are her chew toys. This throw is NOT a chew toy! Any suggestions?
More Fun Home Decor Projects:

Leave a Reply