I’ve got another project from my youngest daughter’s room makeover for you today. Today, I want to show you the DIY desk I made for the corner of her room. It is a partial DIY and a partial IKEA Hack…the best kind of project. Using what skills I have to make a custom fit corner desk and making things a little bit easier by purchasing some of the items at IKEA to make the desk project a little easier.
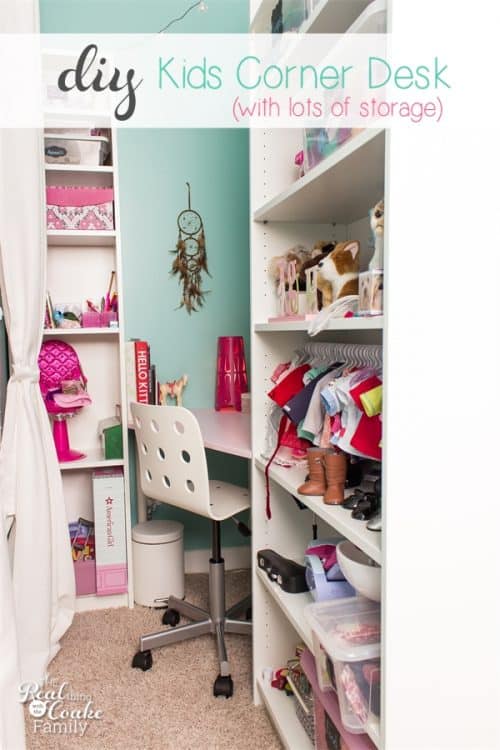
If you have been following the makeover going in my daughter’s room, then you probably saw my last post where I showed you the small awkward corner in her room. I got the shelves at IKEA and put them together and we got most of her toys organized. Now it was time to make a small corner desk to fit in between the two bookshelves. It had to be DIY and custom made in order to fit into the space we had available. I got to use power tools…which is always fun! It wasn’t a terribly difficult project, but it did take some time as well as some patience…which isn’t always my strong suit. In the end, I forced myself to be patient and I’m super happy with the end results and love the desk I created for Pumpkin.
I’ve got lots of detail pictures for you as well as the step by step directions so you can learn to make your own IKEA Hack DIY desk.
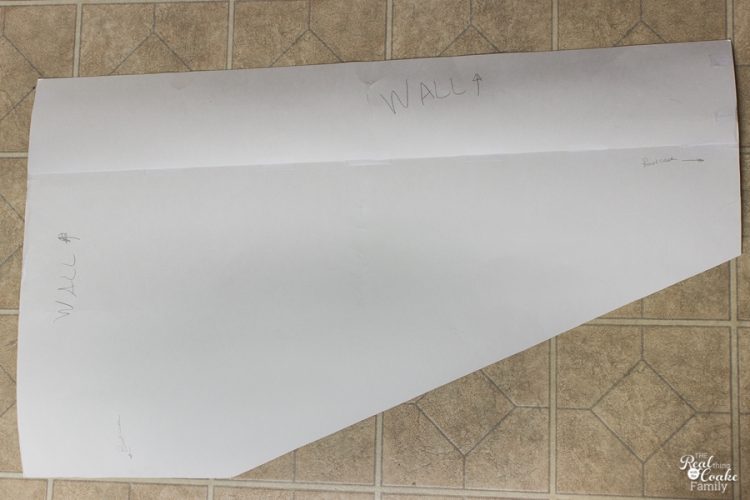
If you are working in an awkward space or a space that will need a custom size or shape, you will need to start by making a template of your area. This will just ensure that you have something that will fit before you start cutting and painting, etc.
Our house has baseboards that are probably 1/4 to 1/2″ thick. I didn’t want Pumpkin’s corner desk to be that far away from the wall, so I needed to make my template flush to the wall, not to the baseboards. I used some poster board I had on hand (it was the tube that the new rug in Pumpkin’s room [affiliate link] was rolled around). I started by measuring from the wall to the bookcase and marked that out on the poster board. I didn’t get the measurements correct, so my template came up short. I was able to just add a piece back on.
Once I had it about the right size, I placed it into the space and marked off the two bookcases to get the angle for the desk. I then just used a yard stick to draw a straight line between the marks.
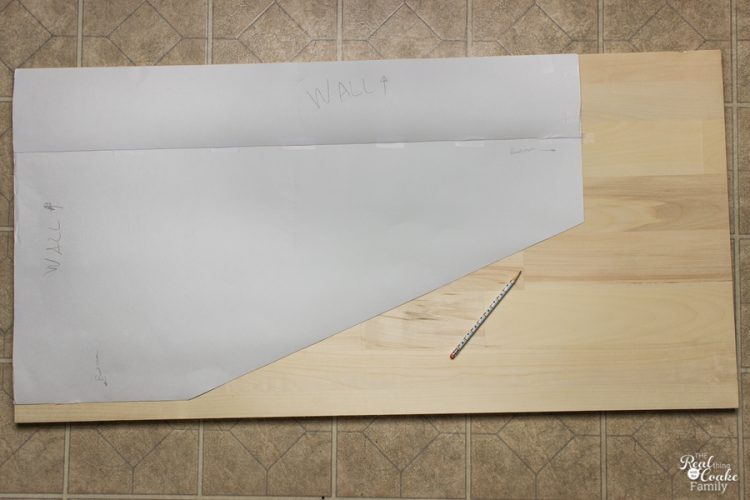
Once I was happy with the template and felt it fit well, I taped it onto the wood I was using and traced it off.
I selected a 24″ wide x 48″ long piece of Aspen for this desk.
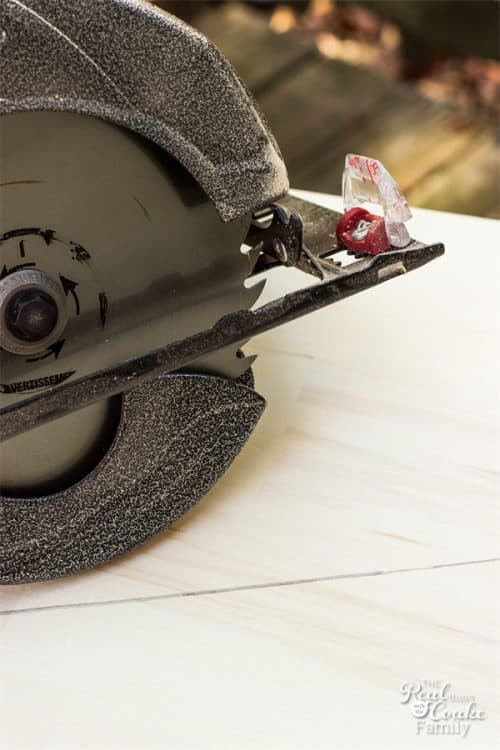
Now, it is power tool time! I used a circular saw, but you could also use a jig saw. Just use whichever you have on hand and cut on the lines you traced.
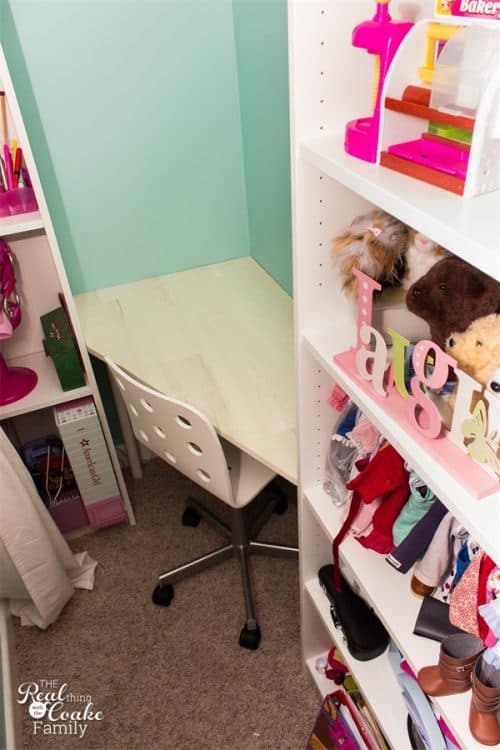
Once you have your piece cut, dry fit it in the space to see if it will work. Keep in mind that the paint will add a little bit of thickness to the piece. My piece was a tight fit. I decided to do a heavy sanding to remove some width in order to allow a little bit of wiggle and/or paint room.
Sand all your surfaces until smooth. I started sanding with 80 grit sandpaper. After that, I switched to 120 grit and for the final sand I used 220 grit. You want everything to feel super smooth when you are done. If you feel comfortable, you can use your power sander to round the edges of your desk so that the edges are more comfortable for the person who will be sitting at the desk, which is what I did.
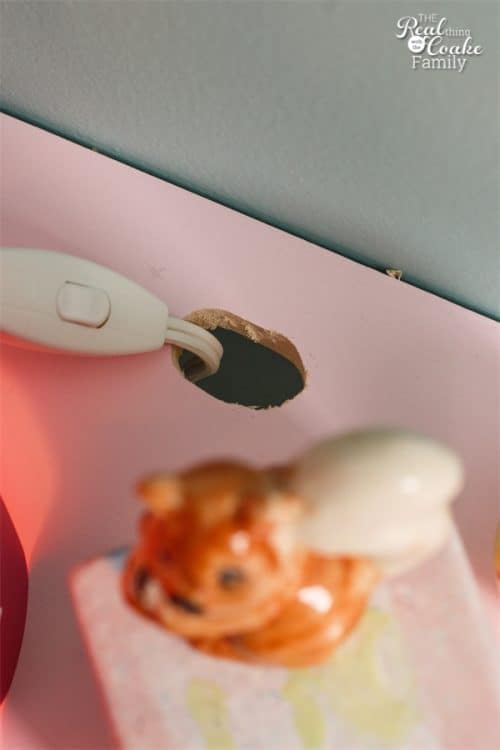
If you know that you will have electrical items on the top of the desk, it can be handy to cut a hole into the top of the desk to allow the cords to easily get to the outlet near the floor. I forgot about this until my desk was done and had to cut the hole in later. After I shot these pictures, I went back and sanded the hole smooth and painted it. Just save yourself the trouble and do this at the beginning.
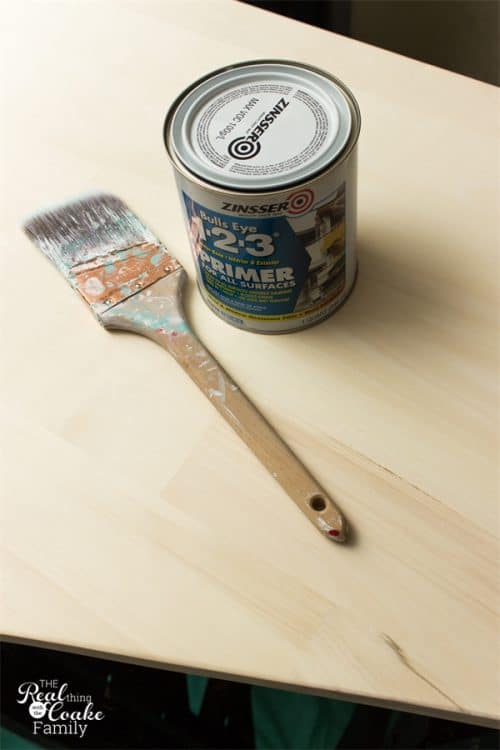
The next step is to prime. I know that lots of paints say they are Primer and Paint, but priming the wood still helps get a great coverage for the final coat.
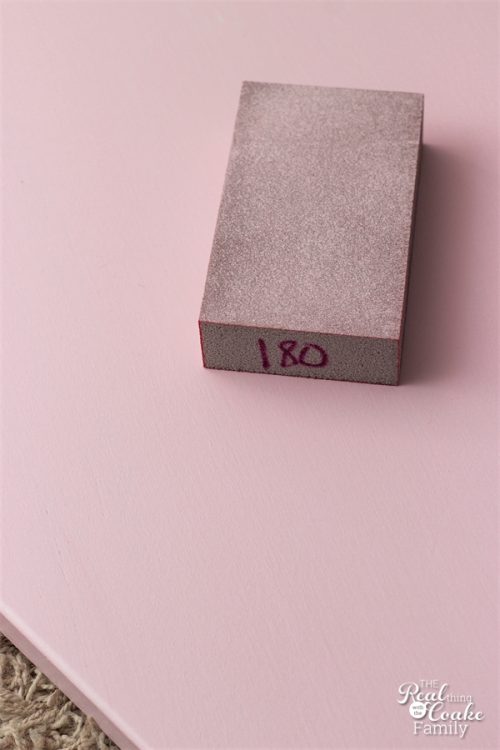
After my coat of primer, my wood needed a light sanding with some fine grit sandpaper. It felt a bit rough after the primer and I wanted a totally smooth desk. I think the primer just raised up the wood grain a bit and a quick sanding took care of things. Another reason to use primer. I am in love with these sanding blocks![]() (affiliate link). They make sanding like this so easy. I just mark the end of the sponge the grit of the sanding sponge so I know which is which when they are out of the packaging.
(affiliate link). They make sanding like this so easy. I just mark the end of the sponge the grit of the sanding sponge so I know which is which when they are out of the packaging. 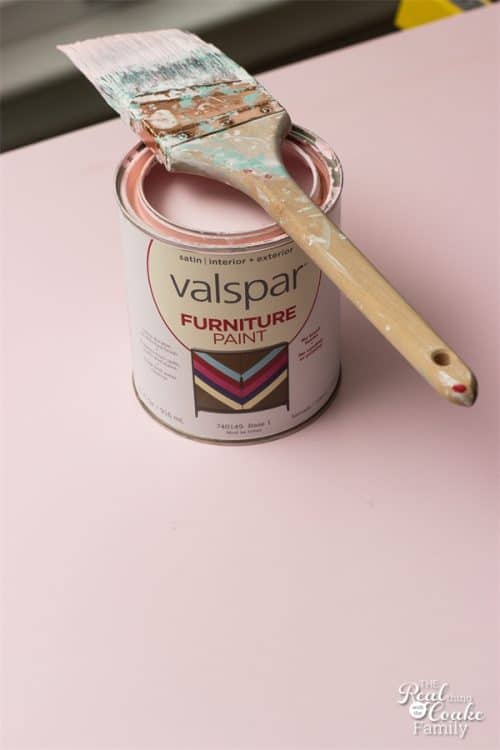
I decided to try a new product for this project. I selected Valspar Furniture Paint. I’m hoping that because it is furniture paint it will be more durable and do really well for being cleaned up. When I made the DIY desk in Snowflake’s room, I just used regular semi-gloss paint and it has not worked well for a desk. I need to re-do her desk. Desks tend to get pencil marks and other things on them at our house, so I’m hopeful that this furniture paint will stand the test of time.
I love that we could tint the furniture paint any of the Valspar colors(we selected Hello Dolly). Pumpkin was super excited that she could have a pink desk! What 9-year-old girl wouldn’t be excited to get to pick any color for her desk? None that have ever lived in my house. 🙂
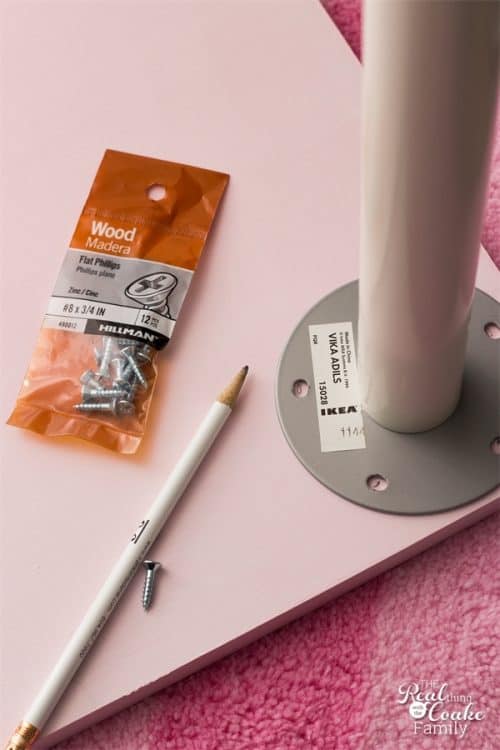
The furniture paint requires a longer drying time. Make sure you give it all the time it needs. Next up, will be the IKEA Hack part of our project. We had legs from an IKEA desk that was in Pumpkin’s room. I decided that they would be great to be re-used for this desk.
Turn the desktop over and mark the holes for the screws that will secure the legs to the desktop.
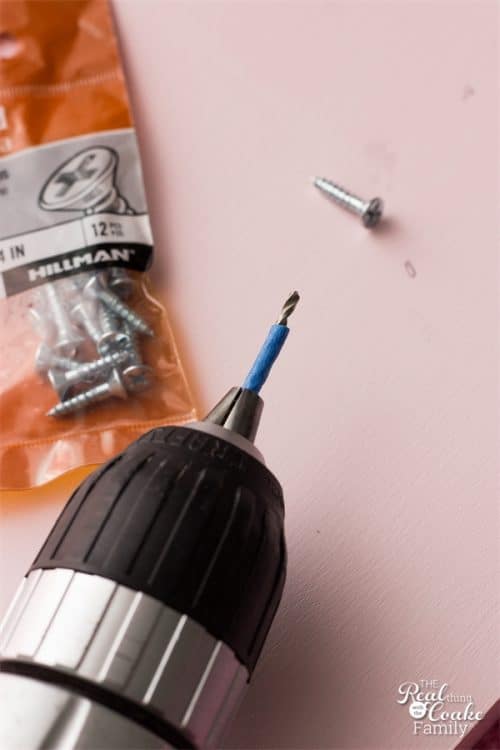
Pre-drill the holes for the screws for the desk legs. A super easy trick to know when you have drilled deep enough is to mark your drill depth with painter’s tape on your drill bit. When you hit that mark, stop drilling.
My desk was an exact fit and because the area is a small area, I was only able to attach one leg before installing the desk. The other legs got attached from the underside of the desk. If you need to do your desk legs that way as well, it will be helpful to have another person giving you pressure on the top of the desk. I had one screw that got stripped because I didn’t have anything pressing down from the top of the desk. As soon as Pumpkin helped me by giving me pressure on the top of the desk I had no more issues.
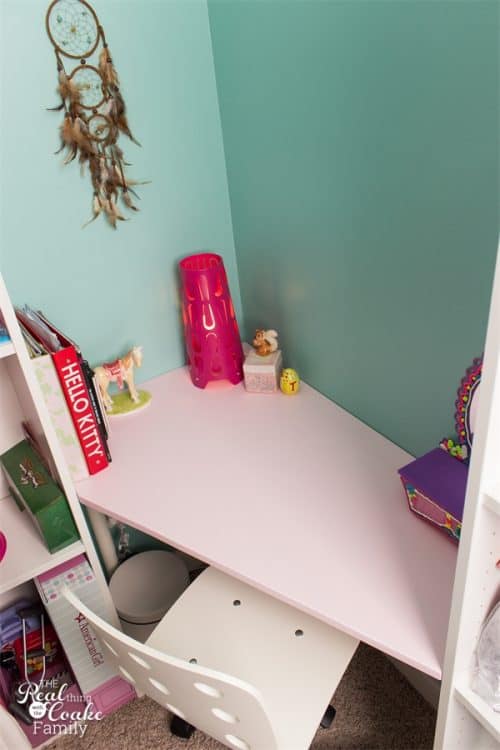
We have a perfect fit for a corner desk!
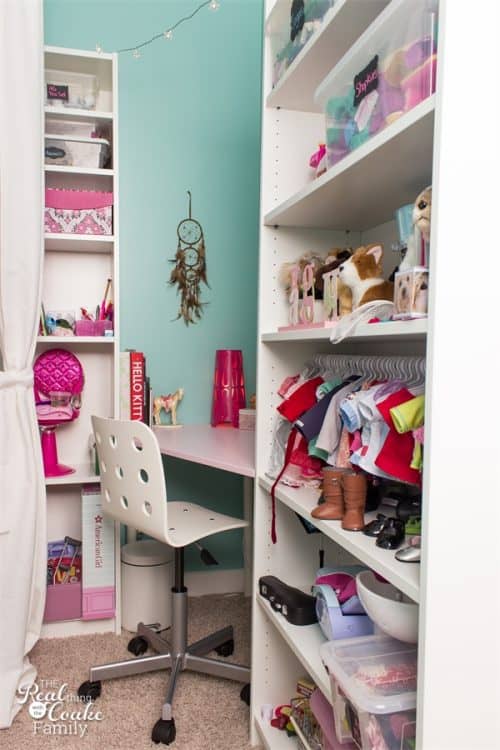
It fits perfectly into this corner and uses the space so well.
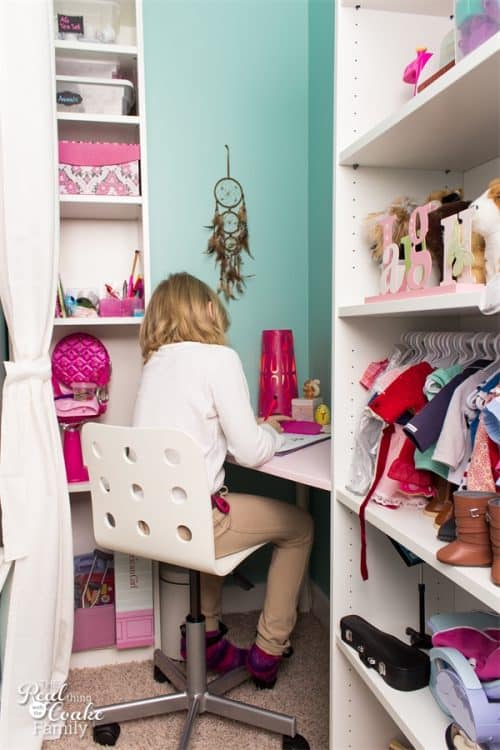
Pumpkin loves her corner desk. She didn’t want to leave. I feel so happy to know she loves it so much!
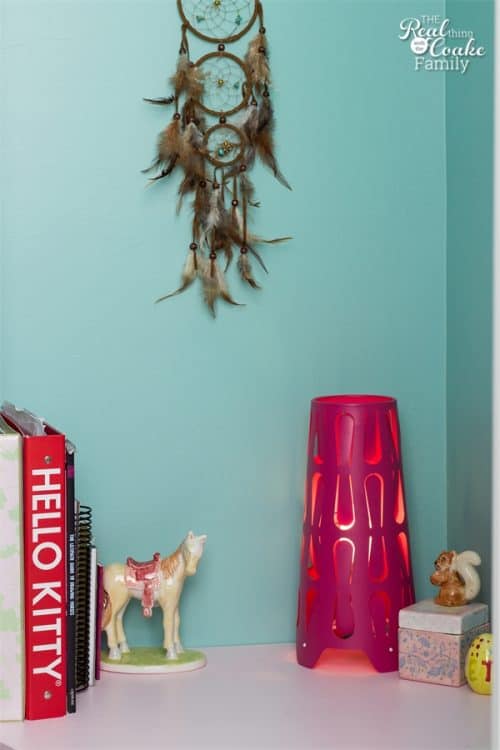
We had bought the cute little lamp on our last trip to IKEA. Her corner can get to be a bit dark. I figured any extra light will help and make it more likely that she will consistently use her cute corner area.
Pumpkin bought the dream catcher with her own money when we were in Oregon this summer. She was so excited to have it hung up in her new room. Yay!
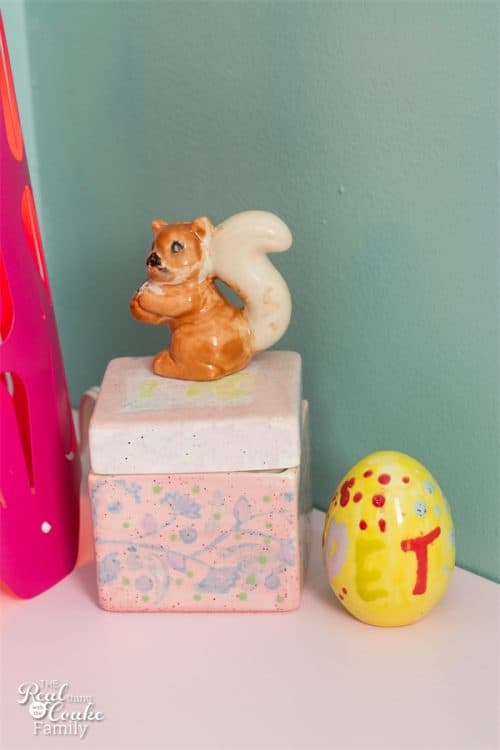
Cute ceramic pieces make some nice decoration for her desk.

I’m so excited to see this corner come together. This is the idea I’ve had for this corner for quite a few years. It is so great to see it all come together and see that it actually works. Makes me a happy Mommy!
You may have noticed that we got some curtains hung up. They look great on the other two windows in her room (though we have plans to add some fun to them as well as hem them to the correct length). In this corner, I currently have them tied back because the space is so narrow that they seem to get in the way. We have to be careful that the desk chair doesn’t roll over them as well. I’m going to have to figure something out for the curtains in this space. I’m half tempted to just not have curtains in this area, but I’m not sure if that will look weird because the other windows have curtains and this wouldn’t. For sure they will need to be hemmed and held back….will have to ponder that and figure something out.
In the meantime, I’m moving on to Pumpkin’s closet next. I need to re-do the closet to make it function more as a clothes closet and less like a storage closet. I also need to paint and put the doors back on her closet…though I just pulled them out of storage and they seem like they have mold on them…so I may need to buy new doors. ::Sigh::
Hopefully, next week I will have an update for you on her closet. Well hopefully next week, I will have her closet done, but we will see how that goes. 🙂
Follow me on Instagram or Periscope to see more behind the scenes from our room makeover and other projects I am working on.
Have you worked on an IKEA hack? What did you make? Leave me a comment below. I’d love to hear about it.
More great posts you are going to love:

Leave a Reply