After spending the last few weeks of summer with my kiddos, I’ve gotten back to work and I have a super simple DIY Dresser project for you today.
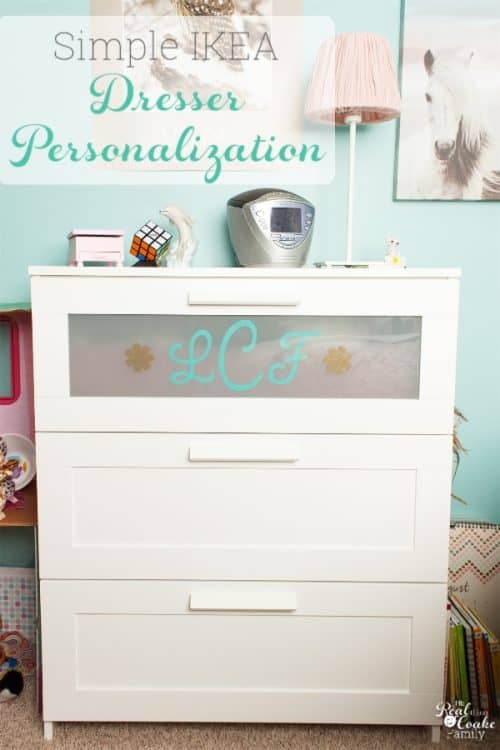
I’m so happy that I FINALLY got another project done in my daughter’s room! I only have two more things left to do and her room will FINALLY be complete. Here’s hoping I get those two things done before the end of the year. 🙂
I have to say for as long as I procrastinated on getting this project done, it was so quick and easy. It took way more time to photograph it than to actually complete this simple DIY.
If you have a basic dresser you can easily add some personality and flare to your dresser as well.
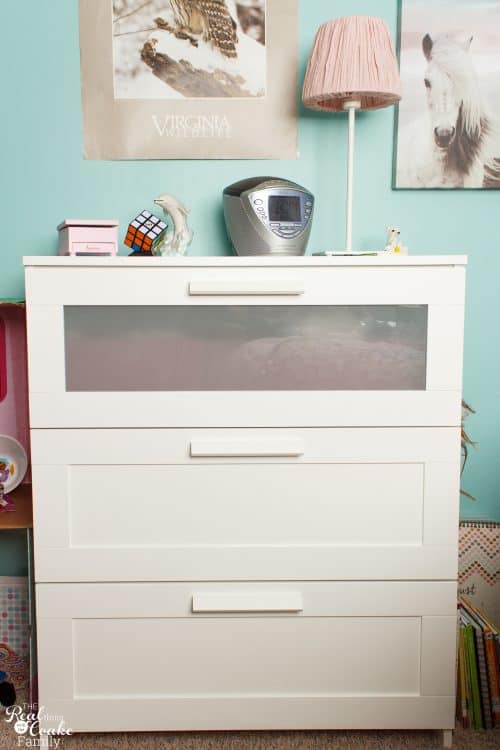
When we separated my girls into their own rooms, we took a big trip to IKEA and got some furniture and what not. Then again when I started in my youngest daughter’s room, we took another trip to IKEA as we needed the supplies for they way I turned her awkward corner into tons of storage.
We also decided to change her dresser out for a smaller dresser. We bought this small dresser at IKEA with plans to personalize it. Give me a good 6-8 months and I will get any project done. Lol!
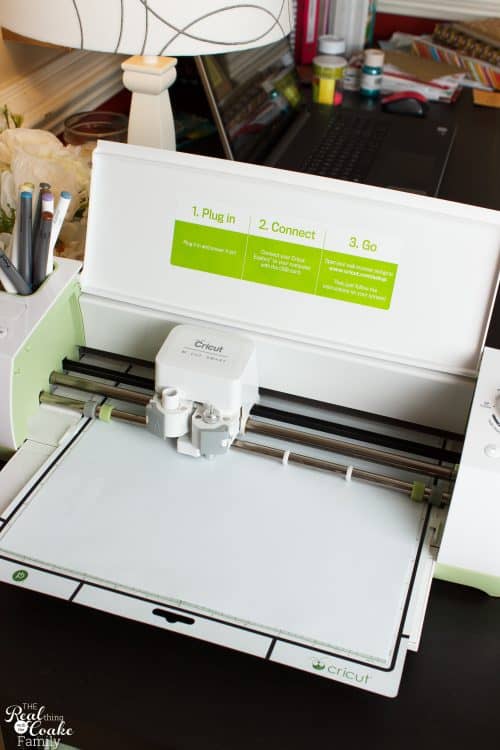
First up, you will want to design your DIY dresser personalization. I use my Cricut (affiliate link) to design and cut out the adhesive vinyl (affiliate link) (I used Gold and Caribbean – both affiliate links) we added to my daughter’s dresser. If you don’t have a Cricut, you can buy pre-designed adhesive vinyl (affiliate link) and do this same project.
Make sure if you are doing a placement like mine that will be on the inside, that you do a mirror cut when you cut out your vinyl. That way everything will be correct when you put it in place.
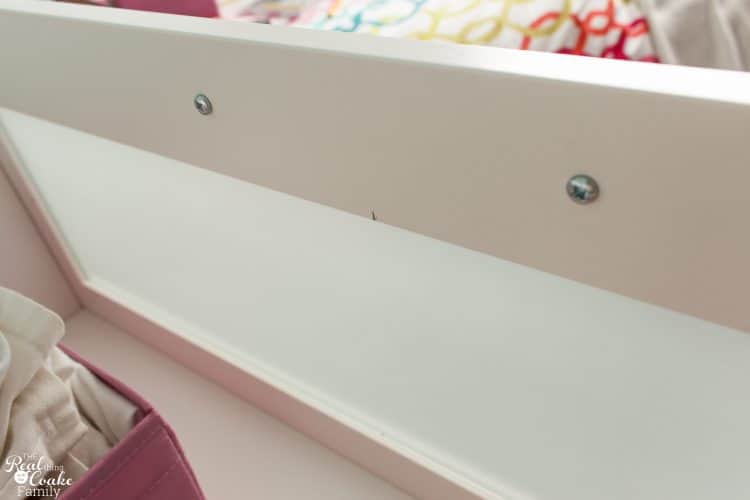
After cutting your vinyl, measure the place you plan to put the decal or adhesive vinyl and mark for placement.
I wanted mine centered and on the inside of the neat frosted glass insert in the IKEA dresser, so I measured and marked off the halfway point both horizontally and vertically.
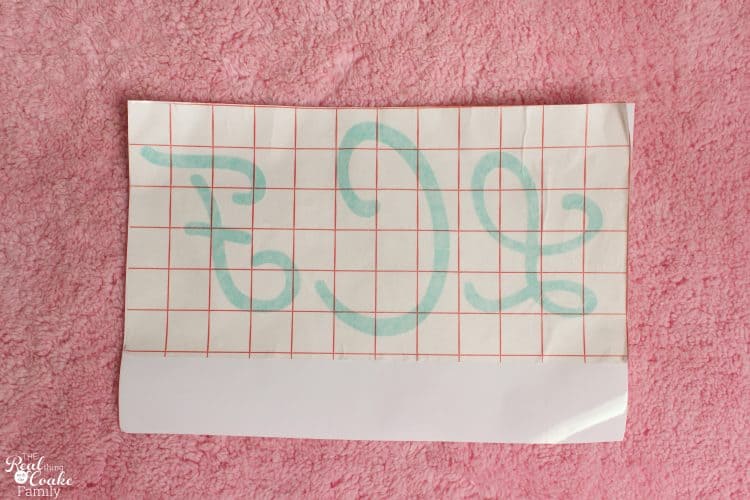
After cutting my design out, I realized that I was going to need transfer paper (affiliate link). It was just going to make keeping everything spaced exactly how I wanted it a million times easier.
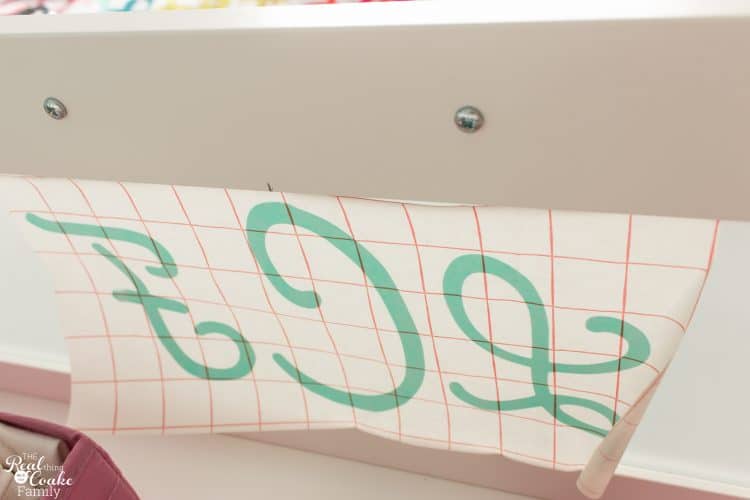
Then it is just a matter of lining the center of your design up with the marks you made earlier.
For me, that meant lining it up in the center of the frosted glass.
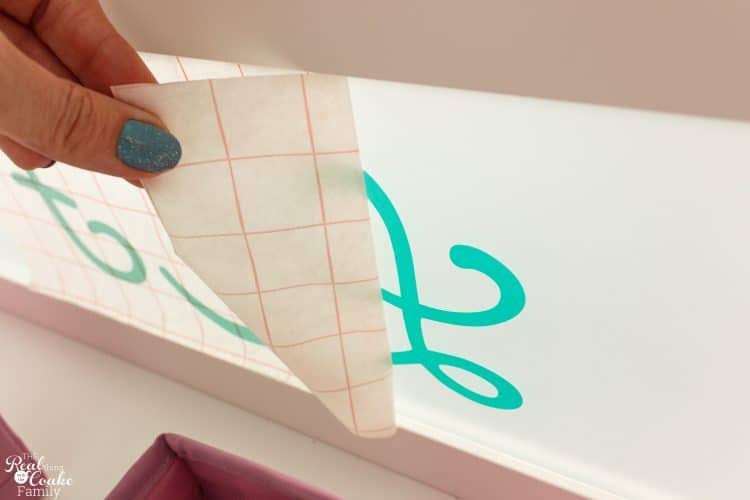
Now you need to use a credit card or a little squeegee tool (affiliate link) to press the vinyl into place and remove air pockets. After you use the squeegee tool, you will peel the transfer paper off.
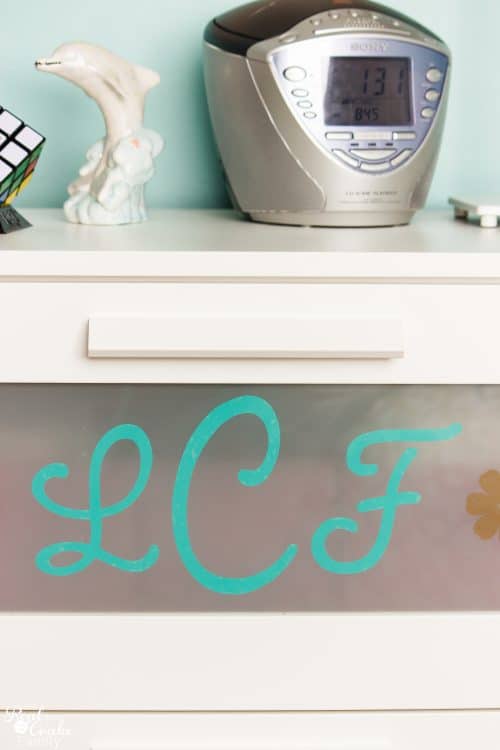
My daughter, whom I call Pumpkin on this blog, decided she wanted her initials on her dresser with little flowers on each side. It looks great!
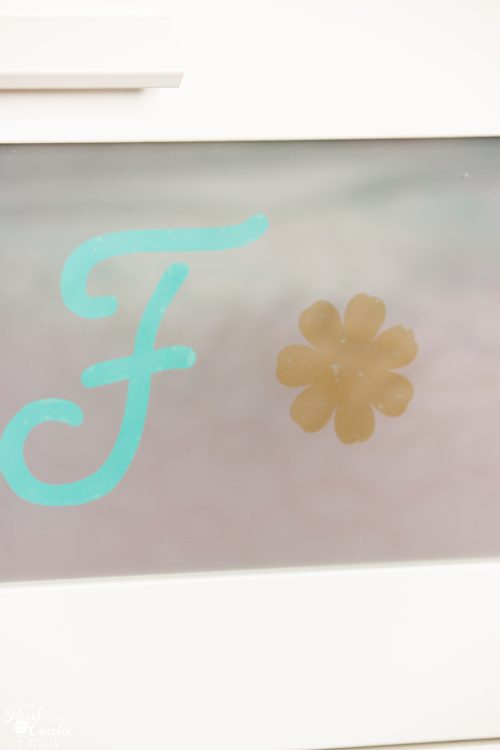
I tried to save a little money and use the transfer paper two times with the flowers. I should have just used small squares of transfer paper for each because I never could get all of the bubbles out of the flowers. There are still some bubbles in the turquoise color as well, but they don’t show as much as the gold. I think it might be because of the darkness of the gold. At any rate, the bubbles bug me, but my daughter is fine with them, so for now, they will remain.
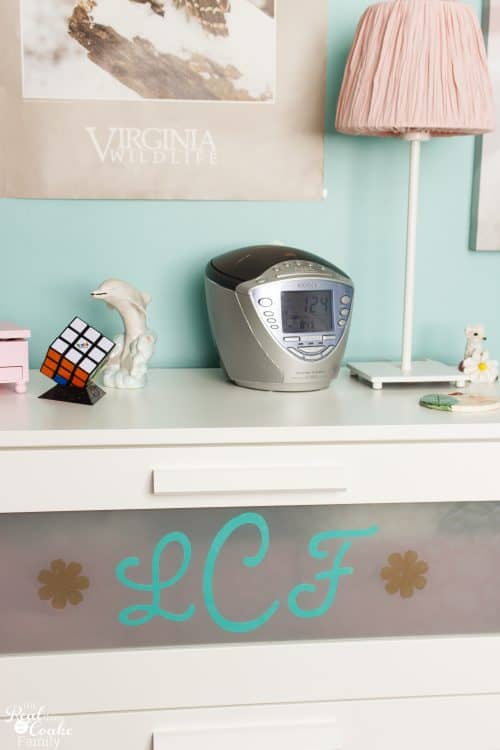
I’m telling you, this is such an easy project with cute results. I think it took me 30 minutes max (I never know exactly since I’m photographing things as I go and that takes times as well) and most of that was searching for which font we wanted to use for the monogram.
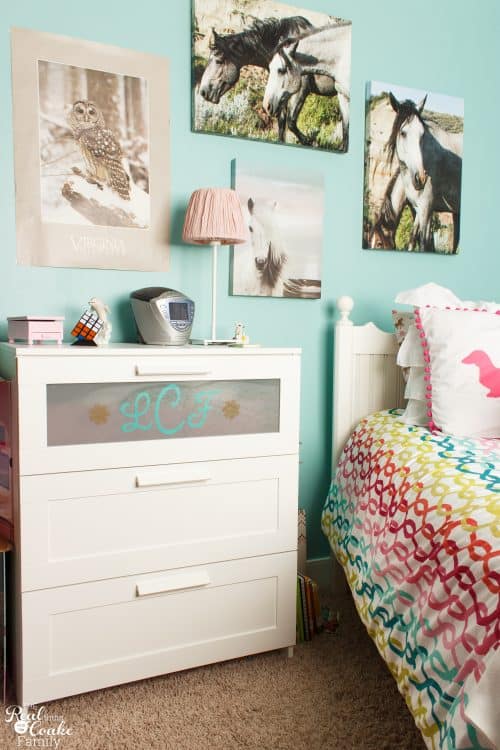
I don’t know why the actual design doesn’t look very good in these pictures. When I edited the pictures in Lightroom they look great and not blurry/grainy like this, but when I uploaded them to WordPress they don’t look right. I’ve loaded and deleted and loaded again, but to no avail, so trust me that they look really cute and not grainy in person. 🙂
This idea would look really cute on the front of a plain dresser as well. If you want even more ideas, head on over to Pinterest. First follow me and then do a quick search for IKEA Dresser Hack. You will see all kinds of ideas for how to personalize dressers. So many great ideas!
Next week I should have another project to show you in my daughter’s room…after that, only 1 project left! Woot! Woot! See you then!
Oh this is lovely! So original too!
I need to get on updating my girls’ rooms. Where does the time go?
Thanks for sharing (and for linking up to the #SHINEbloghop).
Wishing you a lovely weekend.
xoxo
Thanks so much!
I love this idea! And it looks so beautiful on this dreser. Pinned.
Thank you!