Behr sponsored this blog post. The opinions and text are all mine
I’m so excited to share today’s post with you! Every year, my girls and I plan our Christmas table together. This year, I may have taken over and not only planned the table but made the cuteness for our table as well. I made these adorable DIY table decor out of small concrete planters. I love the how they turned out and the adorable polka dots. They are so cute on our table!
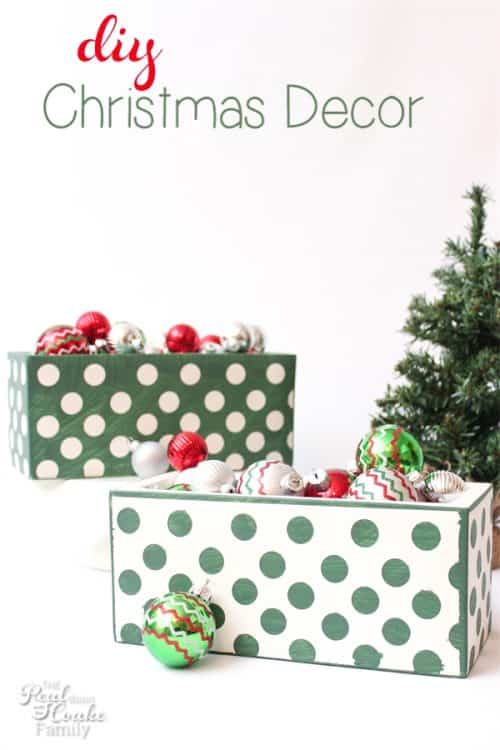
This year, I didn’t consult with my girls for what we would have on our table. Bad mommy. 😉 Not really, but in years past we have sat down together and decided on what we want for the table. They tend to like to go over the top. We had a flying Santa over our table one year(which was really cute even if it was a bit over the top)…enough said. This year I wanted to keep it a bit more simple and so I decided not to consult with them. Can you tell I feel guilty? Anyway, I got the opportunity to work with Behr as they sponsored this post. They wanted me to do something with their concrete or floor products and have a holiday home decor item. I had eyed these concrete planters at one of my favorite stores and knew they would be perfect for our Christmas table. Don’t they look so cute with the polka dots and the ornaments in them? Love it!
Let me tell you all about how I made them.
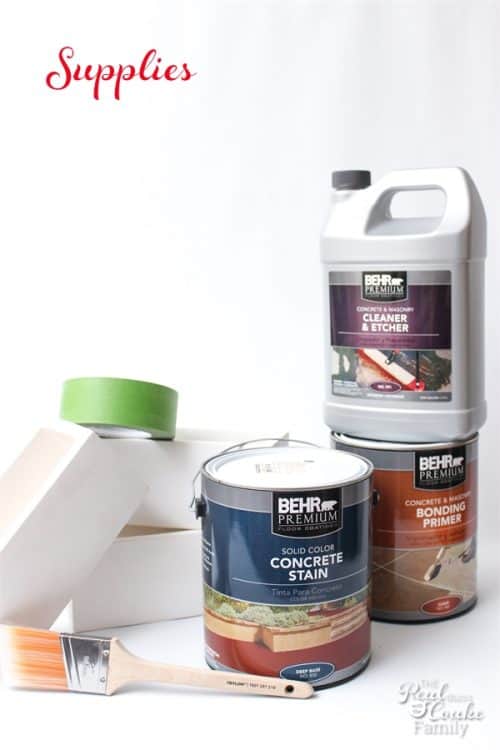
Supplies:
- Small concrete planters
- Behr Premium Concrete & Masonry Cleaner and Etcher
- Behr Premium Concrete & Masonry Bonding Primer
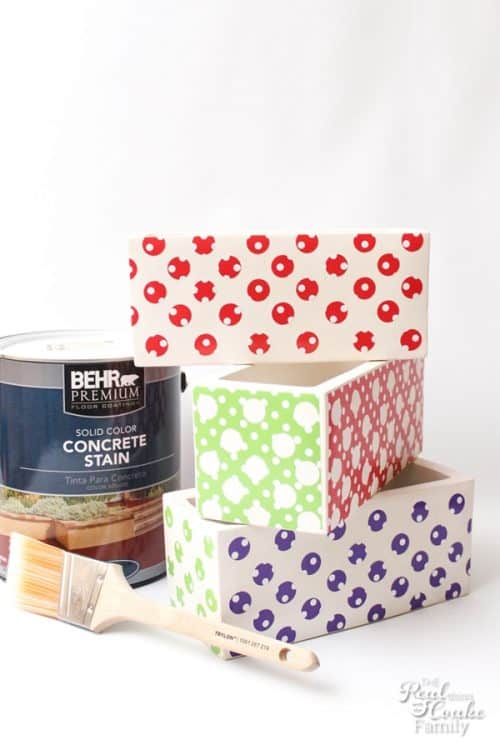
- Behr Premium Solid Color Concrete Stain
- Nylon/Polyester Brush
- Painter’s Tape
- Firm bristle brush
- Adhesive Vinyl (to make the polka dot stencil)
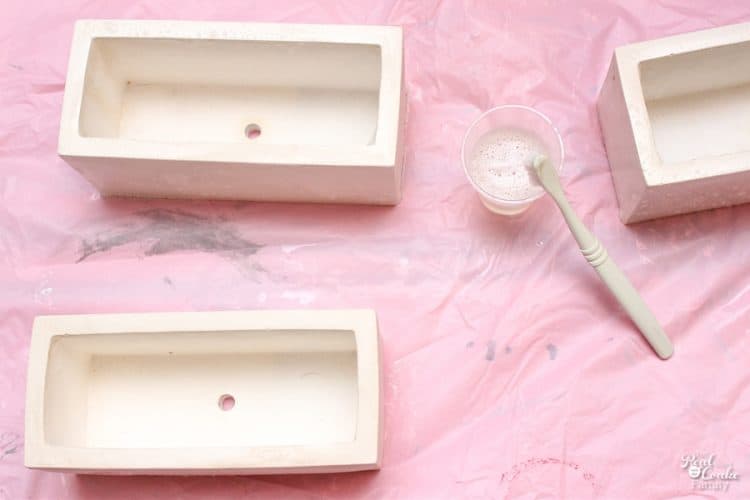
Once you have all the supplies it is time to start the first step of this project. The first thing you have to do with new concrete (that hasn’t been stained or is greasy, etc. already) is to use the Cleaner & Etcher. This gets the surface of the concrete ready for the stain. If you are working with a surface that already has stain, there is a slightly different process.
Apply the Cleaner & Etcher to the concrete planter. It is super important that you don’t let the product dry on the concrete. I probably went overboard, but I just sat by mine for the 20 minutes the product was on the concrete. It seemed like it wanted to dry out quickly at first. I think it was just soaking into the concrete. I just kept applying as needed for the 20 minutes. Then rinsed the product off. I did all of this using a stiff bristle toothbrush. You can’t use a metal brush for this step. You do want a brush that has a little bit of stiffness to it for this step.
You will know your surface is ready when it feels like medium grit sandpaper. Mine didn’t feel like that with my first try. I also diluted the solution 1:1 with water because the product states that with newer or lightly stained surfaces that may be what you need. I applied the Cleaner and Etcher a second-time full strength and then was ready to move on to the next step.
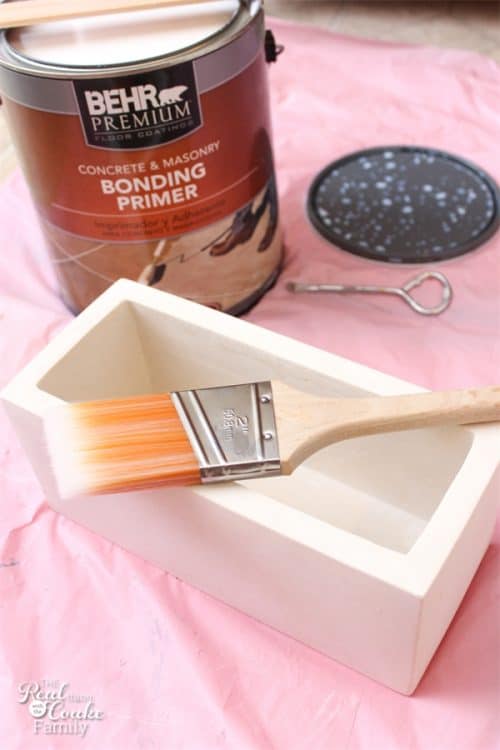
The second step in working with concrete stain is to apply the Behr Premium Concrete & Masonry Bonding Primer. You will apply this with a nylon/polyester brush. One coat is all that is needed.
After application, you will need a brush cleaner with which to clean your brush.
Once the Bonding Primer is fully dry, it is time to stain.
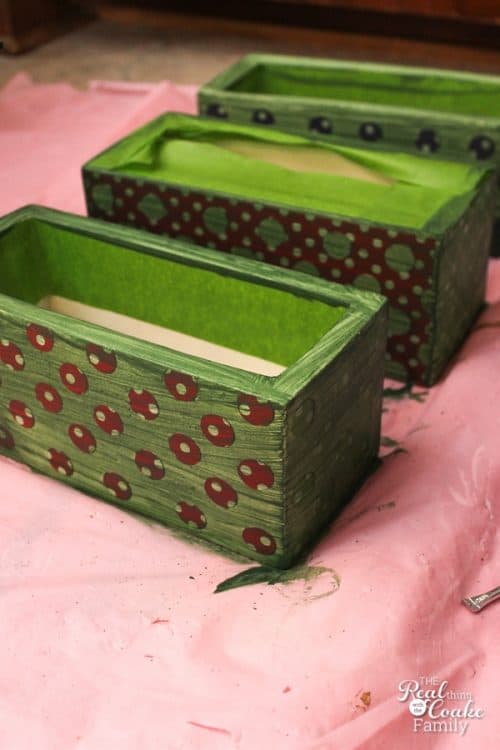
I decided I wanted polka dots on my planters. I was originally going to go for an angled line, but then I realized I’m not really the modern look type, so I went with polka dots. I have a tutorial on how to make your own stencils, which is just what I did. I use an adhesive vinyl to make the stencils. I wanted them to look different so I used the positive stencil for one and the negative of the stencil for the other. To do that I cut the stencil out on my electronic cutting machine and did not weed the stencil, which is where you remove the part you don’t want. Then I applied the full stencil and peeled off just the full piece, leaving all the individual dots just where I wanted them on the planter. Then I applies the full stencil to another planter. You can see a little bit of what I mean below.
Now it was time to apply the stain. I’ve stained wood many times before, but never concrete. With concrete, the packaging says to apply the stain in long brush strokes. According to the packaging, you don’t always have to do two coats. It also suggests that you can use a nylon/polyester brush, a sprayer, or a foam applicator. I’m thinking that for the minimum brush strokes on a project this size a foam applicator would work best. I used a nylon/polyester brush.
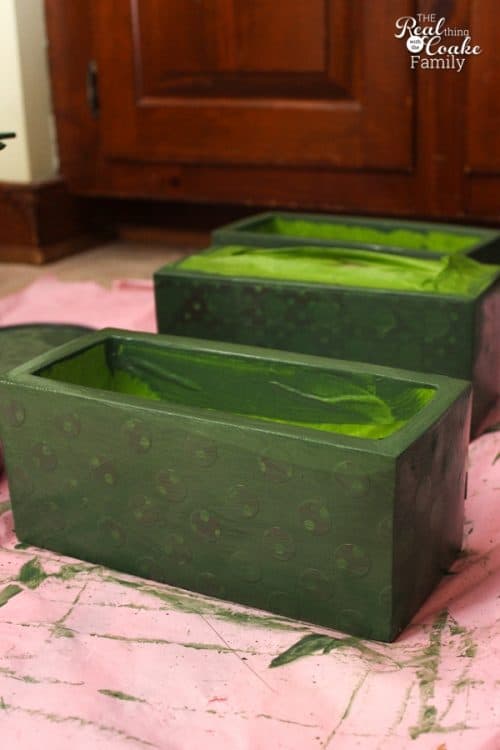
I went ahead and did a second coat after the first coat had fully dried. The second coat is to be applied in a crisscross pattern. Once again wait for the stain to dry. Then remove all the dots…that is tons of fun! It is a good time to watch some scopes on Periscope. 🙂 Have you followed me on Periscope yet? I’m scoping and having some fun showing some behind the scenes and giving more additional information.
You are done! This isn’t a hard project at all, but it does take some time due to all the different steps and the dry times….especially when it is a rainy as it was for me while I was working on this project. Good thing I started ahead. 🙂
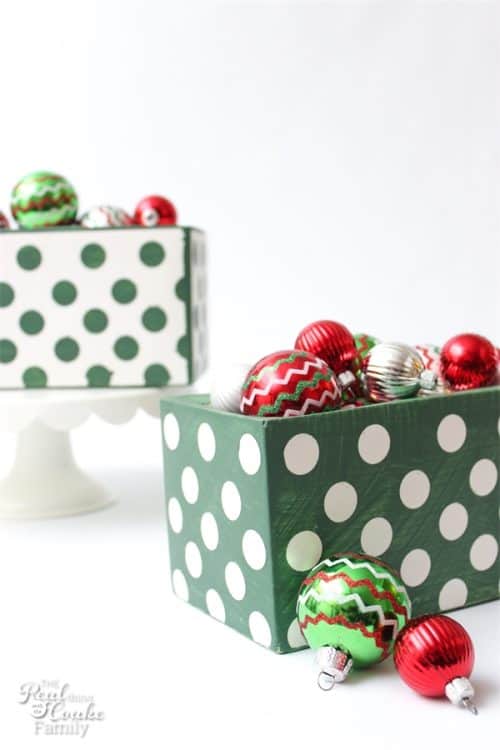
When you are done with removing all the stencils, you will have some pretty planters. I love the look and I love the variation of color I have and even the fact that you can see some brush strokes. It just adds to the visual interest.
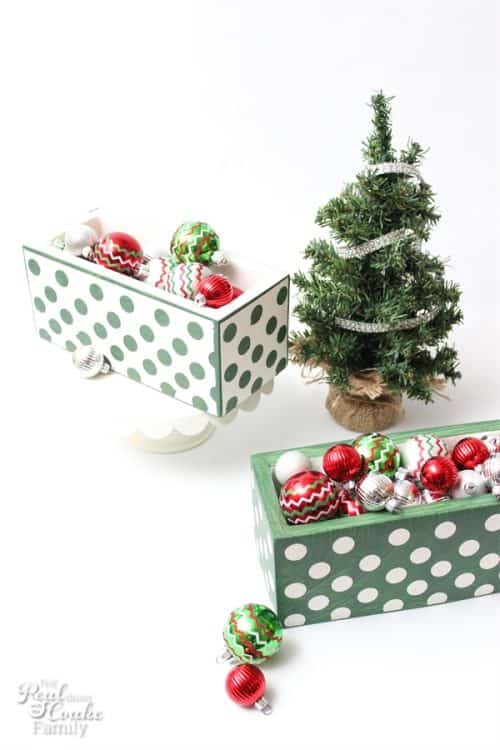
Yep…total polka dot cuteness! I wanted my two planters to be different so I have them as opposites.
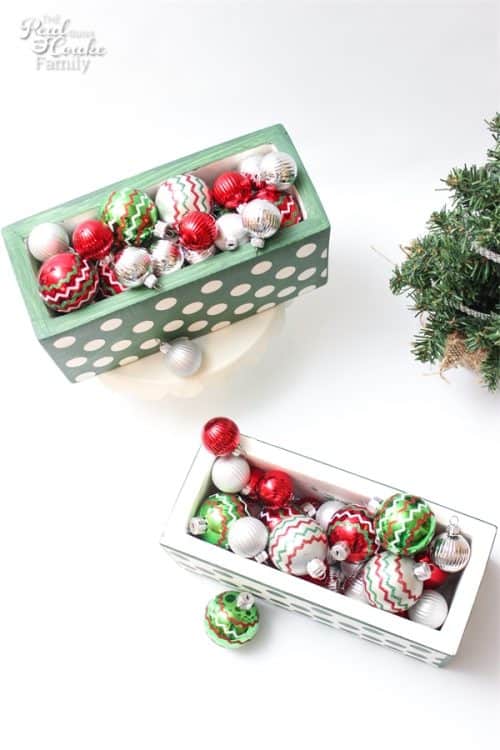
Pumpkin and I decided that filling the planters with Christmas ornaments would be the perfect finishing touch.
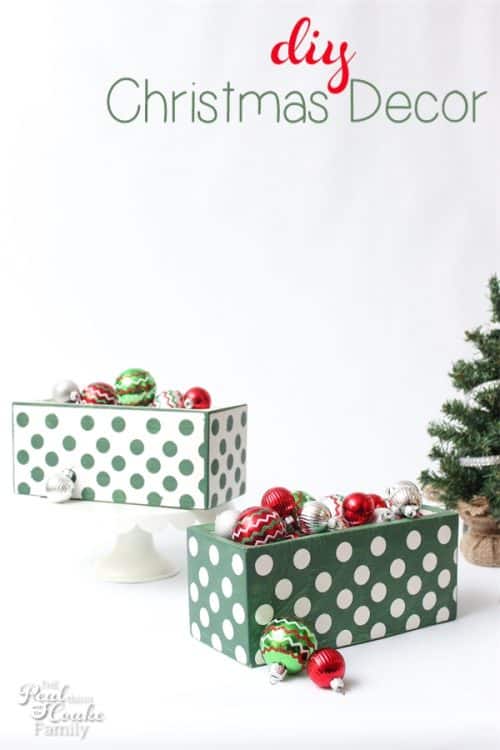
We sure love all the colors and think they are adorable. Which do you like better? I’m partial to the white with green polka dots, but that stencil didn’t work as well as the green with white polka dots. The green with white polka dots is a much more clean line finished look.
This was a fun project to work on…but them again, just like glitter makes anything fun, polka dots make anything fun as well. 🙂
What home decor item would you make using concrete stain? I’d love to hear more ideas, just leave a comment below.
More great posts you are going to love:
This post is brought to you by BEHR. Color that’s True to Hue. If you feel it you can find it. Visit True to Hue.
Behr sponsored this blog post. The opinions and text are all mine
