• Home
  • Contact
  • Privacy Policy & Disclosures
  • Nav Social Menu

    • Email
    • Instagram
    • Pinterest
    • YouTube

Real Creative Real Organized

Creativity and Organization for Mom Life

  • Crafts
  • DIY
  • Organization
  • Travel
  • Mom Life
  • Holidays & Special Days
    • New Year’s
    • Valentine’s Day
    • Mother’s Day
    • Easter
    • Father’s Day
    • Fourth of July
    • Halloween
    • Thanksgiving
    • Christmas
    • Seasons
      • Spring
      • Summer
      • Fall
      • Winter
    • Olympics
    • Birthdays
  • Shop
Home » Holidays & Special Days » Christmas » Christmas Countdown Frame

Christmas Countdown Frame

November 20, 2013 by KC Coake 6 Comments

Share away! 😍

  • WhatsApp
  • Email
  • Facebook

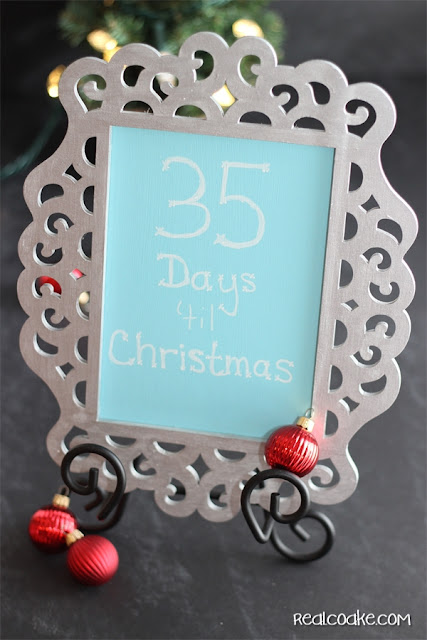
Can you believe how quickly the holidays are approaching? Thanksgiving is a week away and Christmas is just around the corner. My kids love counting down to Christmas and to Santa’s visit. I decided to make them a way to officially keep track this year. I made a Christmas Countdown.
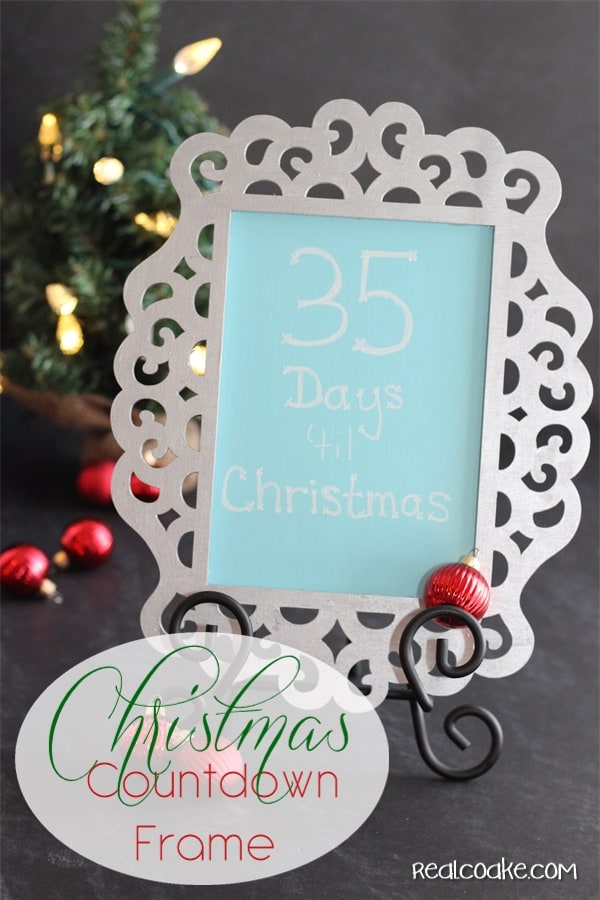
Laser cut frame turned into a cute and simple to make #ChristmasCountdown from #RealCoake
It was crazy inexpensive and easy to make. Just some time and a few craft supplies. I’ve got a tutorial for you along with my tips. You ready to countdown for Christmas? I’m not sure I’m ready to countdown, but it is coming whether we countdown or now…so let’s have some crafting fun! Laser cut frame turned into a cute and simple to make Christmas Countdown from #RealCoake

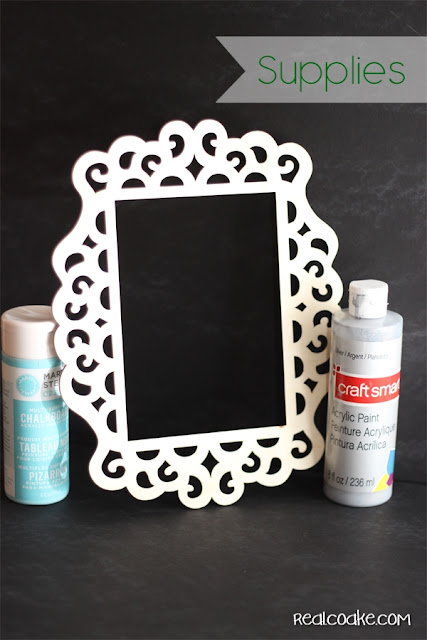
Supplies:

Laser cut frame
White craft paint or primer
Craft paint
Wood scrap or backer board
Chalkboard paint
Paintbrush
E6000 Glue
Q-tips
Chalk

I picked up my laser frame on clearance at Michael’s. It was on sale for $0.68 for a pack of two! Umm…good deal! They usually have them year round, but not always at such a great price.

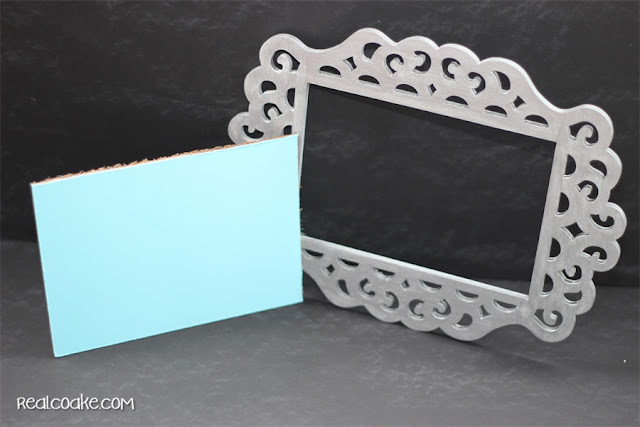
If your laser cut frame is like mine, it has really dark edges. I didn’t want those edges to show and since I was using silver paint, I felt like it was necessary to start by painting the frame with white craft paint. I felt like it was necessary so the silver would really show.

Laser cut frame turned into a cute and simple to make Christmas Countdown from #RealCoake
This Christmas countdown frame with the pretty scrolled edges looks great, but the painting took a while. It was a little time consuming to paint inside all those scrolled areas. It wasn’t hardto do. It is a good craft to do while watching TV, which would be how I got paint on our couch! Thank goodness it comes off quickly with a wet rag…whew!
Laser cut frame turned into a cute and simple to make Christmas Countdown from #RealCoake
My frame took two coats of white and three coats of the silver paint. Like I said, easy but a little time consuming. I had some backer board from another project. Mr. T cut it to the size I wanted and it got three coats of chalkboard paint.


Don’t forget to prime your chalkboard surface before you use it. You prime it by rubbing the whole surface with the side of a piece of chalk. Wipe that off. Your surface is now primed and ready to use.


Prime your chalkboard before you glue it to the frame. It will just be easier. Use q-tips and your E6000 glue to adhere the wood or backer board to the back of your frame. Try to be careful to use just the right amount of glue so it doesn’t ooze out and leave glue globs on the pretty front of your Christmas countdown frame.
Laser cut frame turned into a cute and simple to make Christmas Countdown from #RealCoake

Voila! Easy and pretty Christmas countdown. It was an easy craft but it did take some time due to all the coats of paint. I’m using a chalkboard makerwith my frame so the writing shows up really well.

Can you believe there are only 35 days left until Christmas? Let’s all take a collective deep breath now and try not to stress but enjoy the season. Fingers crossed we can do just that. 🙂

postsignature


I link up with these great link parties and at  My Repurposed Life, Between Naps on the Porch, The Scoop, and Savvy Southern Style.

© 2011-2013 The Real Thing with the Coake Family.  ALL RIGHTS RESERVED.

More to Enjoy! 😍

Add Cuteness with this Simple DIY Wall Art Idea
Fun Science Themed DIY Halloween Crafts and Decorations

Share away! 😍

  • WhatsApp
  • Email
  • Facebook

Hi! I'm KC. I'm a single mom of 2 girls who loves all things creative. Whether it's making something crafty or tackling that DIY project, I'm gonna have some fun and stay organized in the process. 😊 Read More…

Follow Me:

  • Email
  • Instagram
  • Pinterest
  • YouTube
Previous Post: « Pumpkin Spice Whoopie Pie
Next Post: The Real Creative Life No. 40 »

Reader Interactions

Comments

  1. Elie @ OrganizerByDay says

    November 20, 2013 at 10:01 pm

    This is adorable! Can’t wait to get all my decorations out!

    Reply
    • KC says

      November 21, 2013 at 8:54 pm

      Thank you! Yes, it will be fun to get all of the decorations out…such a pretty season.

      Reply
  2. Brenda @ Chatting Over Chocolate says

    November 20, 2013 at 10:11 pm

    This turned out so nice! 🙂

    Reply
    • KC says

      November 21, 2013 at 8:54 pm

      Thank you!

      Reply
  3. Bobbie says

    November 25, 2013 at 8:24 pm

    Love it! Such a great idea!

    Reply
    • KC says

      November 25, 2013 at 10:11 pm

      Thanks, Bobbie!

      Reply

Leave a Reply Cancel reply

Your email address will not be published. Required fields are marked *

Primary Sidebar

Popular Posts

  • IKEA built in hack with storage and desk Great IKEA built in hack for simple shelving and desk
  • collage showing how to paint a stairwell The Inexpensive Way to Paint a Stairwell

Meet KC

Hi! I'm KC, Welcome to my blog!
Click here to Learn More About Me…

Free Member Program:

Let’s Be Social

  • Email
  • Instagram
  • Pinterest
  • YouTube

Copyright © 2023 · Sprinkle Pro Theme on Genesis Framework · WordPress · Log in