Do you ever had a project that you have all the supplies, you know exactly what you want to do, but it takes….oh lets say a year to get to that project? Umm…I’m really hoping there isn’t that cricket sound going on right now, but rather a chorus of things such as, “All the time,” or “Isn’t that normal.”
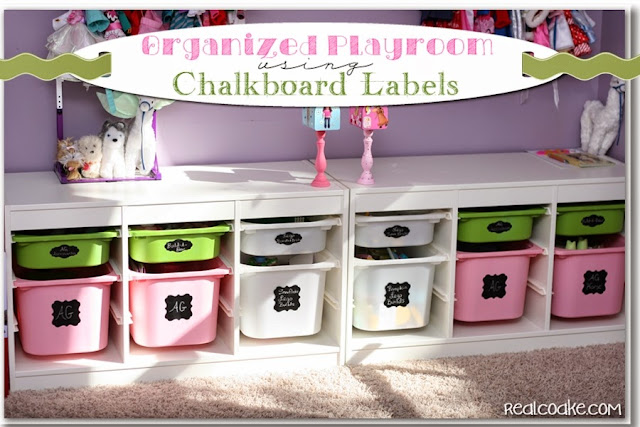
Today, I’m going to show you one of those projects. I’m so happy to have put together our toy storage system last year, but I never labeled everything. Finally, this week I got everything labeled using chalkboard labels.
I’m so happy with the look and I totally wonder why I put it off for so long. I think I thought it was going to be harder and take longer. Any which way, let me show you what I did so if you want to label your toy storage or other area with chalkboard labels you know just what to do.
Last year when we reorganized our playroom and added the Trofast from IKEA I had the best of intentions of labeling everything. I love the look of having things labeled but more importantly Mr. T, my husband, can’t ever seem to remember where anything goes. The kids and I get really sick of him asking where everything goes. Labels will (hopefully) help him figure it out…so, yes you read that right. We labeled the playroom, not for the children, but for my husband. It also looks so cute, I’m super glad I finally put the labels on.
First up to complete this project, you will need to purchase some chalkboard vinyl. Mine is a roll of repositionable chalkboard vinyl that I got at Michael’s.
Next, pick out the shape you want for your labels. You can either hand cut yours by tracing and cutting or you can use your Cricut/Silhouette to cut out the shape. I have a Cricut, so I used it and my Creative Memories Holiday Frames & Tags cartridge. I used the Cricut Craft Room so I could modify the shape of the tags I wanted.
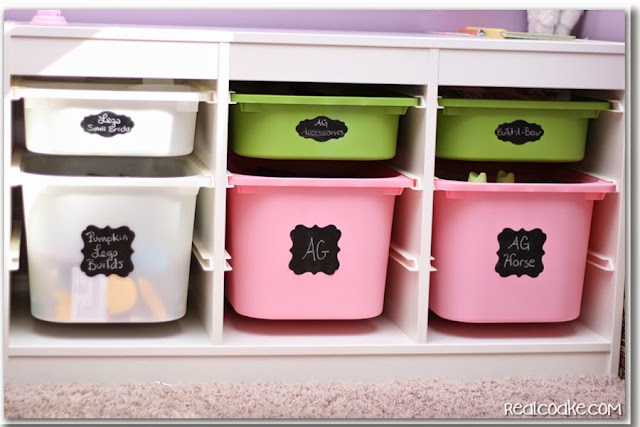
Before you cut out your labels/tags, go look at your space. Figure out what you need. I wanted the square labels for the larger bins and the rectangular labels for the smaller bins. I counted up that I needed 12 of the squares and 11 of the rectangles. Now, you are ready to cut away.
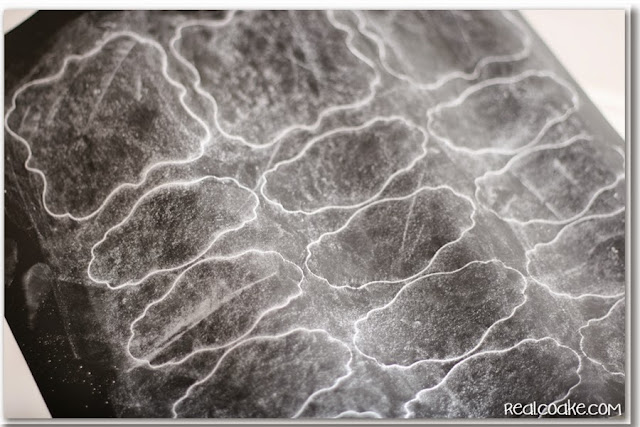
Once you have everything cut, make sure you condition your chalkboard surface. You do this by rubbing the side of a piece of chalk over the entire surface. Wipe this away. Doing this will make sure that what you have written on the surface will easily erase and not leave a shadow. My daughter saw this and thought it looked so horrible. I thought it looked kind of neat. What do you thinnk?
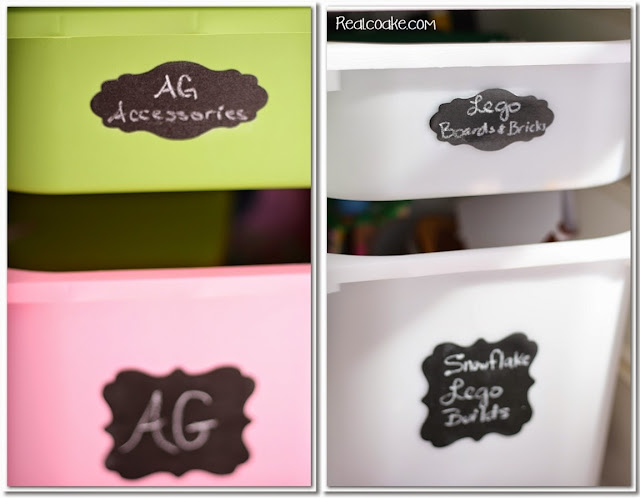
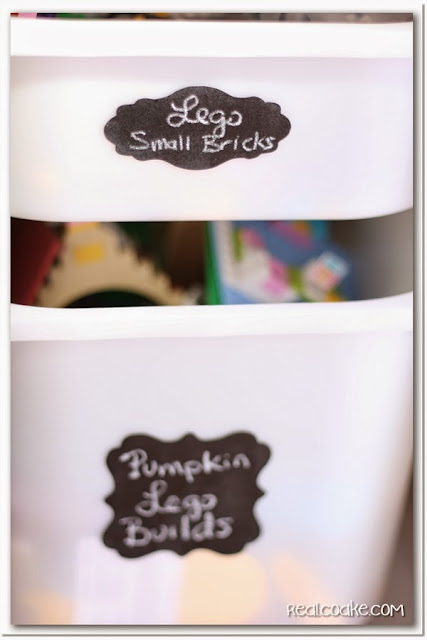
The last step is to apply the label to the surface and write the name on the label. My vinyl is repositionable, so I didn’t have to worry too much about this process. If the label was a little off, I could just move it a bit. Seriously…it was all so easy and so quick! It also looks adorable and will help the whole family when it comes to clean up time. I love projects like that!
The only thing that seems to be a problem is that the chalk wipes off very easily. I held a bin next to my clothes and it wiped off on my shirt. I’m thinking of buying a chalkboard pen because I think they need a damp cloth to remove the writing….that would work better for a playroom.
We love our Trofast…it is working so well both as an organization tool and a play area. It works fantastic for organizing Legos.
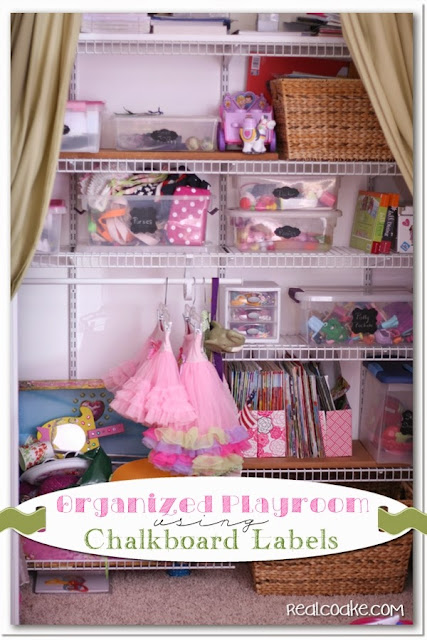
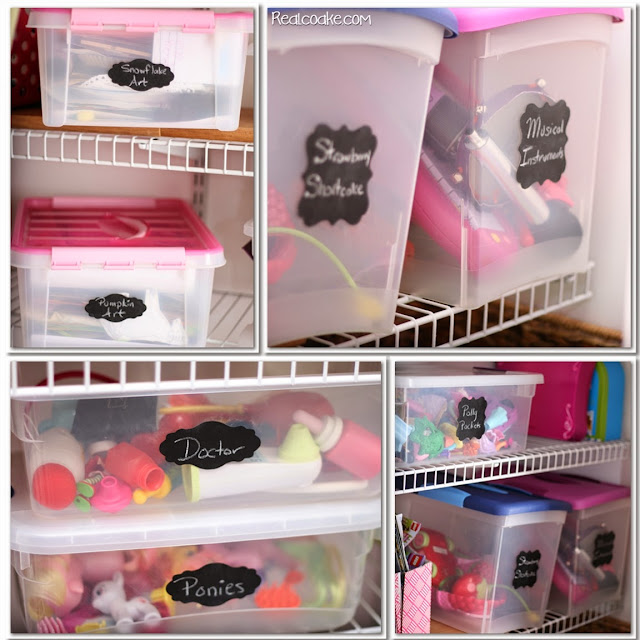
Across the room, in the closet, I used more labels on our toy bins. I didn’t label absolutely everything as you can see above. I labeled our plastic toy storage bins. That is all for now. I love how they look so much, I may go back and make some card stock tags to tie onto the other bins, but that will be a project for another day, if I decide to do it.
Looks so nice and so tidy….it doesn’t look this good on a daily basis. I love seeing it like this, but of course it is a playroom and it needs to be played in not admired for the good looking labels. You and I can admire the labels here for a moment or two. Maybe when it is messy in the playroom, I will come open up this post and remember the neatness of this moment. 😉
Well, what do you think of my super simple project that took me a year to complete? I love it! I wish I had realized just how easy and fast it was going to be. I totally would have done this long ago.
I still have one other space that needs labels…that is our craft/office area. I’m not sure I can use this same idea there because the bins are not all smooth. Let’s see how long I avoid that task, too. Hopefully not a year…though I did that organizing last August….so my time is running out.
What projects have you been avoiding? Do you think they will be easy or hard when you get to them? Hope they turn out to be easy like this project.
More Organizing Fun for You:


It’s absolutely beautiful! Congratulations on getting it done. I’ll bet it feels great to finish it.
Happy Sharefest. I hope you have a lovely weekend.
Thank you! Yes, it does feel great to get it done. Now on to our craft area which needs labeling as well.
Take care,
KC
Your shelf looks amazing—I really need to do this to our playroom:) We would love for you to share at our new Super Summer Saturday party here: https://www.thechirpingmoms.com/2013/06/super-summer-saturday.html
Thanks!
Julie
Thanks! It has made such a big difference. I hope you find something that works really well for your playroom.
KC
This is awesome!!! Great work!
Thanks!
I love these adorable labels, what a a great play place! Very cute, yet very functional too.
Thank you! Yes, we have tried to make it cute and organized. Most days it doesn’t look either because it is such a mess…but that is normal for kiddos. 🙂
Take care,
KC
I love your playroom storage! Thanks for the great idea!
Thank you! I hope the idea works out well for you if you use it.
KC
I love how organized the playroom is! Even though it could get stressful, I always kept the toys organized when my children were little!
Thanks! It almost never looks this organized on a daily basis, but at least we know where things go when we clean up a couple of times a week. It makes life a little nicer.
Are you glad now that you kept things organized when they were little?
Take care,
KC
Oh no! Chalkboard vinyl… I may have found a new obsession. 🙂 Thanks for sharing!
:-0 Not sure if I should say sorry or your welcome! Glad I could show you something new.
Take care and have fun!
KC
You must feel good whenever you see this area…it’s so neat and clean. I love IKEA solutions to clutter, and you used this one so well.
I do…when it is this neat and clean. It currently is not and isn’t very often. 🙂 I love IKEA as well. I could just do my whole house from their store, I think. Thanks so much for your sweet comments.
Have a great night!
KC
I think they look awesome KC and would really like to know if a chalkboard pen would stay on better because I know how annoying the chalk wiping off can be. If you do try it, let us all know how it works!!
Thanks, Krista! I will let you know. Those pens are kind of pricey here locally…so I keep holding off at the thought of spending $12 for a pack of pens. I think I just need to get over it and buy them. I’ll let you know how they work if I give them a try.
KC
so cute! Always looking for cute toy storage ideas. Thanks!
Emily @ elizabethjoandesigns.com
Thanks! I hope it helps you in your quest for cute storage ideas.
Have a great night.
KC
great job KC and I think it was brilliant to condition them all at once. Not sure I would have thought of that!
catching you!
gail
Thanks, Gail! I never really thought about doing it another way, until I saw your comment…lol! Love getting caught this week, Thanks!
KC
Have your labels stayed on your Trofast bins? I’ve had a hard time getting anything sticky to stay stuck to those bins. They look great, by the way! Great idea. 🙂
They actually have stayed on. The only issue I have had is that I didn’t flatten the labels before I cut them and adhered them. I should have been patient and flattened them first. Then there wouldn’t be a problem. Those that were curled to begin with have not stayed on well. All the rest have been fine. HTH!
KC
That does help! Thank you. 🙂
Glad it helped! Have a great night.
KC